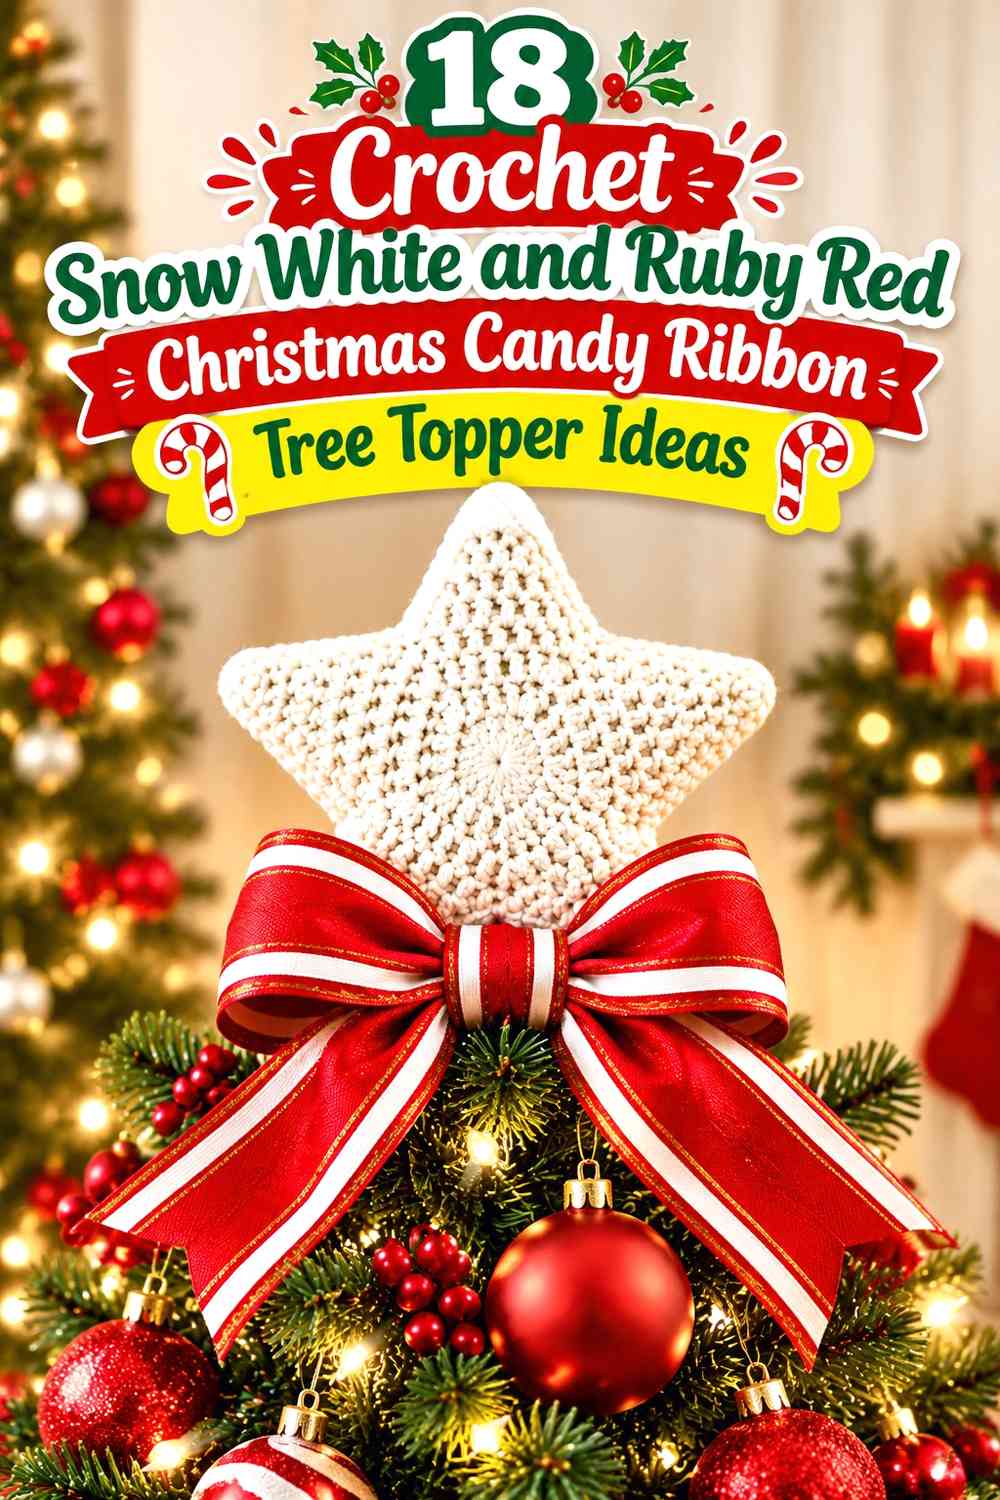

Snow white and ruby red give a crochet Christmas tree topper the unmistakable contrast of traditional holiday candy while still leaving room for several different ribbon treatments. Ruby red can define the strongest loops, folds, star outlines, and trailing sections, while snow white can separate those areas so the topper does not become one dense block of red.
The candy-ribbon idea is especially useful at the top of a tree because the shape can move upward, outward, or downward. A folded ribbon-candy center creates compact volume, curled strands add vertical movement, and long bow-like tails can connect the topper visually with ornaments farther down the tree.
The tutorials supporting these ideas include one dedicated crochet tree topper plus Christmas stars, candy canes, spirals, and ribbon-style ornaments. When a source teaches an ornament rather than a complete topper, use it for that component and plan the final tree-top attachment and support separately instead of assuming the creator demonstrates the finished topper concept below.
Quick List
- Plan Snow White and Ruby Red From the Star to the Ribbon Tails
- Snow White Star and Ruby Red Candy Ribbon Crochet Tree Topper
- Ruby Red Spiral Candy Ribbon and Snow White Star Crochet Tree Topper
- Snow White and Ruby Red Peppermint Crochet Candy Ribbon Tree Topper
- Ruby Red Bow and Snow White Candy Tail Crochet Tree Topper
- Snow White Star With Ruby Red Curly Ribbon Crochet Tree Topper
- Ruby Red Star With Snow White Ribbon-Candy Crochet Tree Topper
- Snow White Candy Spiral With Ruby Red Edge Crochet Tree Topper
- Ruby Red and Snow White Layered Star Crochet Candy Ribbon Tree Topper
- Snow White Star With Ruby Red Candy-Cane Loop Crochet Tree Topper
- Ruby Red Ribbon Rosette With Snow White Star Crochet Tree Topper
- Snow White and Ruby Red Alternating Ribbon Cascade Crochet Tree Topper
- Ruby Red Starburst With Snow White Folded Candy Crochet Tree Topper
- Snow White Scalloped Ribbon With Ruby Red Star Crochet Tree Topper
- Ruby Red Candy Ribbon Crown With Snow White Crochet Star Points
- Ruby Red and Snow White Mirrored Candy Ribbon Crochet Tree Topper
- Snow White Puff Star With Ruby Red Crochet Ribbon Border Tree Topper
- Two-Color Snow White and Ruby Red Crochet Candy Ribbon Tree Topper
Decide Whether Ruby Red or Snow White Should Lead the Tree Topper
Ruby red has stronger visual weight, especially against a green tree, so it does not need to cover half of the topper to feel dominant. A few broad ruby-red ribbon loops can balance a much larger snow-white star.
A snow-white-dominant topper creates a lighter effect and gives ruby red a useful outlining role. Keep the red in repeated places such as the star edge, ribbon folds, and trailing ends rather than scattering small red stitches through every component.
Keep Snow White and Ruby Red Candy Ribbon Shapes Easy to Read
Ribbon candy depends on folds and repeated curves. If red and white change too frequently, those folds can become harder to distinguish from the color pattern itself.
Use broader color sections when the crochet already has strong curling or scalloping. A complete ruby-red loop beside a complete snow-white loop usually communicates the candy-ribbon shape more clearly than many tiny alternating stripes.
Plan Snow White and Ruby Red From the Star to the Ribbon Tails
A topper should feel connected from its highest point to its lowest trailing element. If the upper star is mostly snow white, bring white back into the ribbon tails or inner folds. If ruby red frames the star, repeat red along the lower curves.
Lay the topper components together before final assembly. Check whether one color collects only at the top or bottom and whether the ribbon still looks balanced when viewed vertically.
1. Snow White Star and Ruby Red Candy Ribbon Crochet Tree Topper
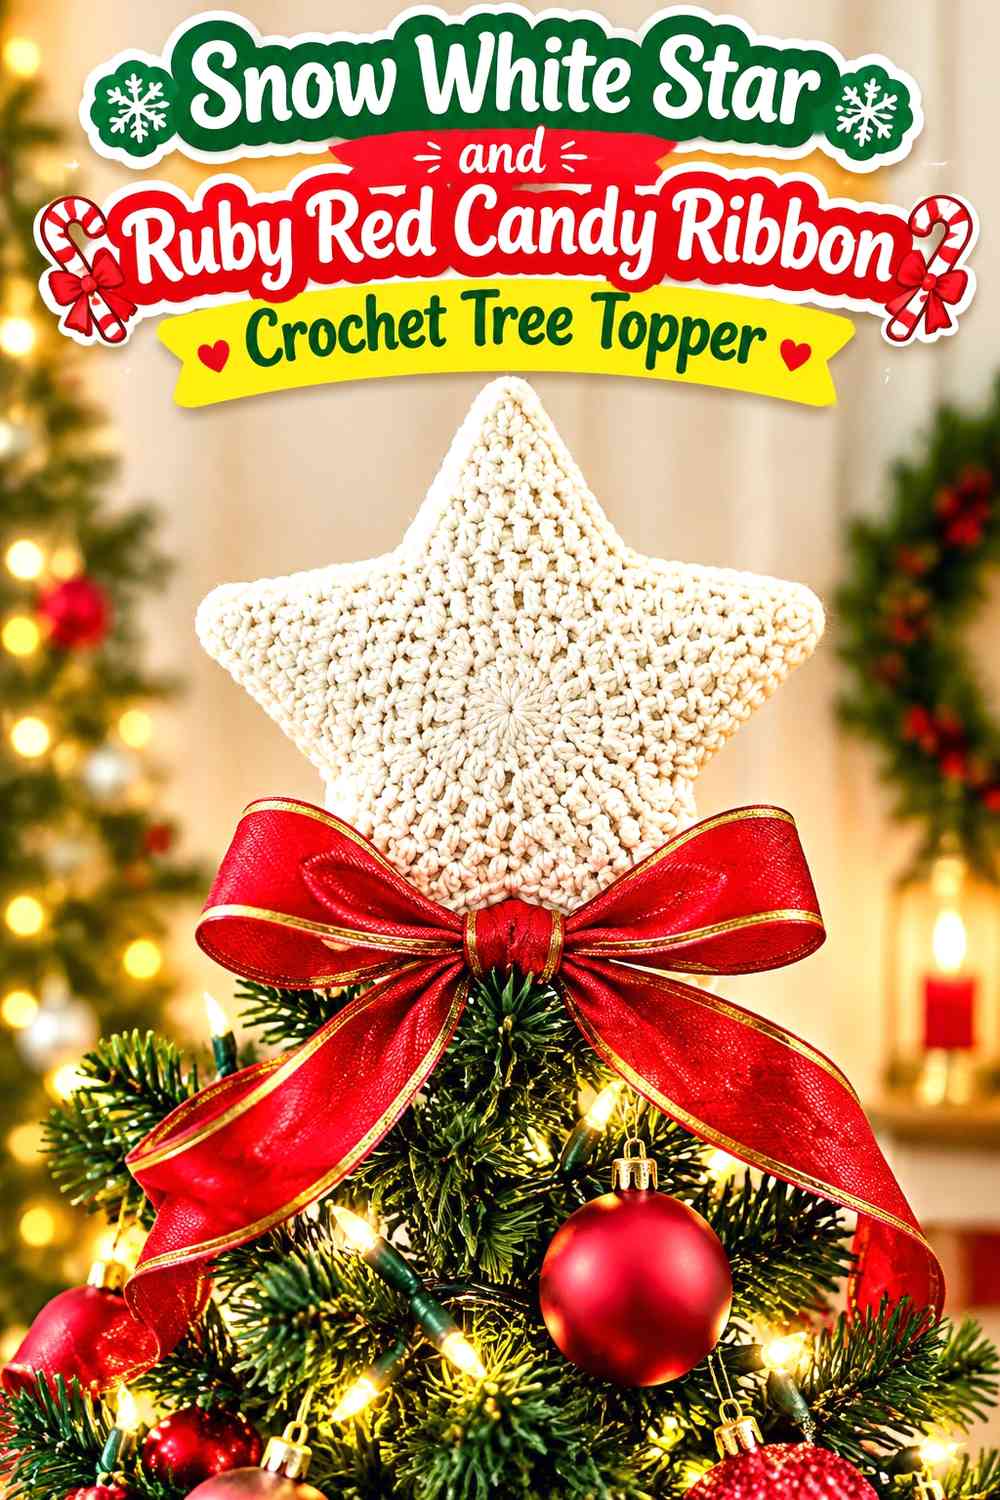
Use a broad snow-white star as the central topper shape and surround its lower half with ruby-red candy-ribbon loops. The contrast keeps the star recognizable while the red folds add the sweeter Christmas-candy direction.
Ruby Red Ribbon Loops Should Frame the Snow White Star
Place the strongest ruby-red curves below or around the star rather than crossing over all of its points. Leaving white visible around most of the star preserves the clean celestial silhouette.
Several substantial loops are usually more effective than many tiny red curls.
Snow White Should Remain the Largest Shape Above Ruby Red
Keep the star visually larger than any single ribbon loop so the piece still reads as a tree topper rather than a bow with a small decoration attached.
The credited tutorial specifically demonstrates a crochet star tree topper, making it useful for the central topper concept; the candy-ribbon treatment is the editorial color adaptation.
Creator Credit: Brunaticality
2. Ruby Red Spiral Candy Ribbon and Snow White Star Crochet Tree Topper
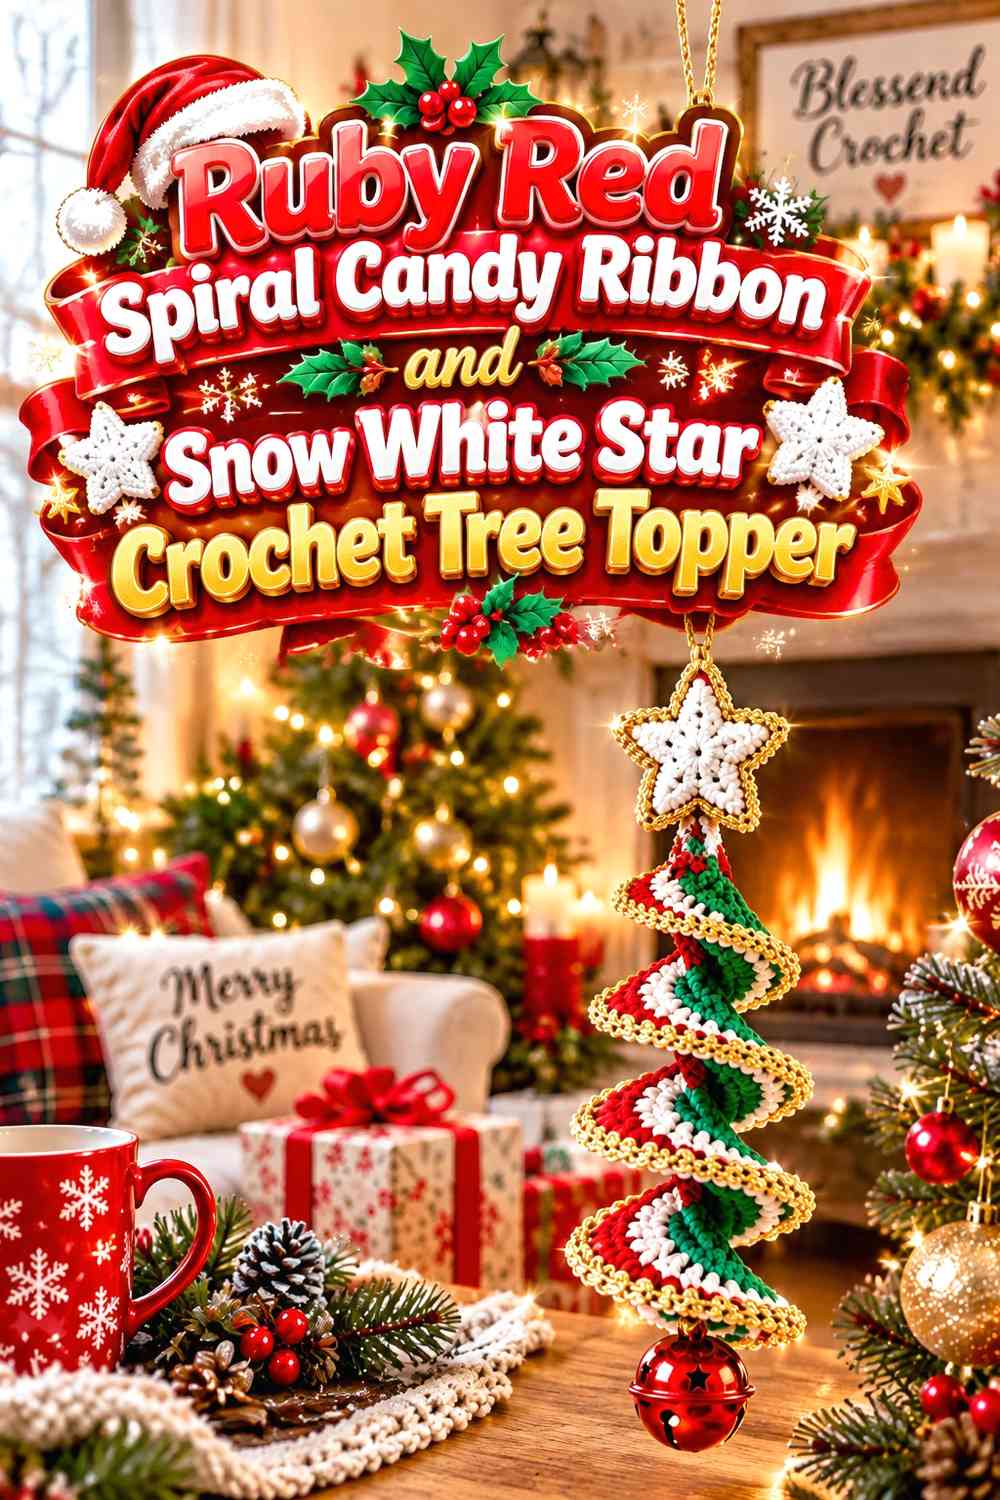
Let a ruby-red spiral rise or fall through the center of the topper and add a snow-white star at the highest focal point. The curved red line supplies movement while the white star gives the eye a clear place to stop.
Ruby Red Spirals Need Snow White Space Around Their Curves
Avoid packing additional white curls tightly between every red turn. Open space helps the spiral remain visible and prevents the topper from becoming a dense twisted mass.
A white edge or star is enough to establish the second color.
Snow White Stars Can Finish a Ruby Red Spiral Cleanly
Position the star where the red spiral naturally ends rather than placing it midway through the curl. The color change then works as both a visual endpoint and a shape change.
The tutorial supports the spiral ornament component; adapt its curling idea to the topper scale and support separately.
Creator Credit: Blessend Crochet
3. Snow White and Ruby Red Peppermint Crochet Candy Ribbon Tree Topper
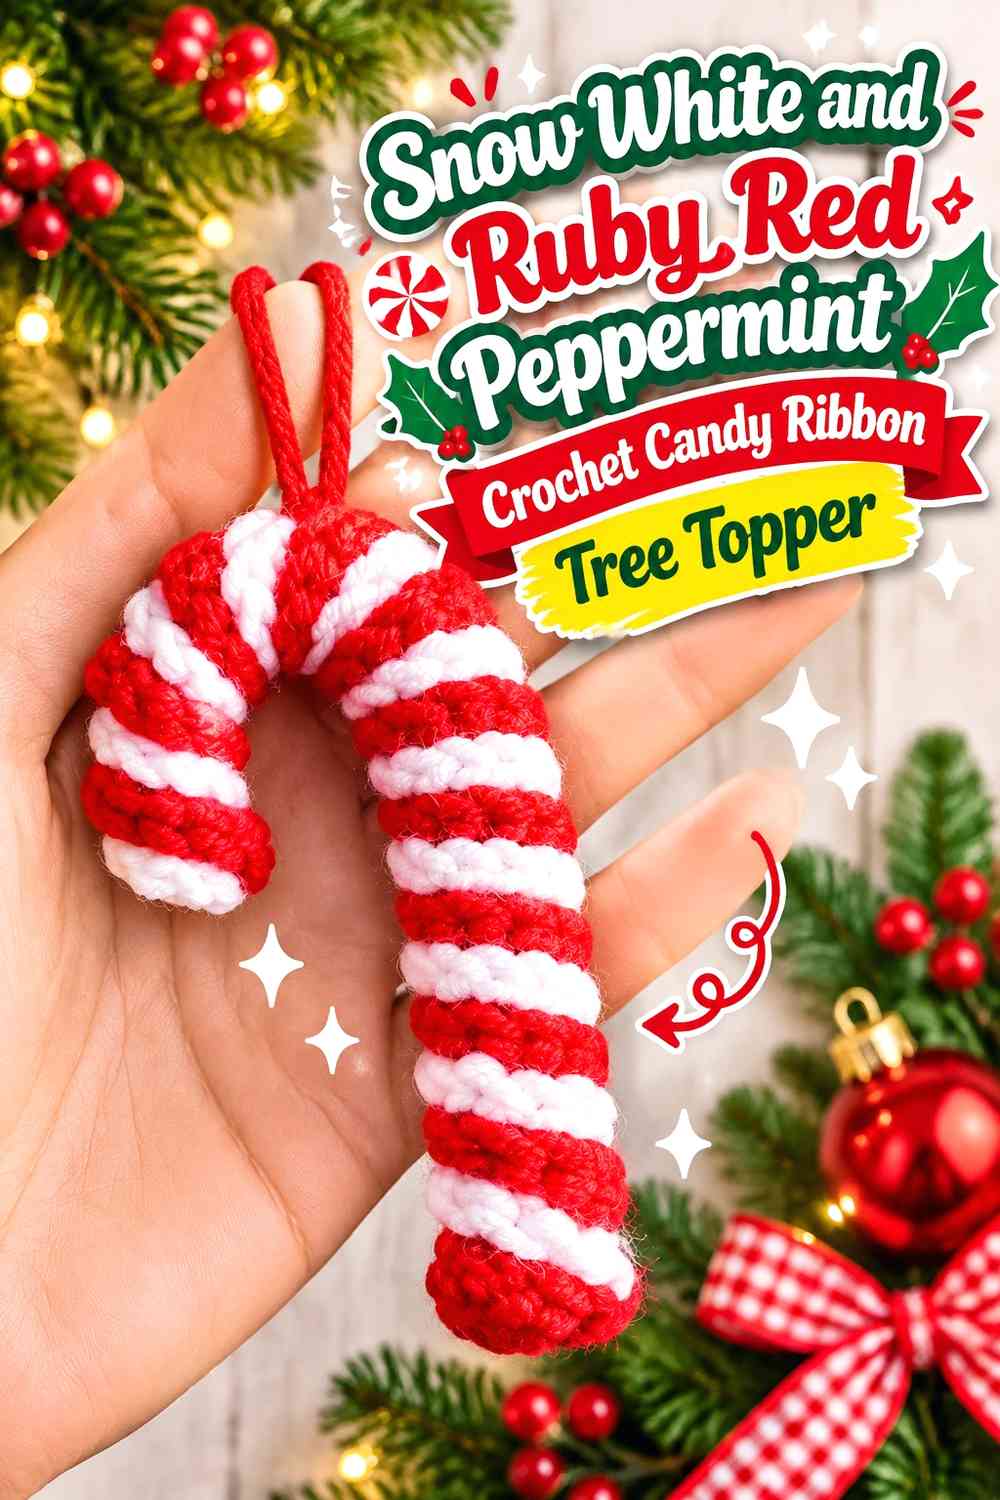
Alternate snow-white and ruby-red sections across folded ribbon-candy shapes. Keep the folds broad so each color remains clearly visible when the ribbon bends back on itself.
Ruby Red Bands Need Consistent Snow White Separation
Use a predictable red-white rhythm rather than changing colors at irregular intervals. Consistency makes the folded topper feel intentionally peppermint-inspired.
Avoid making every red section narrower than the white sections unless snow white is deliberately the dominant color.
Snow White Folds Should Stay Visible Between Ruby Red Candy Sections
When the ribbon is folded, some sections will face forward and others backward. Arrange the folds before final fastening so white does not disappear inside the center.
The candy-cane tutorial supports the two-color Christmas-candy relationship; use the ribbon folds as your separate topper adaptation.
Creator Credit: Laura Moon
4. Ruby Red Bow and Snow White Candy Tail Crochet Tree Topper
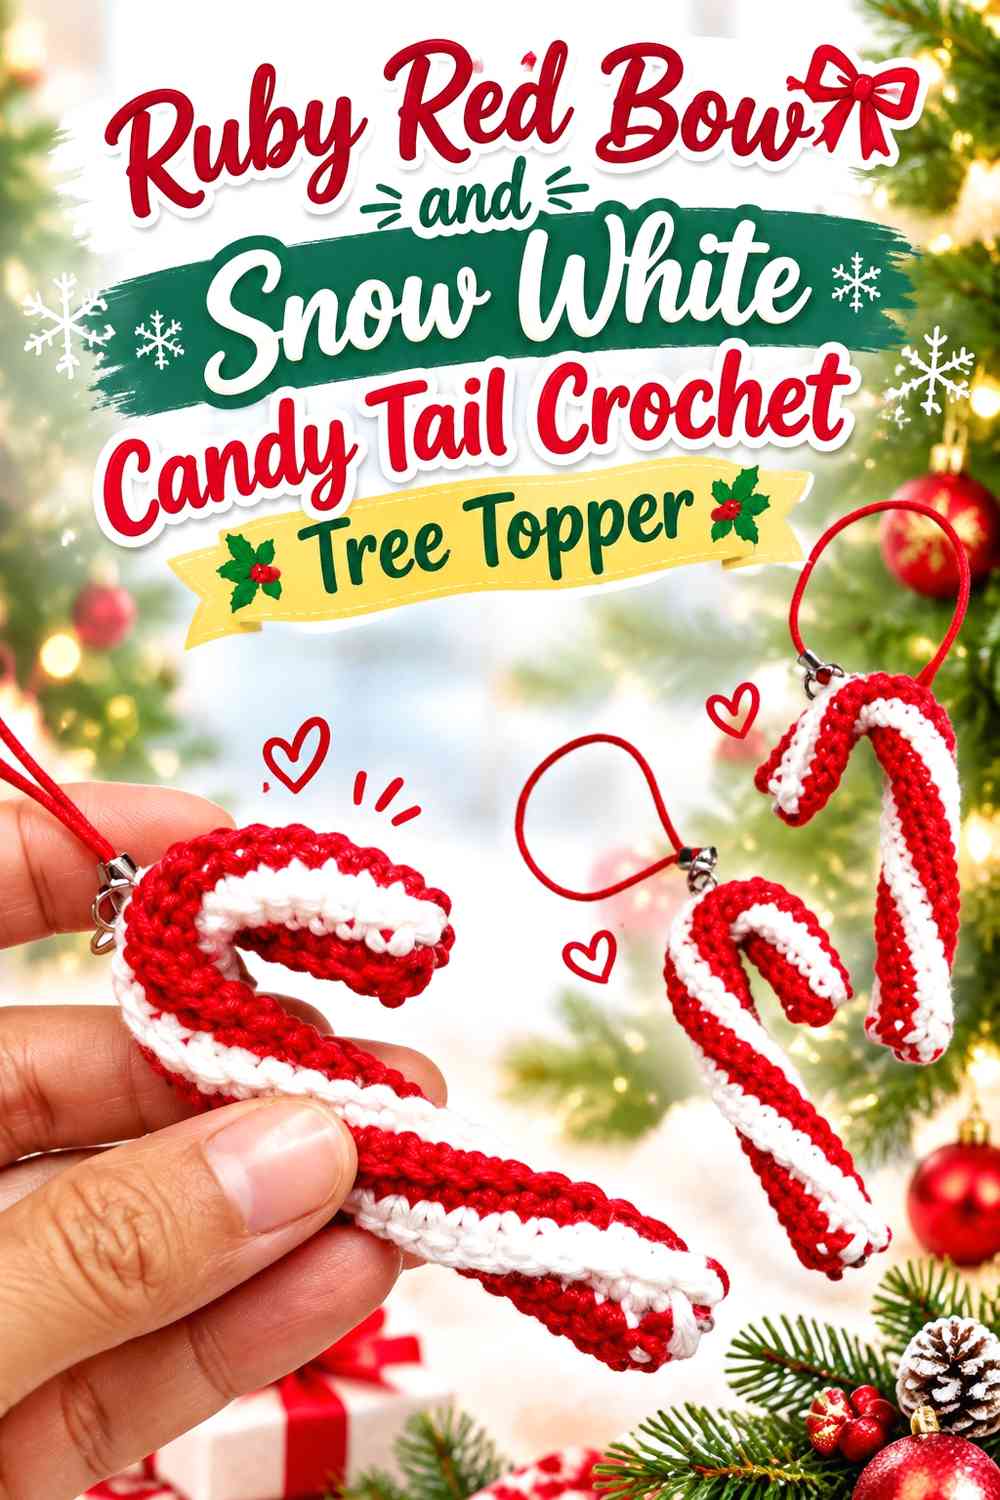
Use ruby red for the main bow loops and snow white for long ribbon-candy tails. This places the strongest color at the top while allowing the pale strands to travel downward through the tree.
Snow White Candy Tails Should Extend Clearly Below Ruby Red
Give the white tails enough visible length to feel like part of the topper rather than tiny bow ends. A gentle curl or fold can reinforce the candy-ribbon theme.
Keep the two tails related in visual weight even if their exact curves differ.
Ruby Red Bow Loops Need Enough Snow White Contrast
Do not fill the center with additional ruby-red details until the individual loops merge. A white center wrap or pale tail beginning can separate the darker folds.
The credited candy-cane tutorial can support the red-and-white holiday component; treat the bow construction as the editorial adaptation.
Creator Credit: Cennagurumi
5. Snow White Star With Ruby Red Curly Ribbon Crochet Tree Topper
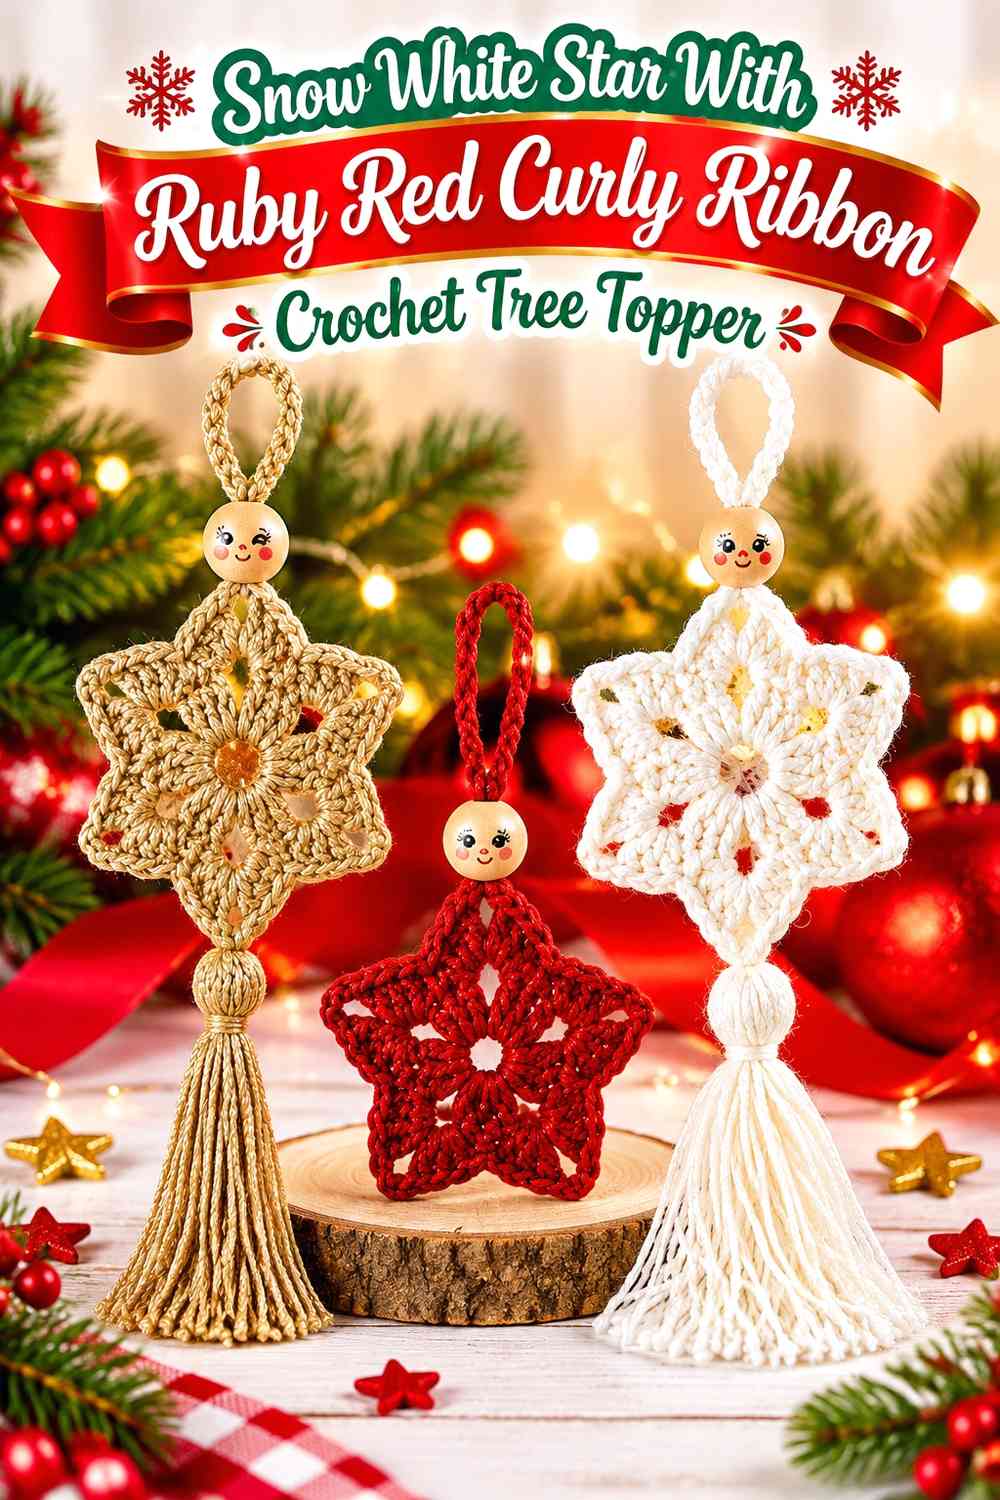
Make a snow-white star the stable visual center and add several ruby-red curled strands beneath it. The narrow red curls create movement without covering the star’s broad pale surface.
Ruby Red Curls Should Start Below the Snow White Star Points
Keep the curls away from the upper points so the star remains easy to identify. Let the red begin near the lower center or side points instead.
This creates a natural transition from compact topper to trailing ribbon.
Snow White Can Keep Ruby Red Curly Ribbons From Looking Heavy
A large pale star balances several narrow red strands more effectively than adding additional white curls everywhere.
The tutorial teaches a Christmas star ornament, which can support the star component; the ribbon cascade is planned separately.
Creator Credit: Crochet your life
6. Ruby Red Star With Snow White Ribbon-Candy Crochet Tree Topper
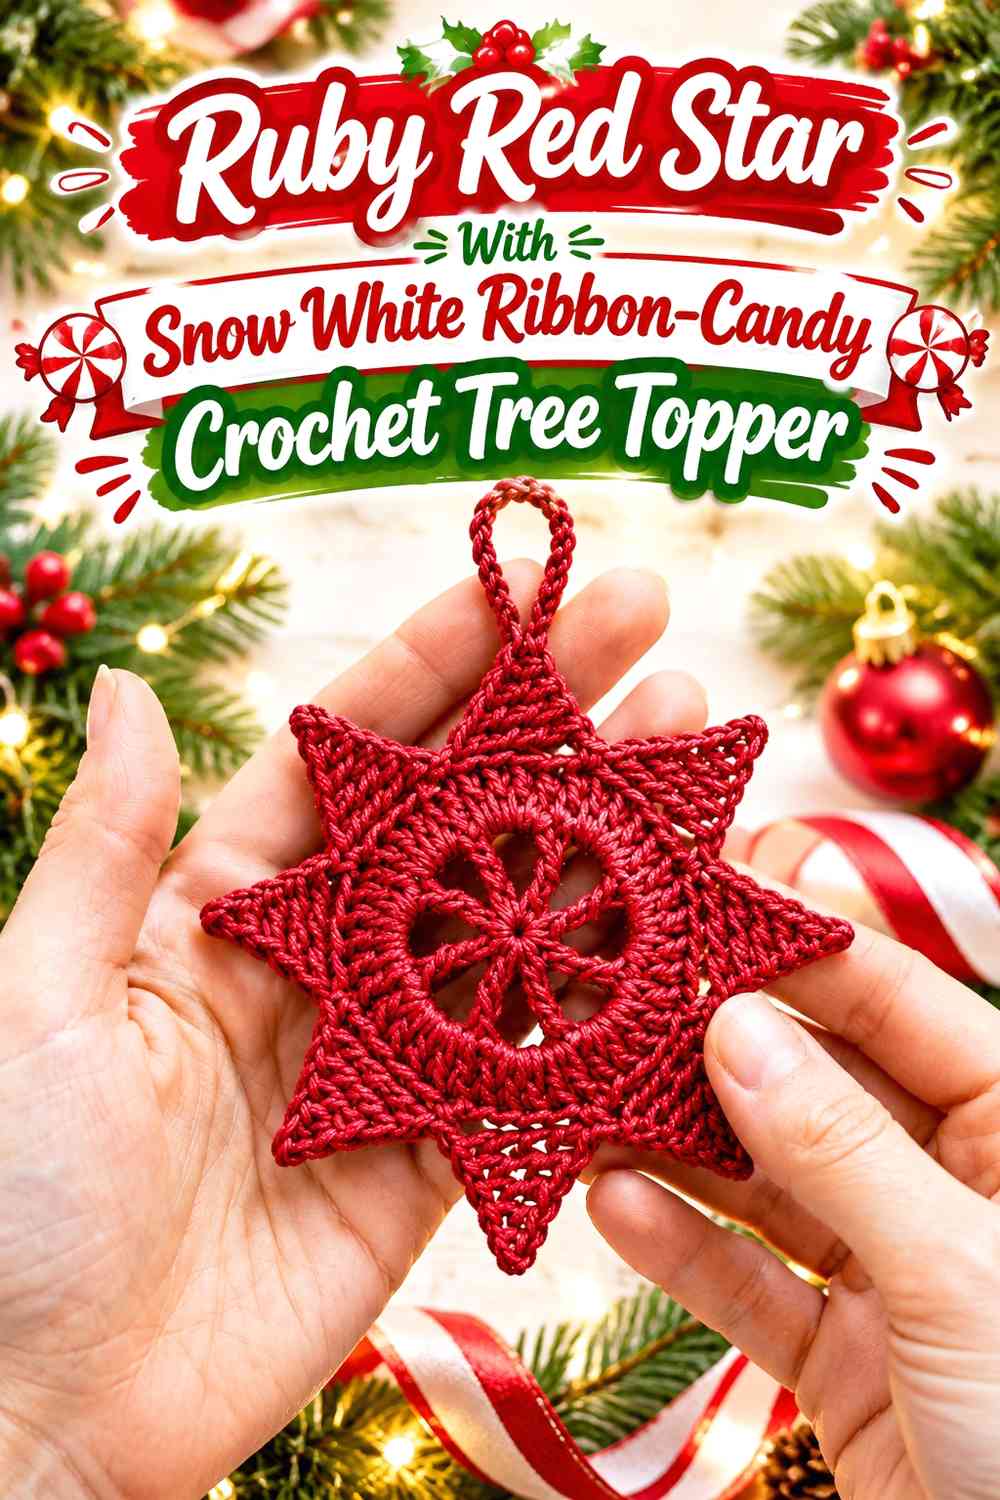
Reverse the first concept with a ruby-red star and snow-white folded ribbon around its lower edge. This makes the star the strongest color while the pale candy folds soften the transition into the tree.
Snow White Ribbon Should Stay Broad Beside the Ruby Red Star
Give the white folds enough width to be recognizable as ribbon rather than a narrow decorative border.
A few generous curves can create more contrast than many little white loops.
Ruby Red Should Remain Continuous Across the Snow White-Framed Star
Keep the star solid red instead of alternating white inside every point. The uninterrupted warm center makes the ribbon frame easier to understand.
The source supports a Christmas-star construction; apply the snow-white candy-ribbon frame independently.
Creator Credit: Serafima Crochet & Knitting
7. Snow White Candy Spiral With Ruby Red Edge Crochet Tree Topper
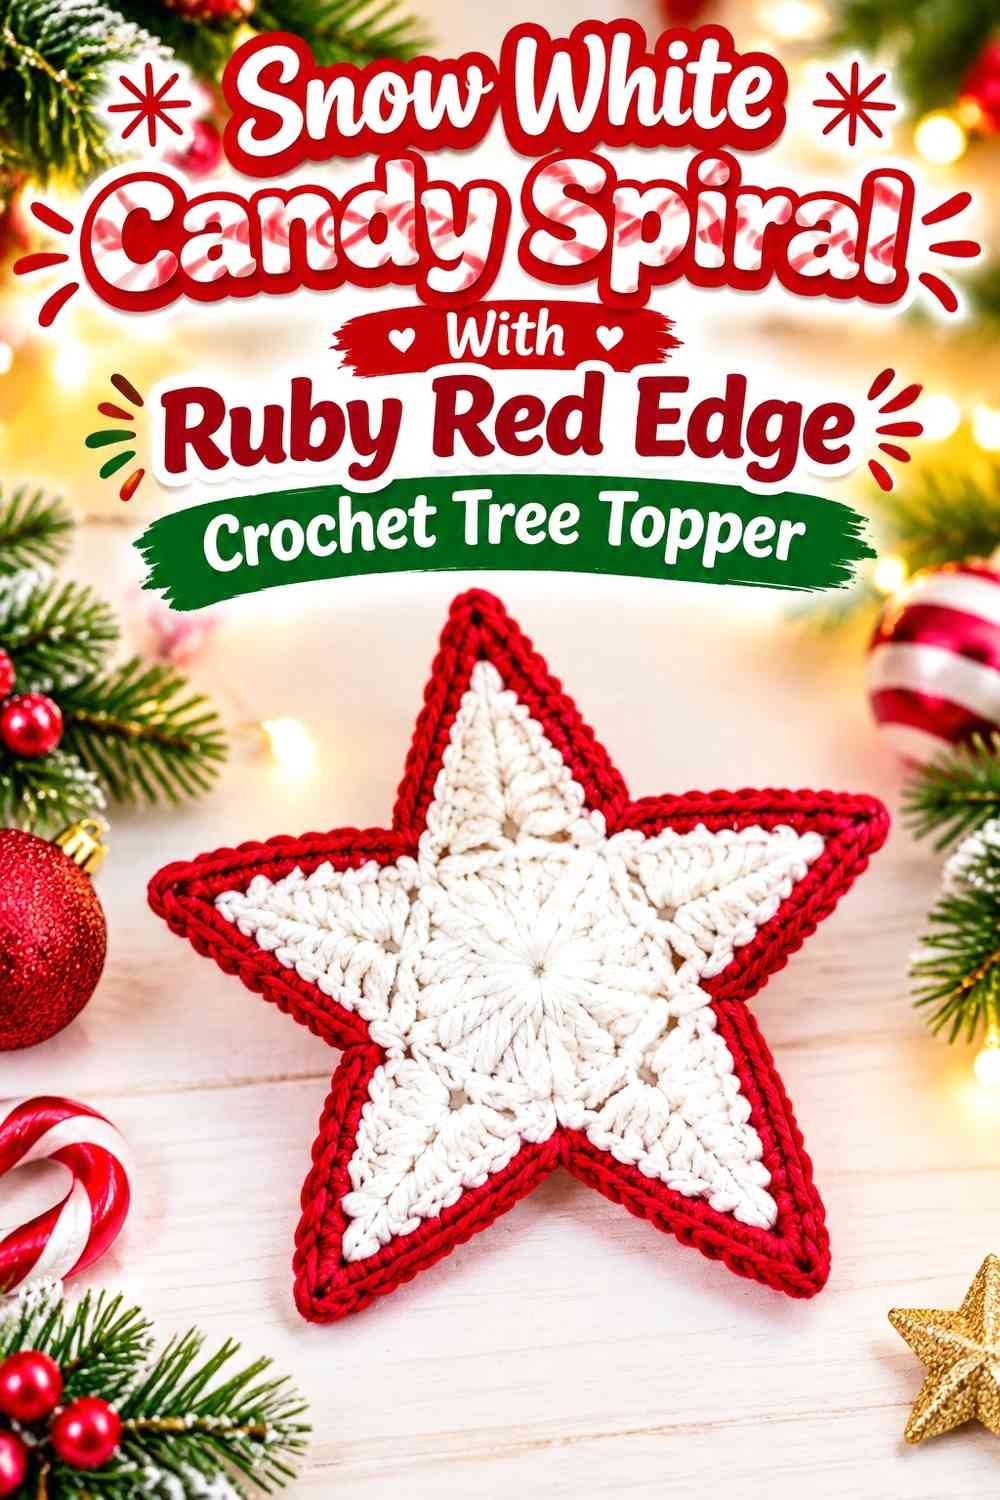
Use snow white for the main curling ribbon and add ruby red only along its outer edge or at selected turns. This creates a lighter topper where red functions as definition rather than the main surface.
Ruby Red Edging Should Follow the Snow White Spiral Continuously
Keep the red accent on one logical edge so it traces the curl. Random red inserts inside the white ribbon can make the spiral harder to follow.
A continuous edge also gives the topper a cleaner peppermint-candy outline.
Snow White Should Occupy More Surface Than Ruby Red
Leave most of the strip pale if you want this version to stay snow-white dominant. The narrow red line already becomes strong once it repeats through several curves.
The star tutorial can support a small topper focal point if you add one above the spiral.
Creator Credit: Hopeful Turns
8. Ruby Red and Snow White Layered Star Crochet Candy Ribbon Tree Topper
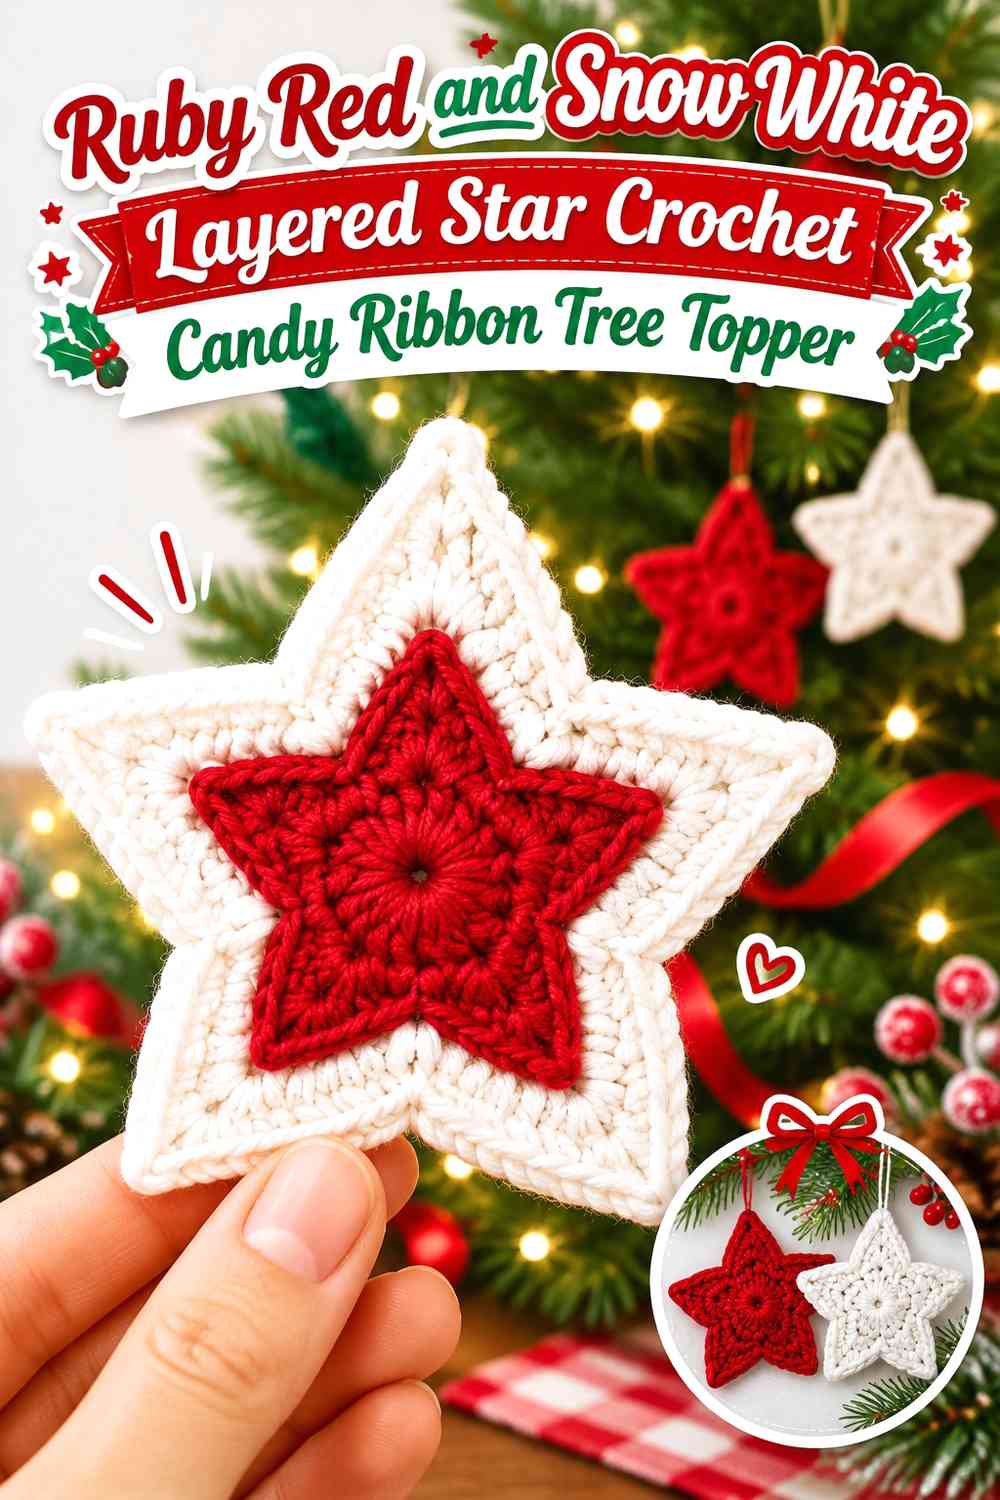
Layer a ruby-red star over a larger snow-white star, then add restrained ribbon loops beneath. The doubled star introduces depth without requiring the candy ribbon to carry every decorative detail.
Ruby Red Stars Need a Visible Snow White Border
Offset the red star enough for the white layer to remain visible around the points. If the stars align too closely, the pale backing can disappear.
The white border provides the strongest contrast at the top.
Snow White Ribbon Should Repeat the Layer Behind Ruby Red
Use white again in one ribbon tail or lower fold so the pale star layer is connected to the rest of the topper.
The credited source supports the star motif; the layered topper and ribbon assembly are editorial adaptations.
Creator Credit: Knit Crochet Patterns
9. Snow White Star With Ruby Red Candy-Cane Loop Crochet Tree Topper
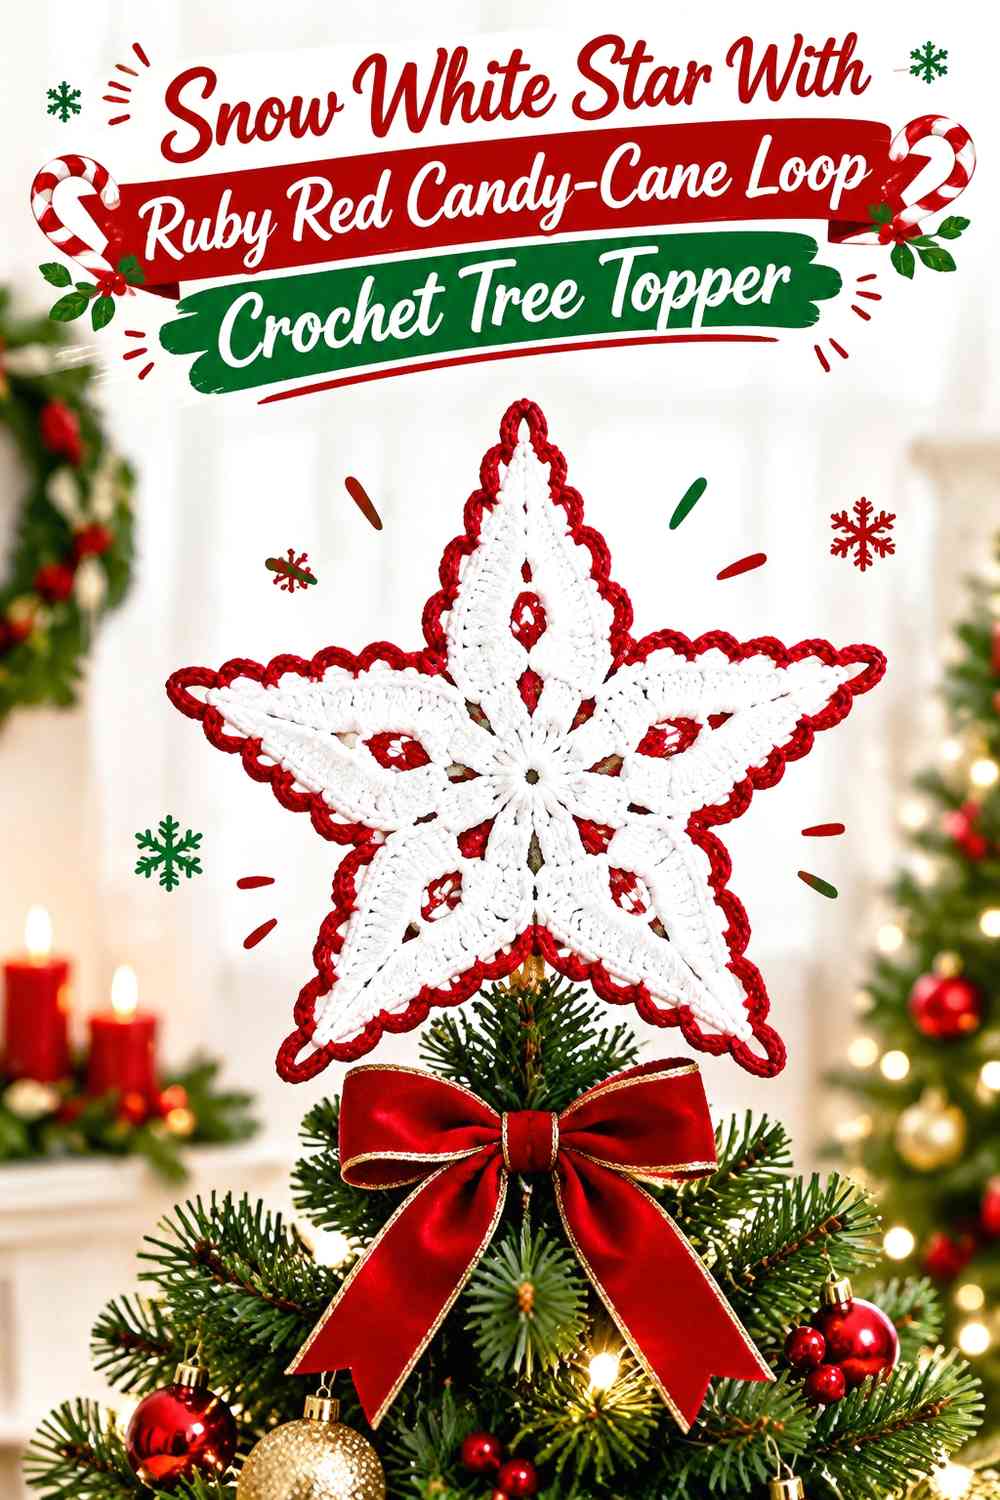
Use snow white for the main star and create two ruby-red candy-cane-inspired side loops that curve outward before returning toward the center. The result is wider than a straight spiral and can visually fill the space at the top of a fuller tree.
Ruby Red Side Loops Should Balance the Snow White Star
Place one loop on each side at comparable height so the topper does not appear heavier on one side. The curves can differ slightly while still forming a balanced pair.
Keep the middle open enough for the white star to remain visible.
Snow White Should Stay Central Between Ruby Red Loops
Do not extend red across the entire center simply to connect the side pieces. The pale central area is what separates the loops.
The star tutorial supports the focal motif; treat the candy-cane side loops as a separate styling adaptation.
Creator Credit: DIYmoda withEmíl
10. Ruby Red Ribbon Rosette With Snow White Star Crochet Tree Topper
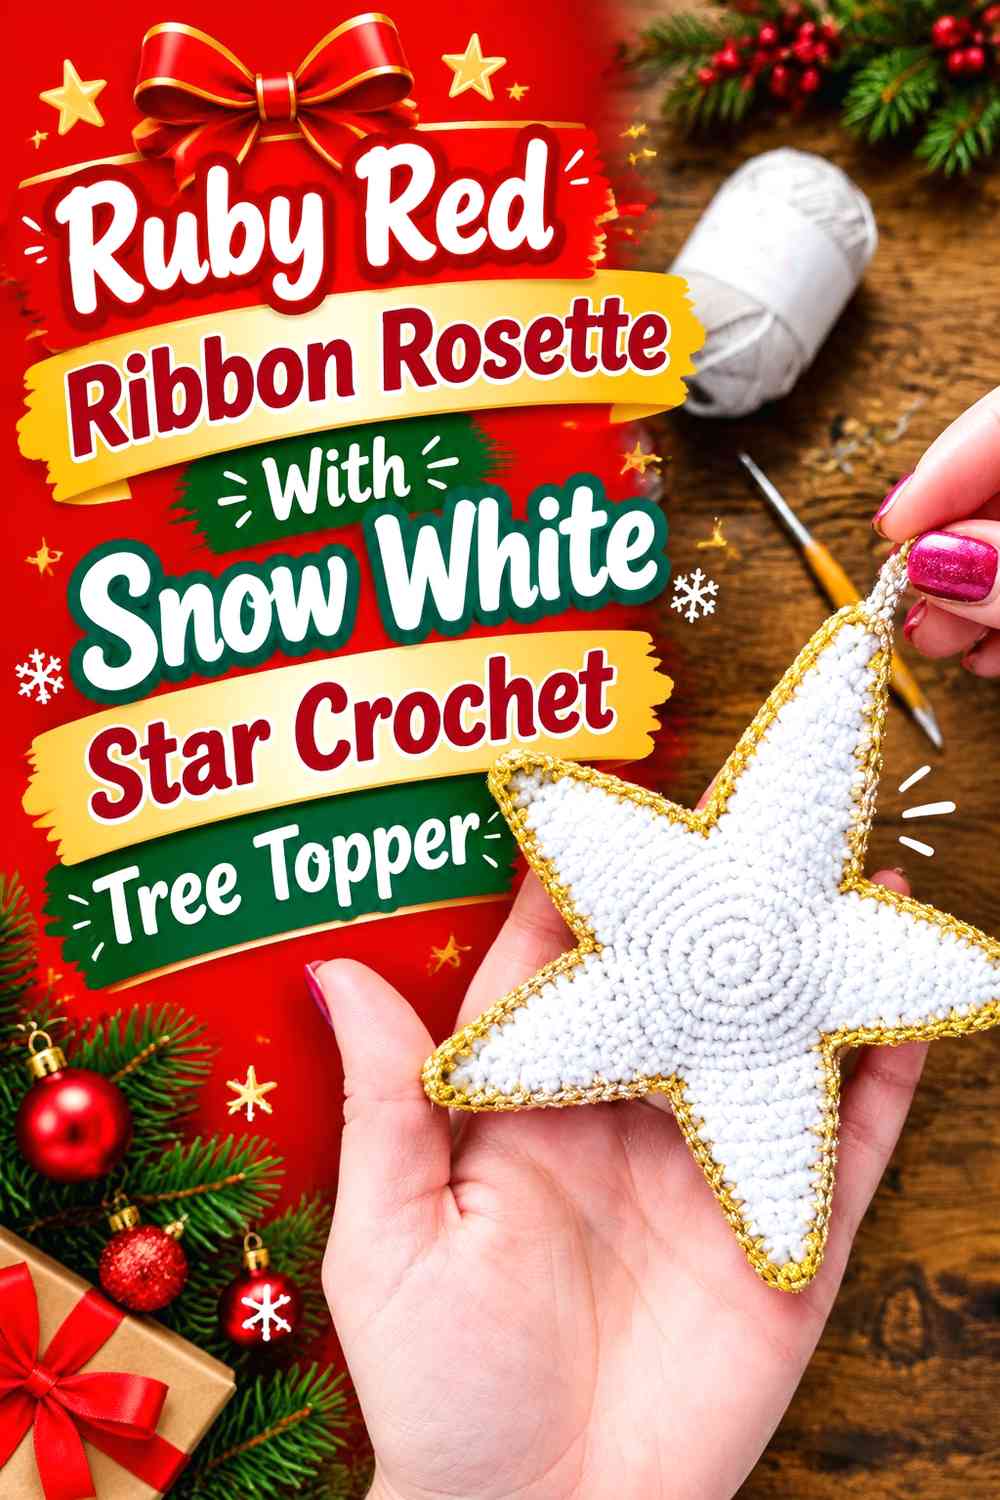
Form a compact ruby-red ribbon rosette and place a snow-white star at its center. This produces a rounder topper than a tall spiral and concentrates most of the visual weight close to the tree tip.
Snow White Stars Need Ruby Red Rosette Space Around the Points
Keep enough red visible between the star and the outside of the rosette for both shapes to be recognizable. A star that completely covers the folded ribbon defeats the layered effect.
Choose the center star as the pale focal point.
Ruby Red Rosettes Should Not Overwhelm Snow White
Limit extra red tails if the rosette already forms a substantial mass. One or two white or mixed tails can bring the palette downward without adding more dark volume.
The tutorial supports a dimensional star ornament; the rosette is the independent ribbon adaptation.
Creator Credit: Cilla Crochets
11. Snow White and Ruby Red Alternating Ribbon Cascade Crochet Tree Topper
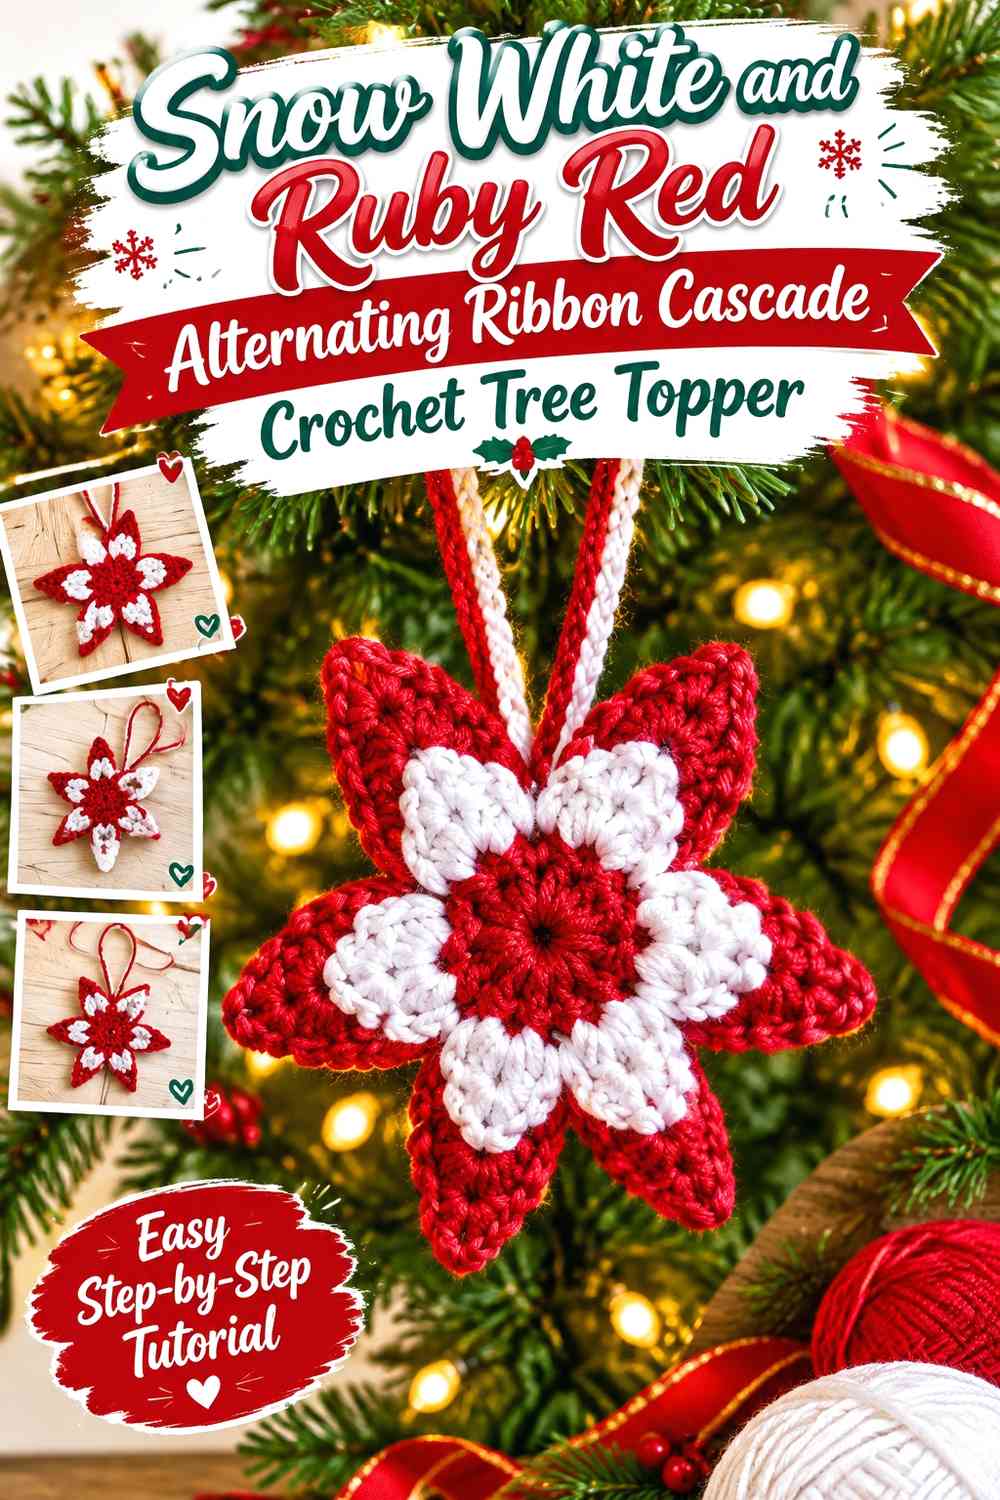
Create several ribbon strands that alternate entirely between snow white and ruby red. Instead of striping each strand, keep each one a single color and vary their lengths or curls.
Ruby Red Strands Need Snow White Strands Between Them
Separate adjacent red ribbons with white whenever possible so the darker sections remain individually visible.
This creates a cleaner cascade than grouping all ruby strands on one side.
Snow White Should Repeat From the Top Into the Ruby Red Cascade
Use a white top motif, bow center, or star so the pale strands below feel integrated rather than added afterward.
The star source can support the upper focal element; the alternating ribbon strands are your own topper layout.
Creator Credit: TLH Patterns
12. Ruby Red Starburst With Snow White Folded Candy Crochet Tree Topper
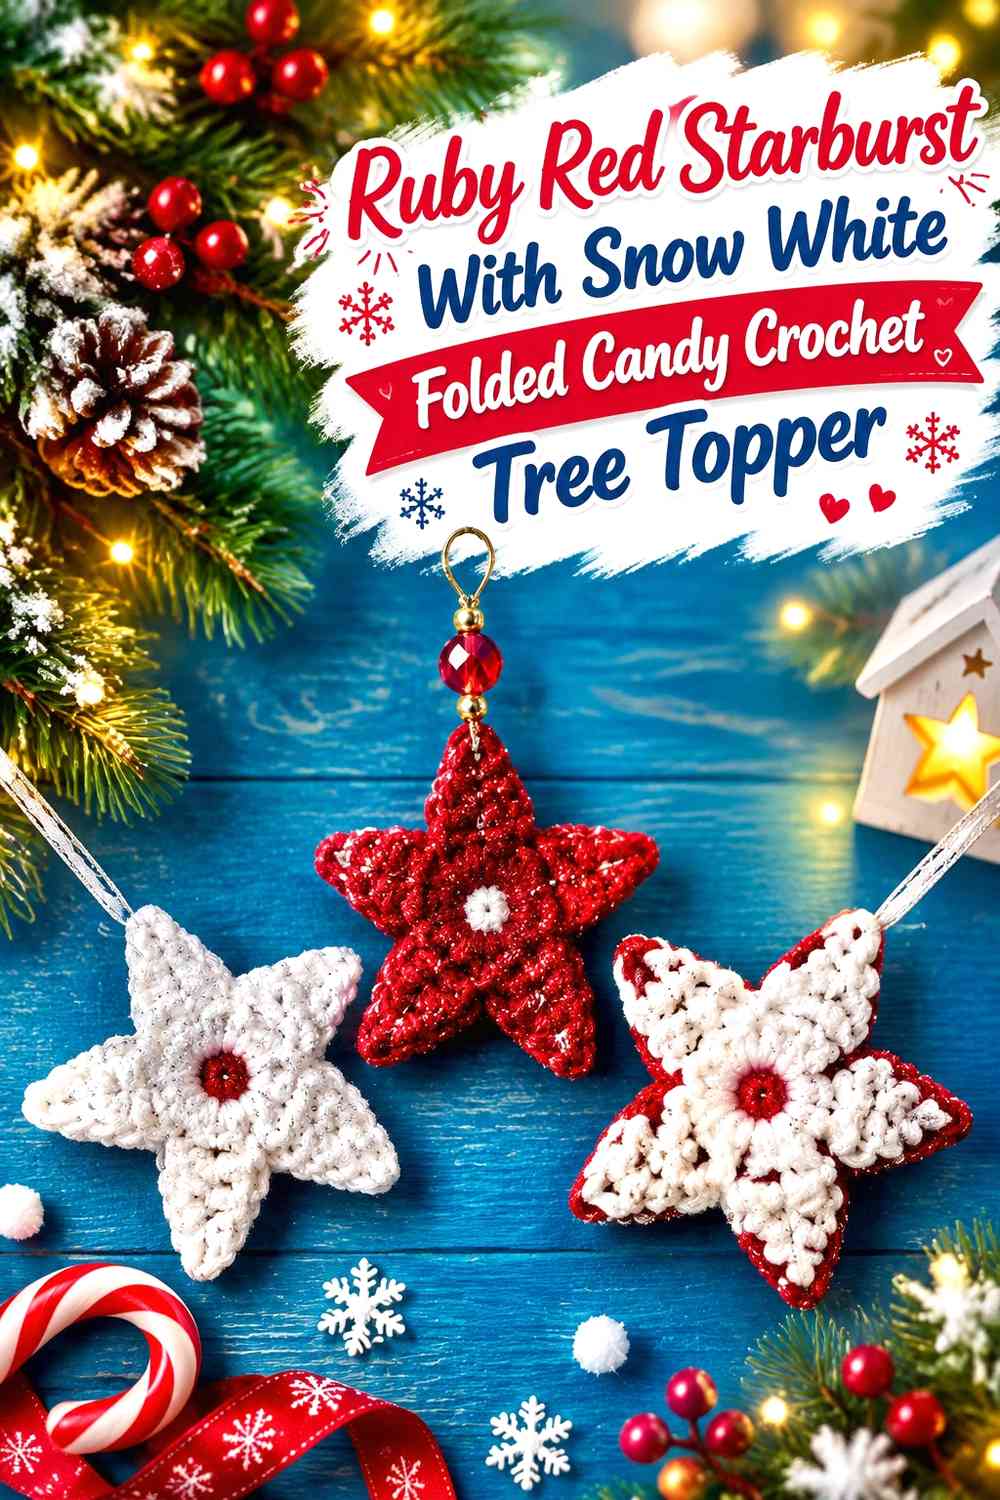
Use a ruby-red star as the upper focal point and place compact folded snow-white candy-ribbon sections between or beneath its lower points. The bright pale folds soften the sharper red shape.
Snow White Candy Folds Should Stay Smaller Than the Ruby Red Starburst
Keep the folded pieces subordinate so the star remains the recognizable top element. Large white loops extending beyond every point can hide the star’s outline.
Use them mainly in the lower half.
Ruby Red Should Repeat Below Snow White in Small Amounts
A narrow red tail or center connector can carry the star color downward without overwhelming the pale folds.
The source supports an ornament-scale star; the folded candy elements and topper attachment remain separate adaptations.
Creator Credit: Hectanooga1
13. Snow White Scalloped Ribbon With Ruby Red Star Crochet Tree Topper
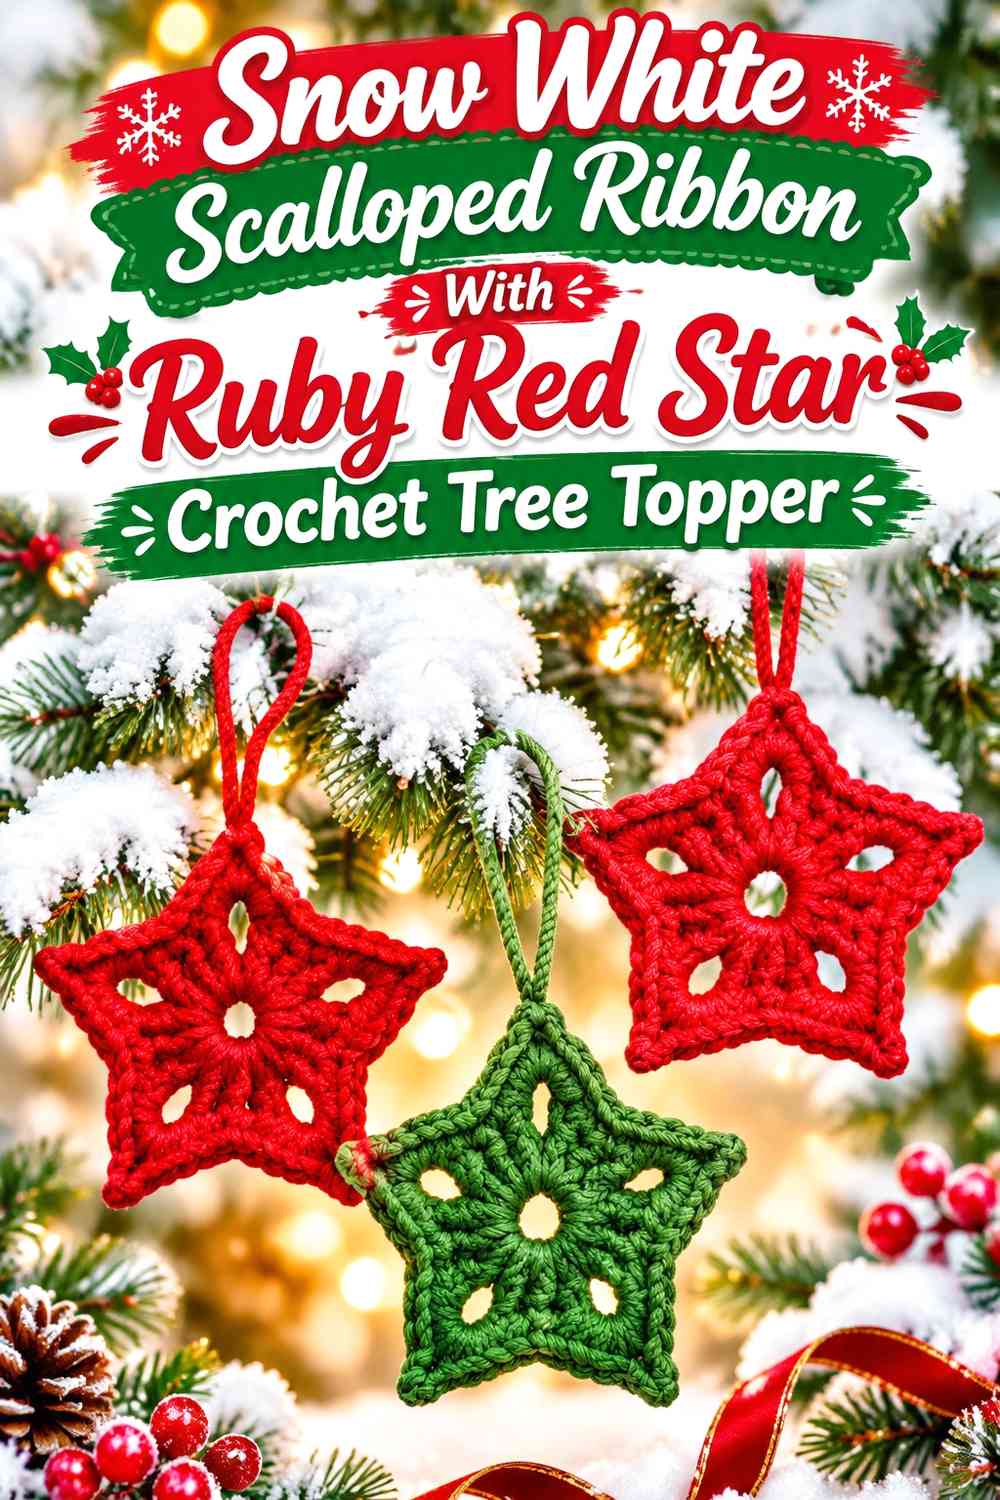
Make snow white the main ribbon and give its lower edges a soft scalloped appearance, then place a ruby-red star above it. The pale ribbon becomes decorative through shape rather than repeated color changes.
Ruby Red Stars Should Clearly Cap the Snow White Ribbon
Position the darker star at the highest point so it functions as the visual crown. Avoid placing another equally large red section lower down.
The single strong ruby focal point is enough to balance a broad white ribbon.
Snow White Scallops Need Space Beneath Ruby Red
Keep the pale lower edge visible rather than packing the folds tightly under the star. The open spacing makes each scallop easier to distinguish.
The tutorial supports the star component; shape the candy-ribbon portion independently.
Creator Credit: The Secret Yarnery
14. Ruby Red Candy Ribbon Crown With Snow White Crochet Star Points
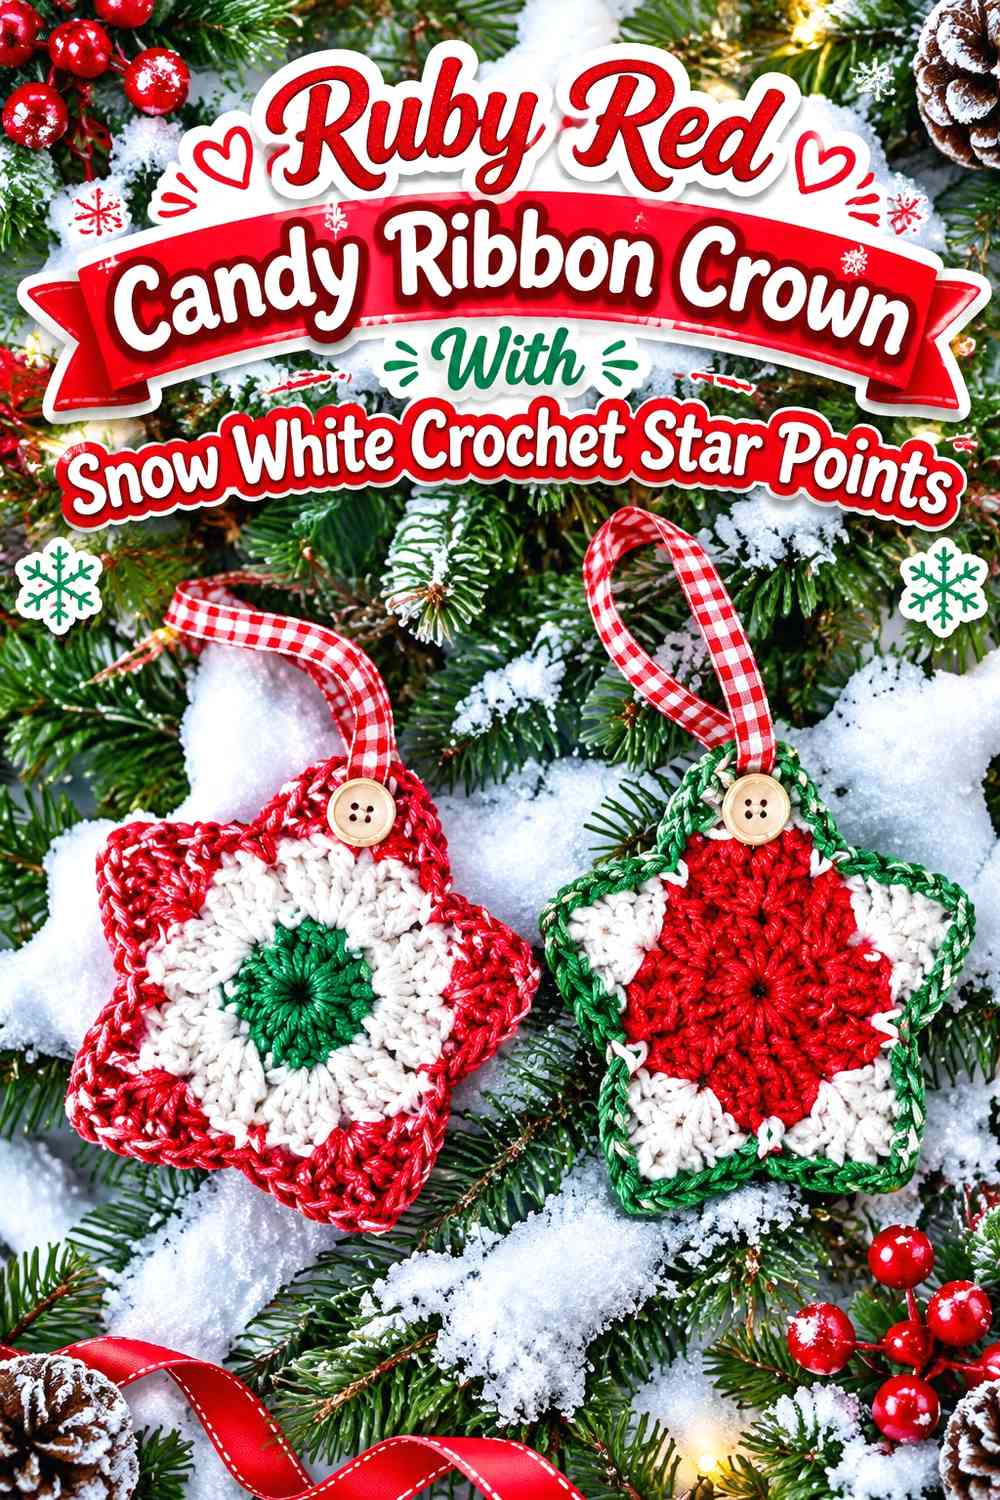
Use ruby red for a broad crown-like folded ribbon around the tree tip and place snow-white stars or pointed star details around its upper edge. This spreads the pale accents across the width instead of concentrating them in one center.
Snow White Star Points Should Repeat Evenly Around Ruby Red
Keep the white details at deliberate intervals so one side does not appear much lighter than the other.
A small number of clear white points generally reads better than a dense line of tiny motifs.
Ruby Red Should Stay Continuous Beneath Snow White Stars
Let the warm ribbon form one connected crown. Breaking it repeatedly with white bands can weaken the strong base that supports the star details.
The credited star tutorial can support the individual star components; the crown structure is an independent topper adaptation.
Creator Credit: Posh Pooch Designs
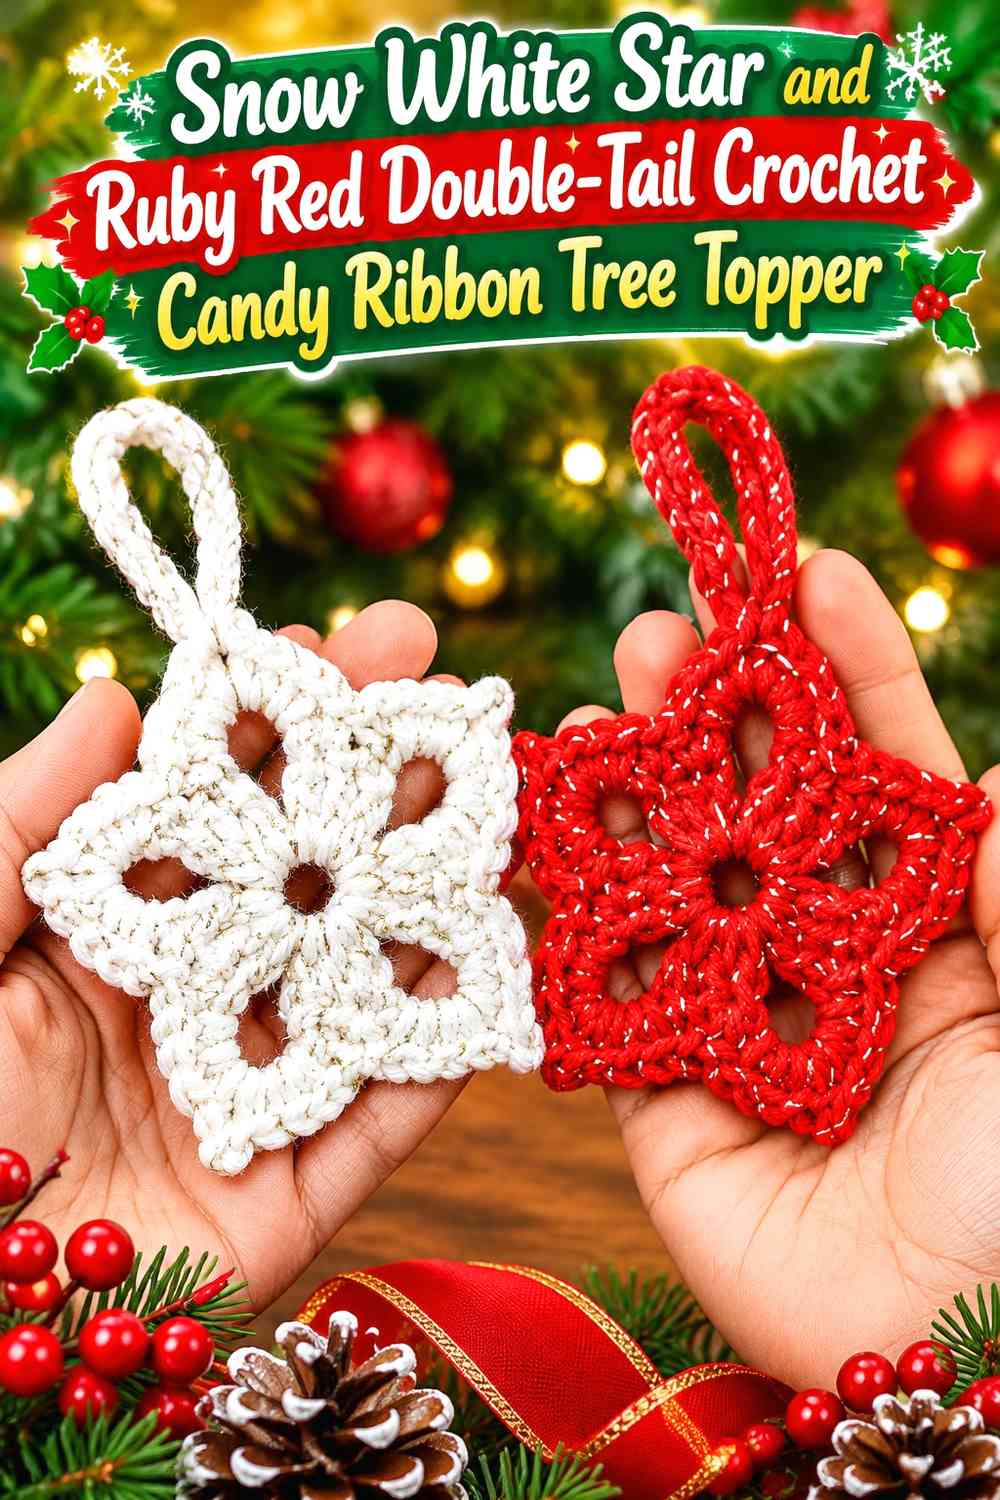
15. Snow White Star and Ruby Red Double-Tail Crochet Candy Ribbon Tree Topper
Use a snow-white star at the center and create two long ruby-red candy-ribbon tails that descend on either side. This gives the topper a more vertical composition without adding many separate components.
Ruby Red Double Tails Should Balance the Snow White Star
Start both tails from related positions and keep their visual weight comparable. Their curls do not need to be identical, but one should not be dramatically fuller than the other.
Leave the center below the star relatively open.
Snow White Should Repeat Between Ruby Red Tails
A narrow white center ribbon or lower white fold can keep the two red tails from reading as separate decorations.
The tutorial supports a Christmas-star motif; the paired candy tails are planned as the topper extension.
Creator Credit: Crochet Bits
16. Ruby Red and Snow White Mirrored Candy Ribbon Crochet Tree Topper
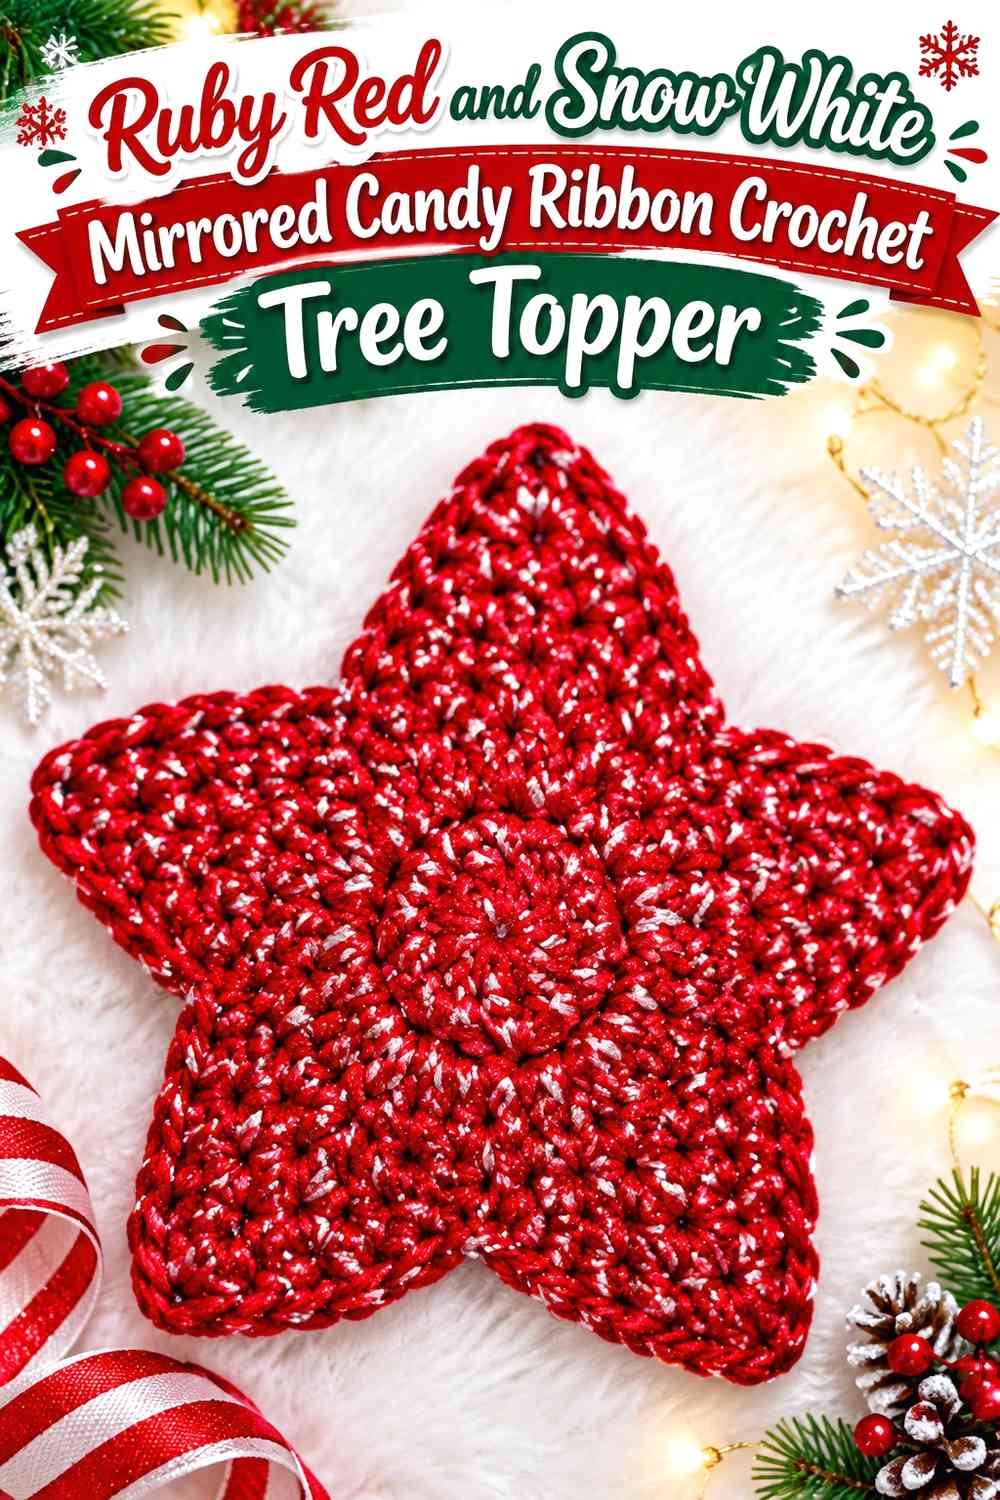
Create one ruby-red folded ribbon on the left and one snow-white folded ribbon on the right, then mirror their general shape. The strong two-part layout makes the color division itself the main feature.
Ruby Red Folds Should Mirror Snow White in Visual Weight
The two sides do not need identical stitch counts or exact curves, but they should occupy similar overall space so the topper does not look unintentionally lopsided.
Compare the folds while they are positioned at the same angle.
Snow White and Ruby Red Need a Shared Center
Use one star, knot, or small crossover area where the two ribbon halves meet. A shared center keeps the split palette cohesive.
The star tutorial can support that focal center; the mirrored ribbon structure remains your adaptation.
Creator Credit: Sunflower Cottage Crochet
17. Snow White Puff Star With Ruby Red Crochet Ribbon Border Tree Topper
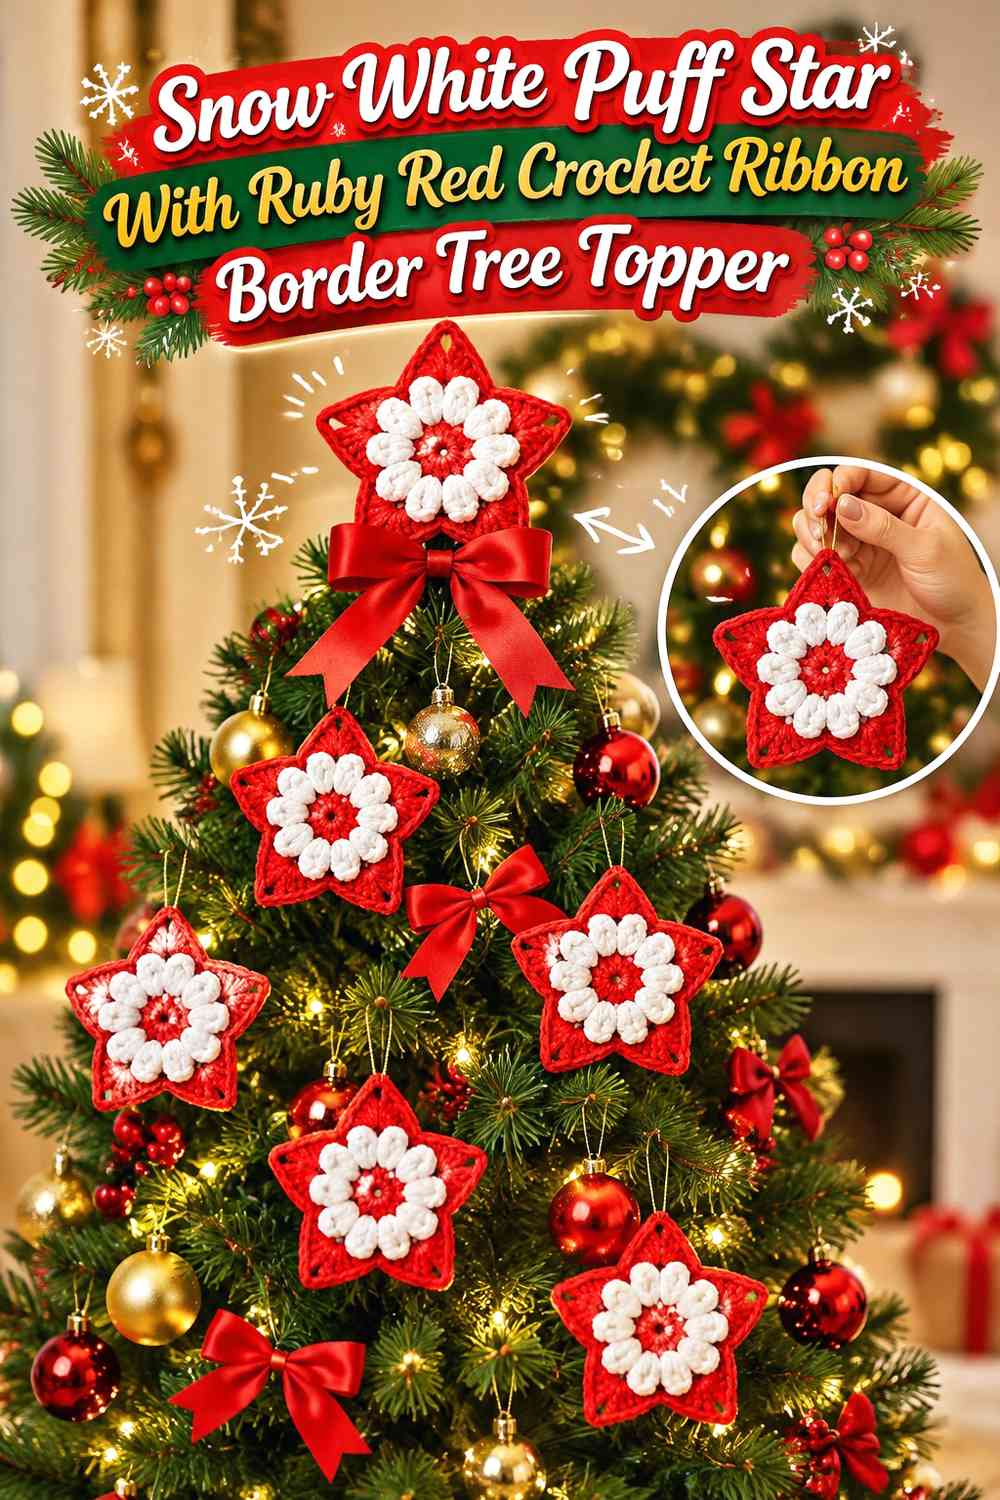
Make a textured snow-white star the center and use ruby red as an outer border or narrow candy-ribbon frame. The raised white surface already creates strong texture, so the red should be used sparingly.
Ruby Red Borders Should Clarify the Snow White Puff Star
Keep red at the outer edge or in one surrounding loop so the points remain visible. Avoid filling the white center with extra red details that compete with the puff texture.
A single border can provide enough Christmas contrast.
Snow White Texture Should Stay Dominant Over Ruby Red
Leave most of the star pale so stitch relief and color are not fighting for attention. Bring ruby red into one lower ribbon or bow tail if you need more repetition.
The tutorial demonstrates a white-centered, red-bordered Christmas star concept, making it especially useful for thinking about this color hierarchy.
Creator Credit: Samia Alexan Crochet
18. Two-Color Snow White and Ruby Red Crochet Candy Ribbon Tree Topper
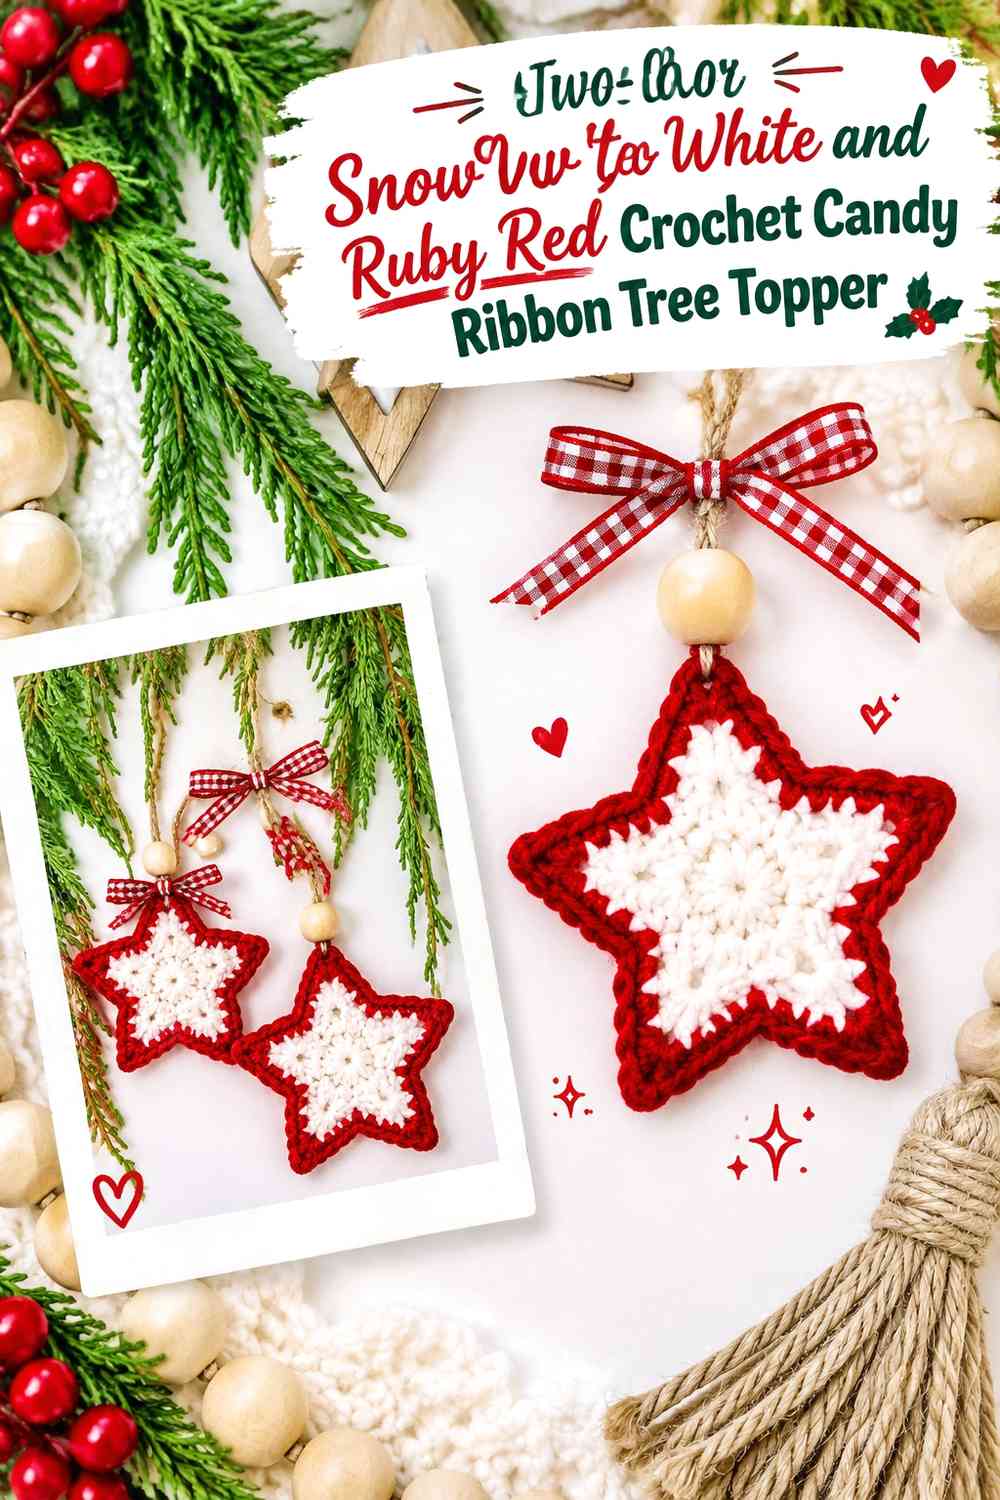
Use only snow white and ruby red across the entire topper, assigning one color to the largest star or crown shape and the other to the main ribbon folds. Repeat each shade in one smaller secondary area so neither color appears isolated.
Ruby Red Should Have a Clear Role Against Snow White
Choose whether ruby red controls the star, ribbon folds, borders, or trailing tails before assembling the topper. Giving red every possible role can quickly make snow white feel like a minor trim color.
A limited number of broad ruby sections creates stronger modern contrast.
Snow White Should Separate Ruby Red Candy Ribbon Areas
Use white between major red loops or as a central star so the warm folds do not merge into one dense shape.
Large pale sections generally provide more useful separation than small white stitches scattered throughout the red.
Ruby Red and Snow White Need a Full Tree-Top Layout Check
Arrange the star, folds, and tails vertically before securing the complete topper. Check that the highest shape remains recognizable, the ribbon does not hide the focal point, and both colors repeat from top to bottom.
The credited mini-star tutorial can support the star component; scale, support, candy-ribbon folds, and final topper assembly should be planned independently.
Creator Credit: MJ’s Off The Hook Designs
Which Snow White and Ruby Red Candy Ribbon Tree Topper Should You Choose?
For the clearest classic topper silhouette, choose the snow-white star with ruby-red ribbon loops, ruby-red star with white ribbon framing, or puff-star version. These keep one recognizable star at the top and use candy ribbon as supporting decoration.
For a stronger candy-shop effect, the peppermint folded ribbon, spiral ribbon, mirrored ribbon, and alternating cascade make the red-and-white folds the main visual feature.
If you prefer a wider statement topper, choose the ribbon rosette, candy-ribbon crown, or candy-cane side-loop version. The final strict two-color design gives you the most flexibility when you want to distribute snow white and ruby red across a star, bow, and trailing ribbon without adding green, gold, or metallic accents.
Conclusion
Snow white and ruby red are enough to create a Christmas candy ribbon tree topper with strong contrast and plenty of variation. Ruby red can supply bold folds, outlines, stars, or tails, while snow white separates those areas and keeps complicated curls from becoming visually dense.
The most effective designs usually make one shape primary. Let a star lead and use ribbon around it, or let a dramatic folded candy ribbon lead and reduce the star to a smaller accent. Giving every component equal size and color weight can make the topper harder to read.
Arrange all of the pieces together before final assembly and check the composition from several feet away. Use the dedicated topper tutorial for the topper construction it demonstrates and the other credited star, spiral, and candy tutorials only for the components they actually teach.
Frequently Asked Questions
Should Snow White or Ruby Red Dominate a Christmas Candy Ribbon Tree Topper?
Ruby red works well as a strong accent because it remains visually prominent even in smaller sections. Snow white can dominate the star or large ribbon areas when you want a lighter topper. Either hierarchy works as long as one color clearly leads.
How Can I Keep Ruby Red Candy Ribbon Visible Against Christmas Tree Branches?
Use snow white beside or around the red folds so their edges remain easy to follow. Broad alternating loops or white edging usually creates clearer separation than tiny color changes.
Should the Star Be Snow White or Ruby Red?
A snow-white star creates a bright focal point above ruby-red ribbon. A ruby-red star gives the topper a stronger warm center and works well with larger white folds underneath. Choose whichever color needs the strongest single area.
Can I Use Only Snow White and Ruby Red for the Entire Tree Topper?
Yes. Stars, spirals, bows, scallops, folded candy ribbons, and trailing tails provide enough shape variation without adding green, gold, or silver. Keep the two colors in clearly defined areas for the strongest result.
How Can I Make a Crochet Ribbon-Candy Topper Look Less Busy?
Reduce the number of folds or color changes. One star with two or three large ribbon loops is often clearer than many small curls, stripes, stars, and tails combined.
Can I Use a Crochet Candy Cane Tutorial for a Candy Ribbon Tree Topper?
Use it for color relationships, striped holiday-candy components, or individual curved details. A candy-cane ornament does not provide the complete structure of a tree topper, so the topper form and attachment need to be planned separately.
Can I Use a Crochet Star Ornament Tutorial for a Tree Topper?
A star ornament tutorial can support the focal star motif, but an ornament is not automatically a stable tree topper. Determine the final scale, support, and tree-top attachment separately unless the creator specifically demonstrates a topper.
Where Should Ruby Red and Snow White Ribbon Tails Sit on the Tree Topper?
Place them where they remain visible beneath the main star, bow, or crown rather than hiding behind it. Compare both sides before finishing so one tail does not create much more visual weight than the other.