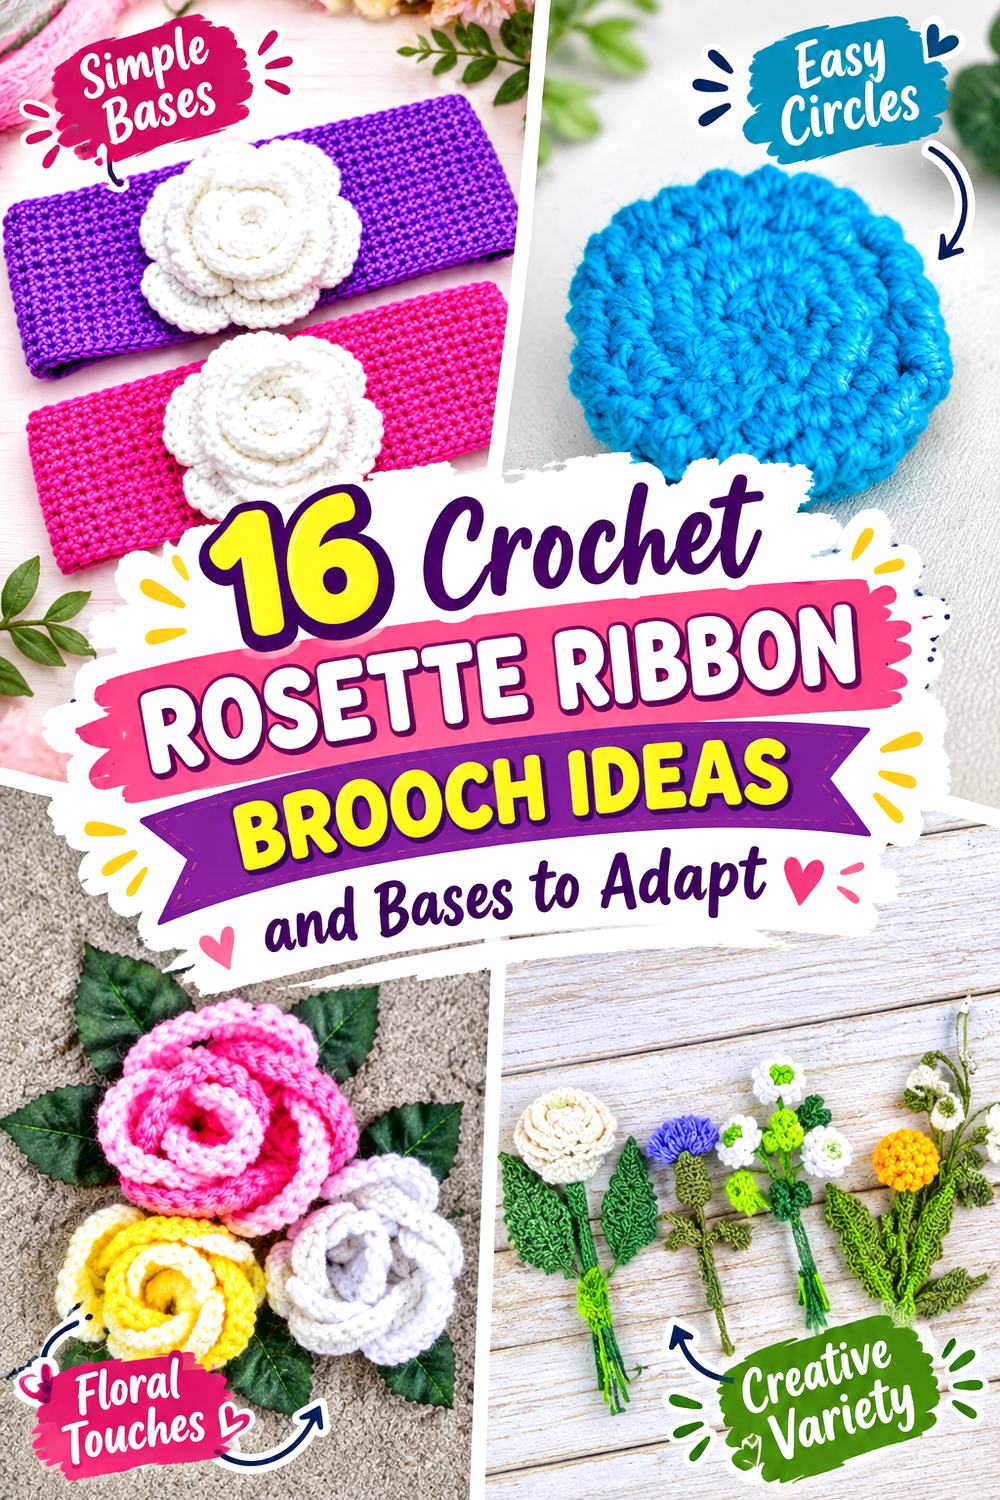

A crochet rosette ribbon brooch combines two strong shapes: a flower or circular rosette at the top and narrow ribbon-like tails beneath it. The finished piece can lean toward a traditional award badge, a soft floral corsage, or a decorative pin, depending on how dimensional the center is and how the tails are arranged.
The tutorials in this collection do not all teach the identical finished badge. Several teach complete rose brooches or pins, while others teach a suitable rose, rosette, or floral appliqué that can become the center of a ribbon-tail brooch. Those adaptations are identified clearly rather than being presented as features from the original tutorials.
That variety is useful: you can compare compact versus layered flowers, symmetrical versus clustered centers, flat-backed versus strongly dimensional forms, and conventional petals versus more geometric constructions before deciding how much visual weight the trailing ribbons should carry.
Quick List
- Crochet Classic Rose Ribbon-Tail Brooch
- Crochet Sculpted Rose Double-Tail Brooch
- Crochet Rose Garden Rosette Ribbon Brooch
- Crochet Two-Size Shawl-Pin Rosette Brooch
- Crochet Layered Flower Award-Style Brooch
- Crochet Mini Bouquet Ribbon-Wrap Brooch
- Crochet Flat-Back Rose Ribbon Brooch
- Crochet Rose-and-Leaf Rosette Ribbon Brooch
- Crochet Simple Rolled-Rose Fishtail Brooch
- Crochet Leafed Rose Loop-Ribbon Brooch
- Crochet Long-Strip Rosette Ribbon Brooch
- Crochet Tunisian Rose Rosette Ribbon Brooch
- Crochet Layered-Petal Ribbon Badge Brooch
- Crochet Interlocking-Ring Rosette Ribbon Brooch
- Crochet Layered Appliqué Ribbon Rosette Brooch
- Crochet Beginner Rosette Double-Ribbon Brooch
Choose the Rosette Profile Before Adding Tails
The center determines how the whole brooch reads. A relatively flat appliqué lends itself to the recognizable outline of a prize rosette because the tails can emerge cleanly from behind without competing with a tall flower. Rolled roses and densely layered flowers create more depth, so their ribbon elements usually work better as supporting details rather than equally prominent features.
Look at the flower from the side as well as the front before planning the backing. A broad, stable center gives you more room to position both the tails and pin hardware. A smaller base beneath large outer petals may require a separate backing layer so that attachments do not depend on flexible petal edges.
For an award-style result, treat the tails as part of the silhouette from the beginning. Their width, spacing, angle, and visible length should relate to the rosette rather than being added as an afterthought.
Plan the Back of the Brooch as Carefully as the Front
A rosette can look balanced on a table yet tilt once it is worn. Before permanently joining the flower, tails, backing, and pin, arrange the pieces in their intended orientation and hold the assembly against fabric similar to the eventual wearing surface. This helps reveal whether a flower is visually top-heavy or whether one tail dominates the other.
When adapting a flower-only tutorial, attach the proposed ribbon-like crochet strips or other tails to a stable area behind the flower rather than relying on soft outer petals. Then decide how much of the backing you want hidden. A compact backing preserves the floral outline; a broader backing can help organize several separate elements.
Also consider the garment. A thick, dimensional floral brooch may behave differently on a coat or substantial wrap than on a very light fabric, so the intended placement can influence which rosette base makes the most sense.
Crochet Classic Rose Ribbon Tail Brooch
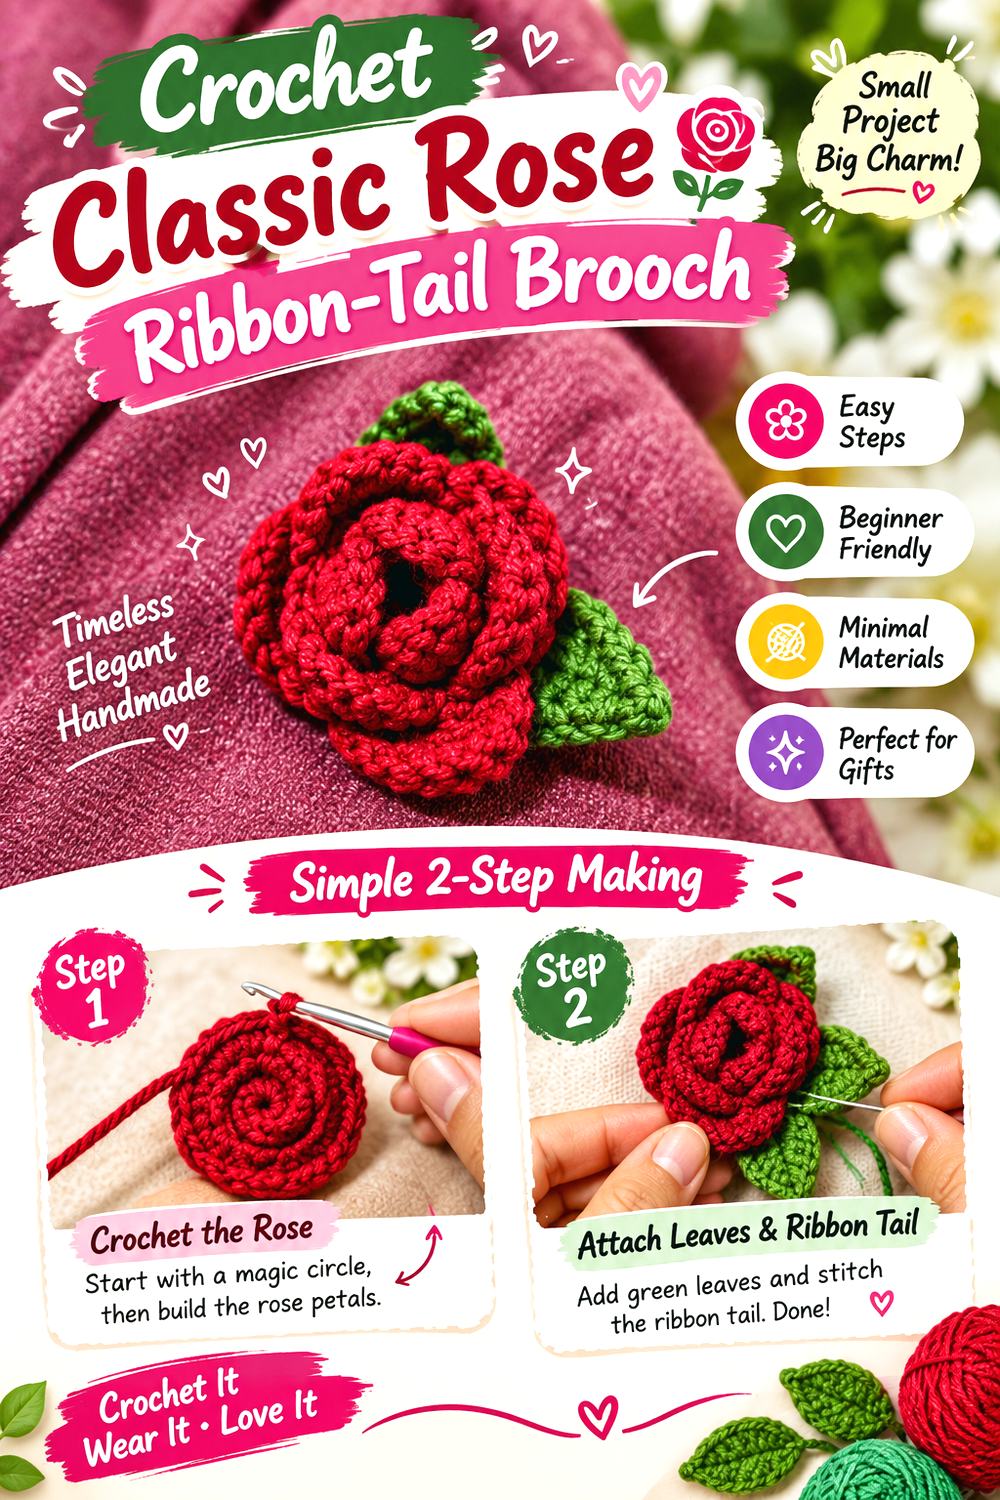
This version starts with a recognizable rose rather than a perfectly circular badge center. The curled floral form gives the brooch a softer outline, while two narrow tails behind it can supply the unmistakable rosette-ribbon silhouette. It suits a design where you want the flower to remain the main attraction rather than disappearing into several concentric badge layers.
Let’s Yarn Over Over teaches the rose specifically as a brooch, so the removable-accessory concept is already part of the source project. The ribbon-like tails are the additional idea here, not something to assume appears in the tutorial.
Keep those added tails visually quieter than the rose. If they are as broad or textured as the bloom, the eye can struggle to identify a clear focal point. Two simple strips, aligned just far enough apart to remain individually visible beneath the flower, preserve the classic award-ribbon reference without changing the character of the original brooch.
Let the Rose Break the Perfect Circle
An award rosette is often strongly symmetrical, but a rose does not need to be. Its curled petals naturally create uneven movement around the edge. Rather than trying to force that outline into a rigid circle, use the tails to establish the vertical direction of the finished brooch.
That contrast can be useful: the flower supplies organic movement while the paired tails make the overall piece feel deliberately oriented.
Decide Where the Tails Begin
If the tails begin too far below the rose, an empty gap can divide the design into unrelated sections. If they extend too high behind the bloom, their upper edges may become visible between petals.
Arrange the completed rose over loose paper or yarn-strip mockups first. That quick comparison lets you decide how much overlap looks intentional before making the final crochet tails.
Creator: Let’s Yarn Over Over
Crochet Sculpted Rose Double Tail Brooch
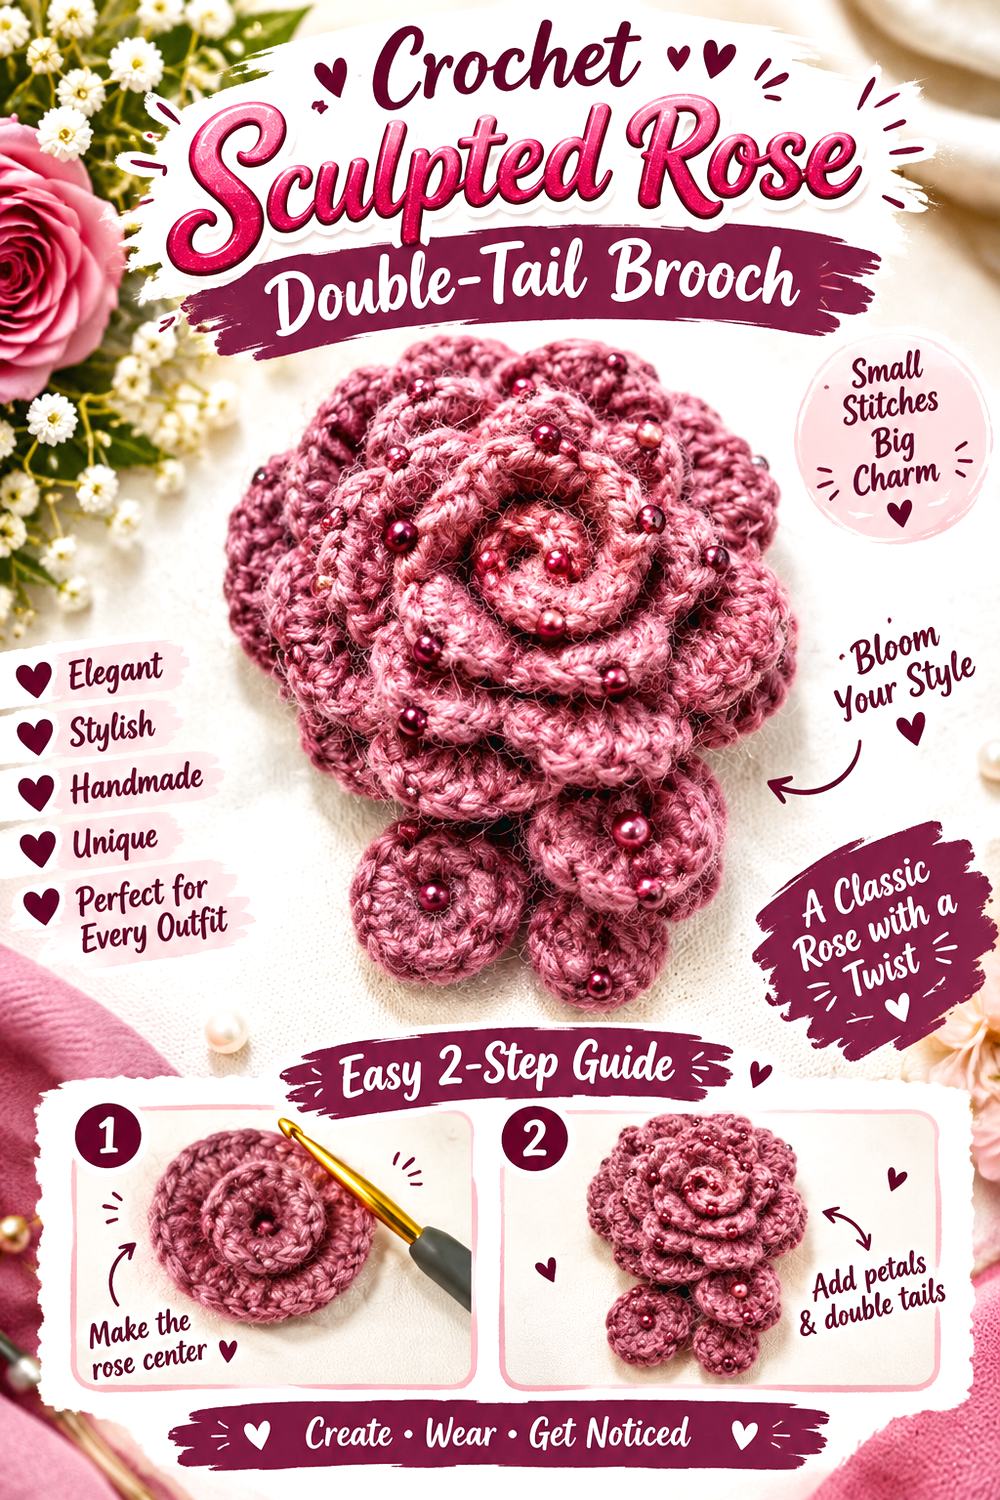
For a more dimensional interpretation, use a sculpted rose as the entire top section and allow a pair of streamlined tails to descend behind it. This approach reads less like a flat prize badge and more like a floral lapel pin that borrows the long silhouette of a ribbon rosette.
The tutorial from szydełko demonstrates a crochet rose intended for use as a brooch or pin, as well as an embellishment on other accessories. It therefore supplies the wearable flower itself; the paired award-style tails are a proposed addition.
Because the rose has its own depth, avoid putting equally dimensional decoration immediately behind it. A flatter tail treatment gives the petals room to remain legible. This is also a good candidate for a relatively narrow overall outline: instead of trying to build a wide circular backing around the rose, let the bloom establish the width and use the tails to provide length.
Use Tail Spacing to Control Formality
Two close, parallel tails create a neat, medal-like impression. Opening them into a shallow V makes the accessory look more relaxed and increases the visible space beneath the rose.
Neither arrangement requires changing the flower. Experiment with the angle separately, because this is one of the easiest ways to alter the character of the final brooch without interfering with the source construction.
Check the Side View
A dimensional rose can project farther from the garment than a flat badge. Once tails and a backing are added, check the assembled concept from the side instead of judging it solely face-up on a table.
The goal is not necessarily to flatten the flower. It is to make sure the added layers sit behind its stable base rather than pushing individual petals forward unevenly.
Creator: szydełko
Crochet Rose Garden Rosette Ribbon Brooch
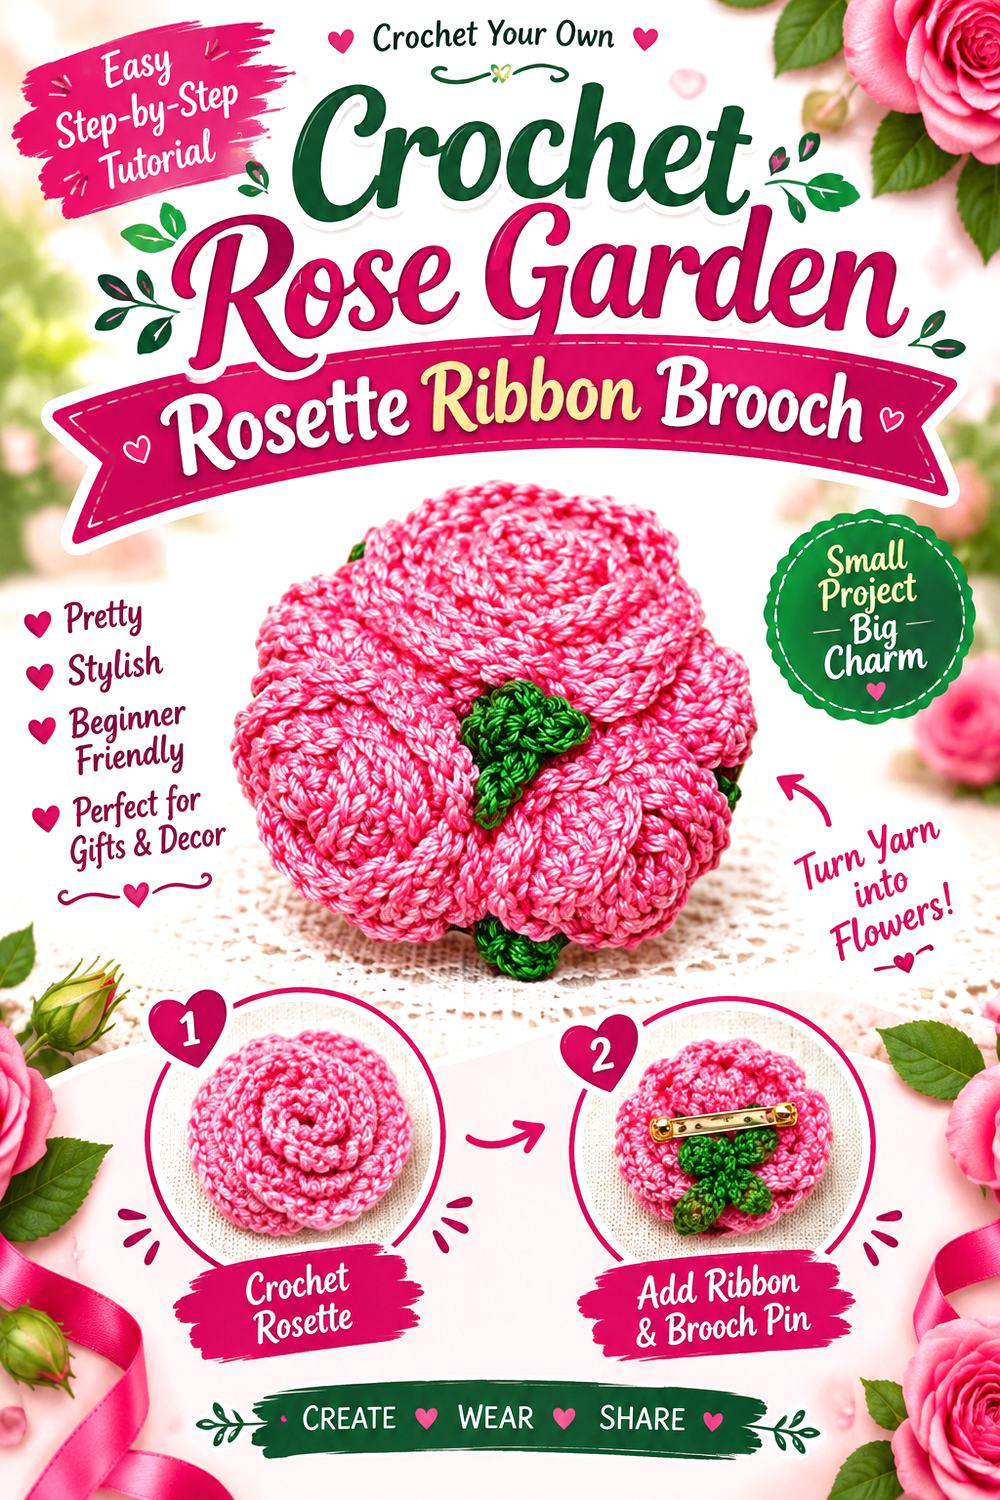
Instead of one central bloom, this idea uses a miniature collection of roses as the upper portion of the brooch. The effect is closer to a small floral corsage than a conventional circular medal, which makes it one of the most distinctive ways to interpret the rosette-ribbon theme.
The Crochet Circle teaches a rose-garden brooch made from five flowers in several sizes. The starting video is part one of a two-part project; it covers the roses, while the broader project continues with the remaining brooch elements and finishing. The tutorial therefore already supports a clustered brooch, while the ribbon tails described here are an additional adaptation.
A clustered top does not need an extra decorative ring around it. The overlapping flowers already provide enough visual information. Instead, let two comparatively simple tails extend from the lower edge so they frame the bouquet without competing with its irregular outline.
Establish a Clear Top and Bottom
A round single rose can rotate without looking obviously wrong. A cluster has a more specific composition, especially once it is paired with ribbon tails.
Arrange the completed floral group with the proposed tails before attaching the pin. Decide which flowers belong visually at the top and which should lead into the lower ribbons. That orientation makes the brooch look planned rather than like a corsage with strips attached afterward.
Give the Cluster Some Breathing Room
Several flowers already create overlapping edges, shadows, and changes in scale. Highly textured tails can add another layer of visual competition.
Try treating the ribbons as negative-space organizers instead. Their cleaner lines can lead the eye away from the dense floral center and make the shape easier to read from a normal viewing distance.
Creator: The Crochet Circle
Crochet Two Size Shawl Pin Rosette Brooch
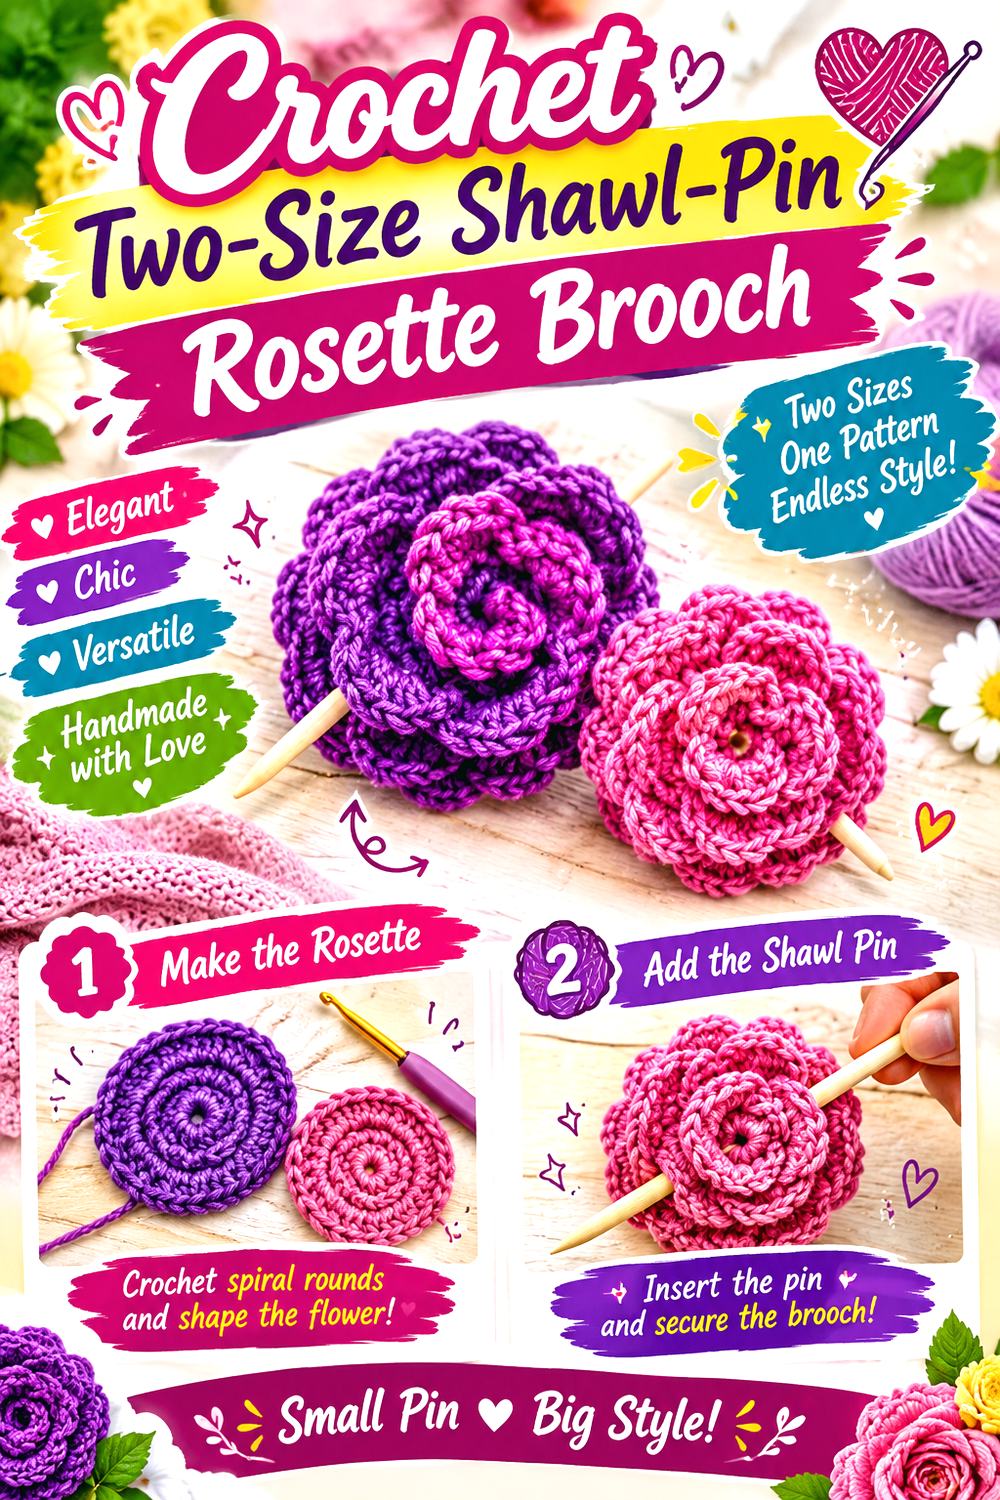
A rose designed as a shawl pin offers a useful starting point when you want a removable rosette rather than a motif that must be sewn permanently to clothing. Light and Joy Designs presents the rose shawl pin in two size options, giving the source project an immediate scale choice before any ribbon adaptation is considered.
For the rosette-ribbon version, the rose can sit over two tails that remain detachable with the pin. The smaller flower concept suits a restrained lapel-style accessory, while a more substantial rose can carry wider or more visible tails without the lower section overwhelming the center.
This version is particularly useful when you are unsure how large an award-style brooch should feel on the intended garment. Instead of deciding from an isolated measurement, compare the rose visually against the actual scarf, wrap, jacket, or cardigan where you expect to wear it.
Scale the Tails to the Flower You Choose
Changing the central rose while leaving identical tails can alter the balance dramatically. Narrow strips may vanish beneath a larger flower, while broad ones can make a smaller center look undersized.
Treat flower and tails as one composition. Once the rose is finished, use temporary strips to compare proportions before committing to the final ribbon-like crochet pieces.
Preserve the Removable-Pin Advantage
One benefit of the source concept is that the rose functions as a removable accessory rather than a permanent appliqué. An adaptation can preserve that flexibility.
Instead of sewing the added tails directly to a garment, integrate them into the brooch backing. The whole rosette then moves as one accessory, letting you reposition it without leaving the decorative lower section behind.
Creator: Light and Joy Designs
Crochet Layered Flower Award Style Brooch
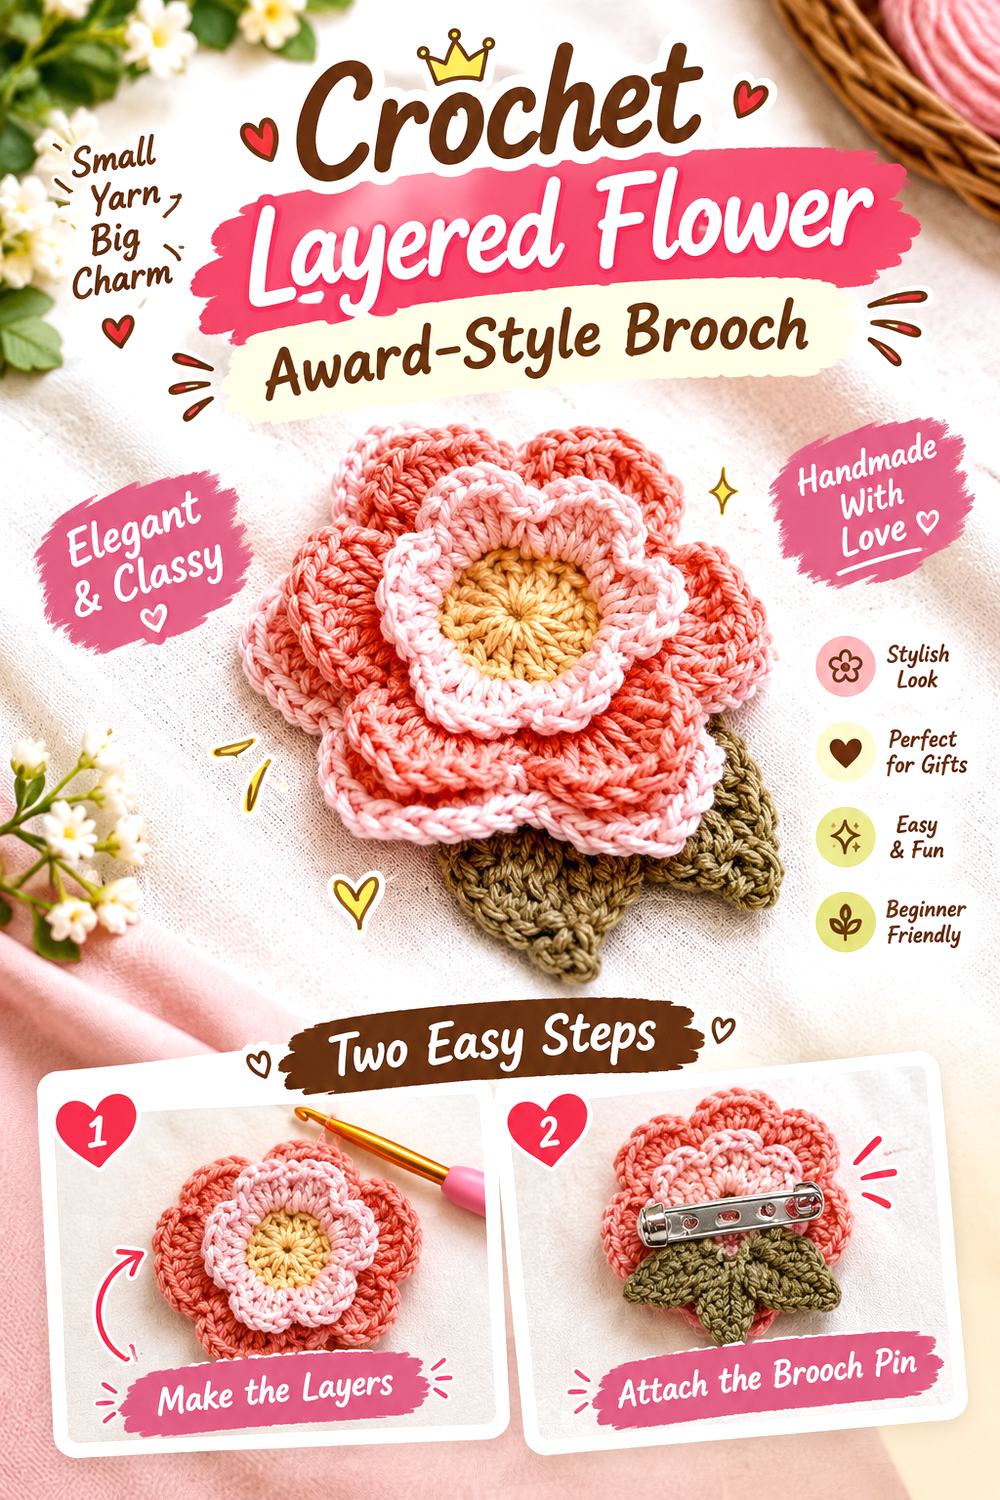
This idea uses a broader flower shape as the badge center rather than relying on the unmistakable spiral of a rose. The result can feel closer to a traditional award rosette because the upper section reads as a layered radial form, especially when paired with two straight tails.
Mi’s Handmade Hobbies provides a complete crochet flower brooch tutorial, so the source already establishes the flower as a wearable pin. The award-style tail treatment is the proposed extension for this collection.
The strongest reason to choose this version is its cleaner symmetry. A flower whose petals spread around a defined center gives you an obvious vertical axis for positioning the tails. That makes it easier to create a formal-looking badge without adding another circular frame. Keep the transition behind the flower concealed so the viewer sees one unified accessory rather than a flower sitting on top of two unrelated strips.
Use Symmetry Deliberately
A radial flower makes small alignment choices easier to notice. If the two tails sit at noticeably different angles, the upper flower may appear off-center even when it is not.
Mark or visually identify the flower’s lower center before placing the ribbons. Then adjust both tails around that reference rather than positioning each one independently.
Decide How Much Tail Should Show
Long tails produce a ceremonial, prize-ribbon silhouette. Shorter ones keep the accessory closer to an ordinary floral brooch.
Place the finished flower on the intended garment and test both proportions with temporary strips. The best length is the one that supports your preferred silhouette without making the flower seem like a small ornament on an oversized backing.
Creator: Mi’s Handmade Hobbies
Crochet Mini Bouquet Ribbon Wrap Brooch
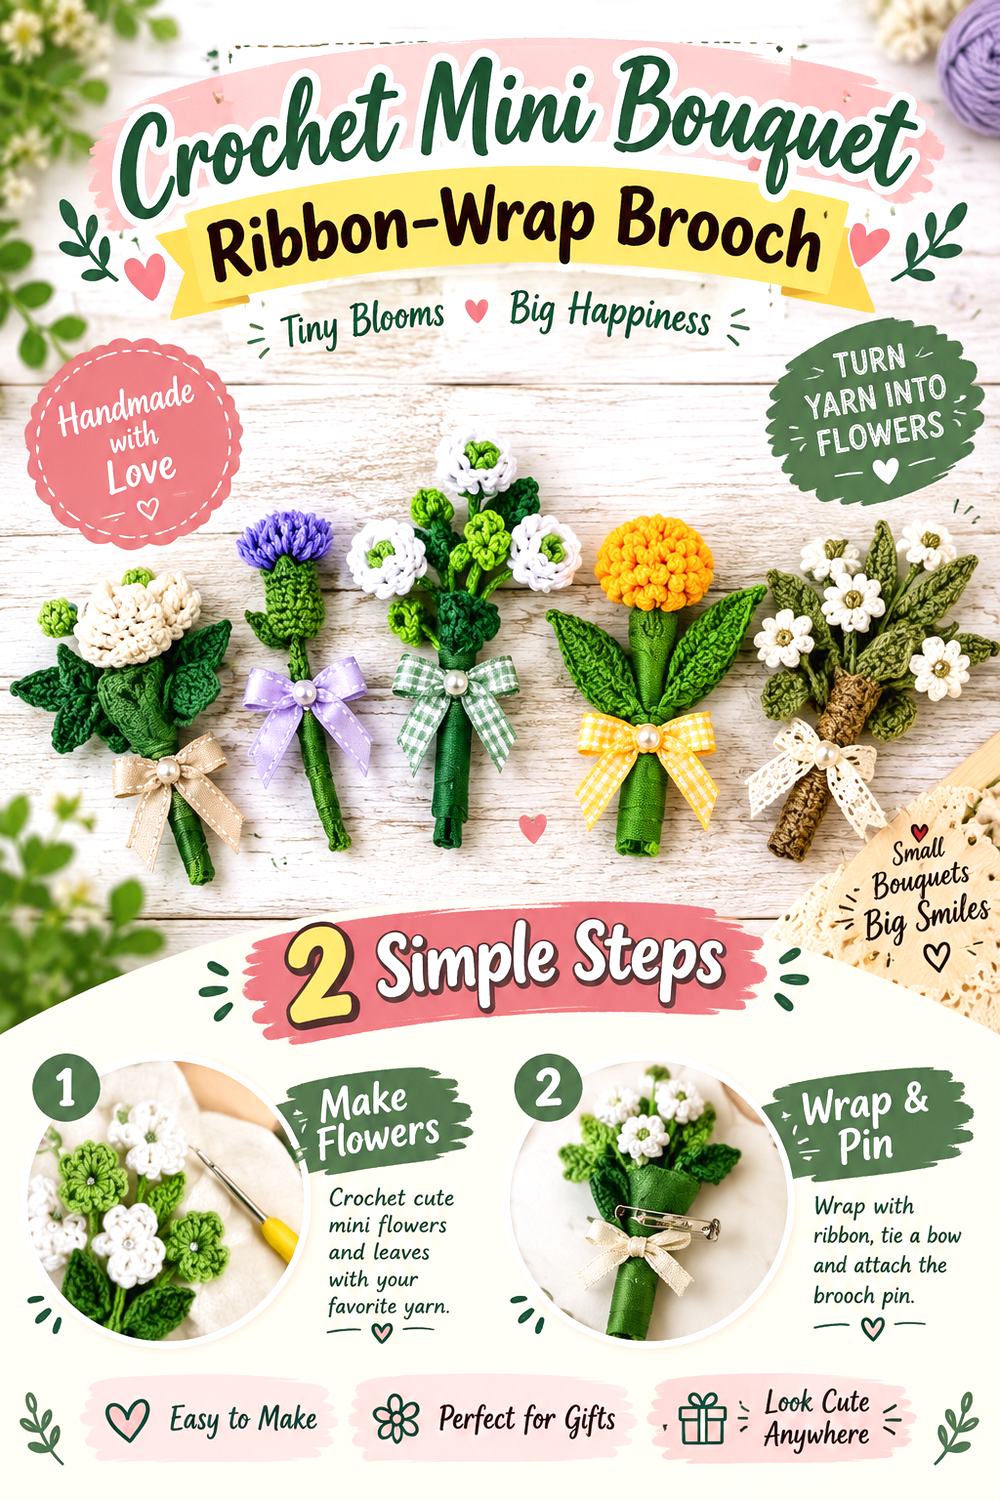
A bouquet-style brooch changes the formula completely. Instead of pretending the rosette has to be one circular flower, this concept gathers several floral and foliage elements into a compact top section and lets the lower wrapping transition into ribbon-like tails.
Moara Crochet’s tutorial specifically demonstrates how crochet flowers and leaves can be assembled and finished as a brooch. The source is therefore especially useful for thinking about how multiple separate motifs become one wearable object. The award-rosette tail arrangement remains the suggested adaptation rather than a feature of that tutorial.
This version is a good choice when you prefer botanical asymmetry over a medal-like circle. The tails can begin visually where a bouquet wrap would normally narrow, creating a natural bridge between the floral cluster and the descending ribbons. Keep the added section simple enough that individual flowers and leaves remain recognizable.
Use the Wrap as a Transition
A floral cluster and two straight strips can look disconnected if there is no visual relationship between them. A narrow wrapped-looking section can solve that transition.
It does not need to dominate the brooch. Its purpose is simply to gather the irregular upper arrangement into a narrower point before the two tails separate, making the overall silhouette feel intentional.
Arrange the Bouquet Before Final Assembly
Separate motifs give you considerable freedom, but they also make composition important. Lay the flowers, leaves, and proposed tails together before fixing their final positions.
Pay particular attention to the lowest foliage. If it occupies the same visual space as the ribbon tails, the bottom of the brooch may become crowded. Shifting a leaf slightly can make the entire outline clearer.
Creator: Moara Crochet
Crochet Flat Back Rose Ribbon Brooch
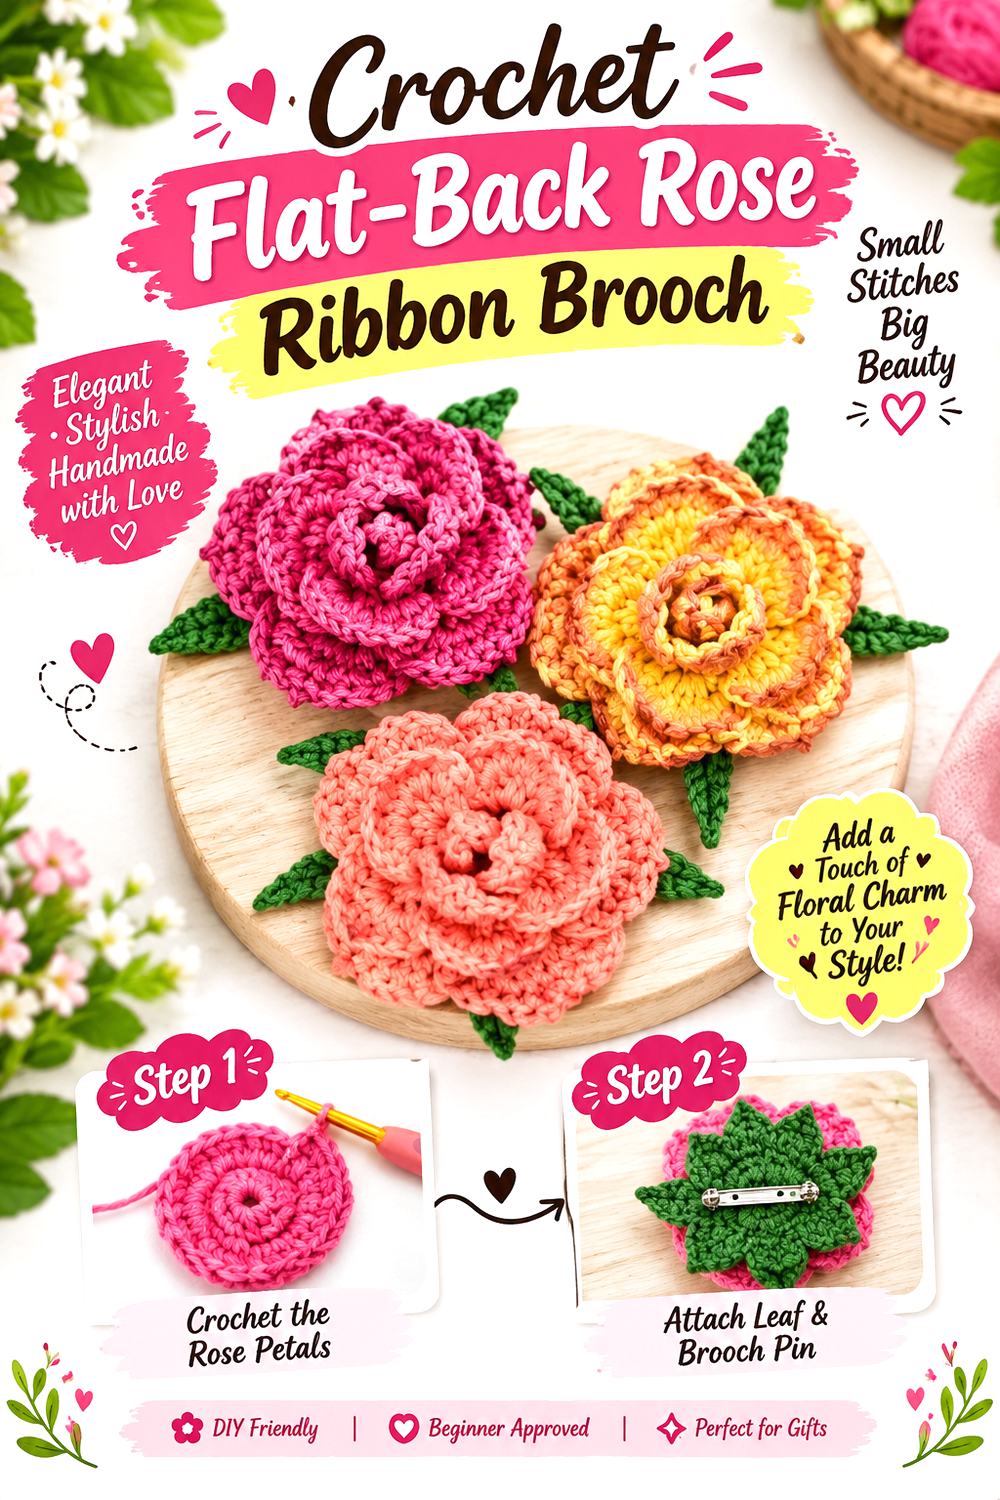
A flat attachment area can be especially convenient when the flower is intended to sit over a separate backing. Happy Patty Crochet’s rose appliqué is designed with a flat bottom, and the tutorial covers the complete rose from the crocheted strip through assembly. The creator also notes that the finished appliqué can accept a clasp or clip or be sewn to a flat soft surface.
That makes this a natural adaptation base for an award-style brooch. The tutorial teaches the rose itself rather than the ribbon-tailed badge; the proposed version adds a backing, two downward crochet strips, and appropriate brooch hardware behind the flower.
Visually, this design can remain quite tidy. Because the flower already presents a clear finished face, there is little reason to surround it with another heavily textured layer. Allow the rose to cover the junction where the two tails meet the backing and keep the rear construction largely out of sight.
Take Advantage of the Flat Contact Area
A flatter base gives you more freedom to move the tails slightly inward or outward without disturbing the visible petals. Use that flexibility to test several lower silhouettes.
A narrow V feels elongated, while tails that spread farther apart make the brooch appear broader. Comparing these layouts before attachment is easier than trying to alter the flower itself.
Keep Added Structure Behind the Petals
The proposed backing has a job: connect flower, tails, and pin. It does not necessarily need to become part of the visible design.
Trim the concept visually by checking the brooch from the front after every added layer. If backing edges appear between petals, reconsider their shape or placement before fixing everything permanently.
Creator: Happy Patty Crochet
Crochet Rose and Leaf Rosette Ribbon Brooch
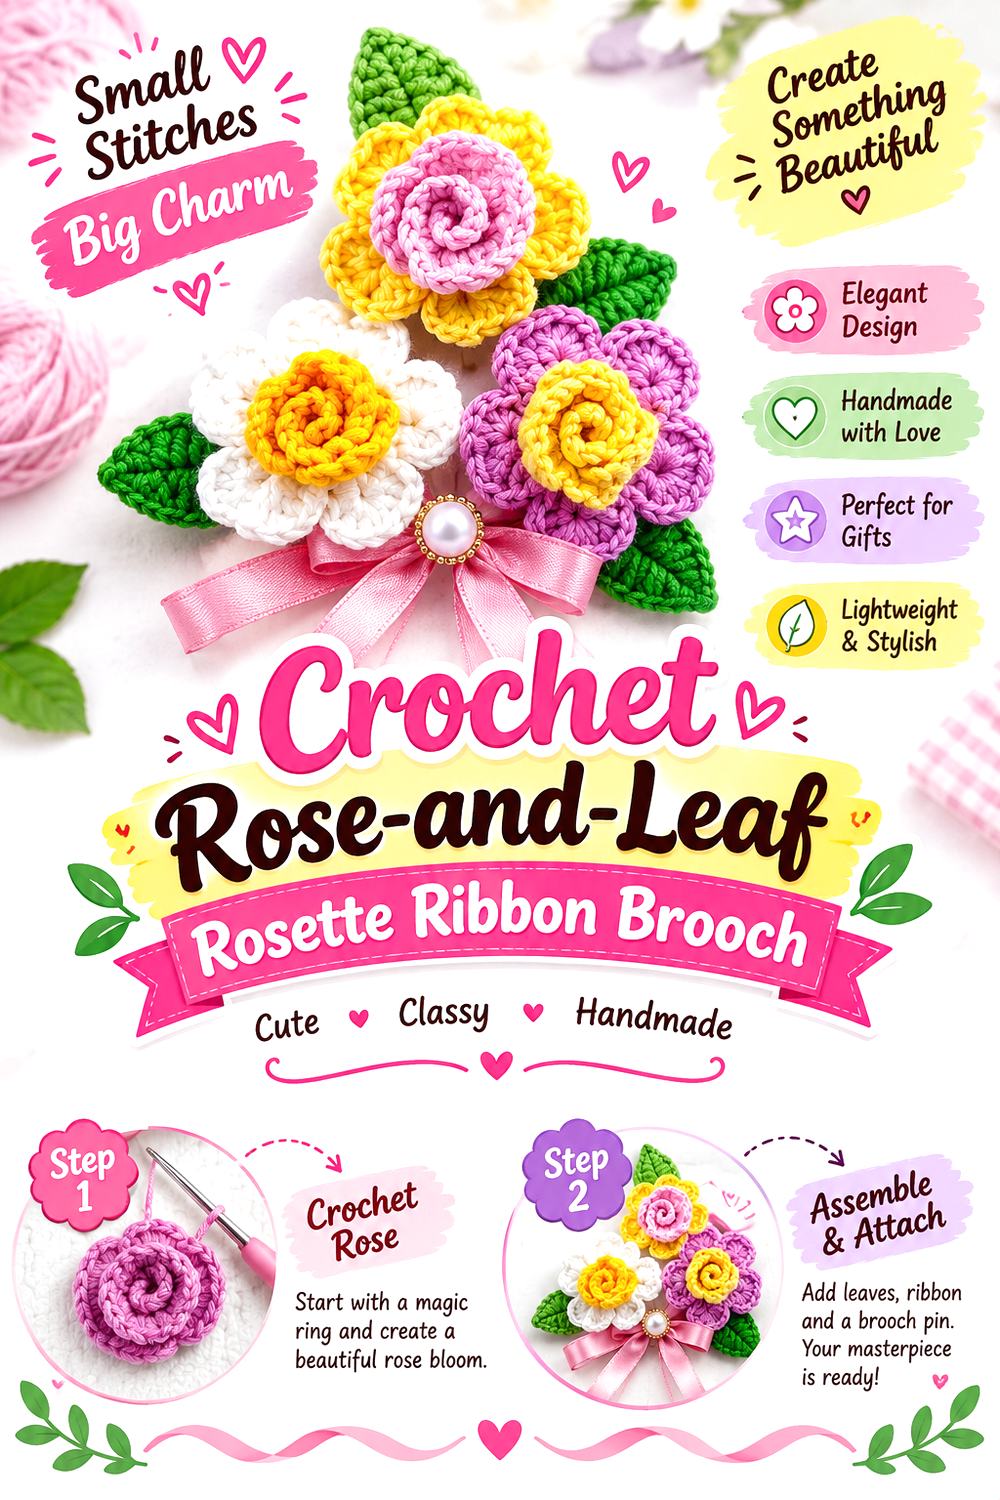
Leaves can make the transition from flower to ribbon tails feel more deliberate. Instead of placing a perfectly isolated bloom above two strips, this concept uses foliage to widen the upper composition and establish a clear lower direction.
Loopara’s tutorial teaches a rose appliqué with a center, petals, base, leaf, and assembly rather than a finished ribbon brooch. The ribbon tails and pin construction are therefore the adaptation in this version.
One useful layout is to keep the rose slightly above center, allow a leaf to extend diagonally, and let the ribbon-like tails continue downward. This avoids making every element share the same vertical axis. The result still reads as a rosette badge, but with a botanical edge rather than strict medal symmetry.
Because leaves already occupy some of the area behind the flower, avoid automatically adding more decorative layers. First see whether the rose, foliage, and tails create enough depth on their own.
Let the Leaf Direct the Eye
A leaf is more than filler. Its pointed outline creates direction, so changing its angle can change the apparent movement of the whole brooch.
Try positioning it slightly toward one side rather than directly between the tails. This gives the flower an asymmetrical accent while leaving the lower ribbon silhouette clean and easy to read.
Separate Botanical and Badge Elements
If every leaf edge overlaps a tail, the lower half can become difficult to distinguish. Preserve a little visible separation between foliage and ribbon where possible.
That contrast tells the viewer what each element is doing: leaves support the floral center, while the paired strips establish the award-ribbon reference.
Creator: Loopara
Crochet Simple Rolled Rose Fishtail Brooch
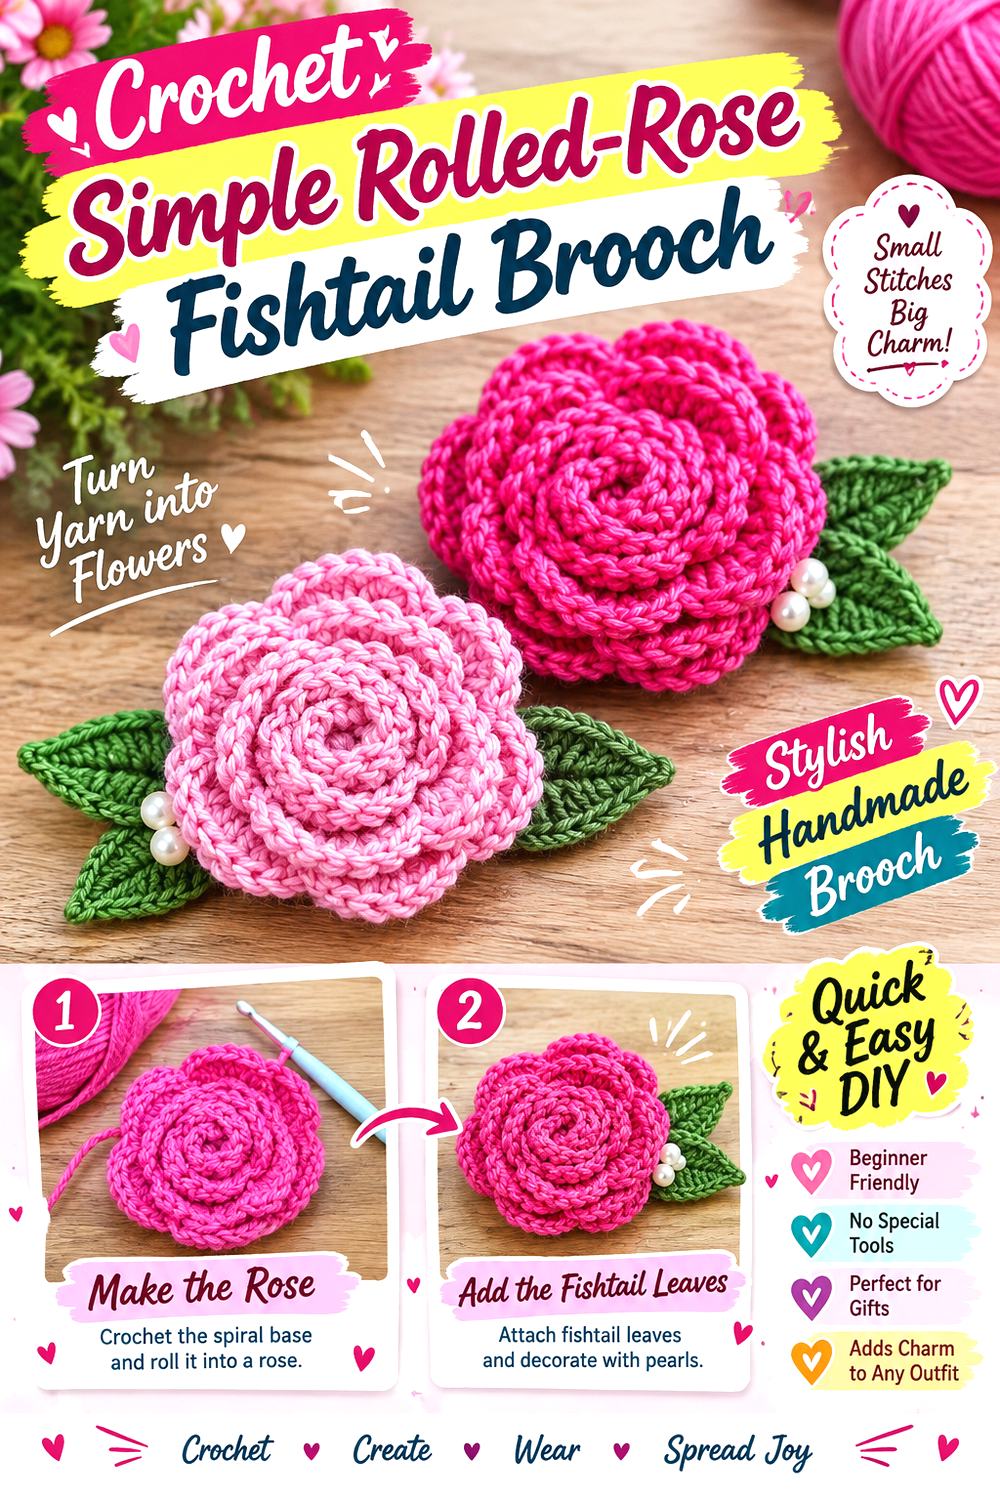
A compact rolled rose is a practical center when you want the ribbon portion to play a larger visual role. Hopeful Turns teaches a rose motif worked in three rows using basic crochet stitches and presents it as an embellishment suitable for several kinds of projects. The source does not teach a finished ribbon brooch, so both the pin backing and the proposed fishtail-style lower strips are adaptations.
Instead of making the tails narrow and almost hidden, this version can let them form a substantial portion of the silhouette. V-shaped or fishtail-looking ends reinforce the prize-ribbon idea, while the rose prevents the top from feeling like a generic circular badge.
Keep the adaptation concept simple rather than trying to imitate an entire competition rosette with multiple concentric tiers. One flower and two clearly defined tails already communicate the form, and a restrained construction keeps attention on the contrast between the curled rose and straighter lower elements.
Make the Tail Ends Part of the Design
Straight bottom edges create a cleaner, more contemporary shape; notched-looking ends make the award reference more explicit. Decide between those treatments before judging the overall tail length.
A decorative end changes how much visual space the ribbon occupies. Use a paper mockup or other temporary shape if needed rather than assuming the same proportions will suit both silhouettes.
Keep the Center Compact
This idea works best when the rose remains a distinct focal point instead of expanding across most of the brooch.
If your completed flower is visually substantial, reconsider how bold the proposed tails need to be. The concept is about contrast between a concentrated floral center and readable ribbon elements, not about making every component equally large.
Creator: Hopeful Turns
Crochet Leafed Rose Loop Ribbon Brooch
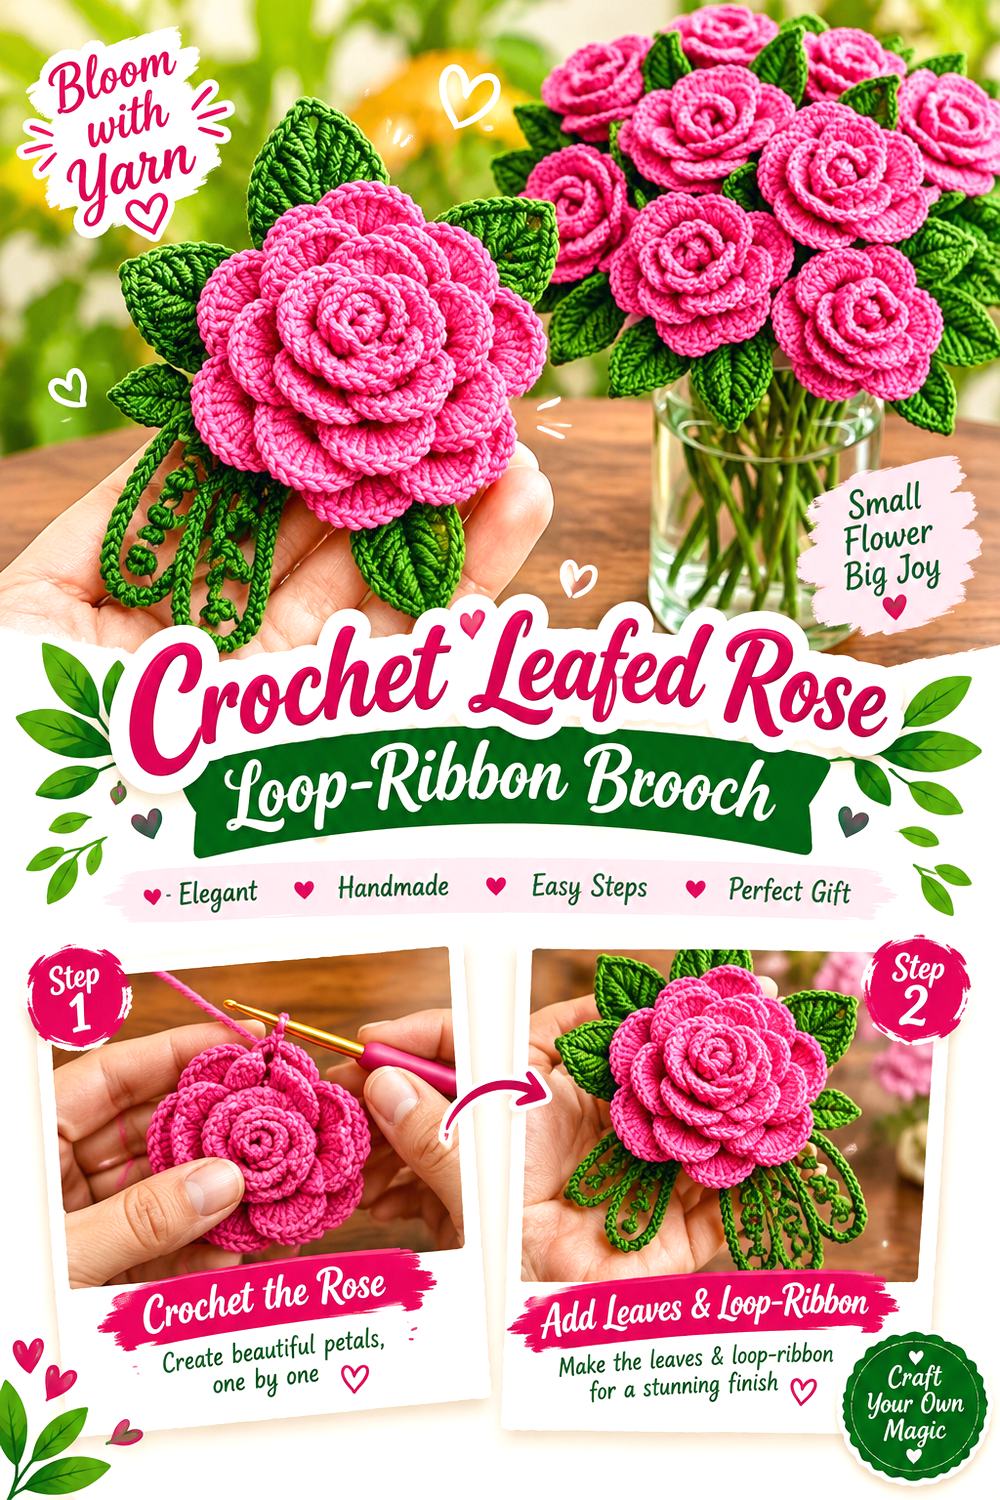
For a softer interpretation of the award badge, combine a rose-and-leaf center with ribbon-like crochet elements that appear to loop before continuing into tails. The curved lower section echoes the shape of petals more naturally than two completely straight strips, giving the piece a corsage-like character.
Crochet My Hobby teaches a rose with leaves and identifies brooches among the possible uses for the finished flower. The looped ribbon structure described here is a separate proposed finishing treatment rather than part of the source tutorial.
The challenge is avoiding too many competing curves. A rose already contains multiple petal edges, and the leaves add another silhouette. Keep the ribbon loops broad and uncomplicated if you add them. They should create a frame or transition behind the flower, not introduce another dense motif.
This version suits readers who like the traditional hanging shape of a rosette but find perfectly straight prize-ribbon tails too formal.
Use Loops to Frame, Not Cover
A loop can peek from each side of the rose before narrowing into a tail. If too much of it remains visible, however, the brooch starts to look like several stacked decorations.
Position the temporary ribbon shapes behind the completed flower first. Reduce their visibility until the loops provide framing without becoming a second focal point.
Give the Leaves Their Own Direction
Leaves and ribbon loops should not all radiate at identical angles. That can create a rigid starburst around a flower that otherwise feels organic.
Try letting the leaves occupy the upper or side spaces while the ribbon elements remain primarily below. This division makes each component easier to recognize.
Creator: Crochet My Hobby
Crochet Long Strip Rosette Ribbon Brooch
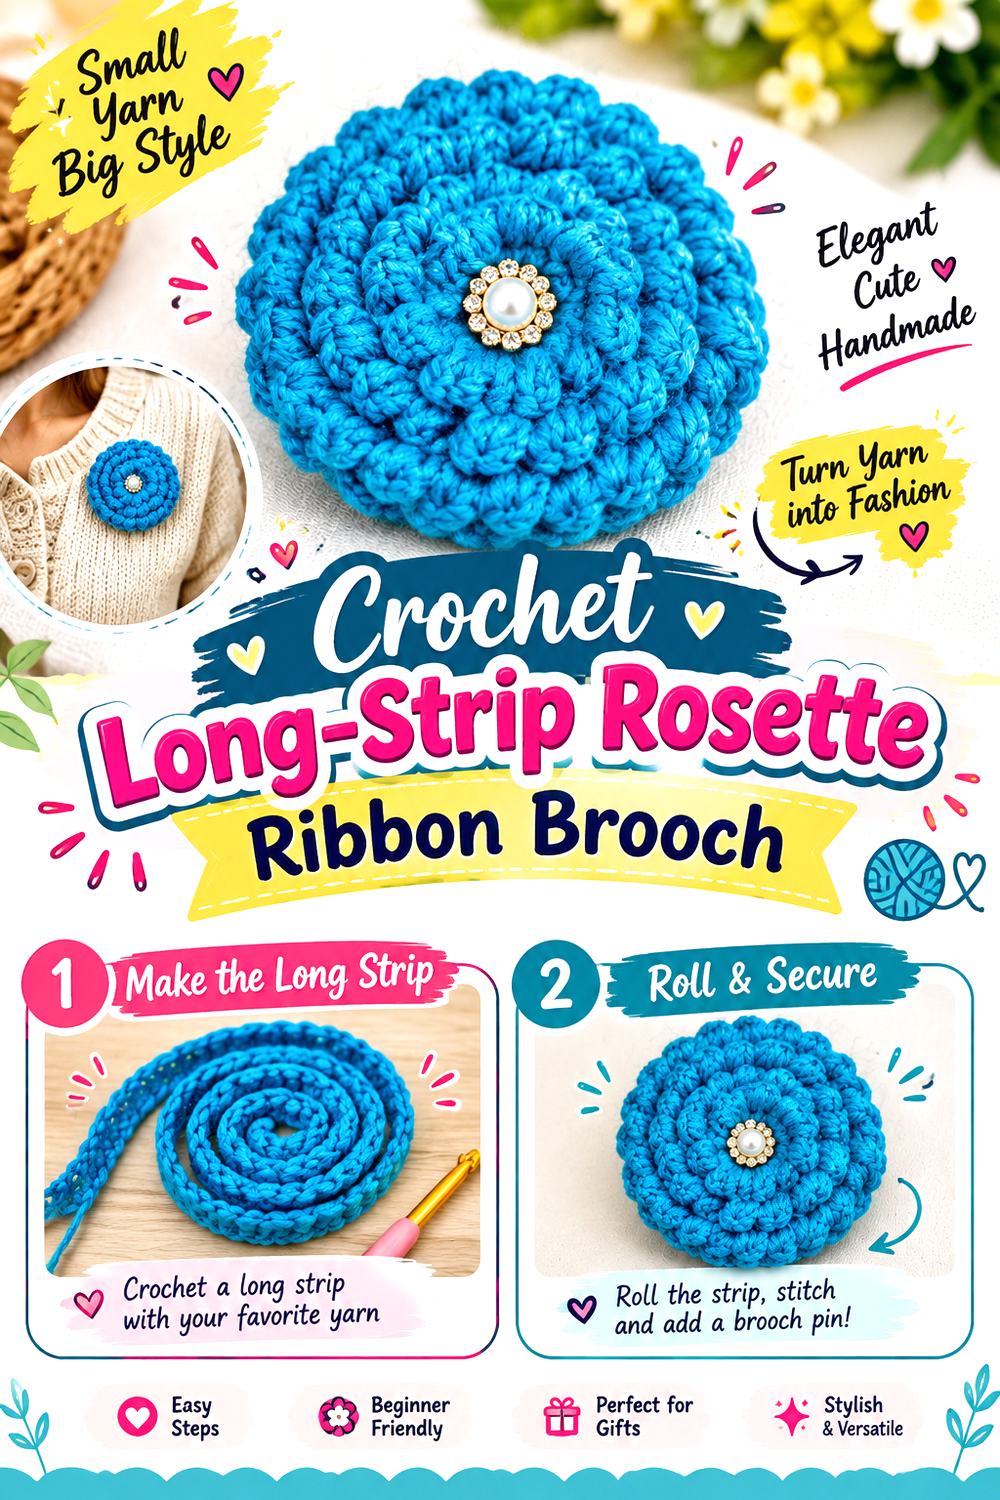
The rosette itself can provide the strongest connection to the word “ribbon” when it is formed from a crocheted strip. Crochet with Clare’s tutorial teaches a crochet rosette flower, making it a useful base for a brooch whose flower and trailing bands feel visually related rather than assembled from completely different shapes.
The source tutorial is for the flower, not a completed award-style brooch. For this adaptation, place the finished rosette over two narrow crochet tails and a suitable backing. One appealing approach is to keep the tails relatively plain so the curled strip construction of the flower remains the dominant texture.
This concept can look cohesive even in a single-color treatment because the distinction comes from form: dense circular movement at the top and clean vertical movement below. If you prefer contrast, the flower and tails can instead be visually separated through color, but color alone should not carry the design.
Repeat Shape Language Without Repeating Texture
The rosette and tails can clearly belong together without using the same stitch texture everywhere. In fact, simplifying the lower strips can make the upper flower look more detailed.
Compare the two sections from a little distance. If the eye cannot immediately identify the circular center and descending tails, reduce unnecessary surface detail in whichever area is competing most strongly.
Decide How Formal the Silhouette Should Be
A centered rosette with evenly spaced tails reads much like a traditional badge. Shifting the flower slightly or letting one tail sit at a different angle makes the same basic construction feel more like decorative jewelry.
Choose the arrangement based on where you expect to wear the brooch rather than assuming perfect symmetry is always preferable.
Creator: Crochet with Clare
Crochet Tunisian Rose Rosette Ribbon Brooch
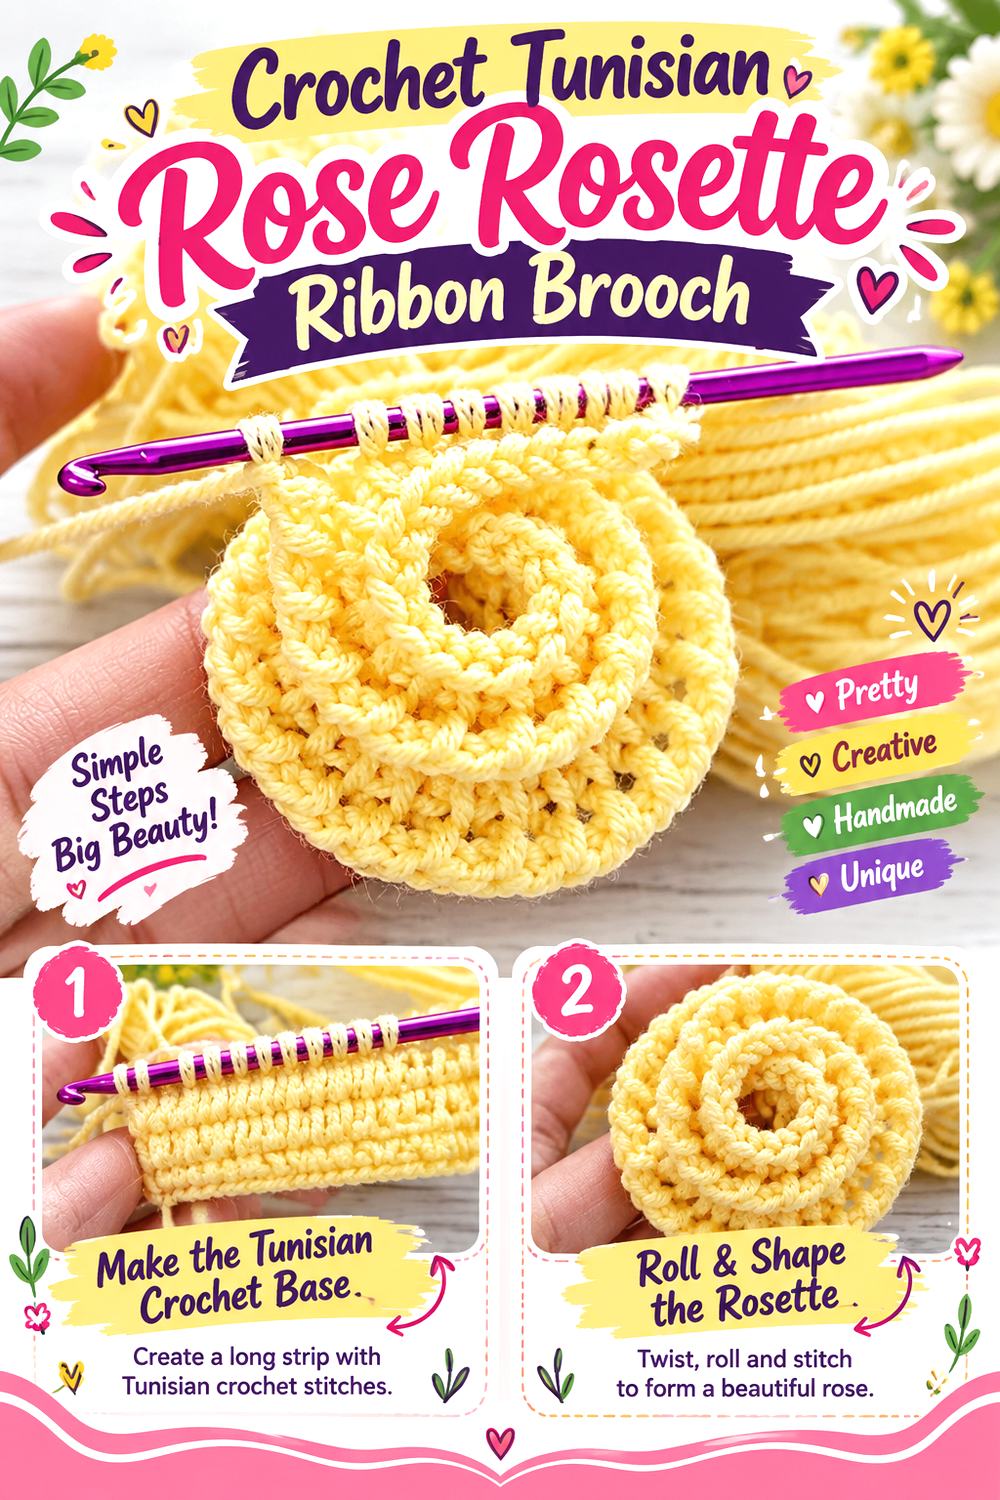
A Tunisian crochet rose gives this collection a noticeably different construction direction. Tuba Crochet’s tutorial teaches a Tunisian crochet rose flower step by step; it does not provide the finished ribbon brooch, so the tails, backing, and pin are adaptations built around that flower.
The benefit of this choice is not that the brooch must look radically different from every other rose at first glance. It is that the central motif offers a different crochet experience for someone who wants to explore a variation in technique while keeping the familiar floral badge concept.
Because the flower itself should remain identifiable as the technical focal point, a restrained pair of tails works well. Rather than surrounding it with additional flower motifs, give the rose a clear outline against the backing. The finished design can then read as one purposeful flower mounted on a ribbon rosette rather than a collection of unrelated crochet samples.
Let the Technique Stay Visible
When choosing how much of the flower to cover with backing or surrounding decoration, remember why this version is distinct: the center is the feature.
Keep added elements behind the outer edge where possible. Extra petals, bows, or dense circular borders could obscure the surface that differentiates this flower from the rolled-strip versions elsewhere in the collection.
Mock Up the Badge After the Flower Is Finished
Do not assume in advance that the same tail width used for another rosette will suit this one. Complete the source flower first, then compare it with several temporary tail widths.
That sequence allows the actual flower proportions to determine the adaptation instead of forcing an arbitrary badge template onto a motif that may have a different outline.
Creator: Tuba Crochet
Crochet Layered Petal Ribbon Badge Brooch
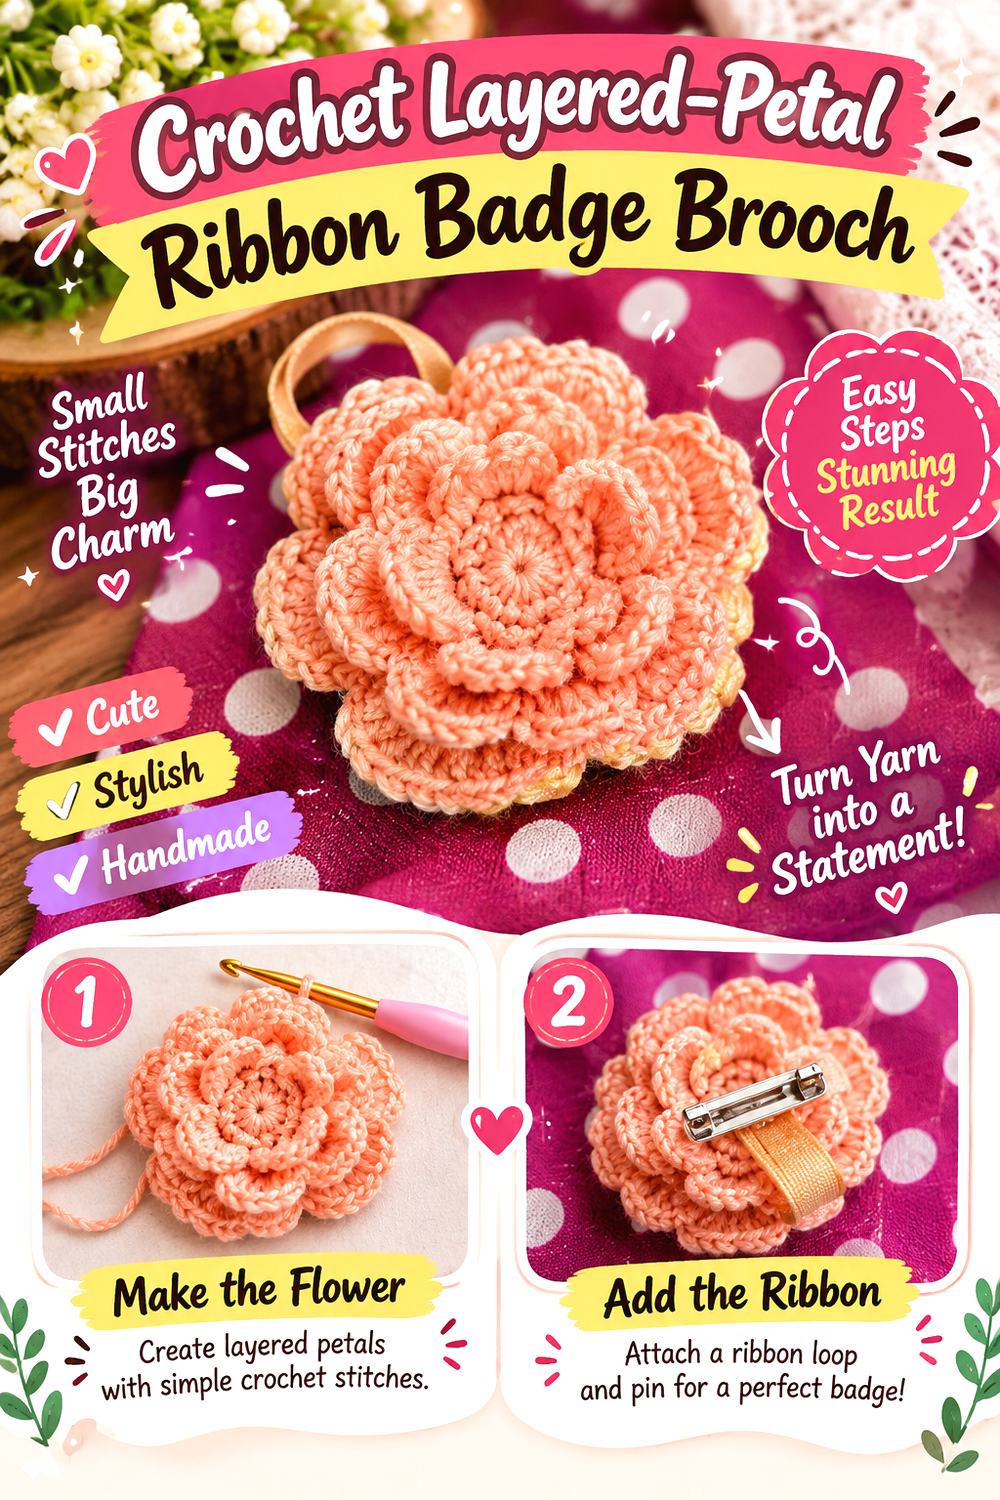
A strongly layered rose can make an impressive center even without a separate pleated-looking rosette ring. Rogue Hobbies’ tutorial focuses on a layered crochet rose, which provides the flower base for this concept. The award-style backing, tails, and brooch fastening are additions rather than elements attributed to the source tutorial.
The layered center is best paired with a visually calm lower half. Two clean tails can extend beneath the flower while a backing hidden behind the petals keeps them aligned. This gives the piece a recognizable ribbon-badge outline without adding more petal-like layers around an already detailed rose.
Use this idea when depth at the center matters more than strict circular symmetry. From the front, the petals can create an irregular edge while the tails establish the clear downward orientation. That combination feels decorative and formal without requiring the flower itself to resemble a conventional competition rosette.
Avoid Competing Layers
A dimensional rose already contains several overlapping planes. Adding a thick decorative border immediately behind it can make the upper half look crowded.
Before creating another circular layer, test the flower directly against the proposed ribbon backing. You may find that the petals supply all the complexity the design needs.
Test the Brooch in Its Wearing Position
Layered flowers can appear balanced while lying flat but visually lean once held vertically. Before final attachment, temporarily combine the flower, tails, and backing and view them upright.
This is the moment to adjust the lower alignment. Moving a tail slightly is much simpler than attempting to reshape the finished flower.
Creator: Rogue Hobbies
Crochet Interlocking Ring Rosette Ribbon Brooch
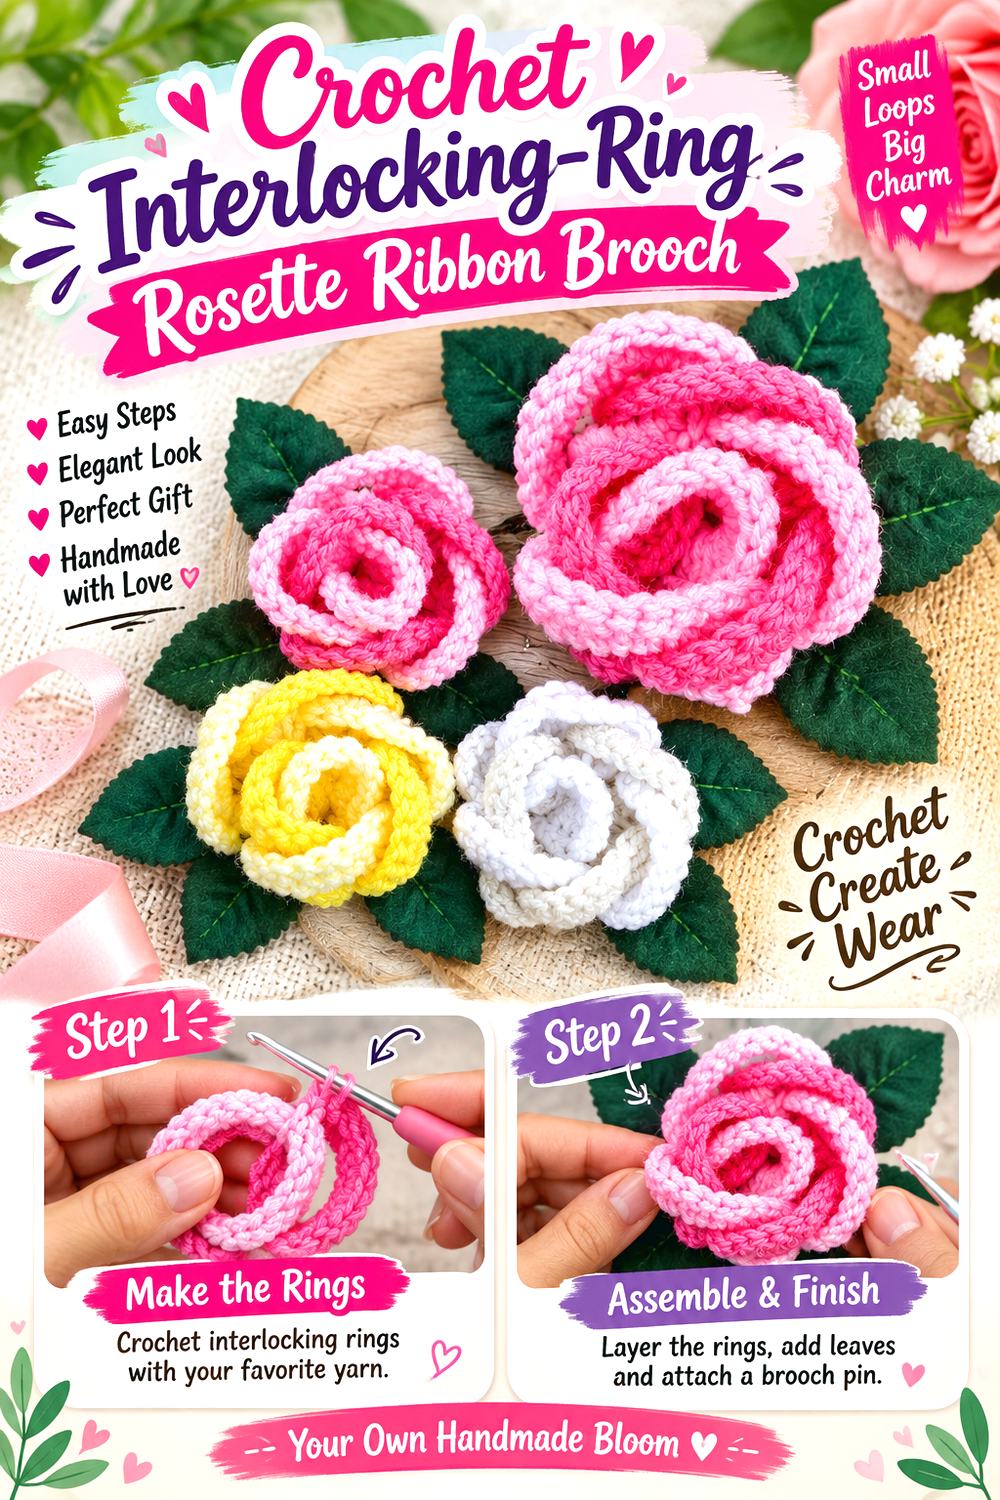
Not every rosette needs conventional petals. Naztazia’s rose-with-rings tutorial forms the flower from interlocking crochet rings, producing a more geometric floral structure than the rolled and layered roses used elsewhere in this collection. The ribbon tails and brooch backing are the proposed adaptation.
That ring construction makes this especially suitable when you want the badge to look graphic and radial. Paired tails can emphasize the contrast between repeated circles above and straight or gently angled lines below. If different colors are used within the ring structure, the center can become visually complex quite quickly, so the lower ribbon area does not need much additional decoration.
This is also one of the easiest concepts to push away from a realistic-rose look. Rather than trying to make the center botanically convincing, celebrate the interlocking geometry and let the finished accessory sit between floral jewelry and an award rosette.
Keep the Ring Pattern Readable
The attraction of this flower is the repeated circular structure. Avoid placing extra embellishment where several rings overlap unless it genuinely contributes to the design.
View the completed center at normal wearing distance before deciding it needs anything else. What looks like empty space close up may be exactly what allows the ring pattern to remain understandable.
Echo the Geometry in the Tail Layout
You do not need circular tails to coordinate with a ring-based flower. Instead, use clean spacing and deliberate symmetry.
A centered pair of tails gives the geometric center a formal frame. An offset pair makes the result more playful but reduces the traditional badge effect. Choose one direction deliberately rather than landing between the two.
Creator: naztazia
Crochet Layered Appliqué Ribbon Rosette Brooch
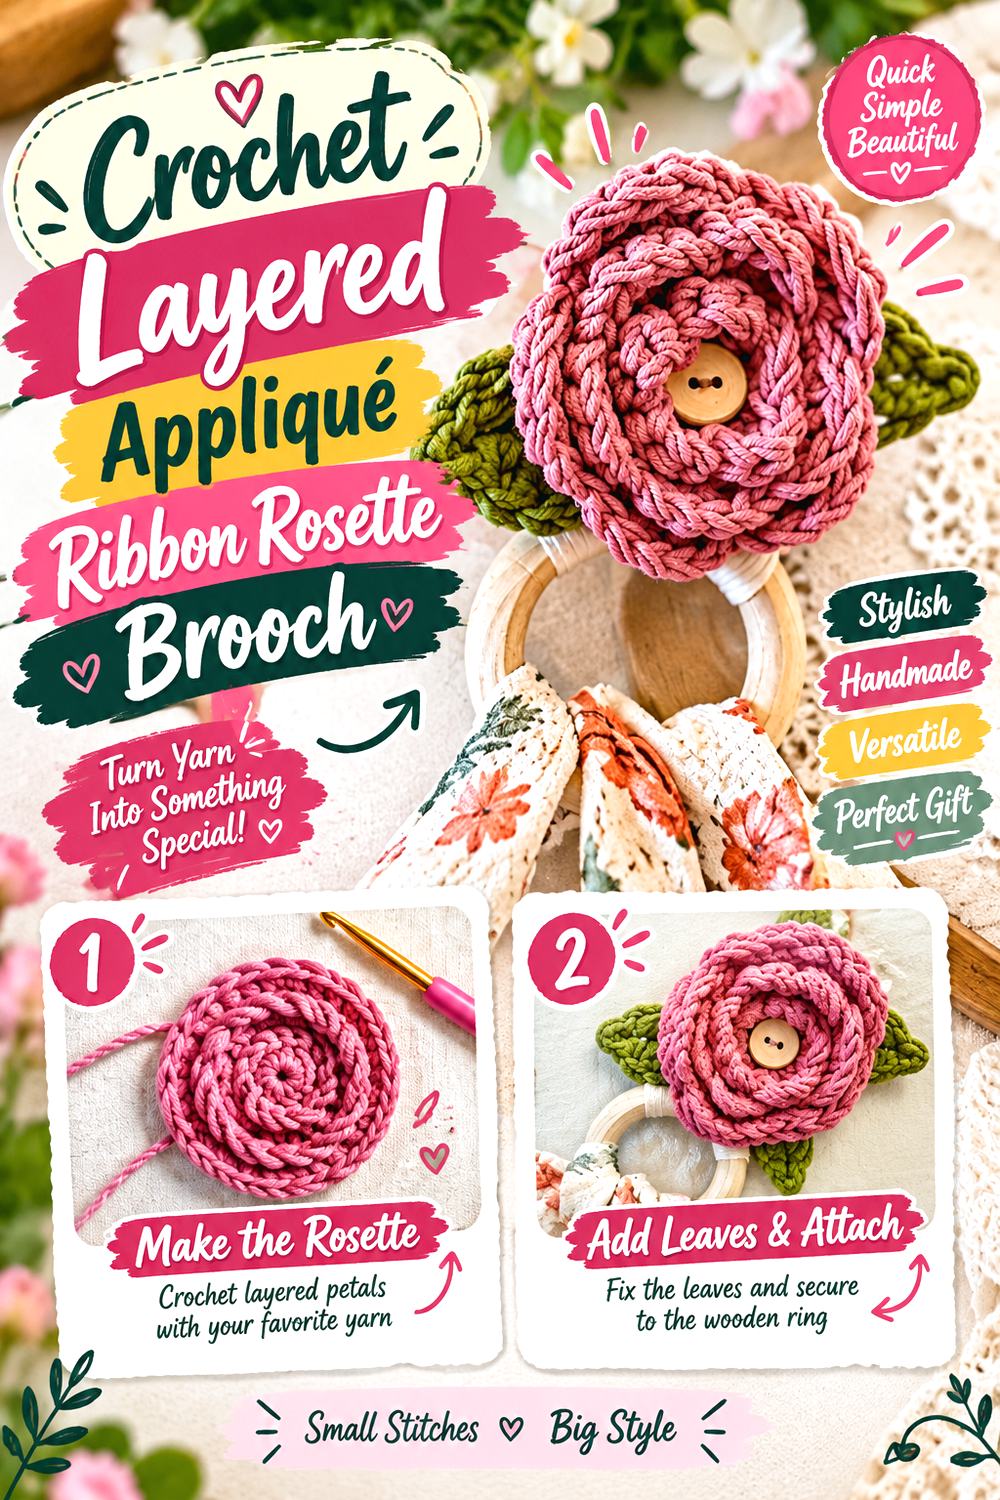
A broad rose appliqué can become the upper disc of the rosette rather than merely sitting on top as a small embellishment. Simply Made by Erin Crochet teaches a layered rose appliqué intended for towel-holder applications, so the original project context is not a brooch. The wearable backing and award-style tails are adaptations for this collection.
The broad floral face makes this concept useful when you want a substantial, graphic badge rather than a tiny lapel flower. Let the appliqué define the full width at the top and place the ribbon-like strips largely behind it. There is no need to mimic the tutorial’s original application once the flower itself is complete, but its scale should influence where the finished brooch is practical to place.
Before committing to hardware, compare the flower with the garment or accessory you have in mind. A prominent appliqué can be effective on a larger visual surface yet overwhelm a very small lapel area.
Use the Appliqué as the Badge Face
Instead of adding another circular rosette behind the flower, consider allowing the appliqué itself to perform that role.
This keeps the adaptation visually economical: flower, two tails, concealed support, and pin. If the flower already occupies a broad area, another decorative disc may only increase bulk without improving the silhouette.
Choose Placement Before Finalizing the Tails
The intended wearing position affects how much vertical length feels appropriate. A brooch placed high on a jacket has different surrounding space than one used on a bag or broad wrap.
Hold the flower in position and use temporary strips to estimate the lower silhouette. This tests the composition without altering the tutorial’s flower.
Creator: Simply Made by Erin Crochet
Crochet Beginner Rosette Double Ribbon Brooch
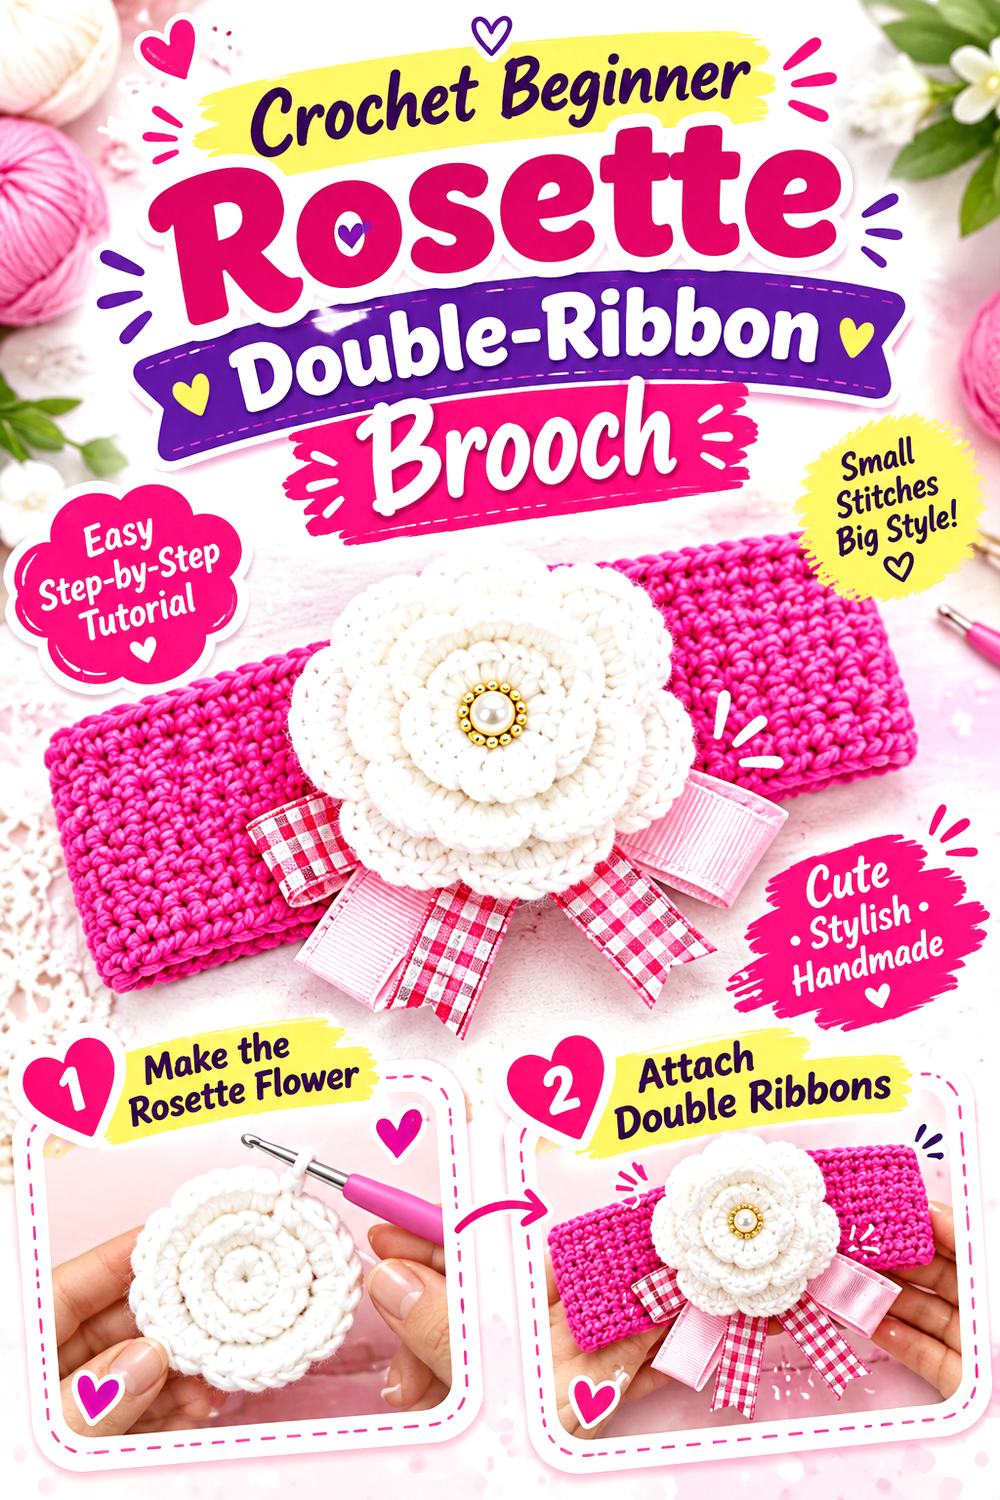
This final idea keeps the concept close to its simplest form: one crochet rosette above two distinct ribbon-like tails. Crochet Jewel teaches a rosette flower in a beginner-oriented tutorial and also points to additional embellishment material in a second tutorial. The first video supplies the rosette itself; the completed ribbon brooch remains an adaptation.
A simple center is useful because you can concentrate on proportion rather than adding more motifs. Place the rosette over two flat tails, decide whether they should run parallel or open into a V, and use the smallest backing shape that comfortably organizes the proposed assembly.
This is a particularly clear option for someone who likes the recognizable prize-ribbon outline but does not want a clustered bouquet, extra leaves, or several surrounding floral layers. The final interest comes from the relationship between circle and strips rather than from piling decoration onto the center.
Use the Tails to Establish Direction
A rosette flower by itself can be rotated freely. Once tails are attached, the accessory gains a definite top and bottom.
Before positioning the pin, settle the tail angle first. Then evaluate the brooch in that orientation. This prevents the hardware from determining a direction that conflicts with the visible lower section.
Stop When the Silhouette Is Clear
Simple designs can easily accumulate unnecessary extras because the open areas look unfinished while you are working close to them.
View the proposed brooch from farther away. If you can immediately read a flower at the top and two ribbon tails below, the fundamental design is already doing its job. Additional leaves, buttons, or borders should have a specific purpose rather than simply filling space.
Creator: Crochet Jewel
Conclusion
For the closest route to a ready-made wearable flower, start with the Classic Rose Ribbon-Tail Brooch, Sculpted Rose Double-Tail Brooch, Rose Garden version, or Layered Flower Award-Style Brooch, because their source projects are already brooches or pins. The Flat-Back Rose is especially useful when you want a clean foundation for your own backing, while the Interlocking-Ring and Tunisian Rose versions offer more distinctive central constructions.
If the traditional prize-ribbon silhouette matters most, keep the upper flower clear and let two simple tails establish the shape. If you prefer a corsage, the Rose Garden or Mini Bouquet versions allow more asymmetry and botanical detail.
Use the original tutorials for their exact crochet construction, then treat the ribbon tails, backing, and hardware as separate design decisions wherever the source teaches only the floral base.
Frequently Asked Questions
Do all 16 tutorials teach a complete crochet rosette ribbon brooch?
No. The collection deliberately includes both finished brooch or pin tutorials and flower tutorials that provide suitable centers to adapt. The distinction is stated within each project. A rose tutorial should not be treated as instructions for an entire award-style badge when it does not include the tails, backing, or pin assembly.
If you want to minimize adaptation, begin with one of the entries whose source already finishes the flower as a brooch or shawl pin and add only the ribbon-tail treatment.
Should the ribbon tails also be crocheted?
They can be if you want the whole visible design to stay within crochet, and that is the main concept used throughout this collection. Narrow crochet strips can function visually like award ribbons without requiring the flower tutorial itself to include them.
A different ribbon material could also be a separate design choice, but it would change the character of the project. Whichever approach you choose, plan how the tails will join the backing rather than attaching them casually to soft outer petals.
How can I decide whether a rosette is too dimensional for a brooch?
Do not judge only from the front. Once the flower is complete, view its side profile and hold it against fabric comparable to the intended garment. This shows how far the petals project and whether the flower naturally faces outward.
A highly dimensional rose is not automatically unsuitable; it simply creates a different accessory from a flat award badge. If you want a crisp rosette silhouette, a flatter appliqué or broad radial flower may be the more straightforward starting point.
Can I change the size of a tutorial flower to fit my ribbon-brooch idea?
Changing yarn, hook, tension, or construction can affect more than one dimension, so avoid assuming a particular adjustment will produce an exact target size. When a creator supplies multiple sizes, as with the shawl-pin option, that is a clearer starting point.
Otherwise, make or evaluate the flower first and let its actual finished proportions guide the backing and tails. This is safer editorially than designing the entire badge around an unverified prediction of how large an altered motif will become.
How should I choose between straight and angled ribbon tails?
Straight, closely spaced tails make the brooch look more formal and medal-like. Tails opening into a V create a broader lower outline and can complement an irregular rose or floral cluster. The flower itself often suggests which arrangement works better.
Before joining anything permanently, place temporary strips behind the finished rosette and compare the options while the piece is held vertically. That simple check resolves both angle and visible length without changing the crochet flower.