Crochet rosettes can move far beyond a simple flower appliqué. Depending on how the bloom is attached, it can become a hair clip, elastic accessory, piece of jewelry, waist tie, brooch, bag charm, or keychain. Ribbon-like cords, ties, trailing leaves, and floral bands can push the same basic romantic idea in very different directions.
The tutorials below are not all labeled specifically as “rosette ribbon” projects by their creators. Some use terms such as rose, flower, gajra, floral belt, or flower choker. They are included because their finished accessory formats provide strong starting points for the dimensional floral-and-ribbon look. The comparisons below focus on choosing the right scale, attachment method, placement, and structure without replacing the creators’ instructions.
Quick List
Crochet Rosette Ribbon Hair Clip
Crochet 3D Rosette Bun Hair Tie
Crochet Rosette Petal Scrunchie
Crochet Floral Rosette Headband
Crochet Rosette Ribbon Bun Garland
Crochet Mini Rose Bracelet
Crochet Rosette Flower Ring
Crochet Rosette Drop Earrings
Crochet Rosette Choker
Crochet Rosette Ribbon Waist Belt
Crochet Dimensional Rosette Brooch
Crochet Rose Mini Pouch Bag Charm
Crochet Layered Rose Bag Charm
Crochet Rolled Rose Keychain
Match Rosette Scale to the Accessory Base
A rosette that looks balanced on a bag can feel oversized on a ring or earring. Before choosing yarn or multiplying petals, look at the surface that will actually support the flower. Hair clips, ring bands, earring findings, and narrow bracelet cords give the motif very little backing, while headbands, belts, brooch bases, and bags can handle a wider decorative footprint.
Scale also changes how much the flower projects outward. A thick, tightly layered rose can create attractive depth on a brooch but may tilt a small hair clip or interfere with wrist movement. When adapting a flower tutorial to another accessory, make one motif first and hold it against the intended base. That simple comparison is more useful than assuming one rose size will work everywhere.
Choose the Attachment System Before You Crochet
These accessories rely on several different foundations: metal clips, elastic ties, crocheted bands, jewelry cords, brooch backs, waist ties, key rings, and hanging bag loops. The flower should suit that foundation instead of being added as an afterthought.
A movable elastic needs room to stretch without pulling directly against delicate petals. A clip needs a secure, reasonably flat contact area. A necklace or choker needs ties or hardware that can be adjusted comfortably, while a bag charm needs a hanging point that does not distort the rose when the bag moves.
If you plan to add ribbon-like crochet tails, leaves, beads, or additional flowers, decide where those pieces will sit before permanent attachment. Decorative details should not block a clasp, bunch under a clip, or take away the stretch an elastic accessory needs.
Keep Dimensional Flowers Comfortable and Practical
Rosettes gain character from layered petals, but extra layers also add thickness. For jewelry and hair accessories, ask where the finished bloom will touch the body. A bracelet flower that looks attractive lying flat may become awkward if its backing rubs the wrist. A choker flower needs to sit without creating a bulky knot at the neck, and earrings should not become unnecessarily heavy just to create more volume.
Yarn texture matters too. Smooth yarn can make small petals and edges easier to distinguish visually, while very fuzzy yarn may soften the rosette outline. For bags and brooches, a more dimensional flower can be practical because the accessory is not constantly bending around the body.
Whatever tutorial you choose, finish and secure yarn ends carefully before attaching hardware.
Crochet Rosette Ribbon Hair Clip
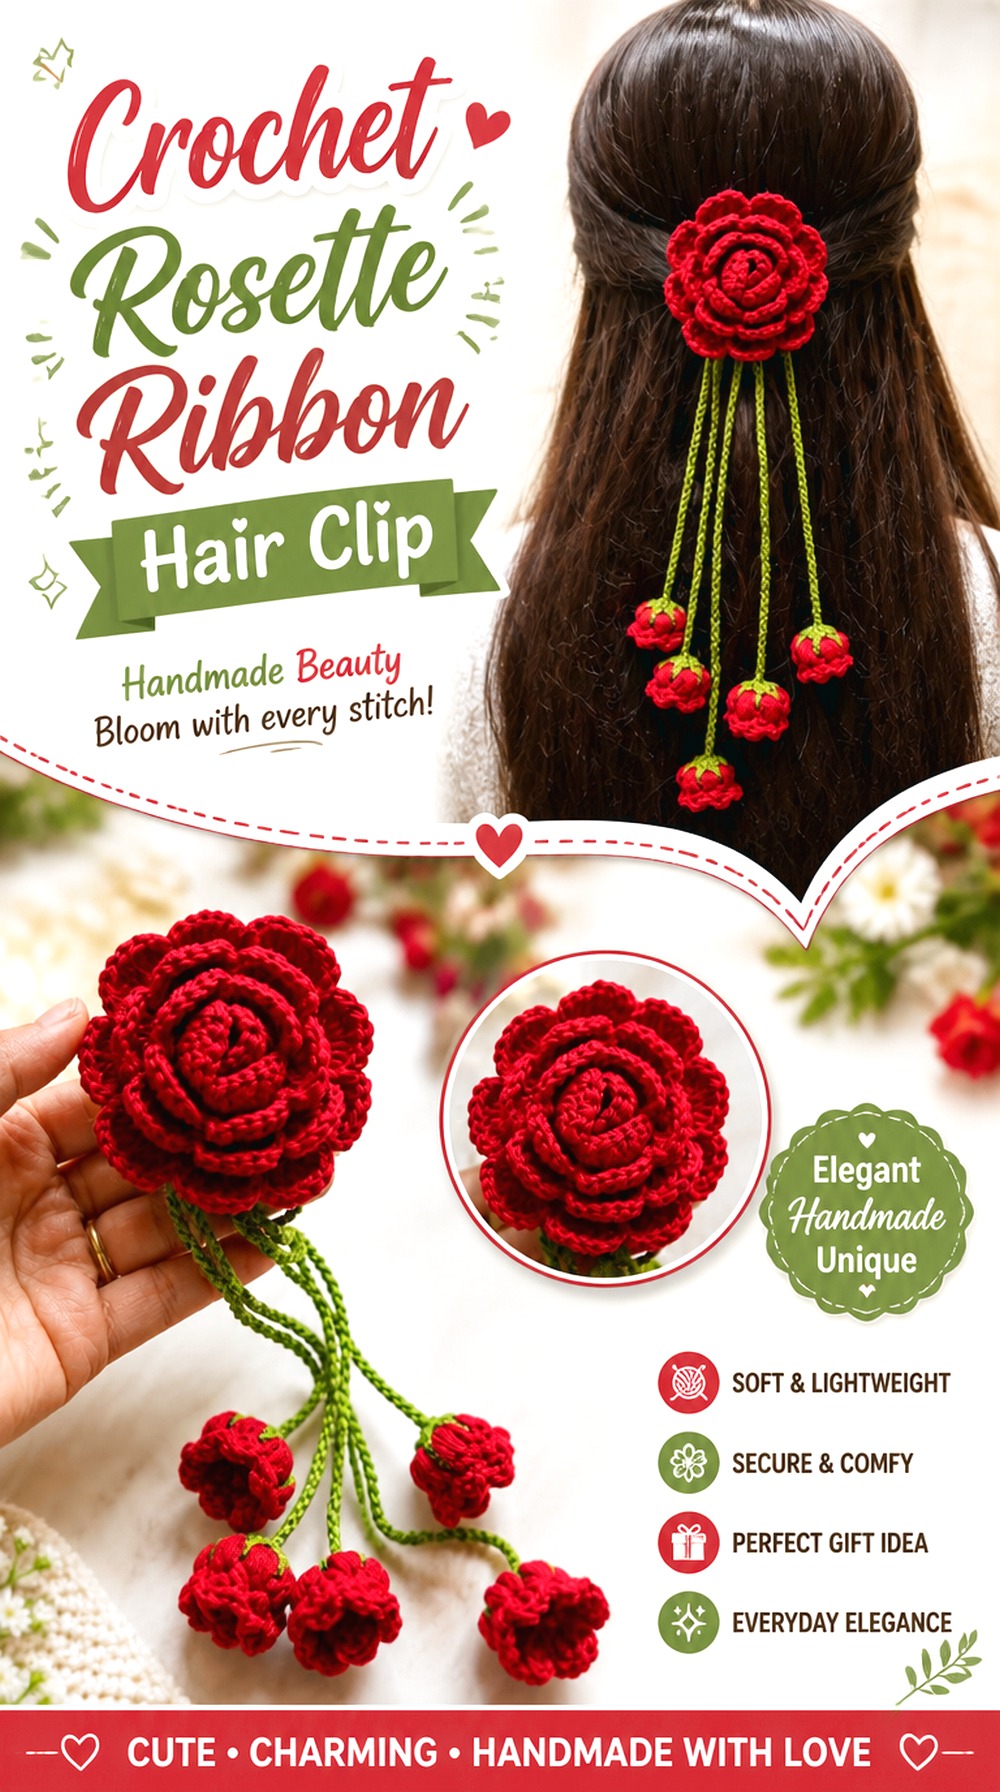
A concentrated rose on a hair clip is one of the clearest ways to use the rosette-ribbon look without making a large accessory. The flower becomes the focal point while the clip supplies the function, leaving room to add subtle crochet tails, leaves, or a small bow-like detail if the backing can support them.
Knit Bucket By Pinki Mehta’s tutorial specifically demonstrates a crochet rose as a hair clip or pin. The source is a full-length tutorial rather than a short showcase, making it particularly relevant for readers who want to see how a dimensional rose transitions into a wearable hair accessory.
A Narrow Clip Needs a Compact Flower Footprint
Before increasing the rosette size, compare its base with the clip itself. A flower can extend beyond the hardware visually, but the central attachment area still needs enough support to keep the bloom from twisting. If the rose becomes much wider or heavier than the clip, consider whether a broader barrette or different foundation would make more sense.
Add Ribbon Tails Without Hiding the Hardware
Trailing crochet cords can make the piece look more ribbon-like, but their placement matters. Keep them away from the working parts of the clip and check how they fall while the clip is actually in the hair. A decorative tail that looks attractive on a table can behave differently once the accessory is tilted or worn vertically.
Check the Rose Direction Before Final Attachment
Decide whether the bloom should face straight outward or angle slightly when worn. Test the clip in the intended hairstyle before permanently securing the flower. This is especially helpful for side clips, where the orientation visible in your hand may not be the orientation seen once the hardware is positioned in the hair.
Crochet 3D Rosette Bun Hair Tie
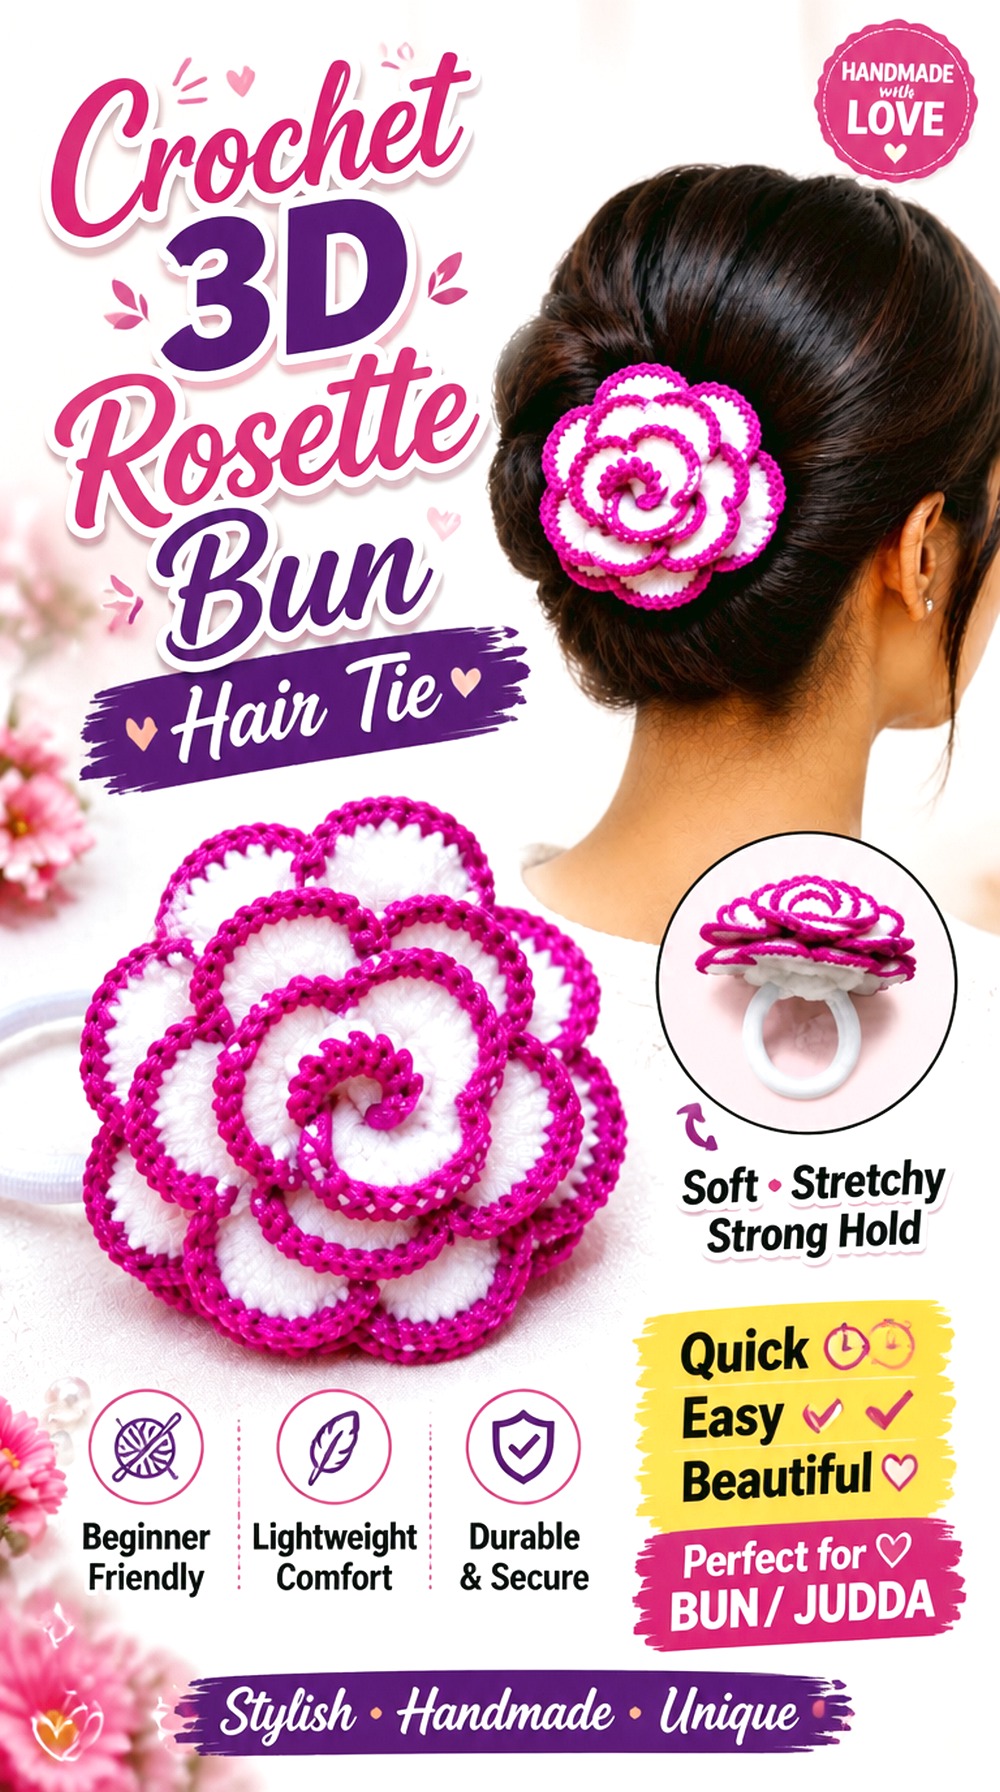
For a larger floral statement, a 3D rose attached to an elastic hair tie creates more volume than a flat clip while still remaining practical for ponytails and buns. The round hairstyle naturally gives a dimensional flower more room, so this format suits a deeper rosette or a bloom with leaves better than very small jewelry bases.
Anubha’s Crochet presents the accessory specifically as a 3D rose hair tie for bun, judda, or ponytail styling. That makes it useful when you want the flower itself—not a wide crocheted band—to provide most of the visual impact.
Elastic Movement Changes How the Rose Should Sit
The elastic will expand and contract every time the accessory is used. Avoid placing decorative parts where they prevent that movement or receive all the pulling force. The safest design decision is usually to let the elastic perform its normal job while the flower sits as a separate decorative focal point.
A Fuller Bloom Needs Room Around the Bun
Large rose petals can look attractive around a bun because they are not pressed as closely against the head as a flat barrette. Even so, check the flower against the hairstyle before adding extra leaves or ribbon-like tails. Too many surrounding details can hide the rose silhouette that made the design appealing in the first place.
Keep Trailing Details Away From the Elastic Join
If you add crocheted ribbon ends, leaves, or chains, position them so they hang independently instead of becoming trapped in the elastic. This keeps the decoration visible and prevents the loose details from interfering when the tie is wrapped several times around the hair.
Original Tutorial and Creator Credit
Creator: Anubha’s Crochet
Crochet Rosette Petal Scrunchie
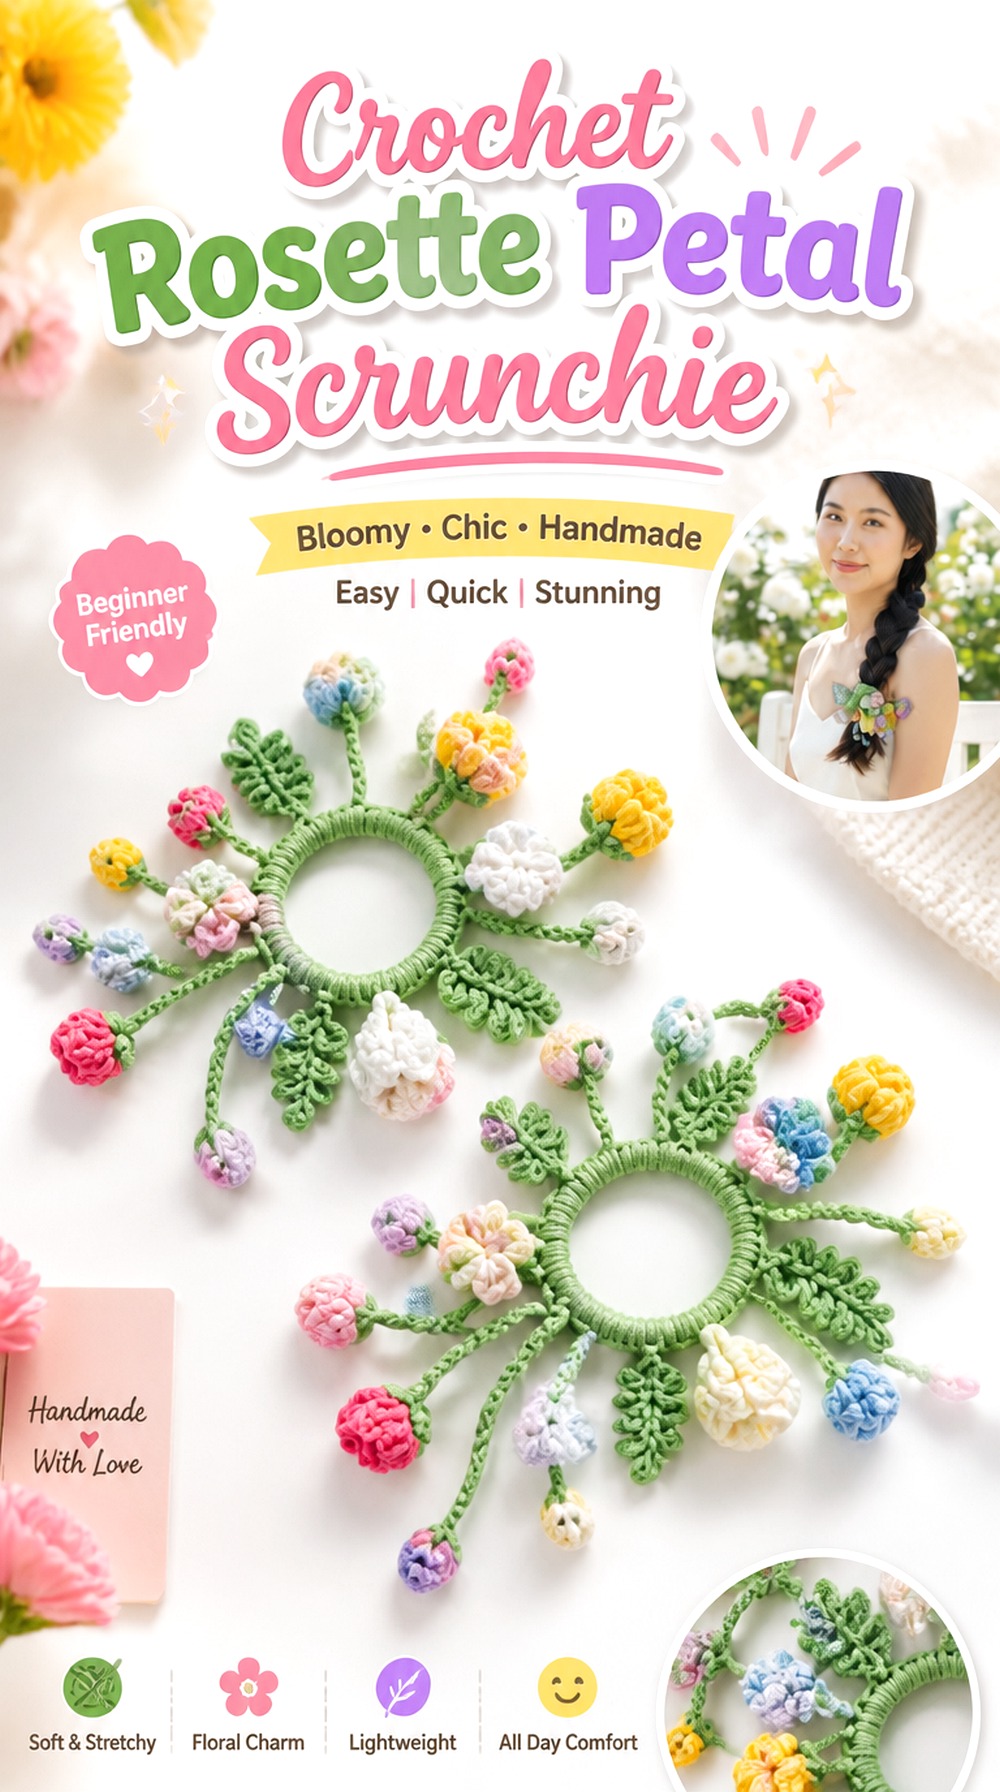
A flower scrunchie distributes crochet around the entire elastic instead of concentrating all the decoration in one rose. That changes both the appearance and function: the accessory looks softer and more continuous, and the floral texture moves around the ponytail rather than sitting at one fixed point.
Pukasnow Crochet demonstrates a flower scrunchie, so this is best treated as a construction reference for readers who want a rosette-inspired scrunchie rather than an exact rolled-rose design. A tonal palette—such as blush petals surrounding a deeper center—can strengthen the rosette impression without changing the fundamental scrunchie format.
The Scrunchie Still Needs to Stretch Freely
It is tempting to fill every visible area with petals, but the elastic needs enough movement to function. Check the finished crochet covering by gently expanding the scrunchie before adding optional embellishments. If the decorative layer is already dense, extra ribbon-like cords may make the piece harder to handle.
Petal Volume Can Hide—or Overwhelm—the Elastic
One advantage of a floral scrunchie is that the elastic can disappear visually behind the crochet. The trade-off is bulk. If the petals become too large for the elastic, the accessory may look more like a flower cuff than a scrunchie. Choose the level of fullness according to how prominently you want the piece to sit in the hair.
Original Tutorial and Creator Credit
Creator: Pukasnow Crochet
Crochet Floral Rosette Headband

A headband gives you a much longer surface for arranging rosettes than a single hair clip. Instead of deciding only how large one flower should be, you can decide whether the flowers should form a continuous row, gather into a side cluster, or appear as spaced focal points.
Crochet & Crafts Therapy by Chompu demonstrates a colorful flower headband with a whimsical finished look. For a more specific rosette-ribbon interpretation, the same accessory format can guide your planning while you keep the flowers in a tighter rose-inspired palette or mix the blooms with ribbon-like crochet ties.
Spread Rosettes Instead of Concentrating All the Weight
Several flowers grouped in exactly one spot can make one side of a soft headband feel noticeably heavier. Before attachment, lay the completed motifs along the band and see how the arrangement distributes visually. A gradual cluster often looks more intentional than simply stacking every rosette at the same point.
Headband Width Sets the Flower Scale
A narrow foundation usually looks cleaner with smaller motifs or partial overlap, while a wider band can visually support larger blooms. Hold the flower against the actual headband rather than judging it on its own. The backing should complement the rosette instead of disappearing so completely that the flower looks unsupported.
Plan the Arrangement Before Sewing
Once several motifs are permanently attached, changing the balance becomes inconvenient. Photograph or mark your preferred arrangement first. This is especially helpful when mixing rosettes, leaves, and ribbon-like ends because the negative space between them is part of the finished design.
Original Tutorial and Creator Credit
Creator: Crochet & Crafts Therapy by Chompu
Crochet Rosette Ribbon Bun Garland
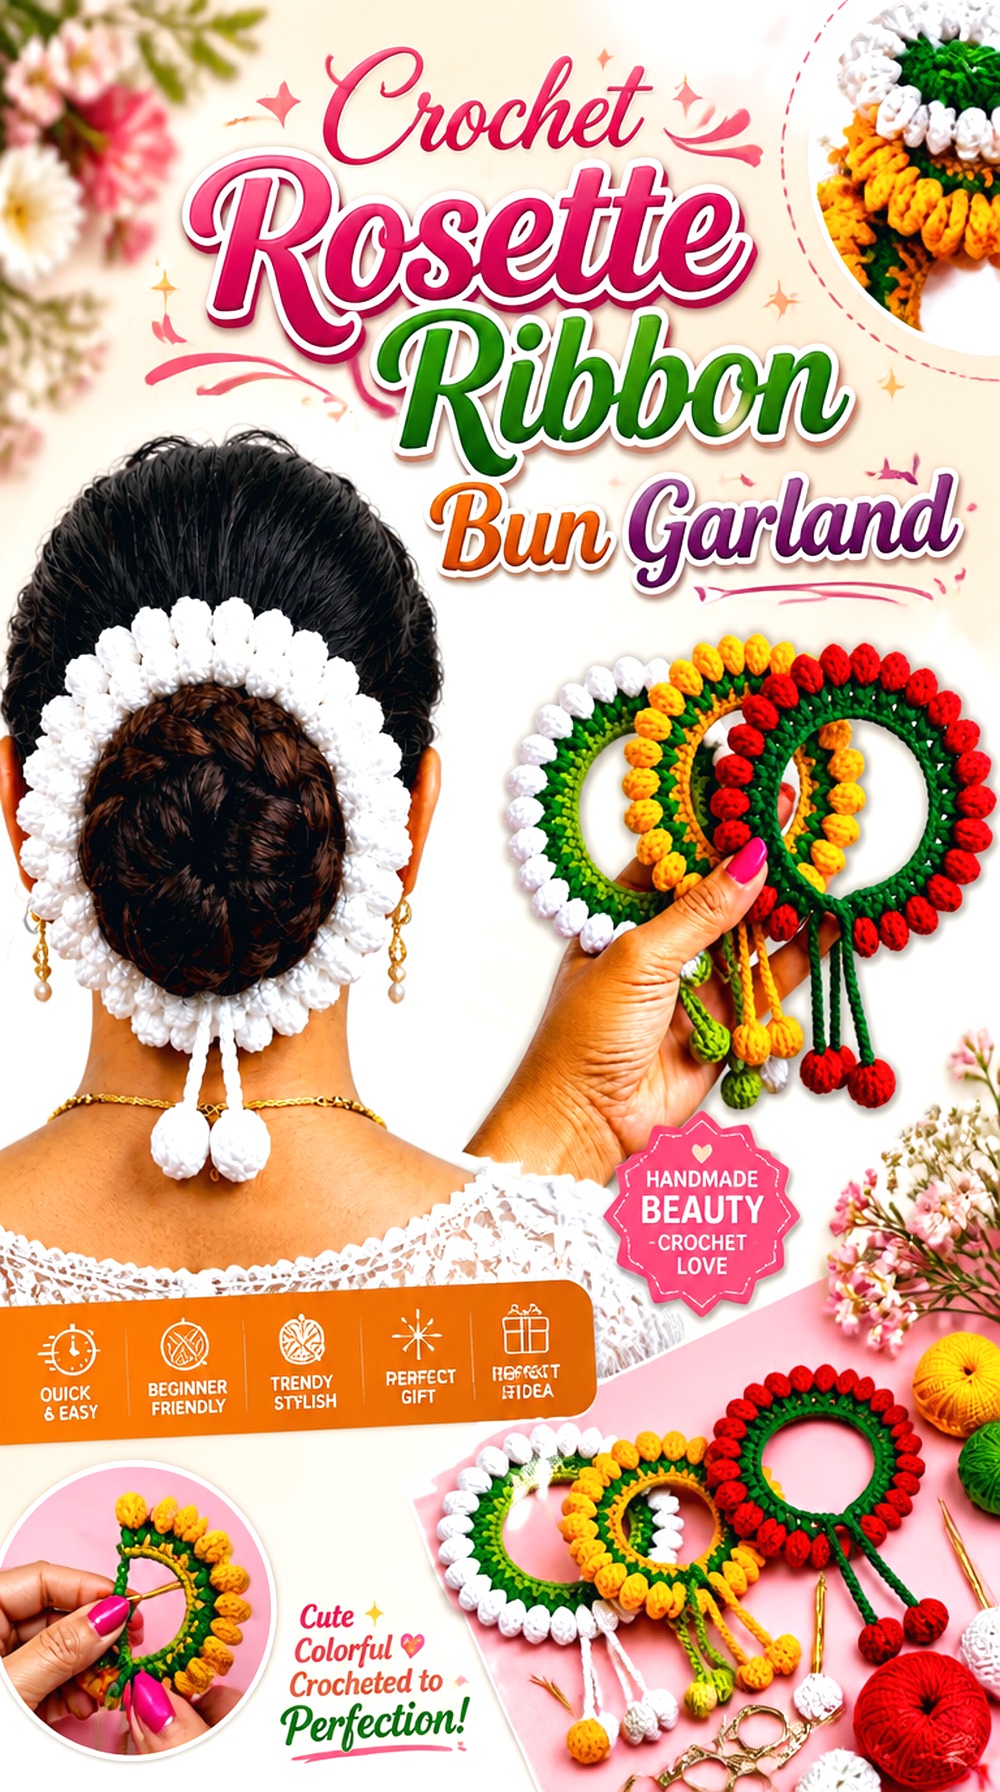
A floral bun garland creates a completely different silhouette from a single rose hair tie. Instead of one central bloom, repeated flowers wrap around the hairstyle, giving the accessory a continuous garland effect. This makes the format well suited to weddings, festive styling, and occasions where you want crochet to frame the bun.
RANJAN CROCHET demonstrates a crochet gajra or veni specifically intended for hair-bun decoration. The source uses floral motifs rather than claiming an exact ribbon-rosette construction, so use it for the garland format and attachment concept while choosing a compatible rose or rosette motif for your own version.
A Bun Garland Needs Flexible Repetition
The flowers must follow a curved hairstyle, so flexibility matters more here than it does on a rigid barrette. Avoid creating such a stiff line of motifs that the garland can no longer bend naturally around the bun. Testing the strip against a bun-sized form before final finishing can reveal whether the spacing feels workable.
Spacing Matters More Than Perfectly Identical Flowers
Minor handmade differences are less noticeable when the overall spacing looks deliberate. Lay the flowers in sequence and check the gaps from a distance. Closely packed rosettes create a fuller floral ring, while more open spacing lets any connecting ribbon-like crochet work become part of the design.
Size the Ties for the Intended Hairstyle
Do not assume the same tie length works for every bun or styling method. The relevant checkpoint is whether the finished garland can be secured comfortably without leaving an excessive amount of cord or forcing a short tie into a tight knot.
Original Tutorial and Creator Credit
Creator: RANJAN CROCHET
Crochet Mini Rose Bracelet
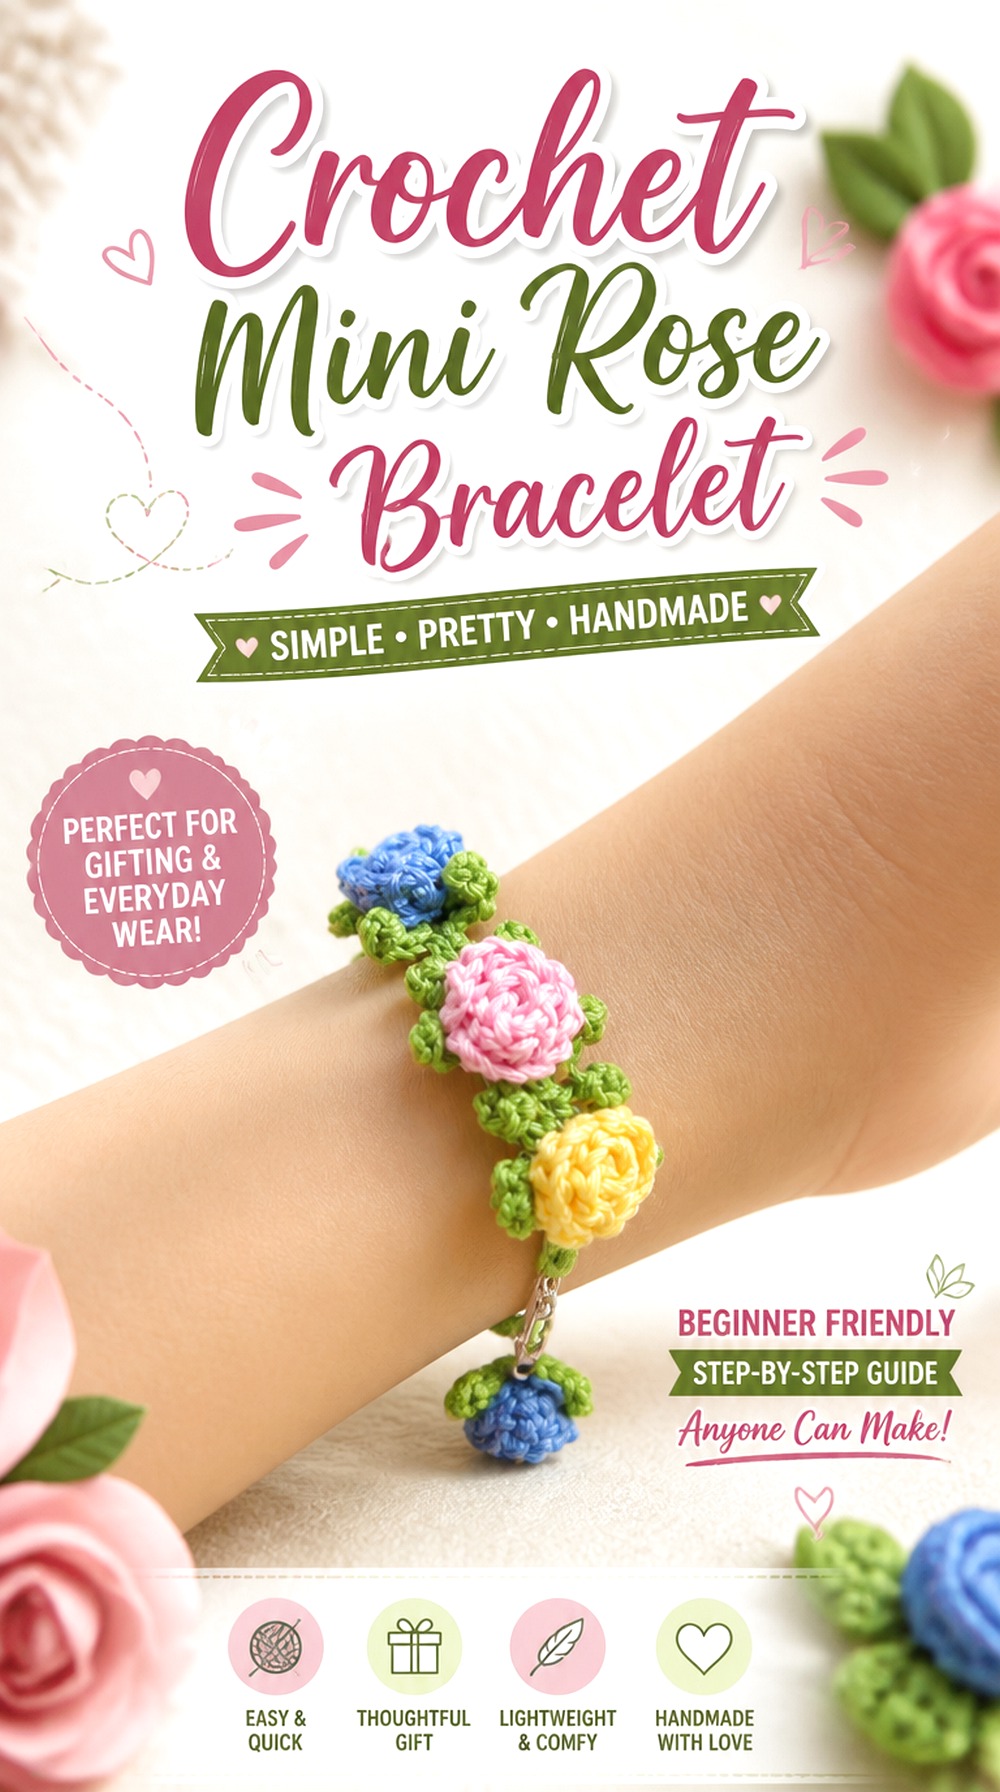
Moving the rosette to the wrist creates a much smaller design problem. Instead of filling an accessory base, the flower needs to become part of something that bends constantly. A miniature rose or several restrained floral motifs usually make more practical sense than a deep bloom that covers a large portion of the wrist.
Handmade by Sakshi🌻 demonstrates a crochet rose flower bracelet and shows the rose motif assembled as wearable jewelry. This makes the tutorial a direct match for readers who want the rosette itself to remain recognizable at a compact jewelry scale.
Keep Wrist Rosettes Low Enough for Movement
Before adding more petals, bend your wrist while holding the flower in the intended position. A rosette that projects too far outward may catch on sleeves or feel awkward when the hand rests on a desk. A smaller flower can still make a strong visual statement when the bracelet band is kept simple.
Check the Closure Before Adding Extra Decoration
The closure area needs to remain accessible. Ribbon-like ties can suit the romantic look, but confirm that they can be tied and untied without the rose or leaves blocking your fingers. If the tutorial uses another closure system, follow the creator’s construction and adapt only after understanding how the bracelet is meant to fasten.
Original Tutorial and Creator Credit
Creator: Handmade by Sakshi🌻
Crochet Rosette Flower Ring
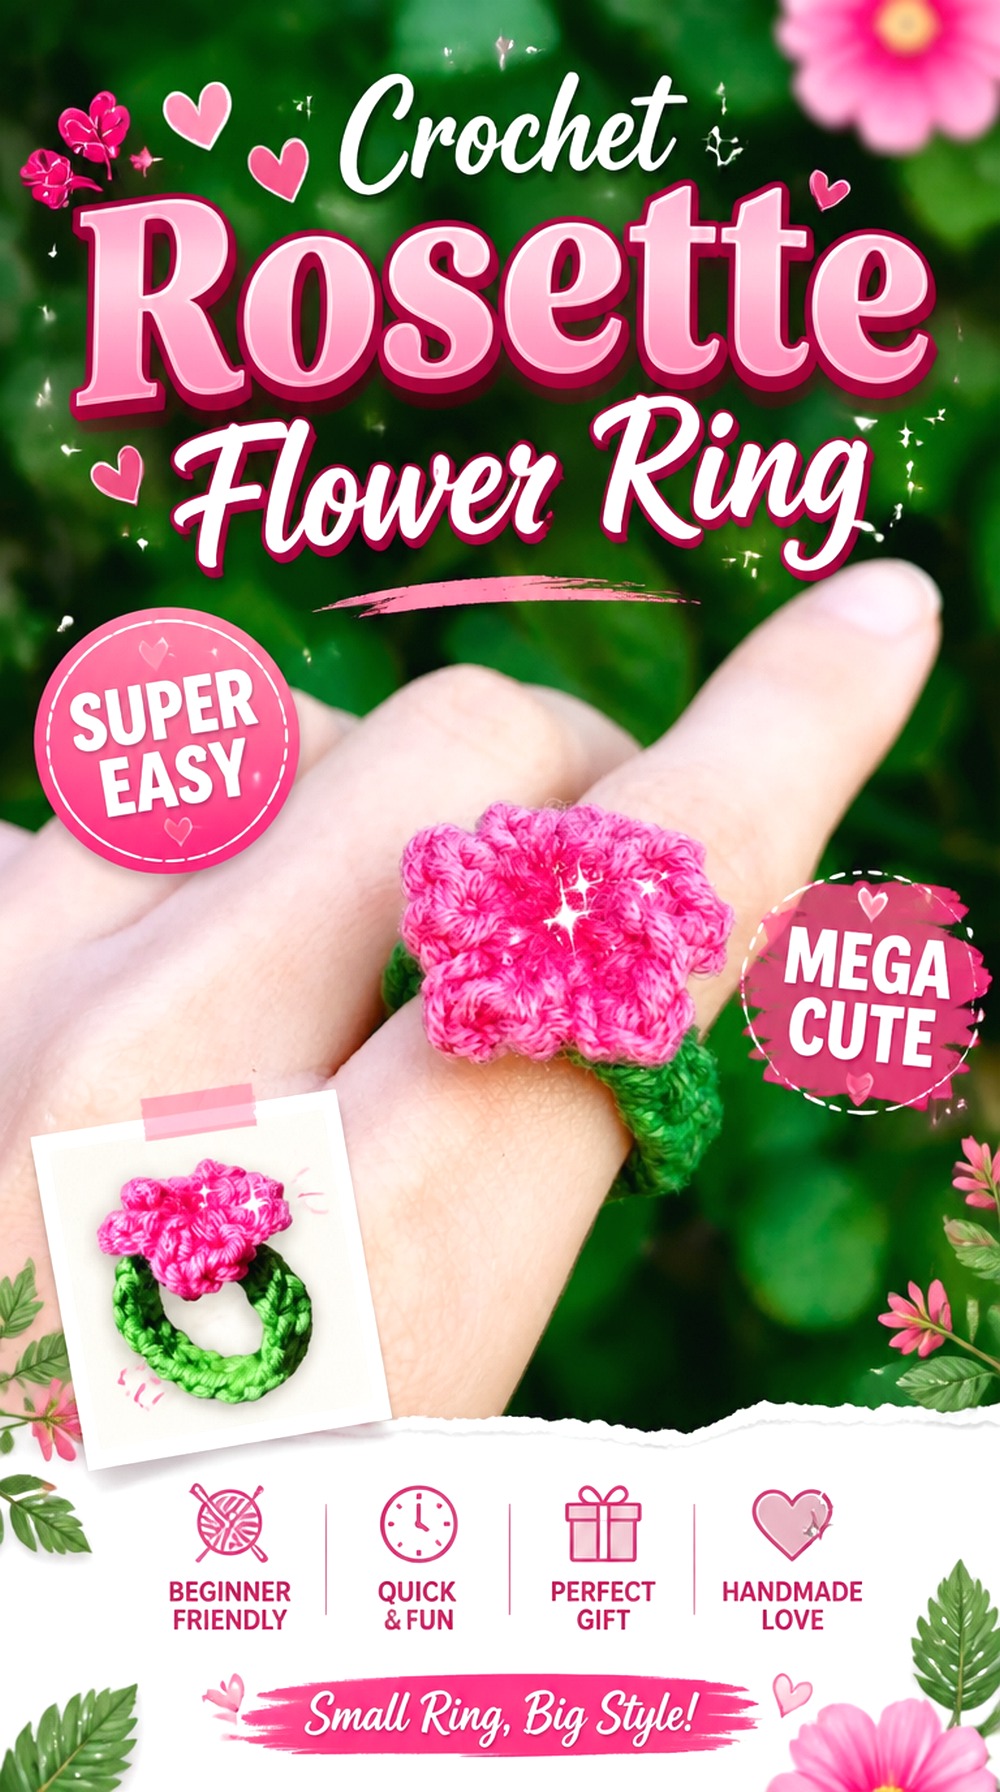
A crochet flower ring is the smallest wearable idea in this collection, so proportion becomes especially important. The bloom needs enough definition to read as a flower without overwhelming the finger or interfering with normal hand movement.
ToysByValerie’s tutorial demonstrates a crochet flower ring and notes that yarn and hook choices affect the final scale. That makes this a useful reference for a miniature rosette interpretation: instead of assuming a full-size rose can simply be attached to a ring, treat the flower and band as one deliberately scaled accessory.
Ring Bands Magnify Small Sizing Errors
Bracelets have room to move around the wrist, but a ring has much less tolerance. Check the band around the intended finger before permanently attaching the flower. If you change yarn thickness from the tutorial, expect the band and flower to change scale together rather than assuming the original proportions will remain unchanged.
Keep the Back of the Rosette Smooth
The underside deserves almost as much attention as the petals because it sits close to the hand. Secure and hide yarn ends carefully, and inspect any attachment area that might create a noticeable lump. A neat backing also helps the flower sit more level instead of tipping to one side.
Original Tutorial and Creator Credit
Creator: ToysByValerie
Crochet Rosette Drop Earrings

Earrings turn the flower into a hanging accessory, which changes the priorities again. The rosette needs to look finished when seen from different angles, and the connection between crochet and jewelry hardware becomes an important part of the design.
Banoris Crafts demonstrates crochet flower earrings and focuses on crochet jewelry and accessory making. A small rosette interpretation can work well here because layered petals provide dimension without requiring the wide foundation of a brooch or headband. Keep the pair visually coordinated, but pay equal attention to comfortable weight and secure attachment.
Pair Weight Matters as Much as Matching Shape
Two earrings can look perfectly symmetrical and still be uncomfortable if the crochet becomes too bulky. When experimenting with extra rosette layers, make one complete earring first and judge its feel before duplicating it. This can prevent making a beautifully matched pair that is heavier than you actually want to wear.
Confirm the Jewelry Hardware Separately
The crochet tutorial shows the flower concept, but earring findings are a separate material decision. Make sure the hardware you choose is intended for earrings and works with your preferences. Check that the joining loop is fully closed so the crochet component cannot slip away during wear.
Original Tutorial and Creator Credit
Creator: Banoris Crafts
Crochet Rosette Choker

A choker puts the flower very close to the neckline, creating a strong focal point even when only one rosette is used. Compared with a longer floral necklace, the relationship between flower size, band width, and neck fit becomes much more noticeable.
Cherilyn Q demonstrates a complete crochet flower choker tutorial with sections covering the flower, sewing, and choker construction. That makes this source particularly useful for readers who want a finished neck accessory rather than only a standalone floral motif. A rose-inspired color palette or layered rosette can shift the flower toward the ribbon-rosette aesthetic.
Neck Fit Needs More Adjustment Than a Bracelet
A choker should not be planned from appearance alone. Check how the band sits around the intended neckline and retain enough adjustment for comfortable wear. Changing yarn thickness or adding a larger rosette can alter how the piece feels even if the band construction itself stays similar.
Centered and Off-Center Rosettes Create Different Looks
The classic placement is a flower at the front center, but an off-center rosette can give the choker a less symmetrical, more ribbon-corsage appearance. Decide on placement while the band is on a dress form or held around the neckline instead of guessing from a flat layout.
Do Not Let Decorative Tails Replace a Secure Closure
Ribbon-like ties can contribute to the style, but they still need to function reliably if they are part of the closure. If the original tutorial uses a specific choker construction, understand that method first before substituting a decorative tie that may stretch or loosen differently.
Original Tutorial and Creator Credit
Creator: Cherilyn Q
Crochet Rosette Ribbon Waist Belt

A floral belt expands the rosette idea into a larger wearable accessory. Instead of one flower acting as a focal point, repeated motifs form a flexible line around the waist. Long ties can also naturally create the ribbon element in the finished look.
Crochet Kitchen demonstrates a crochet flower belt intended for styling with garments such as jeans and dresses. The source uses flower motifs rather than an exact rose construction, so it works best as the structural reference for a rosette-ribbon belt: follow the creator for the belt format, then consider only compatible motif changes after checking how the repeated flowers connect.
Repeated Rosettes Need Consistent Scale
Small differences become more visible when the same motif is placed in a row. If you substitute a rosette for the tutorial’s flower, make and finish several samples before committing to an entire belt. Check that their diameters and density are similar enough to create an even line around the body.
Waist Ties Should Stay Adjustable
One advantage of a crochet tie belt is flexibility across outfits. Keep enough functional tie length for the intended styling instead of using all the available cord for decorative bows and trailing details. A ribbon-like finish is most useful when it still allows the belt to be adjusted comfortably.
Consider How the Belt Looks From the Back
Repeated flowers may be concentrated across the front or continue farther around the waist depending on the design. Before increasing the number of rosettes, consider whether you want floral coverage all the way around or a decorative front section with simpler ties at the back.
Original Tutorial and Creator Credit
Creator: Crochet Kitchen
Crochet Dimensional Rosette Brooch

A brooch is one of the most forgiving places to experiment with a fuller rosette. Because it is pinned to clothing, a scarf, or another textile accessory rather than bending around the body, the flower can have noticeably more depth than a ring or bracelet motif.
Crochet your life demonstrates a three-dimensional flower brooch with overlapping petals and attachment to a brooch base. That makes it a strong source for readers who want the rosette itself to remain the main feature. The creator also frames the finished piece for use on clothing, scarves, or bags, giving this format more styling flexibility than fixed jewelry.
A Brooch Can Support More Petal Depth
If you like a tightly layered rose, this is a better place to use it than a tiny ring or earring. Still, check how the finished flower hangs once the brooch is pinned vertically. Very soft petals may droop differently on clothing than they appear while lying flat on a work surface.
Match the Pin Base to the Finished Flower
The backing should support the center of the rosette without showing unnecessarily around the edges. Before permanent attachment, hold the brooch horizontally and vertically and make sure the flower does not rotate easily around one narrow fixing point.
Original Tutorial and Creator Credit
Creator: Crochet your life
Crochet Rose Mini Pouch Bag Charm
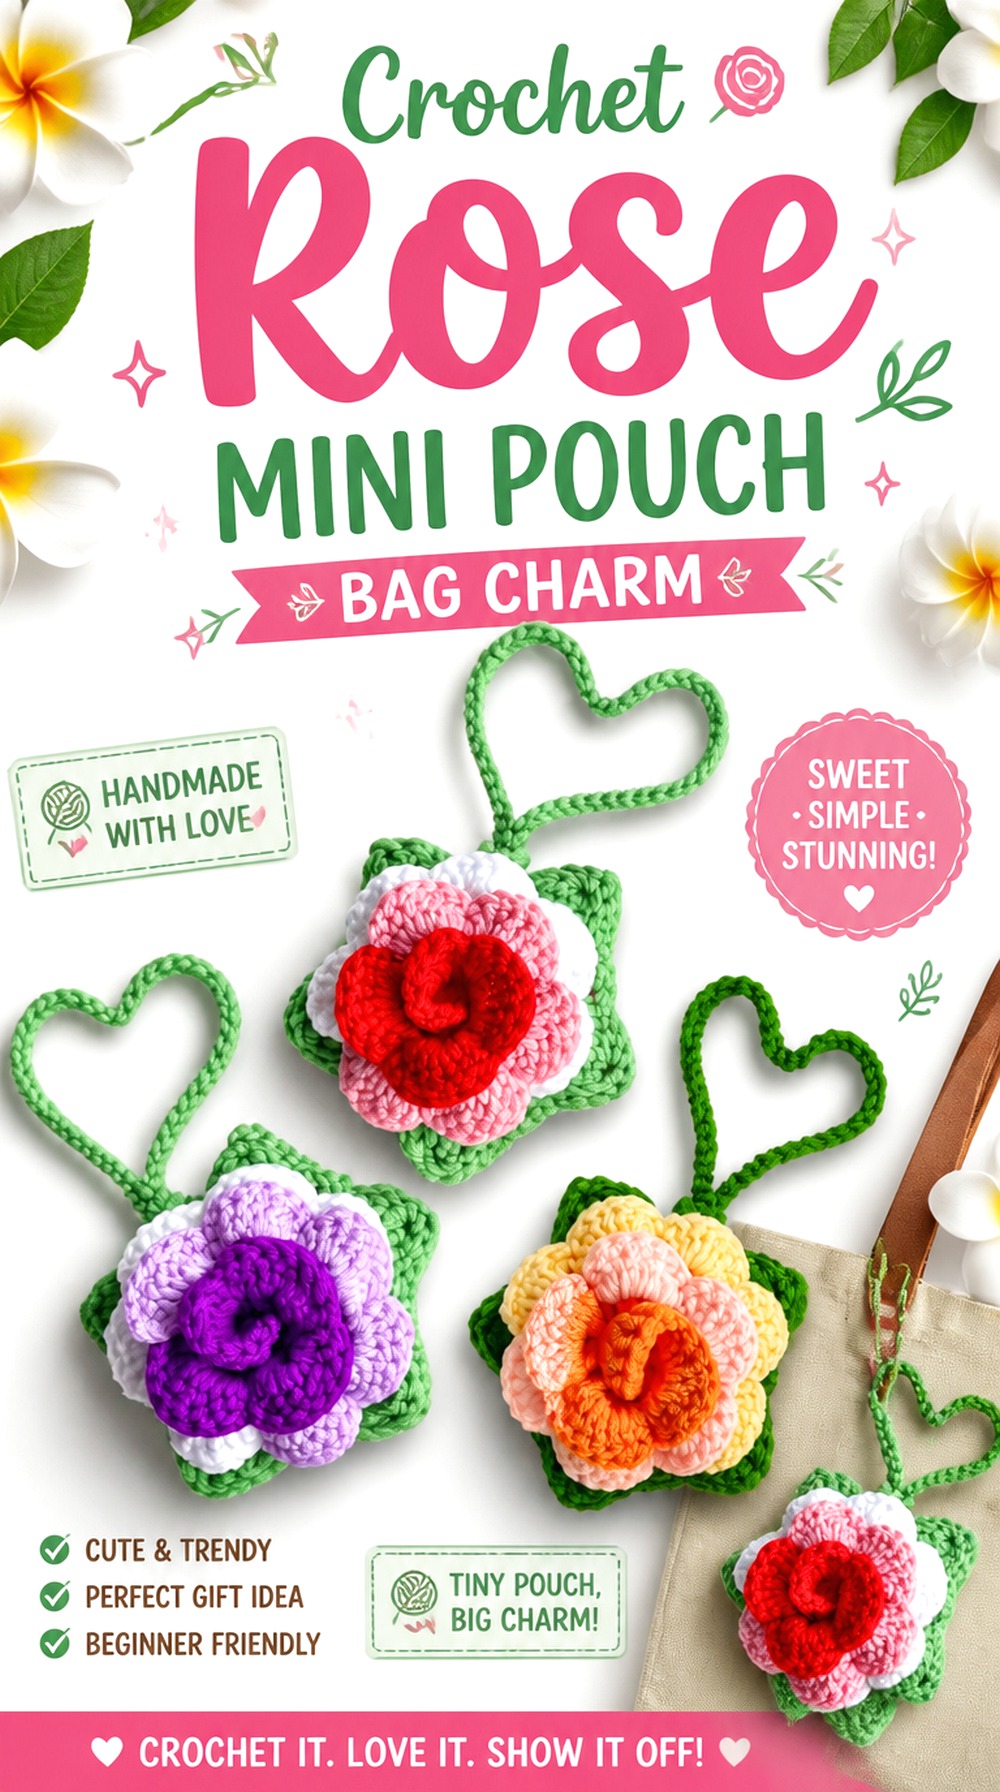
This idea adds function to the decorative flower. Instead of hanging a standalone rose from a bag, the finished piece combines the rose appearance with a small pouch-style charm. That gives it a more substantial shape and separates it clearly from the simple rose keychain and hanging flower charm later in the list.
Kukkacrochet By Putri demonstrates a rose mini pouch bag charm and shows the accessory as a complete hanging project. It is a useful choice when you want the floral shape to become a small constructed object rather than merely attaching a flower appliqué to hardware.
The Pouch Shape Must Still Read Clearly
A large decorative rosette can hide the opening or make a small pouch difficult to handle. If you experiment with extra petals or ribbon-like tails, keep the functional area visible. The flower should explain the theme while the pouch remains understandable as a separate object.
Hanging Orientation Changes the Rose Shape
A bag charm spends most of its time hanging vertically. Check the piece in that position before finishing because leaves, petals, and ties can fall differently under gravity. Elements that sit neatly around a rose on a table may overlap once the charm is clipped to a bag.
Keep Decorative Additions Away From the Opening
If the pouch has an accessible interior, protect that function when adapting the design. Extra cords, bows, or leaves should not obstruct whatever opening or closure the creator demonstrates. Function is what distinguishes this project from a purely decorative bag charm.
Original Tutorial and Creator Credit
Creator: Kukkacrochet By Putri
Crochet Layered Rose Bag Charm
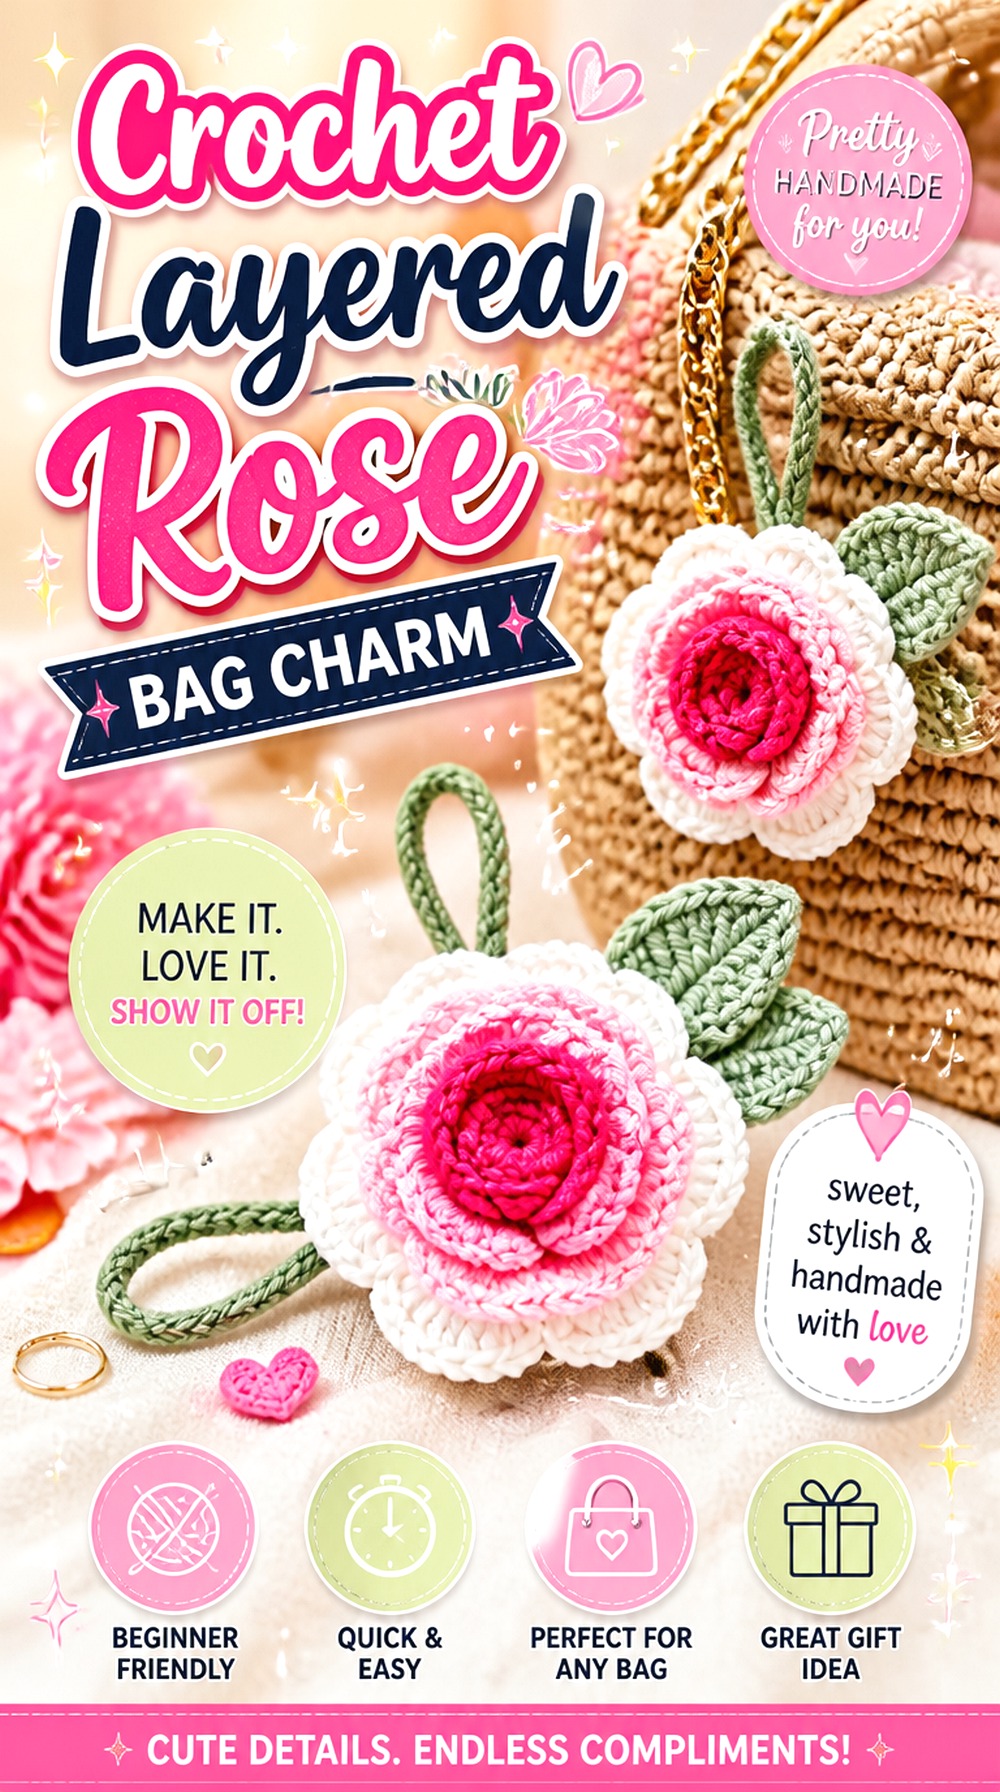
A standalone rose bag charm keeps the focus entirely on the flower. Compared with the mini pouch above, there is no need to preserve storage space or an opening, so you can judge the design primarily by silhouette, petal depth, hanging position, and how it complements the bag.
Knitra’s tutorial specifically demonstrates a crochet rose bag charm and uses multiple colors in the flower. This makes it a useful reference for a more layered floral look where color changes can emphasize separate petal sections. For a ribbon-inspired version, consider how a trailing leaf or crochet cord would balance the rose without competing with it.
Color Layers Can Define the Rosette Without More Bulk
You do not always need additional petals to make a flower appear more dimensional. Moving from lighter outer sections to deeper central tones can make the layers easier to read visually. This can be especially useful on a bag charm, where too much added thickness may cause the flower to twist as the bag moves.
Test the Charm Against the Actual Bag
A rose that looks substantial in your hand may look small on a large tote and oversized on a compact purse. Hold the finished flower against the bag before choosing the hanging point or adding longer ribbon-like details. Scale should relate to the accessory it decorates.
Original Tutorial and Creator Credit
Creator: Knitra
Crochet Rolled Rose Keychain
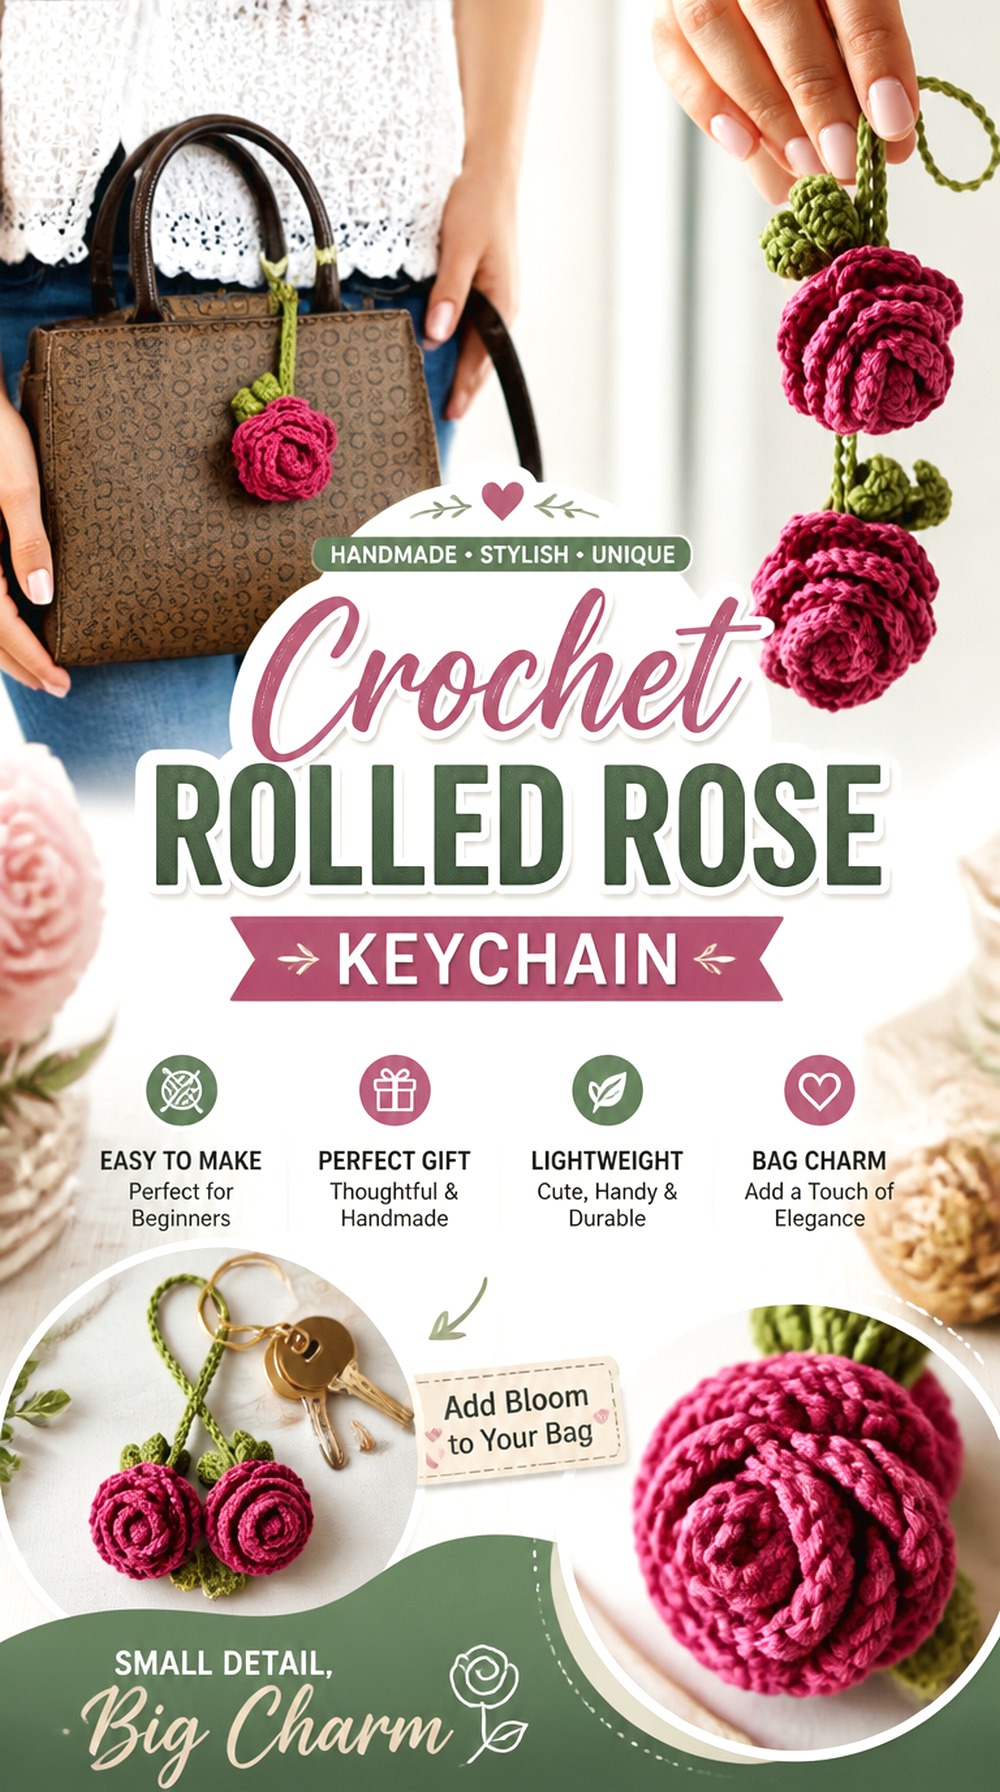
A rose keychain is the most portable version of the rosette accessory idea. It can move between keys, bags, backpacks, and craft cases depending on the chosen hanging method. Because it is handled frequently, a neat flower base and secure connection matter as much as attractive petals.
Joy as it Flies demonstrates a crochet rose keychain and specifically discusses both a yarn-based hanging option and the possibility of using metal keychain hardware. That makes this tutorial useful for comparing different ways a small rose can become a functional hanging accessory rather than simply remaining an appliqué.
A Keychain Rose Will Be Handled More Often
Unlike a brooch, which may remain in place for hours, a keychain is repeatedly grabbed and moved. Check the base of the flower and any leaves for loose yarn ends before attaching it. If you add decorative ribbon-style cords, keep them short enough that they do not constantly snag on nearby objects.
Choose the Hanging Method for the Real Use
A soft crocheted loop can create an all-yarn finish, while metal keychain hardware provides a more conventional attachment point. Rather than choosing only by appearance, consider what the charm will hang from and how frequently you expect to move it between bags or keys.
Which Crochet Rosette Ribbon Accessory Should You Choose?
Choose by the accessory base first and the flower style second. For a small project where one bloom does most of the visual work, the hair clip, ring, brooch, or keychain keeps the construction focused. The bracelet, choker, and earrings require more attention to comfort because the rosette stays in close contact with the body.
For larger floral arrangements, the headband, bun garland, and waist belt give you space to repeat motifs and create a stronger ribbon-garland effect. The 3D hair tie works well when you want one fuller bloom, while the scrunchie spreads floral texture around an elastic.
For bags, decide whether function matters. The mini pouch charm adds a constructed pocket-like form, while the layered rose charm is primarily decorative.
Conclusion
These 14 crochet rosette ribbon accessory ideas show how much the finished result changes when the same floral theme moves between different foundations. Use a compact bloom for rings and earrings, more depth for brooches and bag charms, flexible repetition for belts and bun garlands, and carefully placed flowers where elastic or closures need to keep moving.
If you want the strongest ribbon effect, focus on accessories with ties, bands, hanging cords, or room for trailing details rather than forcing long embellishments onto very small hardware. Once you choose the format, use the original tutorials for the creators’ exact construction, materials, and finishing details.
Frequently Asked Questions
Can I use the same crochet rosette for all 14 accessories?
Not necessarily. A rosette suitable for a brooch or bag charm may be too thick for a ring, earring, or narrow clip. Make one flower first, then compare its finished footprint and depth with the accessory base. Changing yarn or hook size can also change the flower substantially, so recheck the scale whenever you substitute materials.
What makes a crochet flower look more like a rosette?
A rosette usually reads as a compact, layered bloom with petals arranged around a defined center. Rolled roses and overlapping petal structures naturally create this effect, but color placement can help too. A deeper center and gradually lighter outer petals can emphasize the layered appearance without requiring excessive thickness.
Can I add ribbon tails to a tutorial that does not include them?
You can treat ribbon-like crochet cords or separate decorative ribbon as an adaptation, but first check whether the accessory has space for them. Avoid putting tails where they interfere with clips, elastic stretch, jewelry closures, pouch openings, or key rings. Keep the creator’s original tutorial available for the core construction rather than trying to replace its attachment method blindly.
What yarn qualities work well for small rosette accessories?
For small flowers, a relatively smooth yarn can make individual petals and edges easier to see. Very thick yarn can quickly increase the flower’s footprint, while highly fuzzy fibers may soften fine detail. The tutorial creator’s yarn recommendation is the safest starting point; if you substitute another yarn, make a sample before producing matching earrings, repeated belt motifs, or multiple headband flowers.
How can I stop a large crochet rose from drooping?
First check whether the rosette is simply too large for its backing. A wider brooch or bag-charm base can support more depth than a narrow hair clip. Also make sure the center attachment is secure and the underside is neatly finished. If the tutorial uses a particular assembly or reinforcement method, follow that rather than adding an unverified structure that could change the finished piece.
Should I make all the rosettes before assembling a floral belt or headband?
Making a few first is usually more useful than completing the entire batch immediately. Finish and compare several motifs so you can check scale, color balance, and spacing against the actual band or belt. Once you know the flowers work together, continue the set. This reduces the risk of discovering late that every motif is slightly too large for the planned layout.