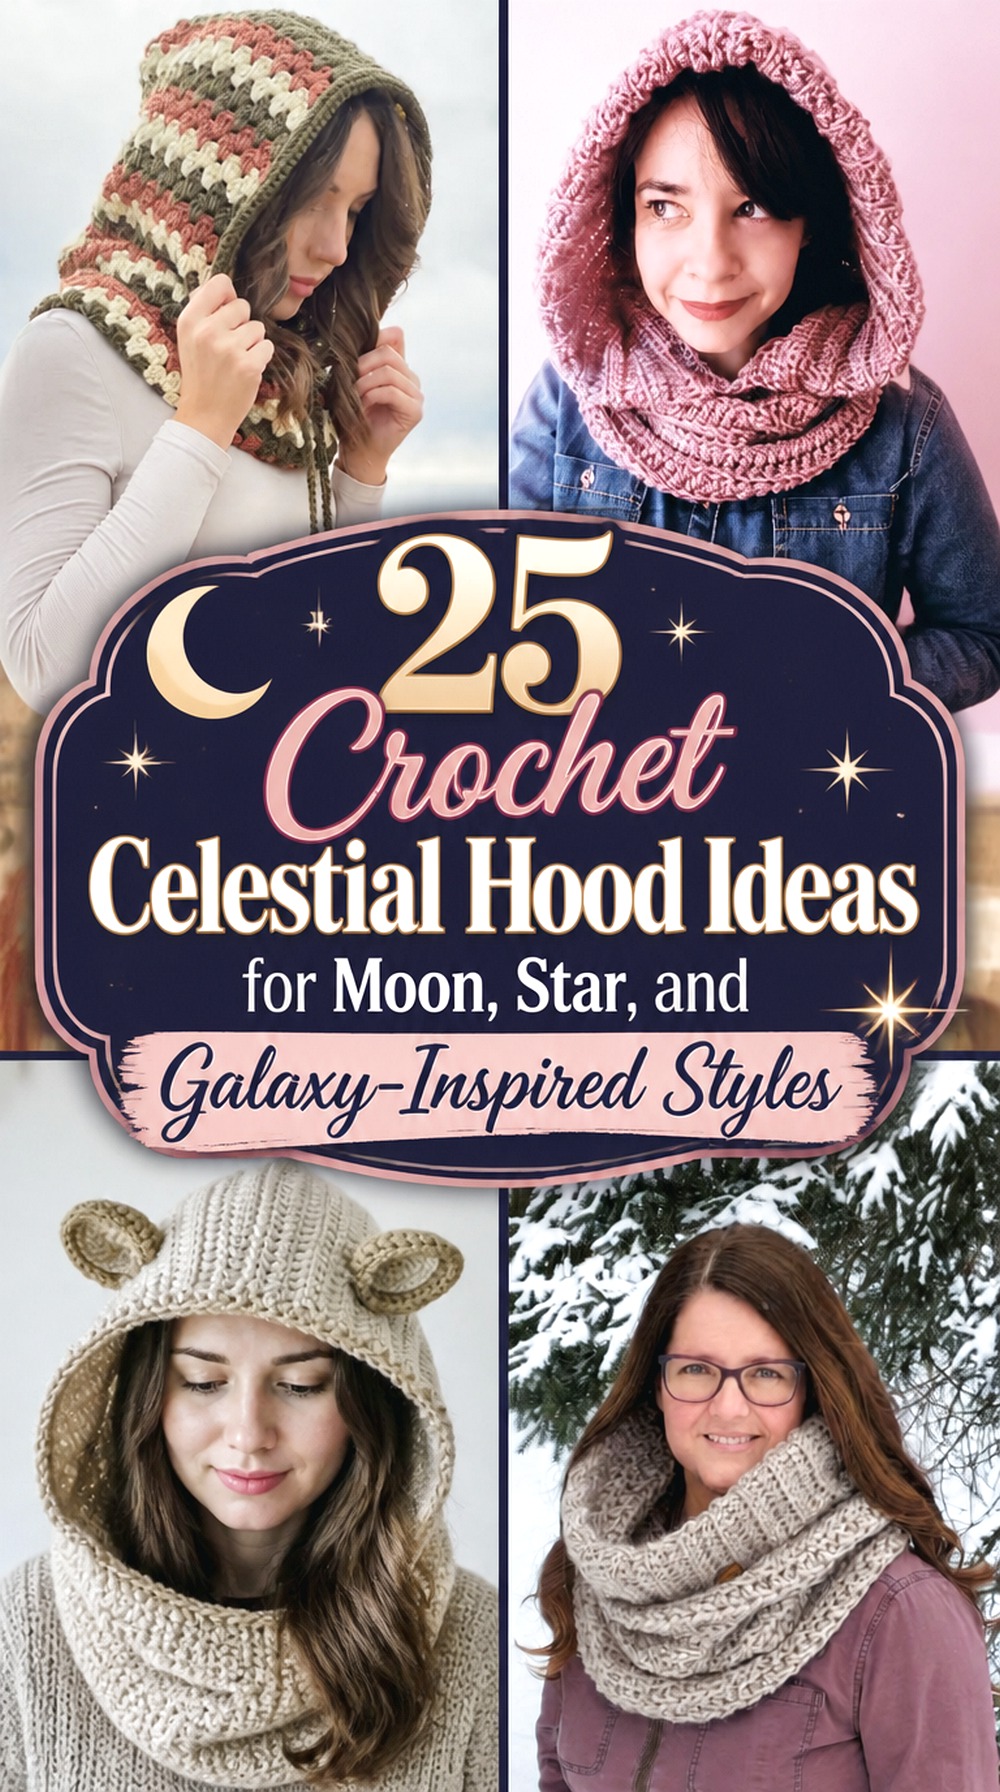

Celestial crochet hoods can range from subtle night-sky accessories to unmistakable moon-and-star statement pieces. The biggest differences are not simply color. A close-fitting balaclava handles motifs differently from a loose hooded cowl, while a long scarf hood gives gradients and dramatic color transitions far more room to develop.
The ideas below include ribbed balaclavas, granny-square hoods, oversized cowls, pocket scarves, infinity hoods, and sculptural scarf-hood combinations. Some source tutorials already contain star-like texture or motif-friendly construction; others provide a strong hood shape that can be adapted with celestial colors, appliqués, stripes, or surface details. Use the original videos for exact construction, then choose the celestial treatment that works with the shape rather than forcing decorative elements into areas where fit and stretch matter most.
Quick List
- Crochet Starline Ribbed Balaclava
- Crochet Crescent Drawstring Balaclava
- Crochet Meteor Chunky Balaclava
- Crochet Comet-Tail Balaclava Scarf
- Crochet Sunburst Granny Square Balaclava
- Crochet Eclipse Granny Square Hood
- Crochet Constellation Checkered Balaclava
- Crochet Stardust Scrap-Yarn Balaclava
- Crochet Moonwatch Ski-Mask Hood
- Crochet Lunar Bonnet Crohoodie
- Crochet Nebula Oversized Cowl Hoodie
- Crochet Halo-Edge Hooded Cowl
- Crochet Midnight Adjustable Hooded Cowl
- Crochet Moonrise Classic Hooded Cowl
- Crochet Orbit Seam Hooded Cowl
- Crochet Cosmic Cable Hooded Cowl
- Crochet Night-Sky Granny Stripe Hooded Cowl
- Crochet Galaxy Infinity Scarf Hood
- Crochet Orion Granny-Stitch Garment Hood
- Crochet Aurora Striped Scoodie
- Crochet Star-Wanderer Pocket Hooded Scarf
- Crochet Solar-Arc Hood Scarf
- Crochet Crescent-Tail Triangle Hooded Scarf
- Crochet Moonbeam Herringbone Hooded Scarf
- Crochet Starfield Snood Hood
Choose the Celestial Effect Before the Hood Construction
“Celestial” does not have to mean covering the entire hood in stars. A night-sky palette can be enough for a wearable you want to use often, while a festival or costume-inspired hood can handle larger moons, contrasting stars, and stronger color blocking.
Think about where the celestial detail will live. Granny-square hoods naturally create framed spaces for sunbursts or star motifs. Plain balaclavas give you an uninterrupted surface for colorwork or carefully placed appliqués. Hooded scarves offer long areas where a midnight-to-dawn gradient can travel away from the face. Highly textured hoods may already provide enough visual movement without extra motifs. Decide whether color, texture, surface decoration, or motif construction is carrying the theme before choosing the tutorial.
Fit and Drape Matter More Around the Face Than Elsewhere
A celestial hood still has to behave like a wearable. Close-fitting balaclavas rely on controlled stretch around the forehead, cheeks, neck, and face opening. Adding stiff embroidery, bulky appliqués, or dense patches directly to those areas can change how the edge stretches.
Loose cowl hoods have more freedom because much of the fabric hangs rather than grips. Hooded scarves need enough drape for the scarf ends to fall naturally instead of standing away from the body. Granny-square constructions add seams and joins that affect flexibility differently from continuous fabric.
When changing the yarn suggested by a tutorial, make a fabric sample and compare stretch, thickness, and drape before committing. A yarn that gives crisp stars may produce a firmer hood, while a softer fabric may blur detailed motifs but sit more comfortably around the face.
Place Stars, Moons, and Texture Without Overloading the Hood
The safest place for a large celestial focal point is often the side, crown, back panel, or scarf section rather than the most elastic part of the face opening. A crescent appliqué can become visually distorted if it sits across a strongly stretched edge, while a constellation of small embroidered marks can usually adapt more quietly to movement.
For granny constructions, block the individual motifs before judging how they fit together. Two squares that appear similar straight off the hook can behave differently after blocking, especially if the center motifs have different densities.
Also consider weight. Several dimensional stars, beads, tassels, or dense appliqués can pull a soft hood out of shape. Add embellishments gradually and reassess how the hood hangs instead of treating every available surface as decoration space.
Crochet Starline Ribbed Balaclava
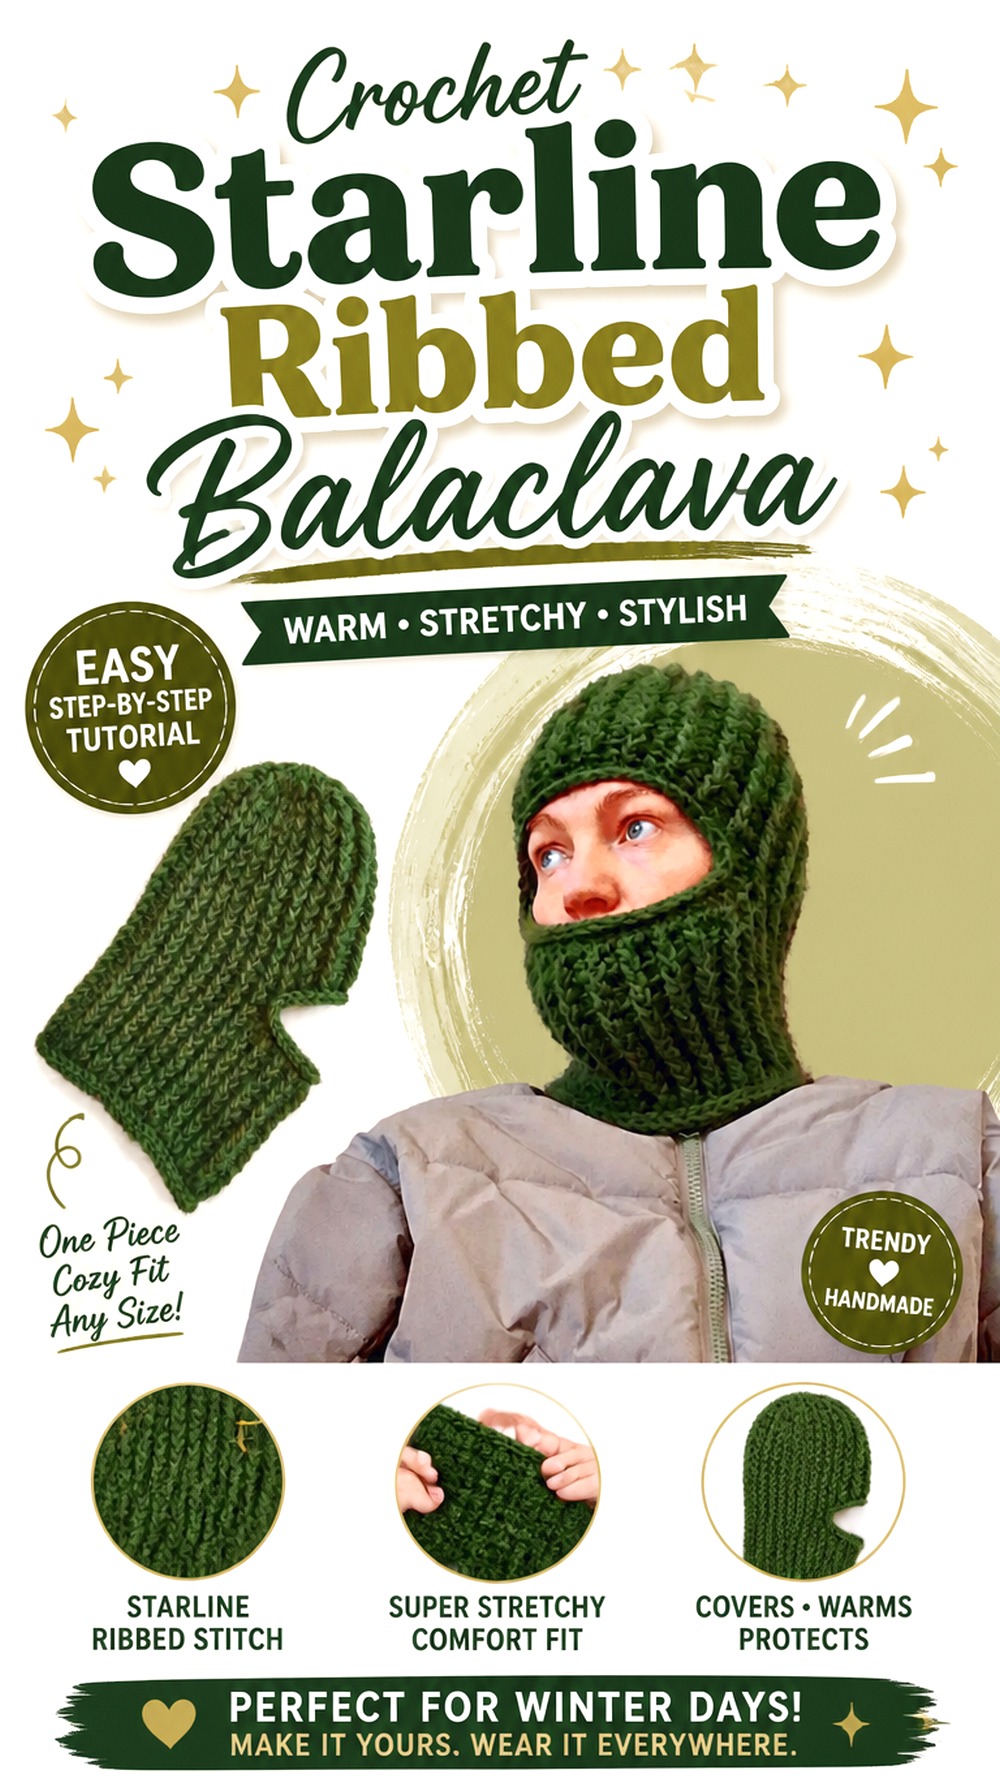
A ribbed balaclava gives the celestial theme a sleek, close-fitting direction. Rather than adding many separate decorations, use the vertical texture as part of the design: a dark base can suggest the night sky while a narrow contrasting face edge becomes a clean “starlight” outline. The Serafima Crochet & Knitting tutorial uses a top-down, try-as-you-go approach and produces a strongly ribbed finished hood, making it particularly useful when fit is a bigger priority than decorative complexity.
This option stands apart from loose cowls because the celestial effect has to cooperate with stretch rather than hang freely.
Let the Ribbing Carry Part of the Design
Raised ribbing already creates changing highlights and shadows as the wearer moves. That means a solid navy, charcoal, plum, or midnight blue can look more dimensional than the same shade on completely flat fabric. Before adding stars, see whether the texture provides enough interest. A restrained metallic-looking accent color at the opening can be more effective than covering the entire hood.
Keep Large Motifs Away From High-Stretch Edges
The face opening is expected to move, so a large rigid moon appliqué there may interfere with fit. If you want a focal motif, the side of the head or upper crown gives it a calmer surface. Smaller embroidered star marks can be distributed more lightly, provided they do not prevent the ribbed fabric from expanding.
Check the Fit Before Decorating
Finish the basic hood and assess how it sits before planning embellishments. A try-as-you-go construction is especially useful here because decorative placement can be judged on the actual finished shape rather than on a flat piece that will later stretch differently around the head.
Crochet Crescent Drawstring Balaclava
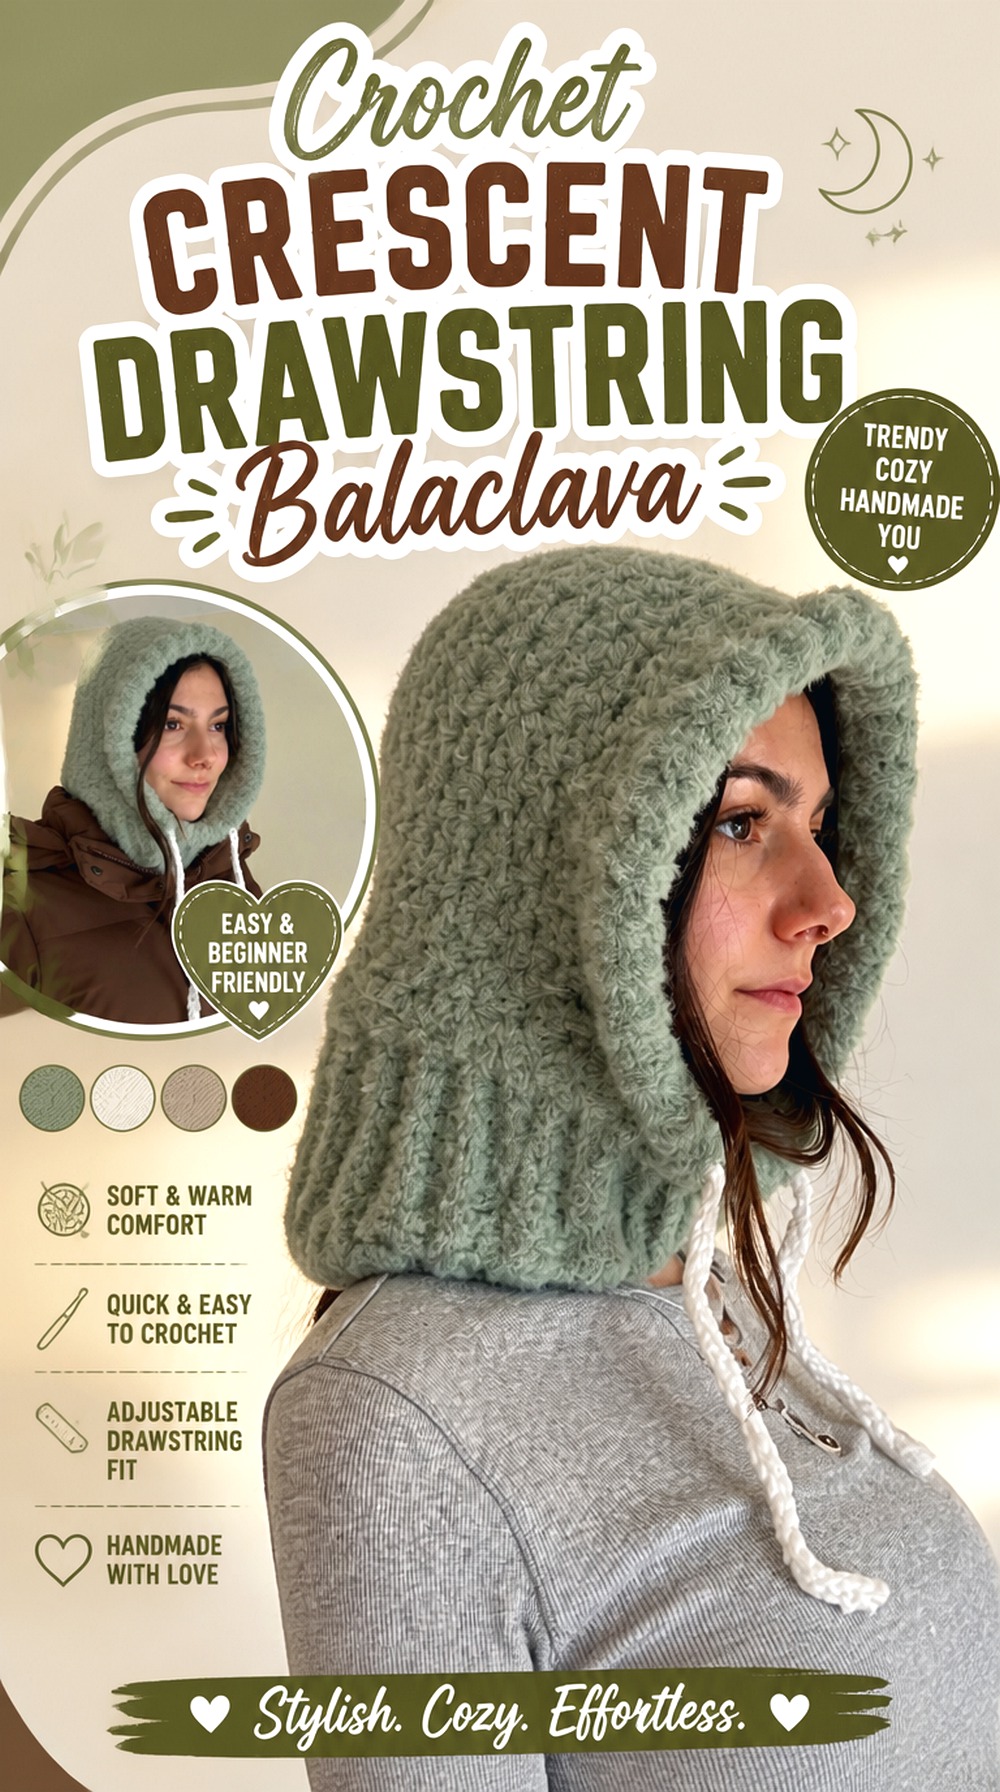
This variation uses a fitted balaclava with a drawstring detail as the base for a crescent-moon concept. Natalie’s tutorial is made to measure and includes lower ribbing, face ribbing, and a drawstring, giving you several natural places to separate the celestial theme instead of putting everything on the hood itself.
For example, the main hood could remain a quiet night-sky shade while the drawstring, ties, or face border provide the lighter “moon” contrast. This is a useful choice for someone who wants recognizable celestial styling without a large appliqué sitting on the side of the head.
Use the Drawstring as a Controlled Accent
Long ties attract attention because they move independently from the hood. Rather than adding several surface decorations, consider giving the drawstring the brightest or lightest color in the palette. That keeps the hood visually wearable while still producing a strong celestial contrast.
Protect the Face Border From Heavy Decoration
Ribbing around the face has a functional job. Dense embroidery or heavy embellishments can make one section less elastic than another. Keep any crescent or star detail slightly farther back on the hood, and treat the face edge primarily as a flexible frame.
Adjust the Theme After the Hood Fits
A made-to-measure approach gives you a useful advantage: you can settle the fit before finalizing decorative placement. Mark potential motif positions while wearing the hood and check that they remain visible rather than disappearing toward the back of the head.
Original Tutorial and Creator Credit
Creator: Natalie
Crochet Meteor Chunky Balaclava
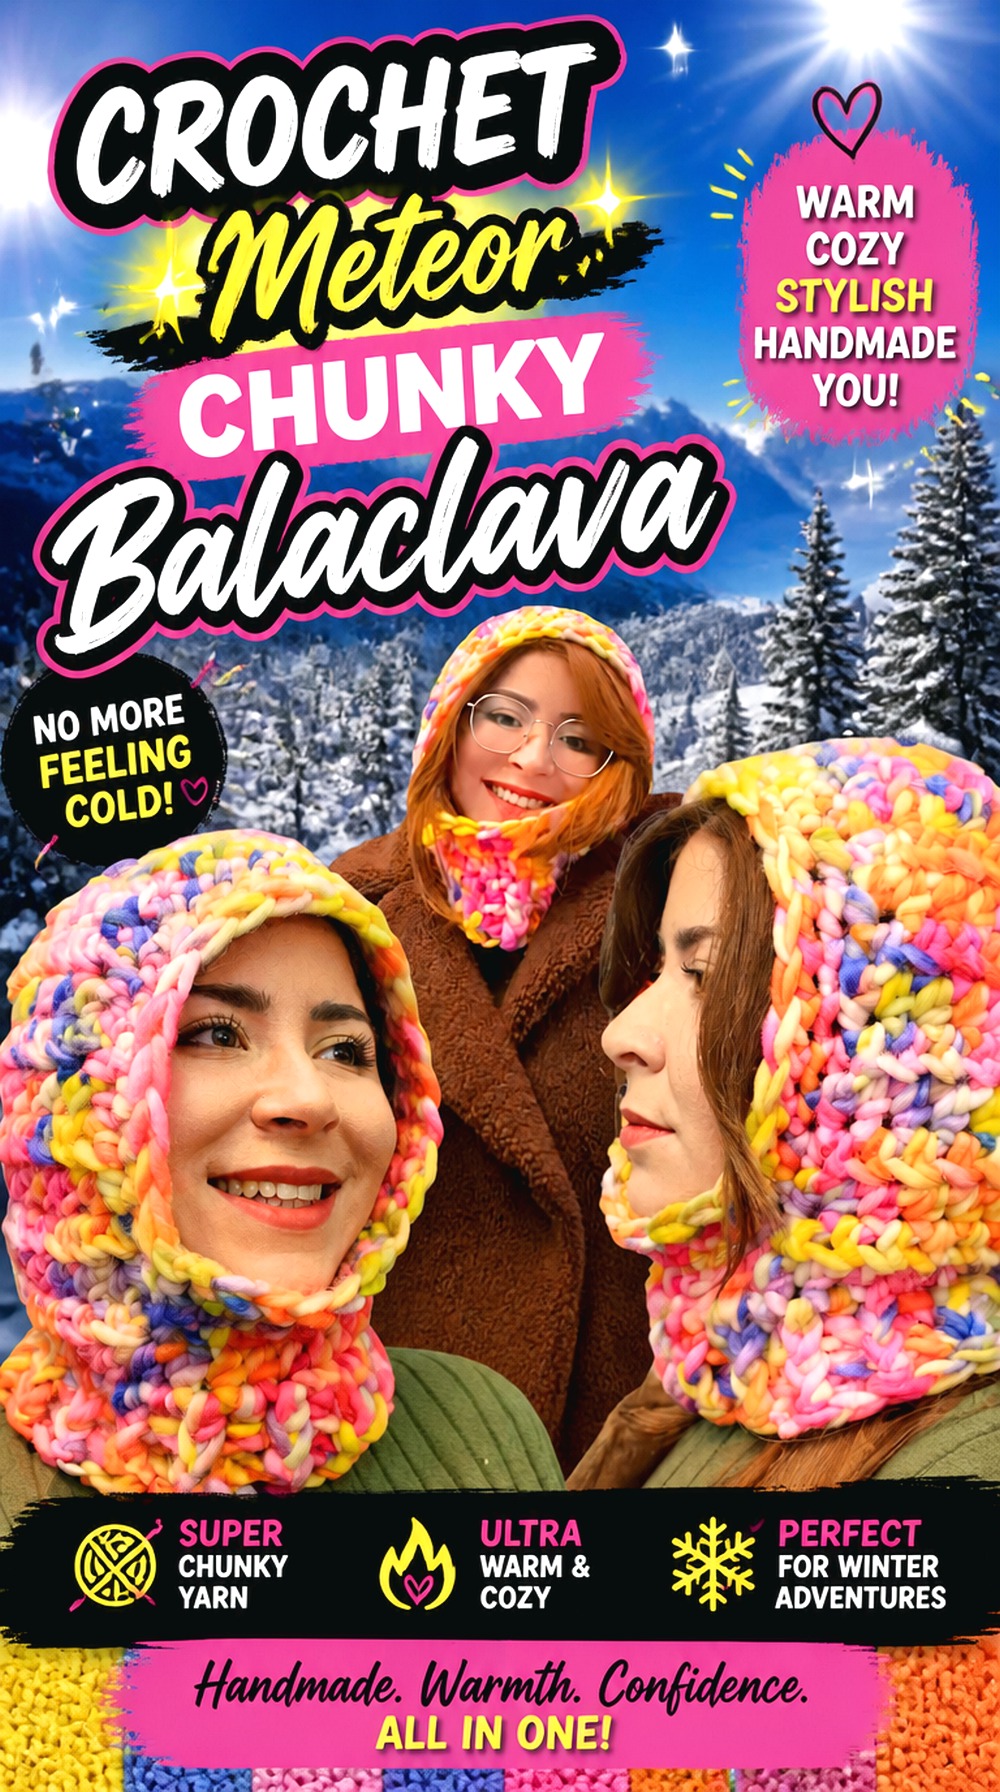
A chunky balaclava creates a much bolder silhouette than a fine, flexible hood. Brunaticality’s tutorial produces a substantial balaclava using super-chunky-style construction, so this is a good foundation when you want the celestial concept to read through shape and strong blocks of color rather than tiny detailed stars.
Think meteor rather than constellation: one bright streak, contrasting border, or asymmetrical color section can make more sense on thick fabric than many small motifs. The scale also makes this option visually different from delicate scarf hoods and granny-square versions.
Match Decoration Scale to the Thick Fabric
Tiny embroidered stars can disappear among large stitches. If the base is chunky, keep decorative shapes proportionate: one larger crescent, a bold stripe, or a small group of substantial star motifs will usually read more clearly than dozens of miniature details.
Watch the Face Opening After Yarn Changes
Changing to a yarn that is significantly firmer or softer than the tutorial’s example can alter the way the face opening sits. Before adding celestial details, confirm that the hood still frames the face comfortably and that the fabric does not become too rigid where it needs to bend.
Original Tutorial and Creator Credit
Creator: Brunaticality
Crochet Comet Tail Balaclava Scarf
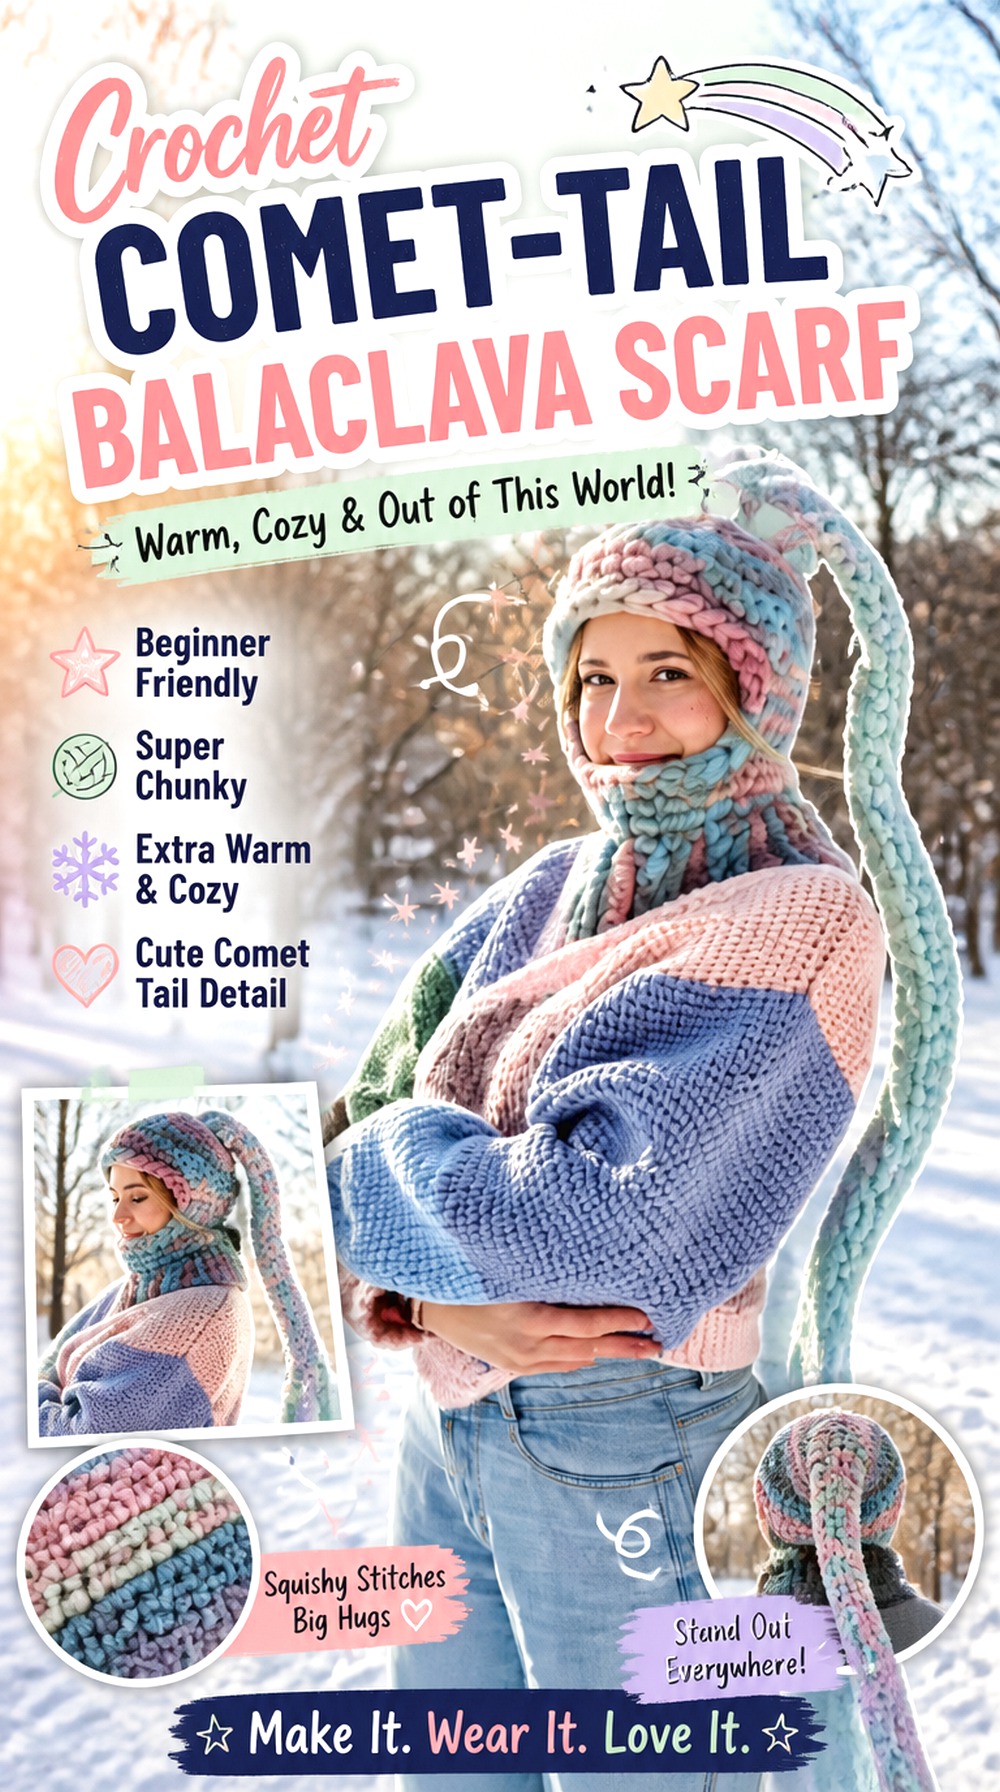
Emily Mirch’s super-chunky balaclava extends into a scarf section, which creates an obvious place for a comet-inspired treatment. Instead of squeezing every moon and star onto the head, keep the hood relatively simple and let the scarf section carry a trailing color transition.
That extra length makes this construction more dramatic than a standard ski-mask shape. A light-to-dark progression down the scarf can suggest a comet tail, while a small bright motif near the crown becomes the visual starting point. Because the base fabric is substantial, simple graphic choices are likely to remain clearer than intricate surface work.
Let the Scarf Take the Visual Weight
Long scarf sections move and fold, so broad gradients, stripes, or spaced star accents work well there. This also keeps the head portion lighter and avoids concentrating too much decorative weight around the neck and face.
Check How Both Ends Hang Before Adding Motifs
Decoration that looks evenly spaced on a table can become uneven when the scarf is worn. Drape the finished base around the body first, mark the sections that remain visible, and concentrate celestial details there instead of decorating portions that are usually hidden.
Original Tutorial and Creator Credit
Creator: Emily Mirch
Crochet Sunburst Granny Square Balaclava
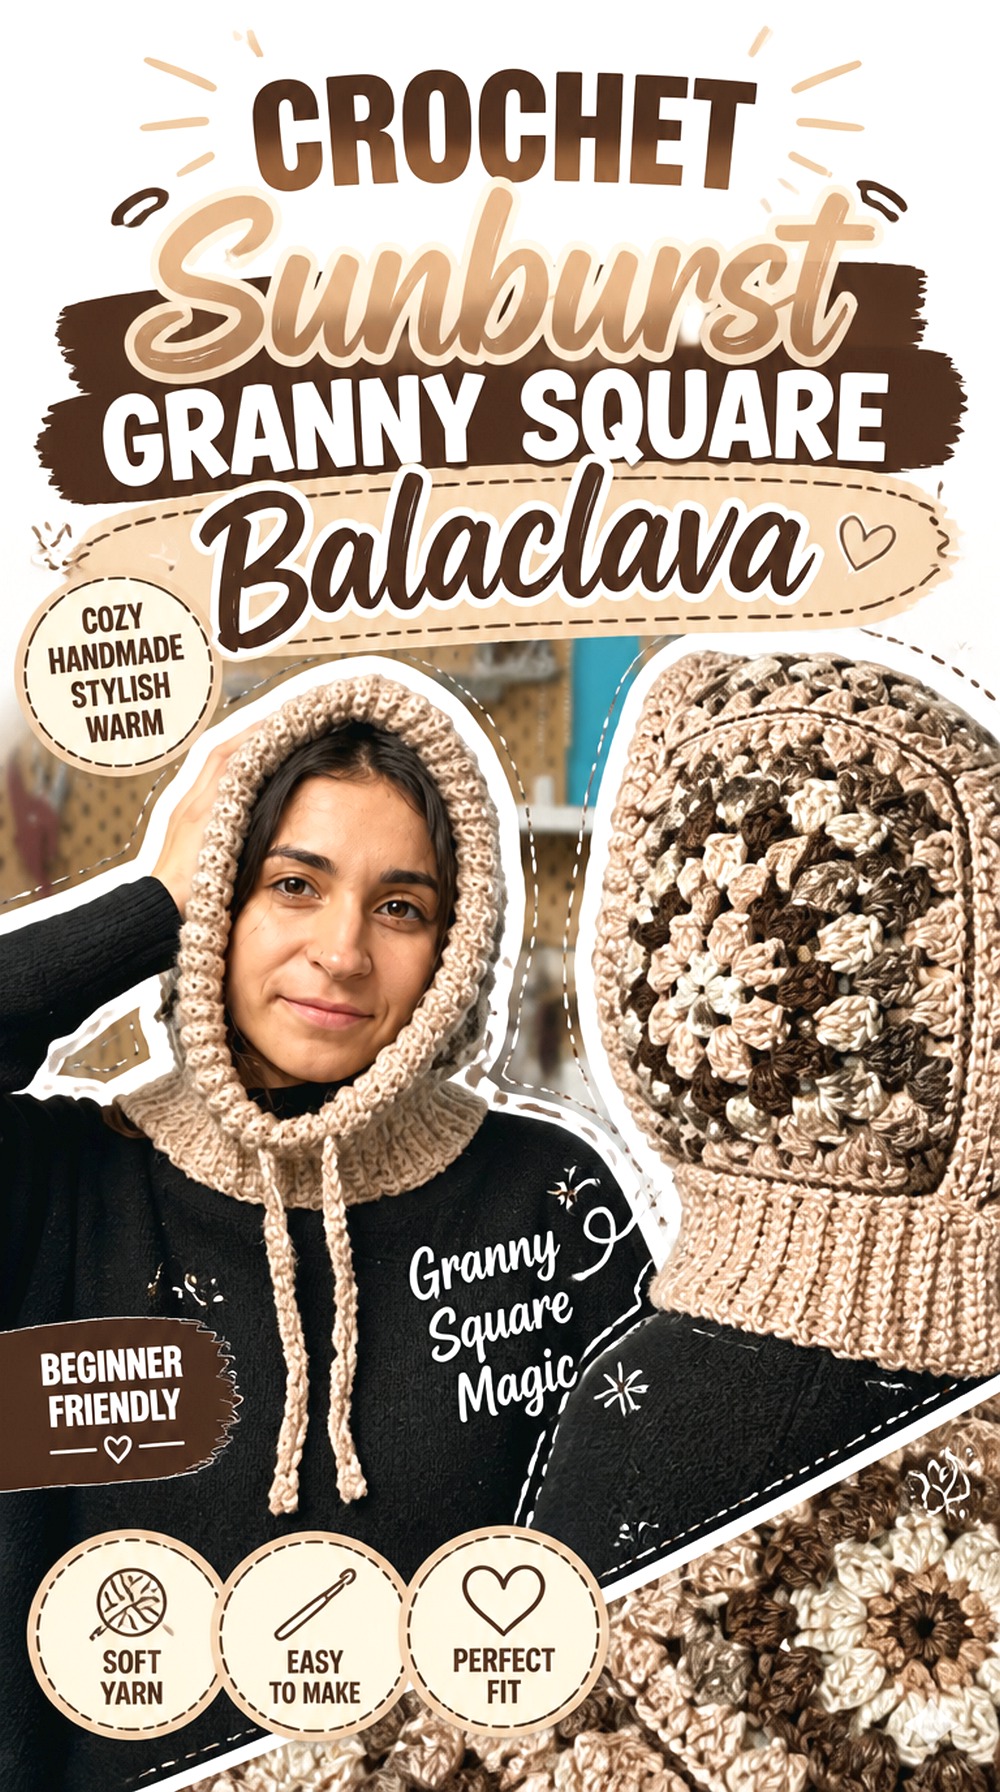
Granny squares are one of the most natural routes into celestial hood design because each square can function like a framed piece of sky. The vivi e cuci tutorial uses granny-square construction for a balaclava and includes the joining, edging, and strap areas that turn separate motifs into a wearable hood.
For a sunburst interpretation, use compatible squares with bright centers fading into darker outer rounds. The important issue is not whether a sun motif looks attractive by itself; it is whether every square reaches a compatible blocked size and produces similar fabric density.
Treat Every Square as Part of One Layout
A single high-contrast sunburst can dominate the face unexpectedly once the pieces are joined. Arrange the blocked squares in the intended hood orientation before joining and decide where the brightest centers should sit. Symmetry is optional, but the placement should look intentional from the front and sides.
Match Motif Size Before You Match Color
Two different celestial squares can use the same yarn and still finish at different dimensions. Compare blocked width and edge structure before combining them. If the borders do not align cleanly, solve that compatibility issue before committing to the hood.
Use the Strap as a Separate Design Zone
A strap or tie gives you a place for smaller celestial accents that do not interfere with the main motif grid. Keeping it simpler than the squares can prevent the finished piece from feeling visually crowded.
Original Tutorial and Creator Credit
Creator: vivi e cuci
Crochet Eclipse Granny Square Hood

This second granny-square route can take a darker, more graphic direction. Cherilyn Q’s tutorial demonstrates a granny-square balaclava and includes sizing and joining information, making it a practical base for an eclipse-inspired layout where one or two motifs carry the focal contrast.
Instead of repeating identical sunbursts, imagine dark squares with a circular pale center or a limited number of accent squares surrounded by quieter filler motifs. That approach keeps the hood celestial without making every panel compete for attention.
A Single Eclipse Motif Can Be Stronger Than Repetition
If every square contains a high-contrast moon or sun center, the finished hood can become visually busy. Test a layout with one statement motif near the side and simpler surrounding squares. The contrast makes the focal square easier to read.
Joining Lines Become Part of the Graphic Design
Granny joins remain visible, so their color affects the entire composition. A contrasting join can resemble a constellation grid; a matching join lets the motifs appear more continuous. Decide which role you want the seams to play before assembly.
Original Tutorial and Creator Credit
Creator: Cherilyn Q
Crochet Constellation Checkered Balaclava

A checkerboard is already a ready-made framework for a constellation-inspired design. Made in the Moment’s balaclava tutorial includes an optional checkered section along with ribbing and hood shaping, so you can use selected contrasting blocks as “stars” instead of making every square equally bright.
This gives the celestial concept a modern graphic look rather than a literal moon-and-star aesthetic. Dark squares can dominate the background while occasional pale blocks create an irregular night-sky rhythm.
Break the Checker Pattern on Purpose
A perfectly alternating checkerboard feels geometric; a constellation feels scattered. If you are adapting the color concept rather than following the optional checker layout exactly, sketch the distribution first and make sure the brighter blocks remain balanced around the visible front and side surfaces.
Preserve the Hood Shaping
Color changes should not distract from structural changes in the hood. Mark shaping areas carefully and treat the color plan as secondary. If a planned star block lands awkwardly across a shaping transition, move the decorative element rather than compromising the fit.
Original Tutorial and Creator Credit
Creator: made in the moment
Crochet Stardust Scrap Yarn Balaclava

Celestial styling does not need a perfectly controlled three-color palette. BELINA BELLWOOD’s tutorial uses leftover yarn in a balaclava, making it a useful reference for a scrappier “stardust” look with short color changes and irregular transitions.
This approach can work particularly well if your scraps stay within a related family—dark blues, violets, silver-gray, cream, and a small amount of warmer “star” color. The variation becomes the atmosphere rather than a clearly repeated motif.
Sort Scraps by Visual Role
Separate dark background shades, midtone transitions, and bright accents before starting. That helps prevent all the palest leftovers from accidentally clustering in one area of the hood.
Similar Thickness Matters More Than Exact Color
Scrap yarns can look compatible while behaving very differently. Compare strand thickness and fabric feel so one section does not become noticeably stiffer, thinner, or more stretched than the rest of the balaclava.
Let Irregularity Look Intentional
A stardust concept benefits from variation, but completely random color changes can appear accidental. Repeat at least a few shades or color relationships so the finished hood still feels cohesive.
Original Tutorial and Creator Credit
Creator: BELINA BELLWOOD
Crochet Moonwatch Ski Mask Hood
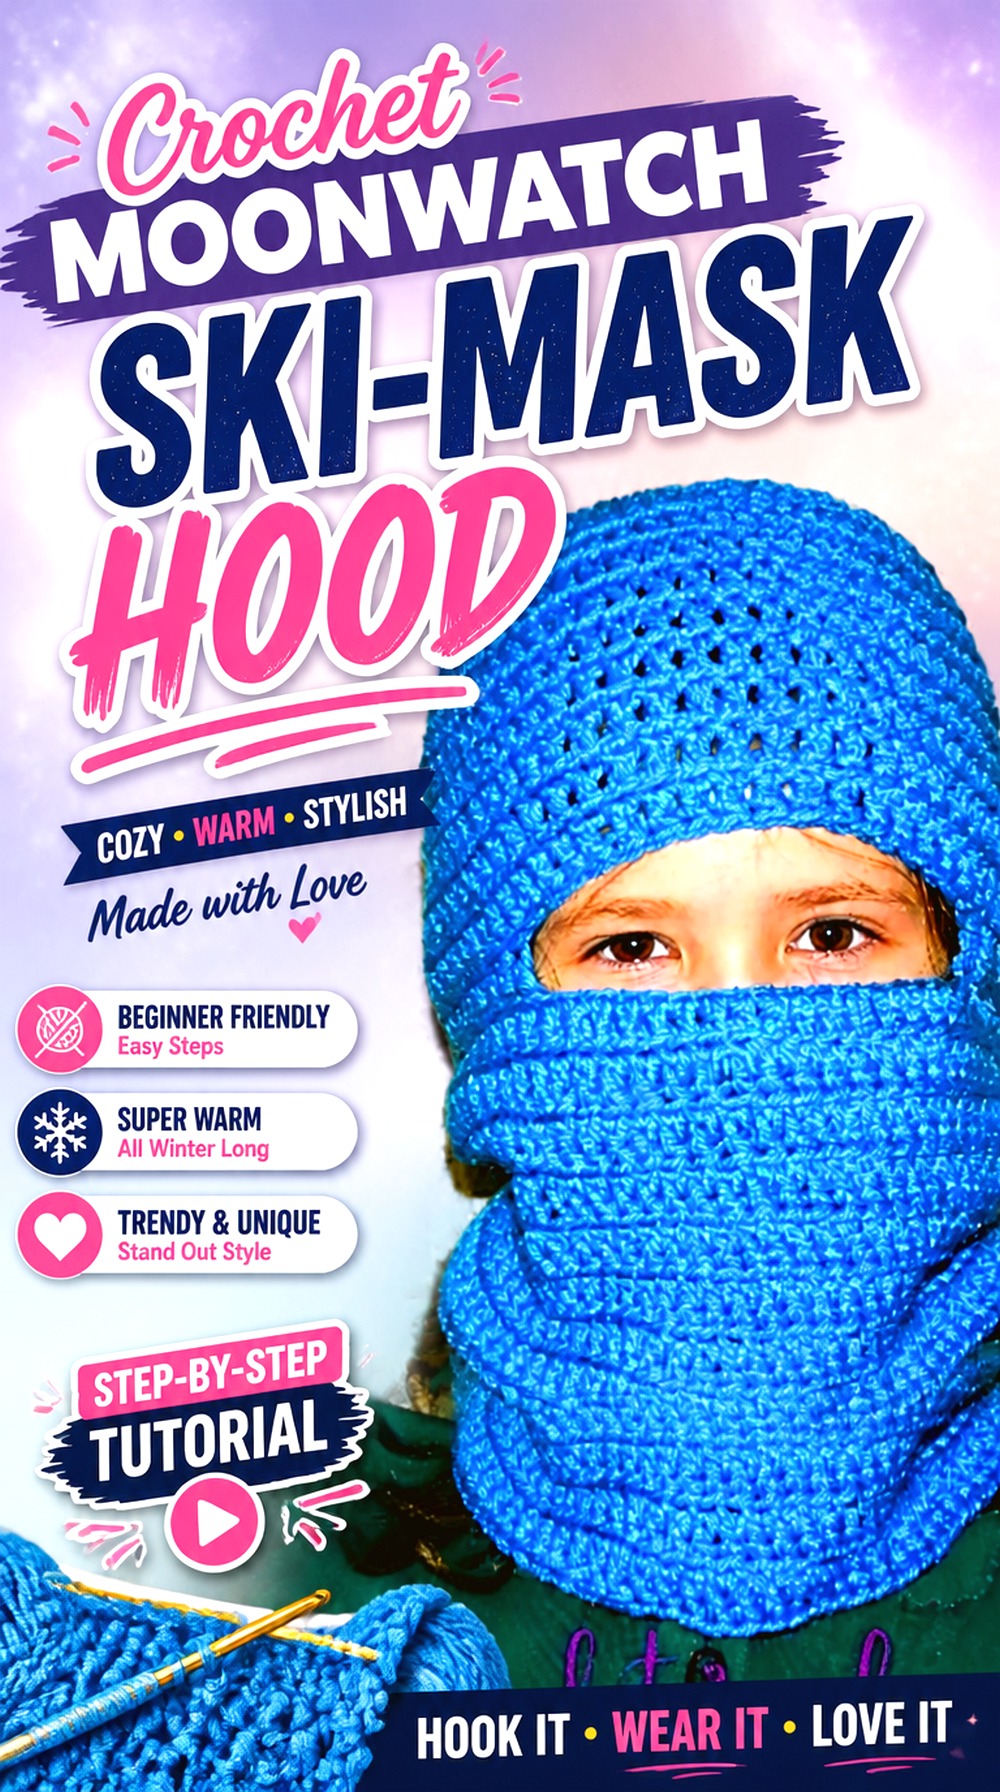
Crochet Jewel’s balaclava has the recognizable head-and-neck coverage of a crochet ski mask, making it a straightforward foundation for a moonwatch theme. The clean shape suits someone who prefers the celestial element to be added after the basic hood is established rather than built into complicated motif construction.
A small moon at one temple, sparse embroidered stars, or a contrasting night-sky face edge can give this piece a distinct identity while preserving its practical silhouette.
Use Sparse Details on a Functional Shape
Because a ski-mask-style hood already has a strong visual outline, one or two well-positioned celestial elements can be enough. Avoid covering every section unless you specifically want a costume-like result.
Test Visibility From More Than the Front
A motif placed flat on the side can rotate toward the back when the hood is worn. Pin or temporarily mark the intended moon placement and look at the hood from the front, profile, and three-quarter angle before attaching anything permanently.
Original Tutorial and Creator Credit
Creator: Crochet Jewel
Crochet Lunar Bonnet Crohoodie

The Crochet Crowd’s adult “Crohoodie” sits between a bonnet, hood, and cowl, which makes it visually distinct from the close-fitting balaclavas. The fuller framing around the head gives a lunar theme room to develop without covering the face edge in heavy decoration.
A pale border against a dark hood can create a halo effect, or the bonnet-like profile can carry a crescent motif on each side. This is a particularly useful direction if you want the celestial hood to look more like a standalone accessory than a ski mask.
Use the Bonnet Outline as the Focal Feature
The silhouette itself already feels dramatic. A bright framing edge can suggest moonlight without needing additional appliqués, especially if the interior hood remains dark and low contrast.
Keep Side Motifs Clear of the Framing Edge
If you add moons or stars, leave some breathing room between them and the face border. Crowding several strong elements into the same area makes both the trim and motif harder to read.
Original Tutorial and Creator Credit
Creator: The Crochet Crowd
Crochet Nebula Oversized Cowl Hoodie

TCDDIY’s cowl hoodie combines a large hood with a substantial neck section, giving the fabric enough volume to suit a soft nebula treatment. Instead of crisp individual stars, use blended purples, blues, charcoal, and dusty pinks to make the color itself the celestial feature. The tutorial’s finished shape includes both a hood and a tall cowl or turtleneck-style area.
This is a stronger option for draped, atmospheric styling than for precise tiny motifs because the larger folds will naturally change what remains visible.
Build the Nebula Around Large Color Areas
Oversized folds can hide small details. Broader transitions or irregular bands will remain visible as the hood changes position, giving the color story more impact.
Check Neck Bulk Before Adding Surface Layers
The lower cowl already contributes volume. Extra appliqués or dense surface crochet near the neck can make that area feel visually and physically heavier, so concentrate added texture higher on the hood if you want a dimensional effect.
Original Tutorial and Creator Credit
Creator: TCDDIY
Crochet Halo Edge Hooded Cowl
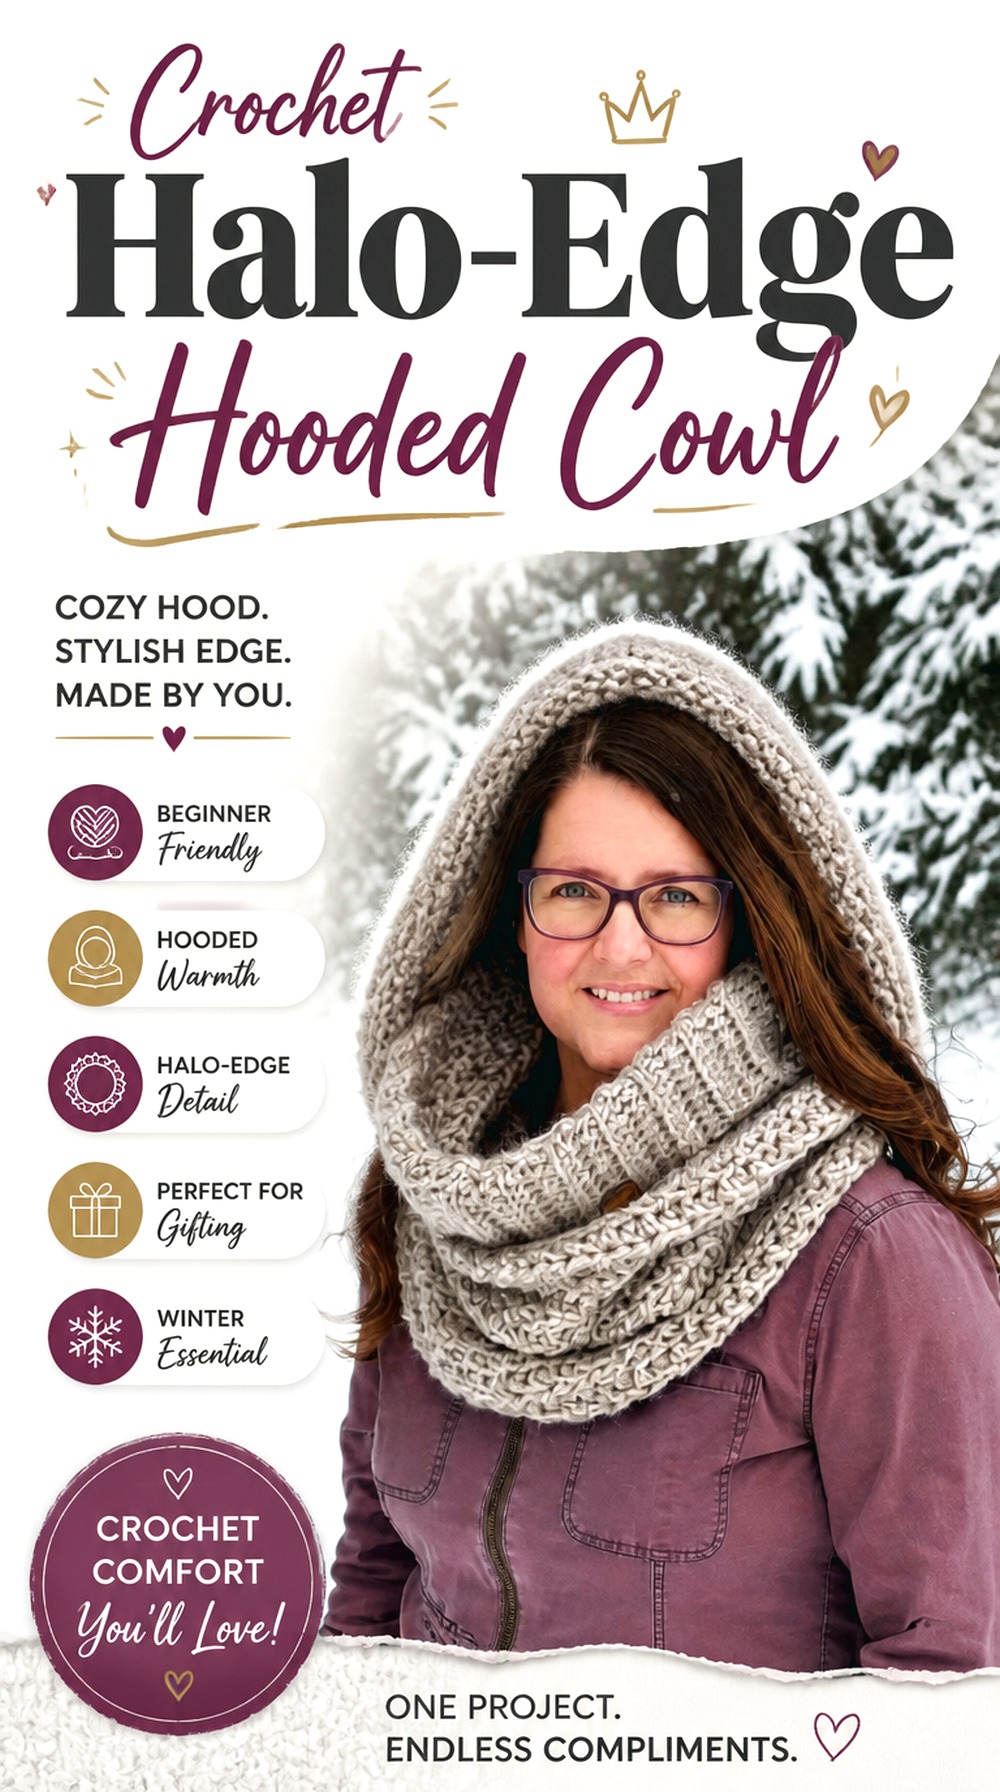
A Crocheted Simplicity’s hooded cowl provides a clean hood-and-neck-warmer base that can be adapted into a halo-focused celestial design. Instead of placing a moon directly on the hood, make the face opening the focal point with a controlled contrasting border that appears to glow against the darker body.
This keeps the decoration tied to the structure and works well for people who want celestial influence without overt novelty motifs. A subtle gradient leading toward the lighter face edge can strengthen the effect.
Make the Face Edge Bright, Not Bulky
A halo effect depends on contrast, not necessarily thickness. Choose a lighter or warmer edging color while keeping the edge flexible enough to frame the face comfortably.
Consider How the Cowl Looks With the Hood Down
One advantage of this shape is that the lower section remains visible when the hood is not being worn over the head. Continue at least a small part of the celestial palette into the cowl so the theme does not disappear completely.
Original Tutorial and Creator Credit
Creator: A Crocheted Simplicity – Jennifer Renaud
Crochet Midnight Adjustable Hooded Cowl

Kiri Kiri’s tutorial is built around a hooded cowl that can be adjusted for size, which makes it helpful when the celestial concept needs to work for a particular wearer rather than an assumed universal fit.
A midnight treatment can stay intentionally minimal: one deep background shade, a lighter border, and scattered surface accents after the fit is settled. The cowl format also avoids the close facial fit of a balaclava, leaving the decorative fabric more relaxed.
Decide the Cowl Volume Before the Star Placement
A fuller cowl creates deeper folds that can hide embellishments. Make the base first, wear it in the way you expect to use it, and mark the areas that remain visible from the front.
Keep the Crown and Neck Visually Connected
If stars appear only on the crown, the lower cowl may feel disconnected. Repeat one small color or motif element near the neck to make the two sections read as one design.
Original Tutorial and Creator Credit
Creator: Kiri Kiri
Crochet Moonrise Classic Hooded Cowl
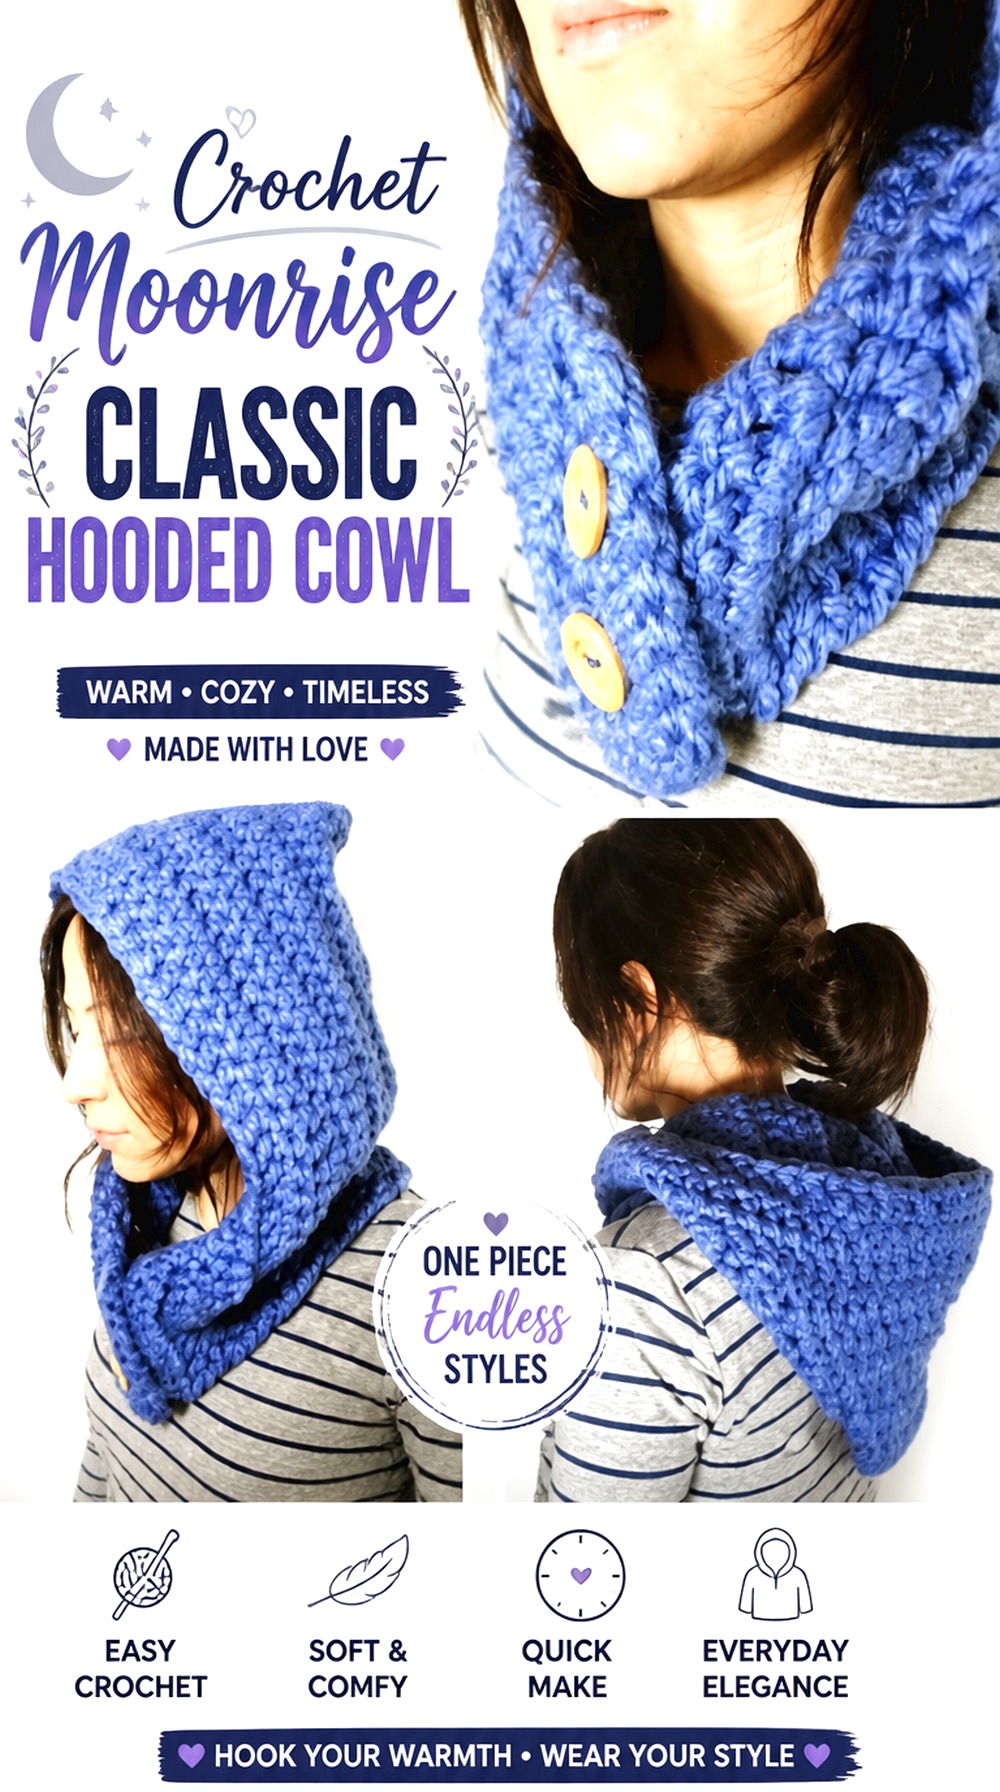
Tuteate’s hooded-cowl tutorial offers a straightforward silhouette that works well when you want the celestial element to come from color placement rather than specialized construction.
For a moonrise concept, keep the neck section dark and let a pale band or expanding lighter area appear as the fabric moves upward toward the hood. The finished object remains easy to style with everyday outerwear because the theme can be as subtle or obvious as the palette allows.
Use Vertical Placement to Suggest a Moonrise
Color positioned progressively higher on the piece naturally draws the eye upward. You do not need a literal moon shape if the contrast already creates the sense of light emerging from a darker base.
Judge the Palette in Folded Fabric
Colors that look strongly separated on a flat swatch may blend visually once the cowl bunches around the neck. Hold swatches together in folds before deciding whether the contrast is strong enough.
Original Tutorial and Creator Credit
Creator: Tuteate
Crochet Orbit Seam Hooded Cowl
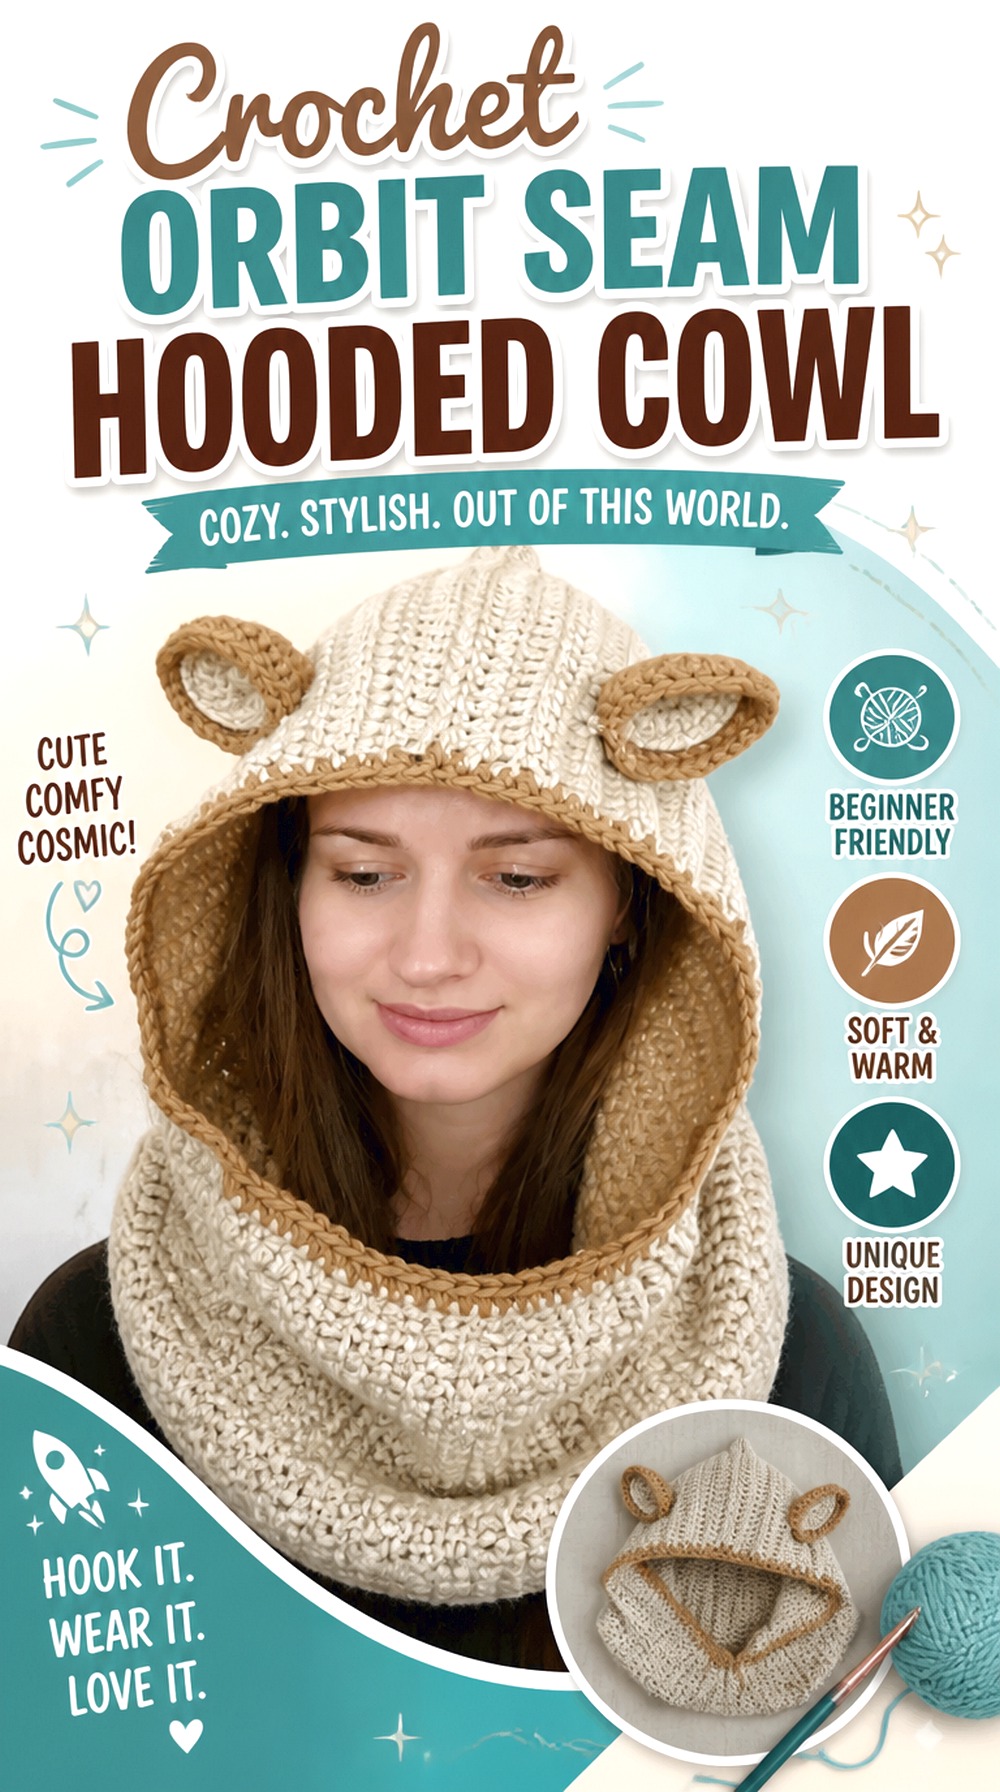
Crochet with Clare’s hooded cowl provides another clean construction option, but this version can be pushed toward an “orbit” design by turning visible lines and borders into intentional circular or sweeping accents. The tutorial is a full public hooded-cowl lesson rather than a decorative celestial pattern, so the theme comes from your finishing choices.
This idea works particularly well for a low-key celestial accessory because one contrasting band can create the entire concept without changing the core structure.
Turn Construction Lines Into Design Lines
Rather than trying to conceal every visible transition, consider whether a contrasting edge or surface line can emphasize the hood’s shape. A single orbit-like accent is often cleaner than several unrelated decorative additions.
Repeat One Accent Around the Neck
Carrying a narrow accent color into the cowl prevents the hood from looking like it belongs to a different project. Keep the repetition restrained so the orbit effect remains the focal feature.
Original Tutorial and Creator Credit
Creator: Crochet with Clare
Crochet Cosmic Cable Hooded Cowl

Raised crochet cables give a celestial hood an entirely different visual language. Marly Bird’s tutorial focuses on crochet cable work within a hooded cowl, producing substantial surface texture without requiring applied motifs.
For a cosmic interpretation, let the cables suggest orbital paths, solar flares, or sweeping lines through the night sky. This option is useful for readers who prefer texture over recognizable moon and star graphics.
Let Shadows Create the Cosmic Detail
Raised cables naturally produce light-and-shadow changes. A solid or lightly heathered yarn can show that dimension more clearly than an extremely busy multicolor yarn, where the cable structure may become harder to see.
Avoid Competing Surface Embellishments
The cable pattern already has visual depth. Adding several appliqués on top can obscure the very texture that makes this hood distinct. If you want a star detail, keep it small and position it where it does not interrupt the main raised lines.
Confirm the Texture Feels Comfortable Near the Face
Strongly raised stitches can feel different from flat fabric. Pay attention to which side of the cable section contacts the face or neck and choose a yarn whose surface you are comfortable wearing there.
Original Tutorial and Creator Credit
Creator: Marly Bird
Crochet Night Sky Granny Stripe Hooded Cowl
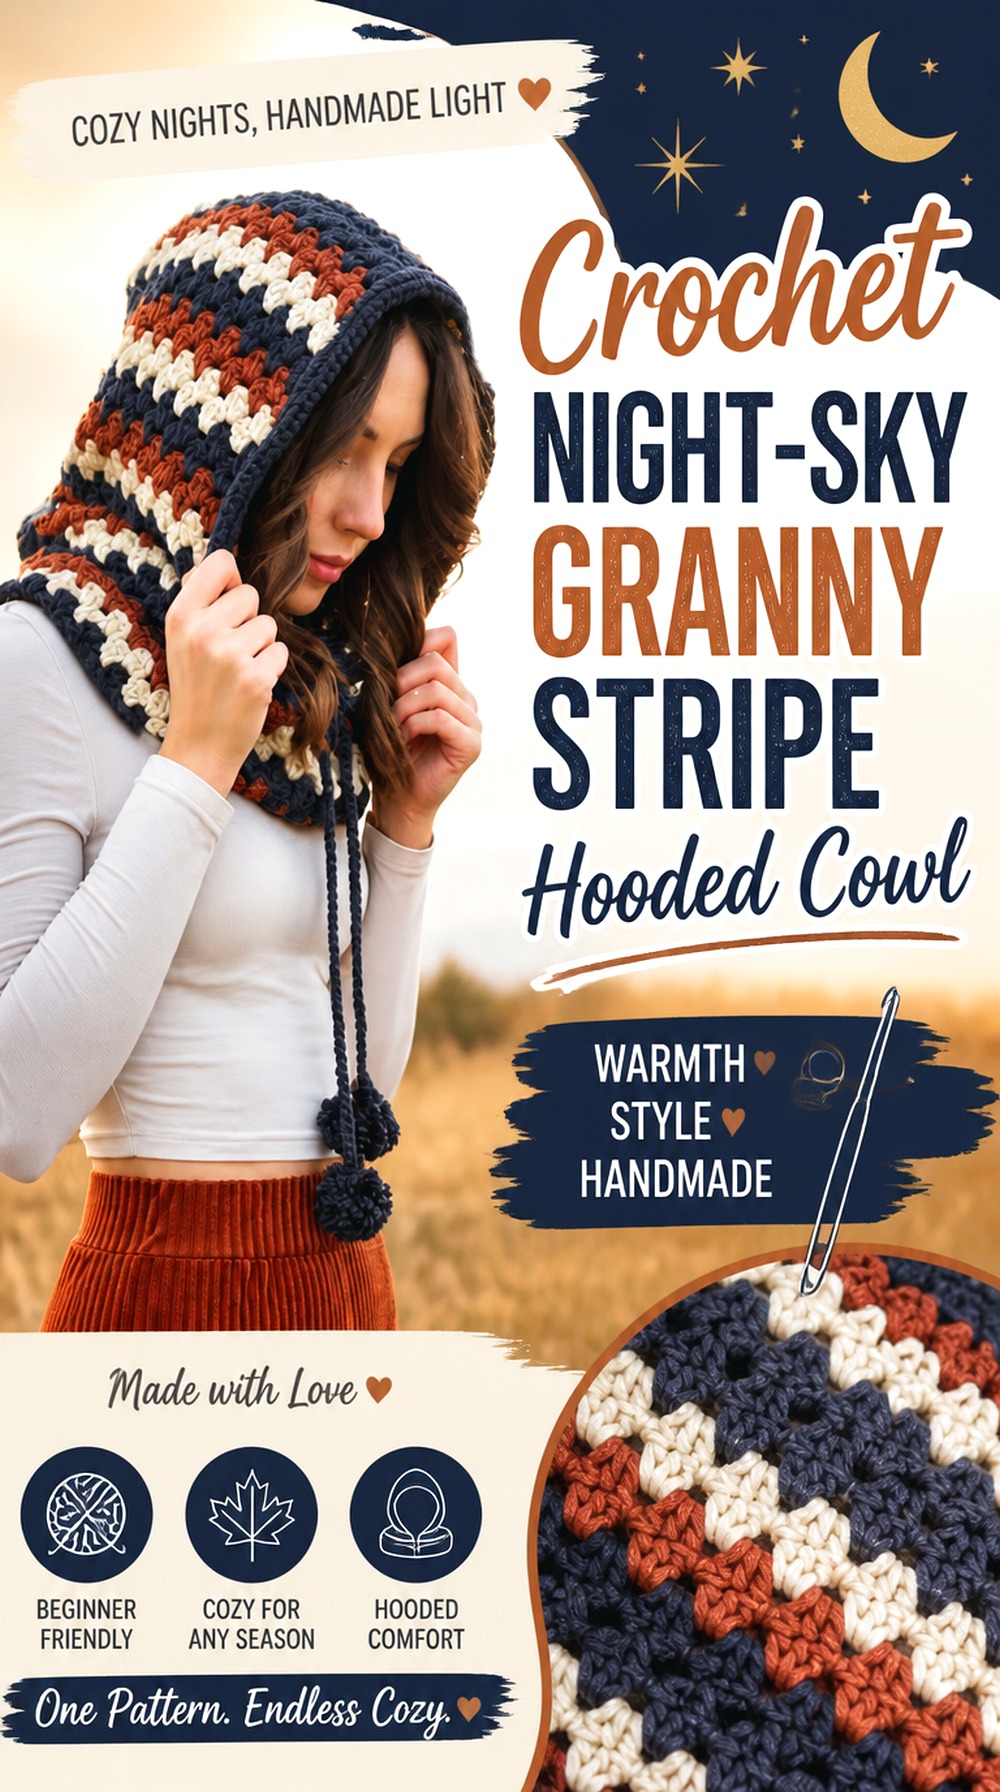
The Into The Woods Cowl from Evelyn And Peter Crochet uses granny stripes in a hooded-cowl format, creating natural horizontal bands that can become layers of a night sky. The source design is worked from the lower cowl into the hood and includes a trimmed opening and drawstring.
For a celestial adaptation, move through dark blues, muted violets, gray, and limited pale highlights rather than relying on one repeated stripe sequence. The cluster texture helps small shifts in color remain visible.
Plan Stripes Around the Hood Transition
A color sequence that looks balanced around the lower cowl may land awkwardly once the construction changes into the hood. Sketch where the major light and dark bands should appear on the finished silhouette, not only on the starting section.
Use the Drawstring as a Quiet Highlight
Because the drawstring crosses a highly visible area, a light neutral or moon-colored cord can provide enough contrast without needing additional embellishments around the face.
Give the Granny Texture Room to Show
Clustered stripes are already visually active. Keep any star appliqués sparse so the texture and celestial palette do not compete for attention.
Original Tutorial and Creator Credit
Creator: Evelyn And Peter Crochet
Crochet Galaxy Infinity Scarf Hood

Majovel crochet’s project combines an infinity scarf with a hood, so the same fabric can wrap around the neck and continue upward over the head.
That continuous loop makes a galaxy gradient especially appealing. Instead of treating the hood and scarf as separate color zones, allow the palette to circulate through the whole accessory. When the loop twists around the neck, different sections of the “galaxy” will appear each time it is worn.
Design for the Twist, Not a Flat Rectangle
An infinity scarf rotates as it is wrapped. A carefully centered motif may disappear entirely, while repeated small stars or broad color areas remain visible from more angles.
Keep Dimensional Decorations Limited
Anything attached to the loop may end up against the neck after twisting. Favor flat embroidery, color changes, or low-profile surface details over thick embellishments along areas likely to contact the skin.
Original Tutorial and Creator Credit
Creator: Majovel crochet
Crochet Orion Granny Stitch Garment Hood

Not every celestial hood has to be a removable accessory. Weavedin’s tutorial teaches a granny-stitch hood intended for a crochet coat, making this idea useful for readers who want to add the celestial element directly to a cardigan, coat, or other compatible garment.
A hood attached to a larger garment has to relate visually to the body of that garment. An Orion-inspired treatment could use selected contrast clusters or a sparse star palette in the hood while repeating one of those colors elsewhere.
Match the Hood to the Garment’s Weight
An attached hood becomes part of the garment’s shoulder load. If your celestial adaptation uses a significantly heavier yarn or many dense embellishments, the hood may pull differently than the body.
Repeat the Motif Language Below the Neckline
A highly celestial hood can look disconnected from an otherwise plain garment. Even a narrow matching border, pocket accent, or repeated color lower on the piece can create a stronger relationship.
Original Tutorial and Creator Credit
Creator: Weavedin, Crocheting and Knitting Platform
Crochet Aurora Striped Scoodie
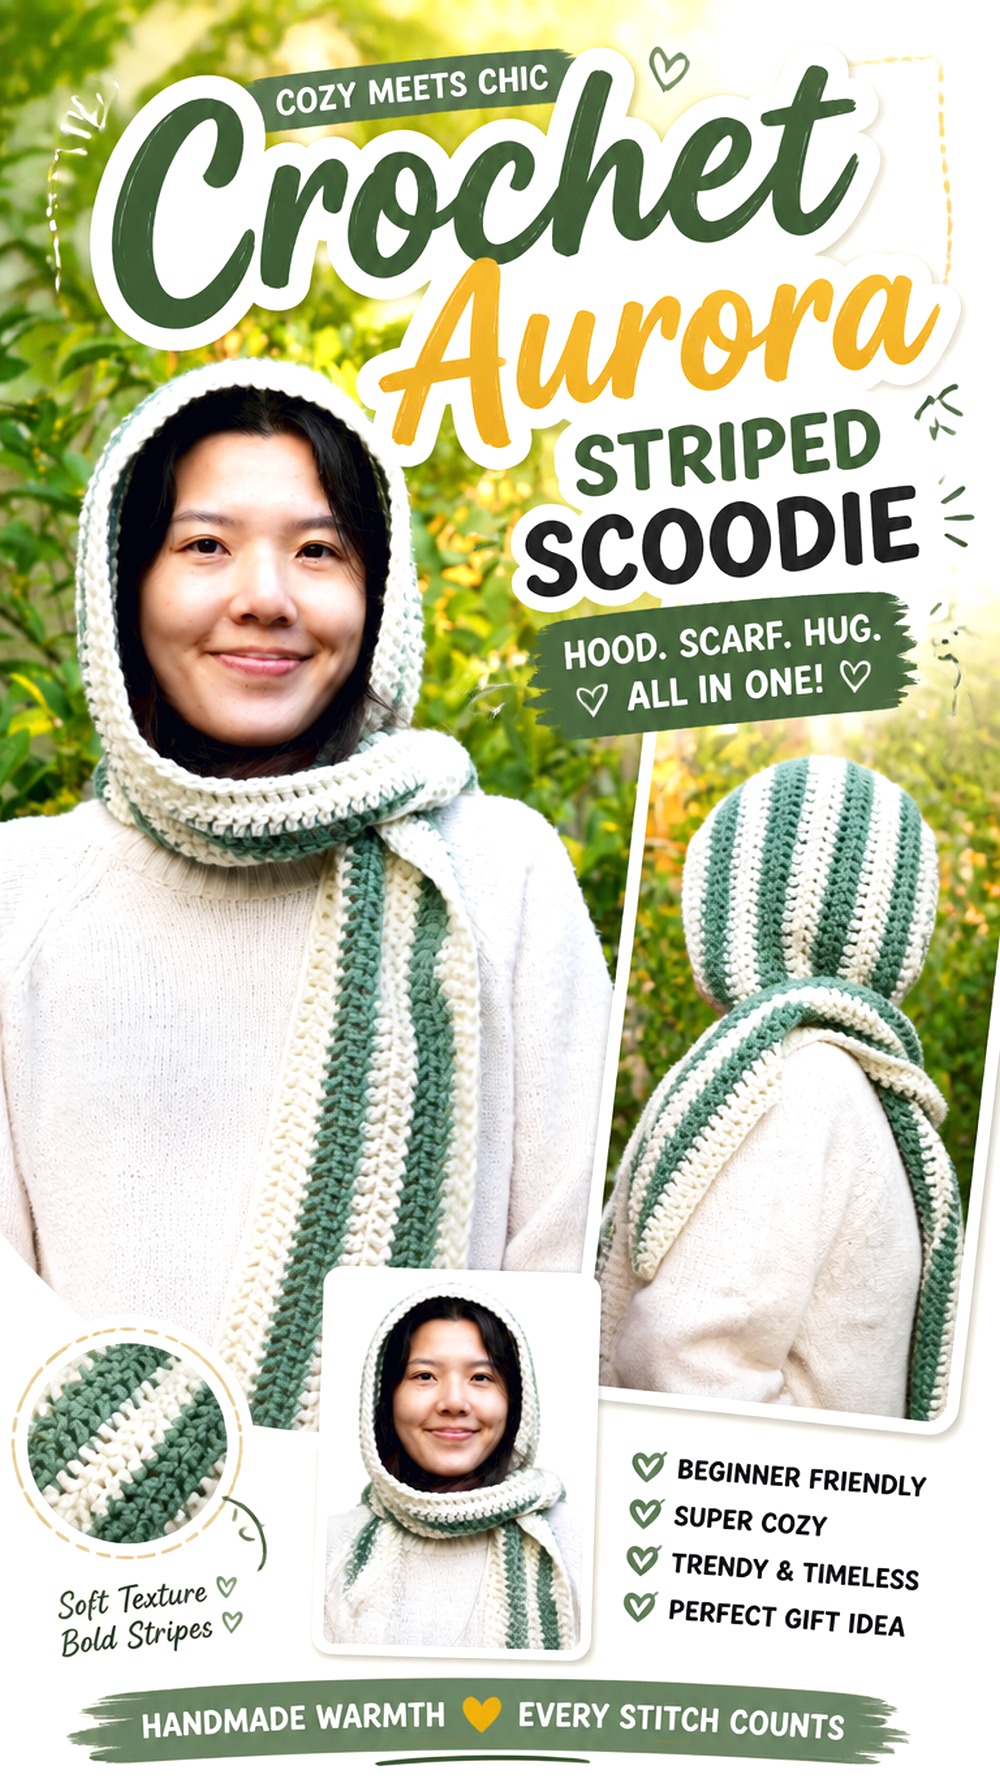
VivCrochets’ hooded scarf combines a rounded hood with scarf extensions and is designed so stripes can flow across the piece without creating the pointed back common to some simple rectangular hoods.
That makes it an excellent base for an aurora-inspired palette. Long horizontal or sweeping color changes can move through the scarf and hood while the rounded back keeps the silhouette softer than a pointed fantasy hood.
Use Long Color Changes for an Aurora Effect
Auroras read as movement rather than isolated dots. Choose a few related colors and let them travel through the fabric instead of switching rapidly between many tiny bands.
Protect the Rounded Hood Shape
Heavy motifs on the back can visually and physically interfere with the smooth curve. If you want stars, place them toward the side panels or scarf ends and let the crown remain mostly about color.
Check Drape Before Choosing a Stiffer Yarn
VivCrochets specifically discusses using a looser fabric to help the scarf drape. If your chosen celestial yarn is much firmer, make a sample first and decide whether the finished scarf ends will hang the way you want.
Original Tutorial and Creator Credit
Creator: VivCrochets
Crochet Star Wanderer Pocket Hooded Scarf

Winding Road Crochet’s design adds pockets to the ends of a hooded scarf, creating a highly functional silhouette and two additional surfaces for celestial decoration.
Instead of putting statement motifs near the face, place a star or moon on each pocket and keep the hood comparatively restrained. That makes the theme visible even when the hood is down. It also separates decorative areas from sections that need to stretch or frame the head.
Treat the Pockets as Matching Mini Panels
Pocket fronts naturally behave like framed design spaces. Use them for mirrored moons, contrasting stars, or related but nonidentical celestial motifs while keeping the hood itself calmer.
Watch Added Weight at the Scarf Ends
Pockets already add fabric to the ends. Very heavy appliqués or dimensional decorations can increase the pull, so keep embellishments relatively flat if you want the scarf to hang naturally.
Check Pocket Orientation While Wearing the Scarf
Before attaching a directional moon or constellation, wear the scarf and confirm which way the pocket faces. A motif that looks upright on a flat table can rotate once the scarf is wrapped.
Original Tutorial and Creator Credit
Creator: Winding Road Crochet
Crochet Solar Arc Hood Scarf
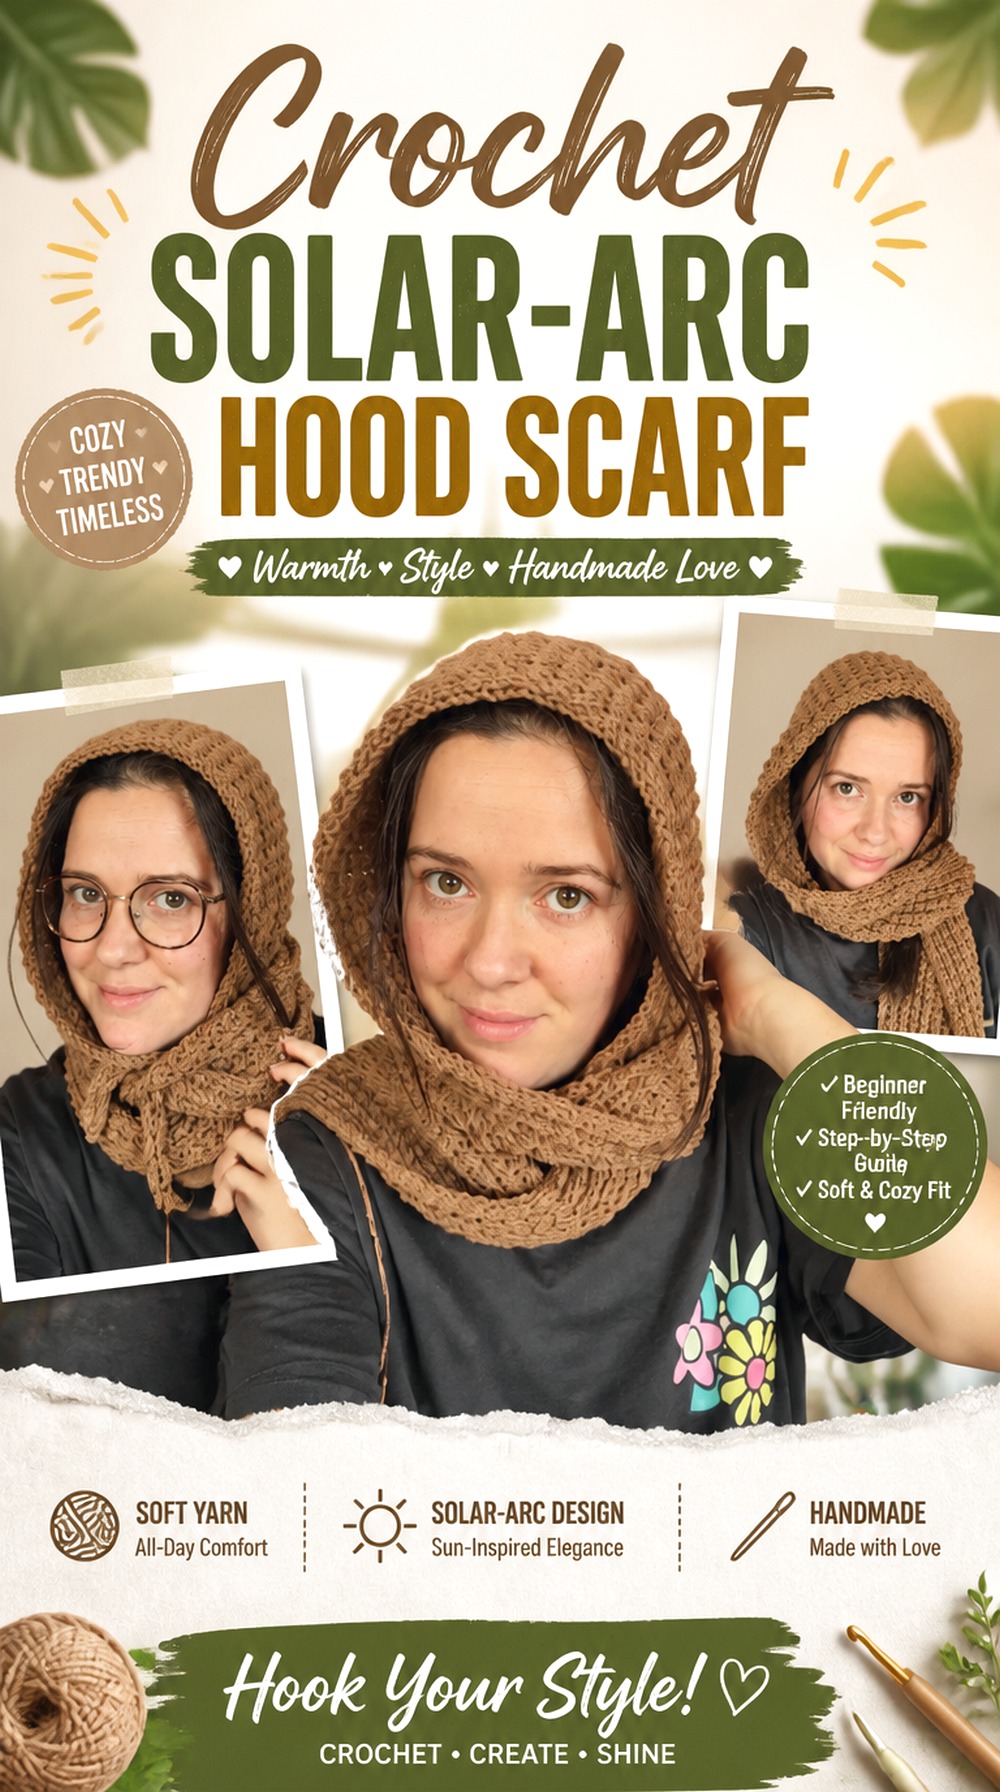
Passionate Crafter’s hood scarf uses shaping that produces a smoother integrated hood rather than simply attaching a basic rectangle to the middle of a scarf. The accompanying tutorial supports the full scarf-and-hood project and includes the shaping process.
A solar-arc interpretation can emphasize that curved transition with a gradual warm-to-dark color change or a narrow contrast line following the hood’s shape. This gives the celestial theme a structural connection instead of treating stars as afterthoughts.
Follow the Curve With the Color Story
When the hood itself contains shaping, decoration can echo that geometry. A light band near the crown fading into deeper colors toward the scarf creates an arc without requiring a literal sun motif.
Avoid Interrupting Shaping With Thick Appliqués
Short-row or shaped areas depend on fabric movement. Keep heavy decorations away from the most curved transitions so the hood can settle naturally.
Original Tutorial and Creator Credit
Creator: Passionate Crafter
Crochet Crescent Tail Triangle Hooded Scarf
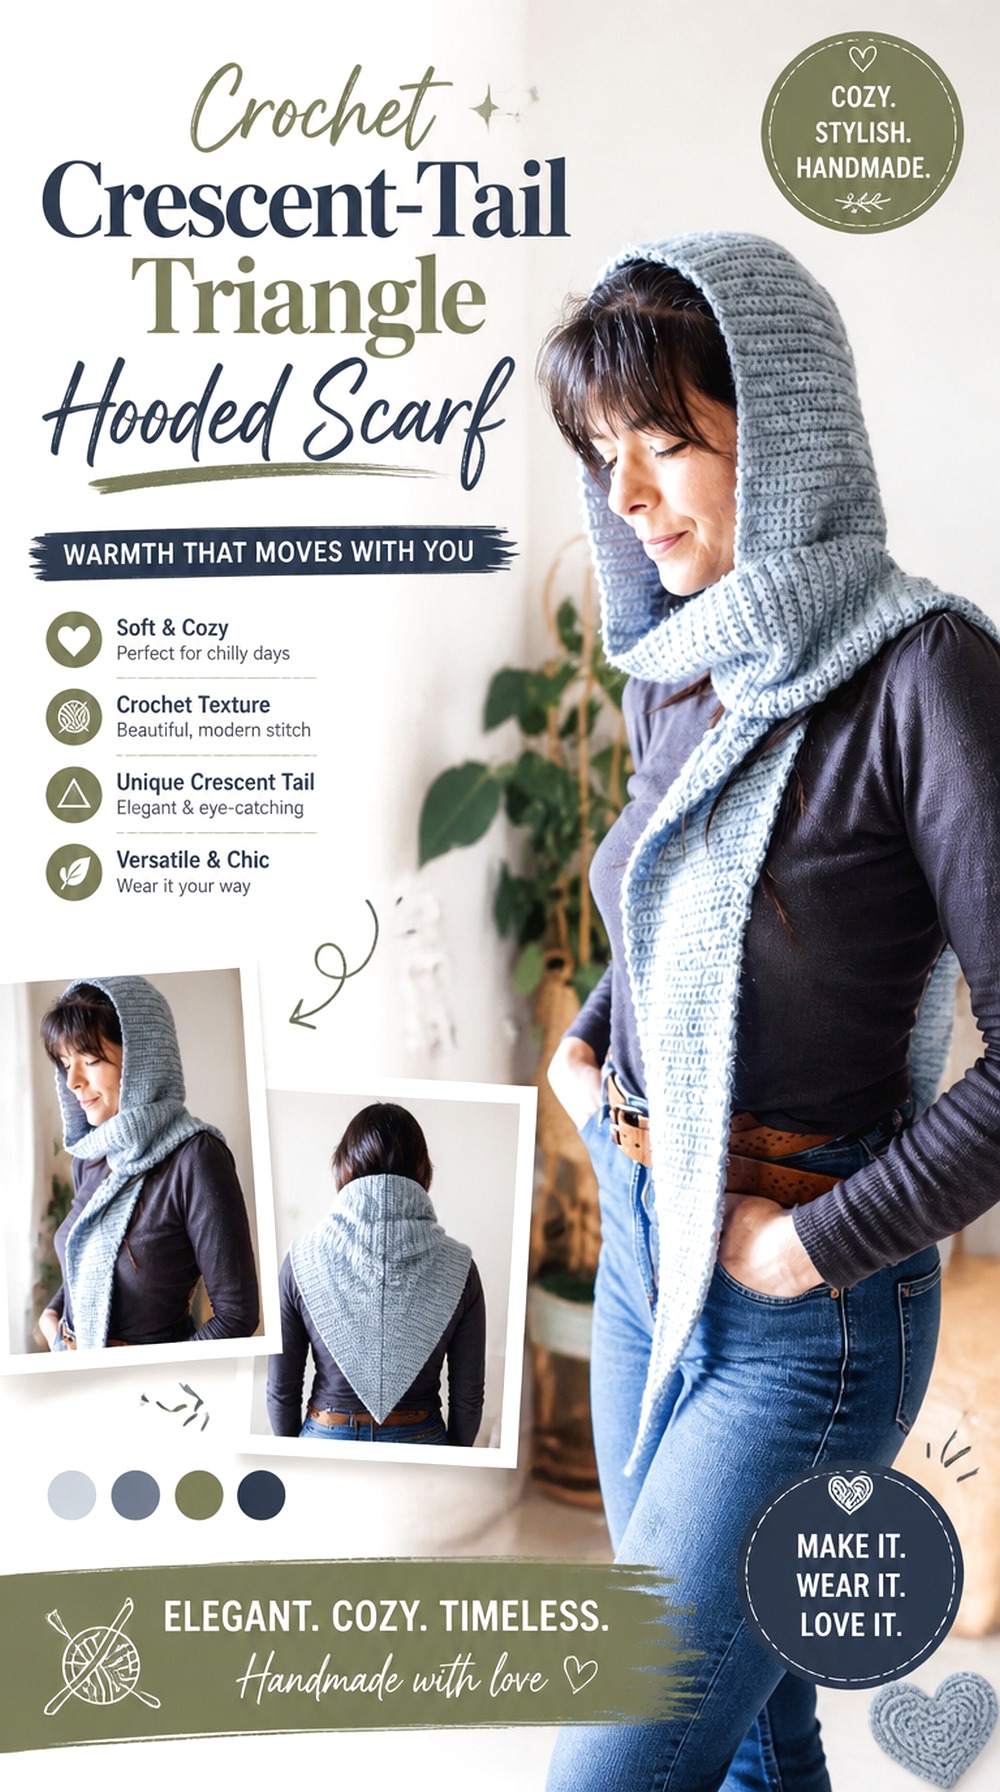
A. LeLong’s hooded scarf tutorial is adapted from the Sophie Hood idea and produces a more elongated, triangular scarf-hood silhouette than the bulky cowl designs in this list.
That shape naturally suits a crescent-tail concept. Keep the hood portion relatively quiet, then let the narrowing scarf ends transition into pale moonlight shades or carry small spaced stars. The result can look celestial without becoming costume-like because the strongest detail travels away from the face.
Let the Taper Control the Motif Scale
As the scarf narrows, large motifs can become cramped. Reduce the size or frequency of stars toward the tip rather than trying to force the same decoration into progressively smaller space.
Use a Soft Fabric for a Longer Tail
A long scarf section needs enough drape to fall rather than project outward. If substituting yarn, compare the fabric to the movement you want before investing in an elaborate celestial color plan.
Original Tutorial and Creator Credit
Creator: A. LeLong
Crochet Moonbeam Herringbone Hooded Scarf
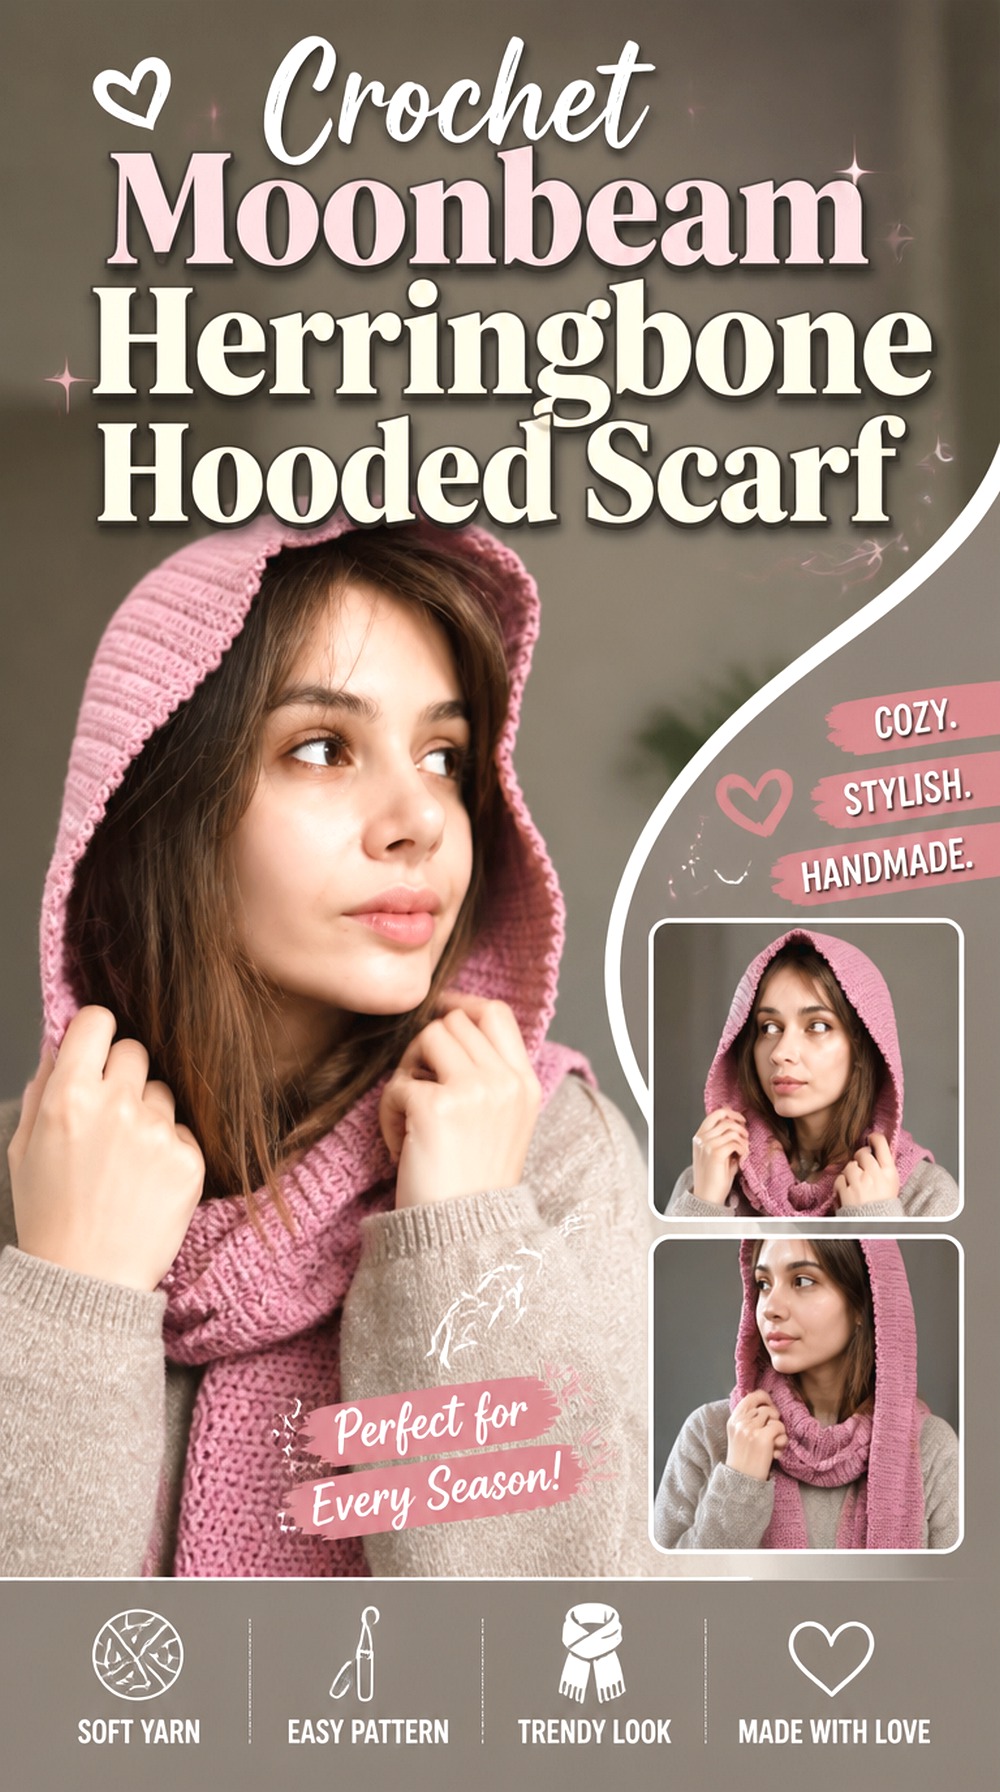
Susen Mehralieva’s hooded scarf uses herringbone half double crochet and a long scarf silhouette, giving the fabric a directional texture that can become the main “moonbeam” feature. The creator notes that the tutorial focuses on techniques rather than presenting itself as a beginner lesson.
Instead of covering that texture with appliqués, choose a pale-to-dark palette that allows the angled stitch appearance to catch light. This is one of the more refined celestial options in the collection and can work well when you want the theme to read through movement and surface rather than literal symbols.
Keep the Herringbone Texture Visible
Strongly variegated yarn can make directional stitch definition harder to read. If texture is the main attraction, use relatively controlled color changes and let the stitch pattern provide movement.
Mark the Hood Before Adding Surface Details
The long scarf and hood shaping change the orientation of the fabric. If you add stars afterward, try on the completed base first so the motifs remain upright and visible in the intended wearing position.
Treat the Long Ends as Part of the Composition
Do not stop the celestial palette at the hood. Repeating a lighter shade or small motif farther down the scarf ties the full length together and prevents the ends from feeling visually unfinished.
Crochet Starfield Snood Hood
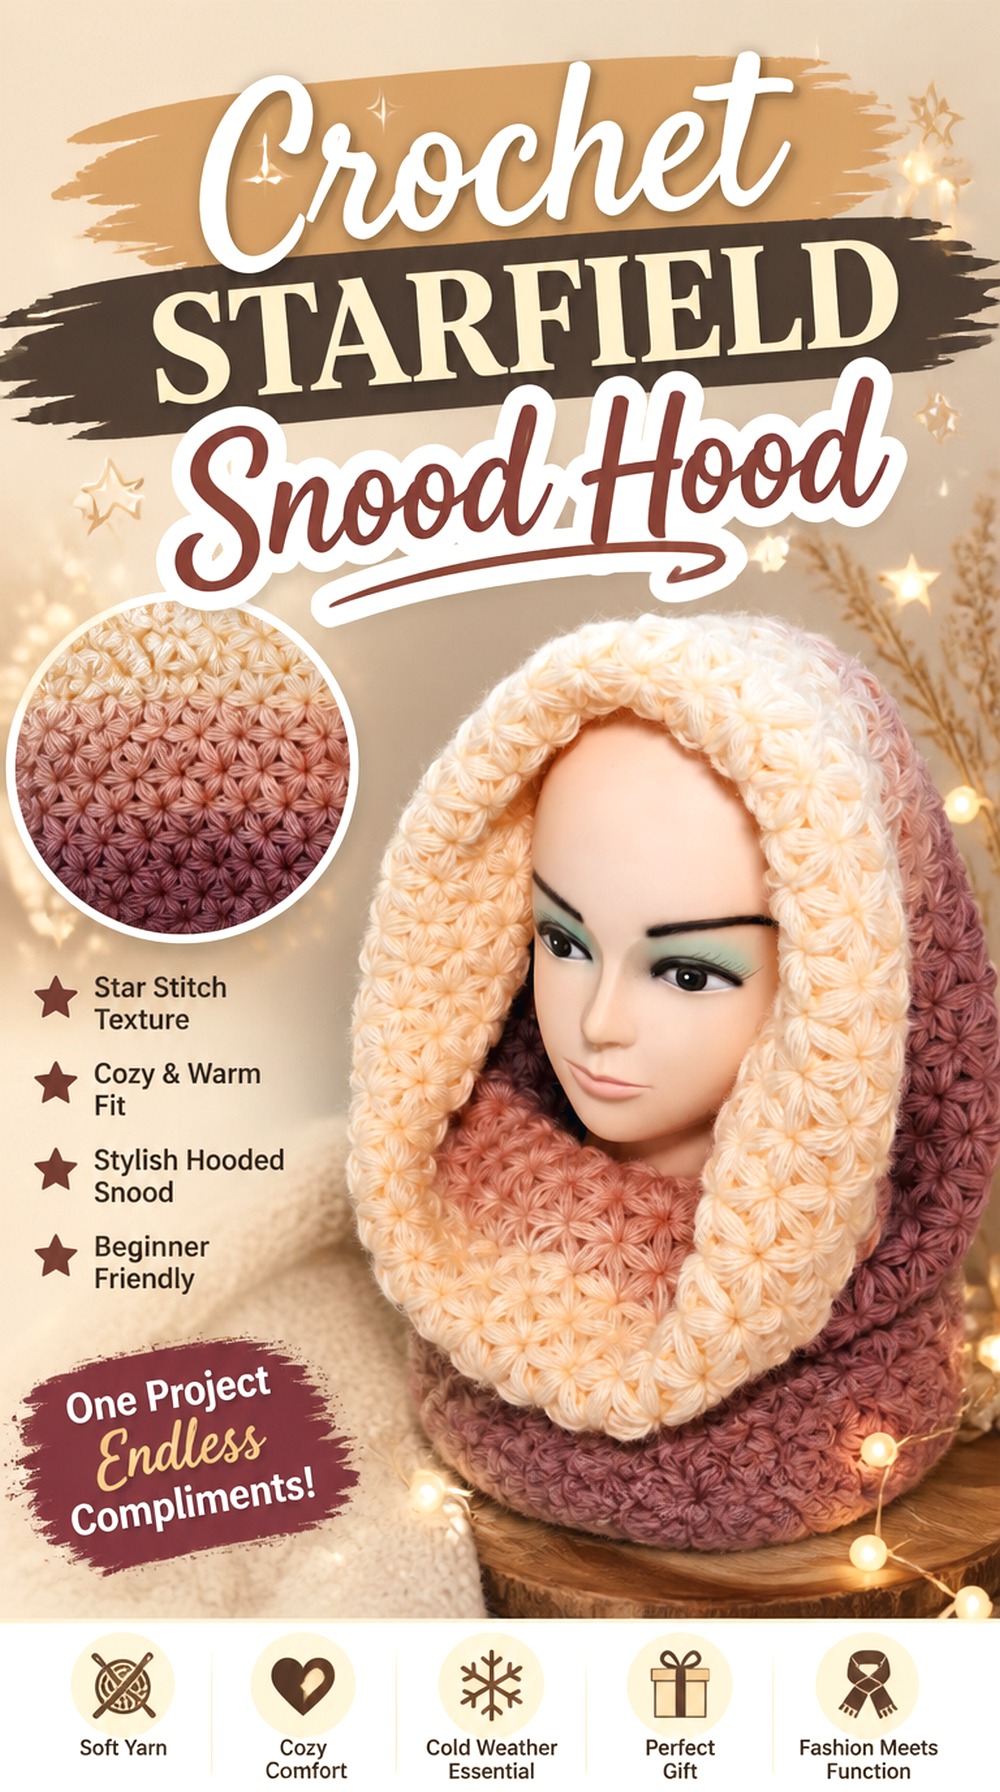
This is the most literal celestial match in the collection. Katerina_Mushyn’s tutorial is specifically presented as a crochet snood hood using a “Stars” pattern, so the celestial effect comes from the fabric texture itself rather than an added theme after construction.
A star-textured snood can stay monochromatic and still read as celestial. That makes it useful for someone who likes moon-and-star inspiration but does not want appliqués, embroidery, or multiple colors. It also provides a strong contrast to the granny-square and graphic balaclava ideas because the theme is integrated across the fabric.
Let the Star Texture Be the Main Feature
When the stitch surface already forms a recognizable pattern, extra decorations can make the hood harder to read. Start with the textured fabric alone and add contrast only if the finished piece genuinely needs it.
Choose a Yarn That Shows Relief Clearly
Very fuzzy yarn can soften the edges of textured stars, while a smoother yarn generally makes raised stitch definition easier to see. Make a small sample before deciding whether the chosen fiber gives you the visual clarity you want.
Keep the Snood Function in Mind
A snood hood needs to transition between covering the head and sitting around the neck. Avoid rigid embellishments in areas that will fold or bunch when the hood is worn down.
Original Tutorial and Creator Credit
Creator: Katerina_Mushyn
Choosing Between the Main Celestial Hood Styles
| Hood style | Most useful for | Main planning issue |
|---|---|---|
| Close-fitting balaclava | Graphic blocks, sparse stars, contrasting face borders | Preserve stretch around the face and neck |
| Granny-square hood | Sunbursts, eclipses, framed celestial motifs | Block and compare square dimensions before joining |
| Hooded cowl | Star textures, halo edges, nebula palettes | Check how much fabric folds around the neck |
| Hooded scarf or scoodie | Gradients, moon phases, long celestial color stories | Make sure the scarf fabric has enough drape |
| Attached garment hood | Carrying a celestial theme into a cardigan or coat | Match hood weight and visual style to the garment |
| Snood hood | All-over texture and subtle star effects | Keep the fabric flexible enough to wear up or down |
The key decision is where you want the theme to live. If the motif itself matters most, granny squares or a star-textured snood give it a defined place. If you want a more wearable, understated result, use a balaclava or cowl with a restrained night-sky palette. Long hooded scarves provide the most room for gradients and dramatic transitions.
Conclusion
The strongest crochet celestial hood is the one where the theme works with the construction. Choose a granny-square balaclava when you want recognizable sun, moon, or star panels; a ribbed balaclava when fit and subtle contrast matter more; an oversized cowl for a soft nebula effect; or a hooded scarf when you want gradients and celestial details to travel beyond the head.
Texture can also do most of the work. Cables, herringbone stitches, granny clusters, and star-pattern fabric can create enough visual movement without extra appliqués. Once you have chosen the silhouette, use the original tutorials for exact construction details and add celestial elements only where they will not compromise fit, stretch, or drape.
Frequently Asked Questions
Can I turn any crochet hood into a celestial hood without changing its construction?
Often, yes. Color is the least disruptive way to change the theme because it does not add physical weight or stiffness. A dark sky palette, contrasting “moonlight” edge, or a few strategically placed surface stars can transform a plain hood. More structural changes—such as replacing plain fabric with star granny squares—require greater care because the new fabric may have different dimensions, stretch, and density.
Are star appliqués better than colorwork for a crochet celestial hood?
Neither is universally better. Appliqués are useful when you want to decorate a completed hood without redesigning its underlying fabric, but they add another layer and can reduce flexibility where they are attached. Colorwork keeps the decoration within the fabric but may change tension. For very stretchy face openings, keep both techniques limited and place larger motifs on calmer areas such as the side or crown.
What type of yarn shows moon and star details most clearly?
Smooth yarn generally gives crisp stitch and motif definition, while fuzzy or haloed fibers can soften small details. That does not make textured yarn unsuitable—it can create an atmospheric nebula effect—but highly detailed stars may be less distinct. Make a small sample of the actual motif or texture rather than judging the yarn only from the skein.
How do I keep a celestial hood from becoming too heavy?
Use decoration selectively. Large appliqués, multiple dimensional stars, beads, tassels, and dense embroidery all add weight. Spread embellishments across stable areas instead of concentrating them near the crown or face edge, and reassess the drape after each addition. For hooded scarves, remember that decoration on long ends can also increase the pull around the neck.
Where should celestial motifs go around the face?
The side of the hood, upper temple area, crown, or a little behind the face border usually gives a motif more stable space than the most elastic part of the opening. Temporarily pin or mark the motif location and try on the hood before attaching it. A crescent that appears centered on a flat hood may rotate backward once the fabric stretches around the head.
Can I replace plain granny squares with star or sunburst squares in a hood tutorial?
Only after checking compatibility. Block the proposed celestial square and compare its dimensions, edge structure, thickness, and stretch with the square used by the hood construction. Matching stitch counts alone does not guarantee that two motifs will join cleanly or produce the same fit. If the celestial square differs substantially, treat the project as an adaptation rather than a direct substitution.


