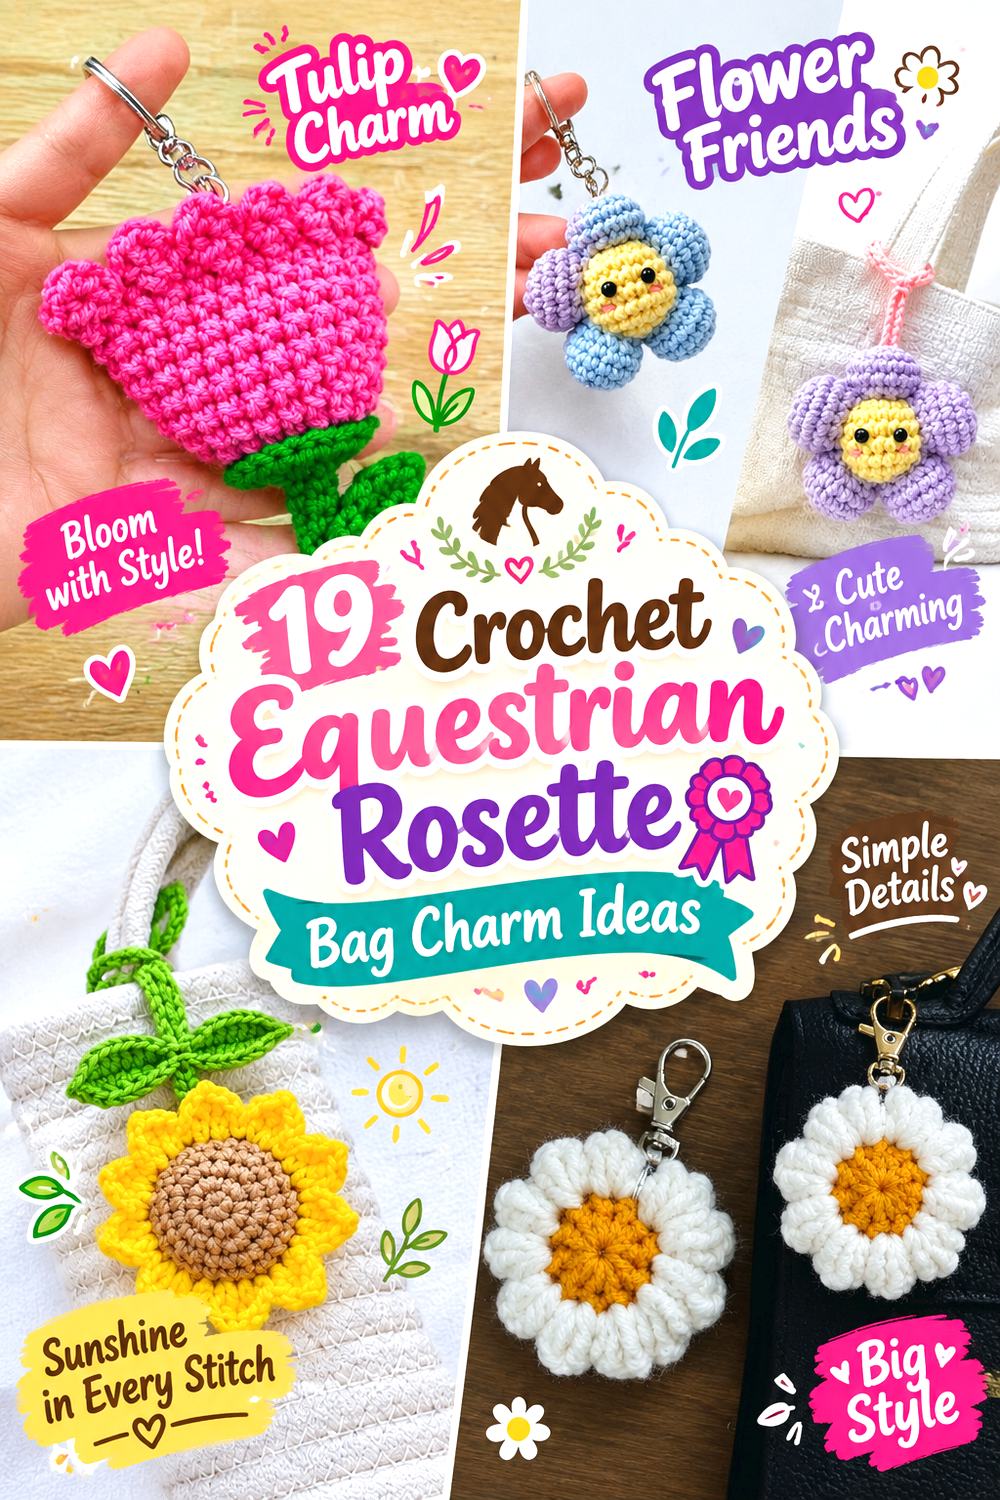

Equestrian rosettes have an instantly recognizable shape: a decorative center framed by a circular or ruffled edge, usually finished with ribbon-like tails. Translating that look into crochet opens up more options than simply changing the colors. The center can be flat, dimensional, floral, star-shaped, or unmistakably horse themed, while the lower section can use traditional twin tails, dangling motifs, leaves, or even a small pocket.
Only some of the tutorials below make literal crochet rosettes or cockades. Others teach compatible flowers, appliqués, keychains, and bag charms that can become the focal point of an equestrian-inspired rosette. That distinction matters: use those videos for the demonstrated component, then plan the award-ribbon shape independently. This collection compares those choices so you can decide how traditional, floral, dimensional, or functional you want your finished charm to be.
Quick List
- Classic Two-Tail Crochet Equestrian Rosette Bag Charm
- Ruffled Layer Crochet Equestrian Rosette Bag Charm
- Star-Center Crochet Champion Rosette Bag Charm
- Tricolor Crochet Cockade Rosette Bag Charm
- Horseshoe-Center Crochet Equestrian Rosette Bag Charm
- Horse-Mascot Drop Crochet Equestrian Rosette Bag Charm
- Rolled Rose Crochet Equestrian Rosette Bag Charm
- Petite Rosebud Crochet Equestrian Rosette Bag Charm
- Popcorn-Petal Crochet Equestrian Rosette Bag Charm
- Puff-Flower Crochet Equestrian Rosette Bag Charm
- Sunflower-Center Crochet Equestrian Rosette Bag Charm
- Plush Flower Crochet Equestrian Rosette Bag Charm
- Carnation-Fringe Crochet Equestrian Rosette Bag Charm
- Soft-Petal Crochet Equestrian Rosette Bag Charm
- Hidden-Pocket Crochet Equestrian Rosette Bag Charm
- Stuffed Daisy Crochet Equestrian Rosette Bag Charm
- Flat Daisy Crochet Equestrian Rosette Bag Charm
- Leaf-Dangle Crochet Equestrian Rosette Bag Charm
- Mini Rose Cluster Crochet Equestrian Rosette Bag Charm
What Makes a Crochet Charm Read as an Equestrian Rosette?
Color alone does not create the horse-show rosette look. The clearest visual cue is the silhouette: a centered circular feature with enough width around it to suggest an award badge, followed by one or more elements hanging beneath it. Traditional twin tails make that connection most obvious, but a starburst edge or cockade-style ring can work just as well.
When adapting a flower tutorial, first look at the finished shape rather than its original purpose. A flower with a compact center and evenly distributed petals can function as the rosette face. A long rose or floral stem is better treated as a dangling accent. If the centerpiece becomes too irregular or the lower embellishments dominate, the project may read as a flower keychain instead of an equestrian rosette.
Plan the Center, Tails, and Attachment as Separate Decisions
A bag charm needs to look good while hanging, not only while lying flat. Before committing to a design, consider where the attachment loop will sit in relation to the center and tails. If it pulls from one side of a soft rosette, the entire piece may tilt. A centered attachment point or firm backing can help a broader badge hang more predictably.
Tail construction changes the balance too. Two narrow crochet strips create the strongest traditional award-ribbon silhouette. Leaves, flowers, or a small horse charm create more movement but also shift weight downward. For dimensional centers, compare the front and back before attaching hardware. A neat backing can hide joins and provide a clearer place to secure a loop or clasp.
Choose Yarn for Definition or Softness, Not Just Color
A crisp rosette benefits from stitches that remain easy to see after handling. Smoother yarns generally make borders, stars, scallops, and lettering-style details easier to distinguish, while fuzzier or plush yarns can produce a softer, more dimensional charm. Neither is automatically better; the right choice depends on whether you want an award-badge look or a soft decorative accessory.
Also think about weight. A thick center plus long tails, stuffing, hardware, and extra appliqués can become much bulkier than a flat cockade. Make a small sample if you are combining designs from different tutorials, and compare the finished components before permanently joining them. Always follow the yarn label for cleaning and care rather than assuming a decorative charm is washable in a particular way.
Classic Two Tail Crochet Equestrian Rosette Bag Charm
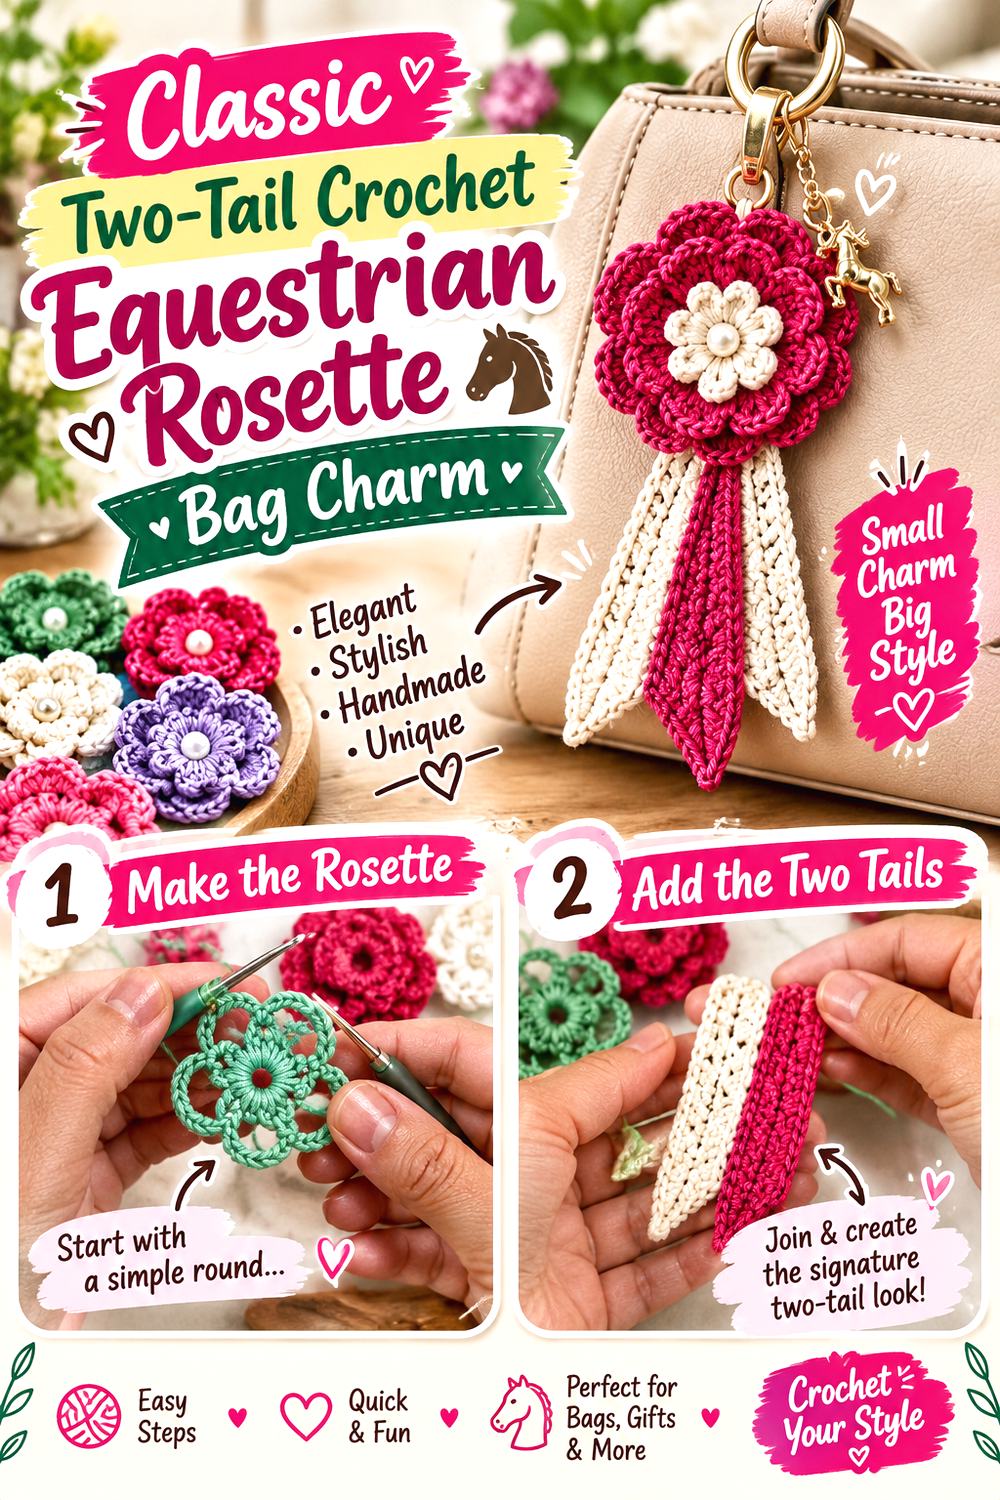
This is the most direct translation of a traditional horse-show award into crochet. Start visually with a round rosette body and let two straight or lightly pointed crochet tails hang beneath it. A contrasting center can carry a simple initial, number, color change, or small sewn embellishment without disrupting the recognizable silhouette.
The restrained structure makes this a useful choice when you want the charm to look equestrian before someone notices the finer details. The cited tutorial teaches the rosette itself; the twin tails and bag attachment are adaptations rather than parts that should be assumed from the source.
Keep the Tails Narrow Enough to Frame the Badge
Wide tails can compete with a relatively small center and make the piece look more like a bow. Compare their visual width with the finished rosette before joining anything permanently. Two distinct strips with a small gap between them preserve the award-ribbon effect and leave room for the center to remain the strongest feature.
Give the Hanging Point a Stable Backing
A broad rosette may fold if the clip is attached to only one soft edge. Consider whether the back needs an additional crocheted circle or another tidy reinforcement method before adding hardware. The objective is not stiffness for its own sake; it is keeping the front facing outward when the charm hangs from a tote, backpack, or tack-themed accessory.
YouTube Video Link: Watch on YouTube
Ruffled Layer Crochet Equestrian Rosette Bag Charm
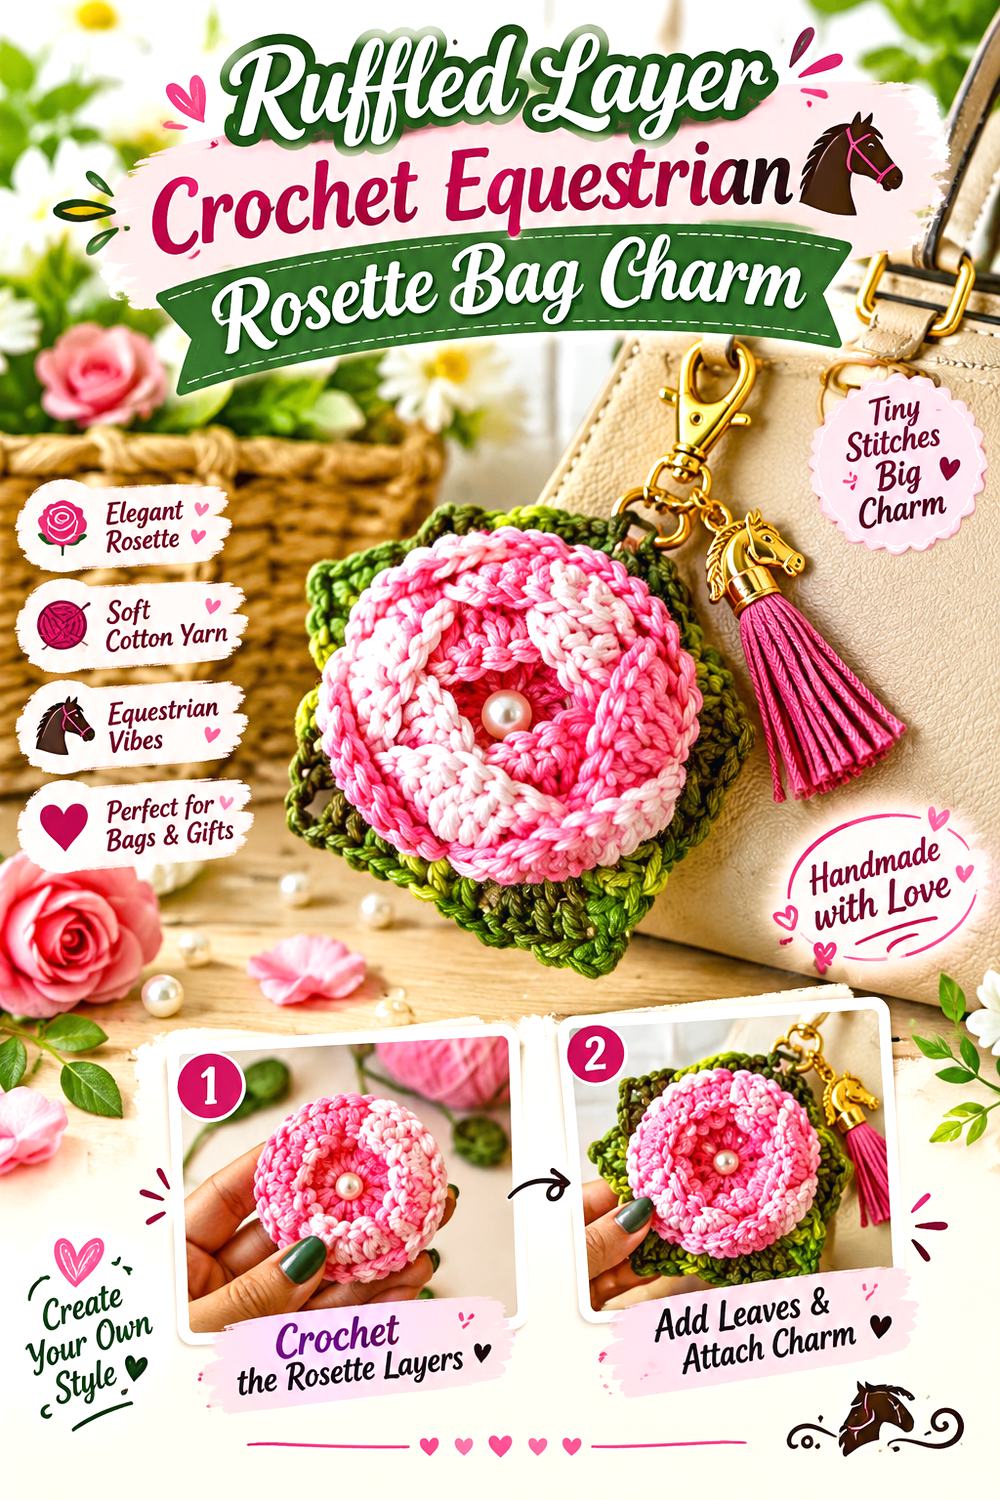
For a more decorative award badge, build the visual concept around a fuller, ruffled rosette rather than a single flat ring. Multiple visible levels of texture make the center feel substantial, so this variation can work particularly well with shorter tails that do not fight for attention.
The source tutorial focuses on a crochet rosette rather than an equestrian bag charm. That makes it useful as a center-building reference while leaving the backing, tails, and bag hardware open to your own planning. Consider two related shades around a contrasting center if you want the layers to remain visible without relying on extreme color changes.
Ruffles Need Space to Stay Visible
If the outer edge curls heavily toward the center, additional appliqués can disappear into the texture. Before adding a button-like crochet disc or another motif, place it temporarily over the finished rosette and check how much of the surrounding ruffle remains visible. The center should define the badge without covering the feature that makes this version different.
Shorter Tails Can Balance a Fuller Center
A thick rosette already carries more visual weight than a flat cockade. Very long, elaborate tails may make the charm feel oversized once hardware is attached. Compare the hanging proportions on the actual type of bag you plan to use rather than judging the piece only on a work surface.
YouTube Video Link: Watch on YouTube
Star Center Crochet Champion Rosette Bag Charm
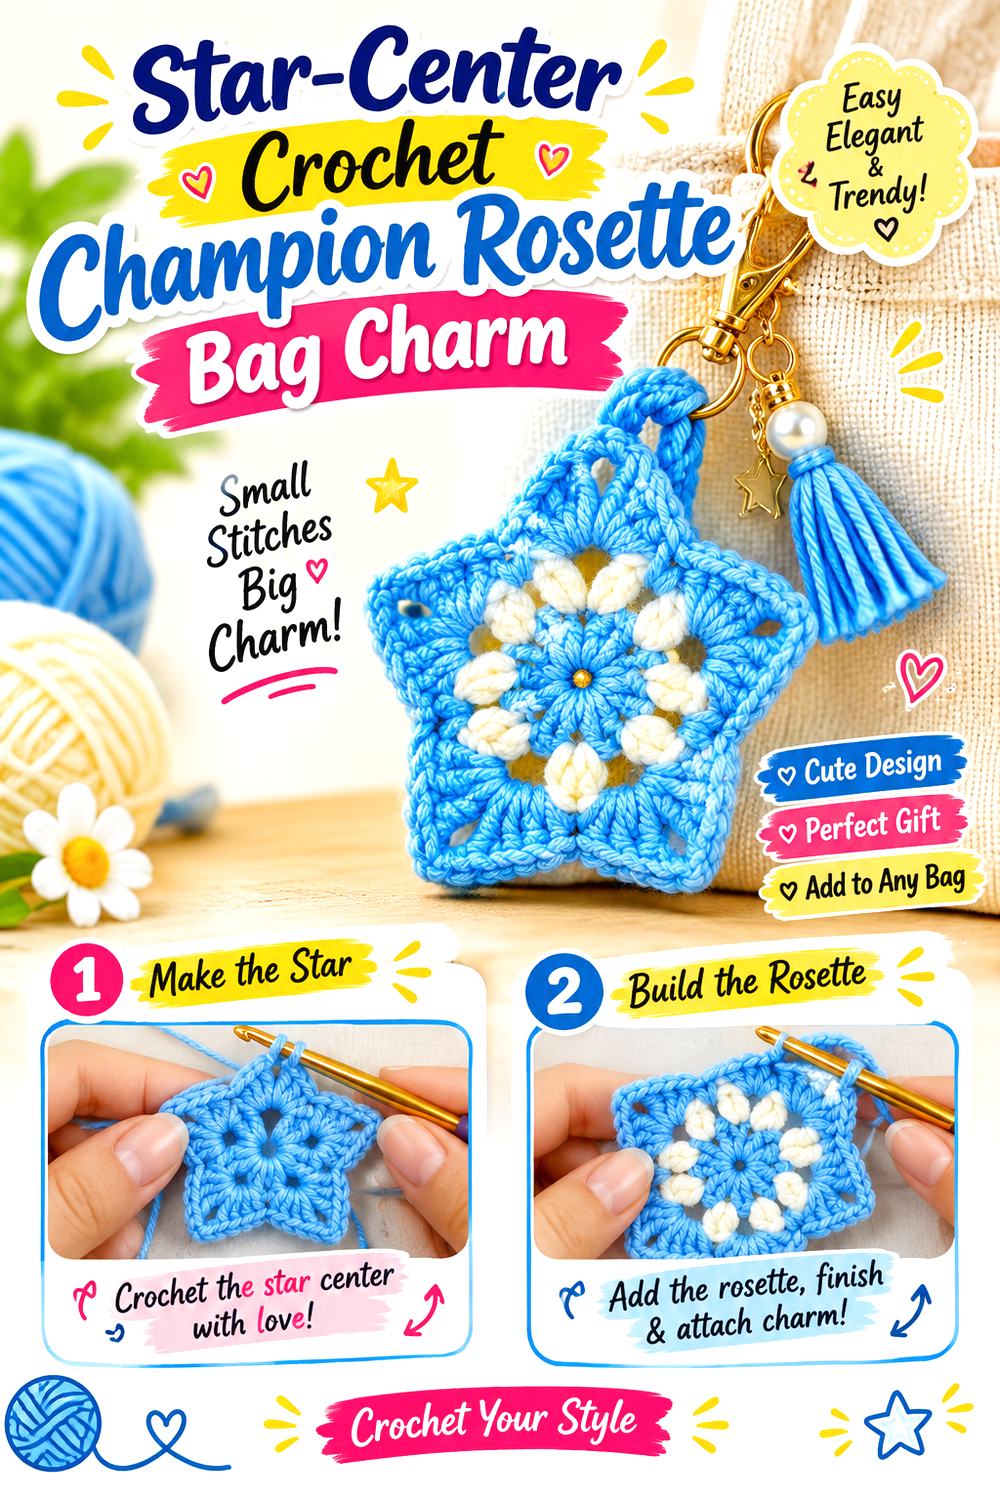
A star-shaped cockade gives the familiar prize-rosette format a sharper, more graphic center. Instead of relying on soft petals, the points create a directional outline that feels especially suitable for a “champion” or competition-inspired bag charm. Pairing the star with simple tails keeps the focal shape readable.
This option is also useful when you want several colors but do not want them scattered across tiny decorative pieces. Concentric or clearly separated color zones can make the star easier to read from a distance. The supporting tutorial demonstrates a star-shaped crochet cockade, giving this idea one of the closest source matches in the collection.
Let the Star Remain the Main Geometry
Extra scallops, flowers, beads, and long fringe can quickly obscure a strong star outline. If you want more decoration, place it at the center rather than around every point. Preserving negative space around the outer shape helps the charm keep the clean competition-badge look that distinguishes it from the round rosettes.
Check Point Alignment Before Adding the Tails
A star that rotates after assembly can make the tails appear off-center even when the tails themselves are straight. Lay the finished cockade face up, establish the top and bottom visually, then decide where the hardware and hanging elements belong. That simple orientation check matters more here than with a completely circular design.
YouTube Video Link: Watch on YouTube
Tricolor Crochet Cockade Rosette Bag Charm
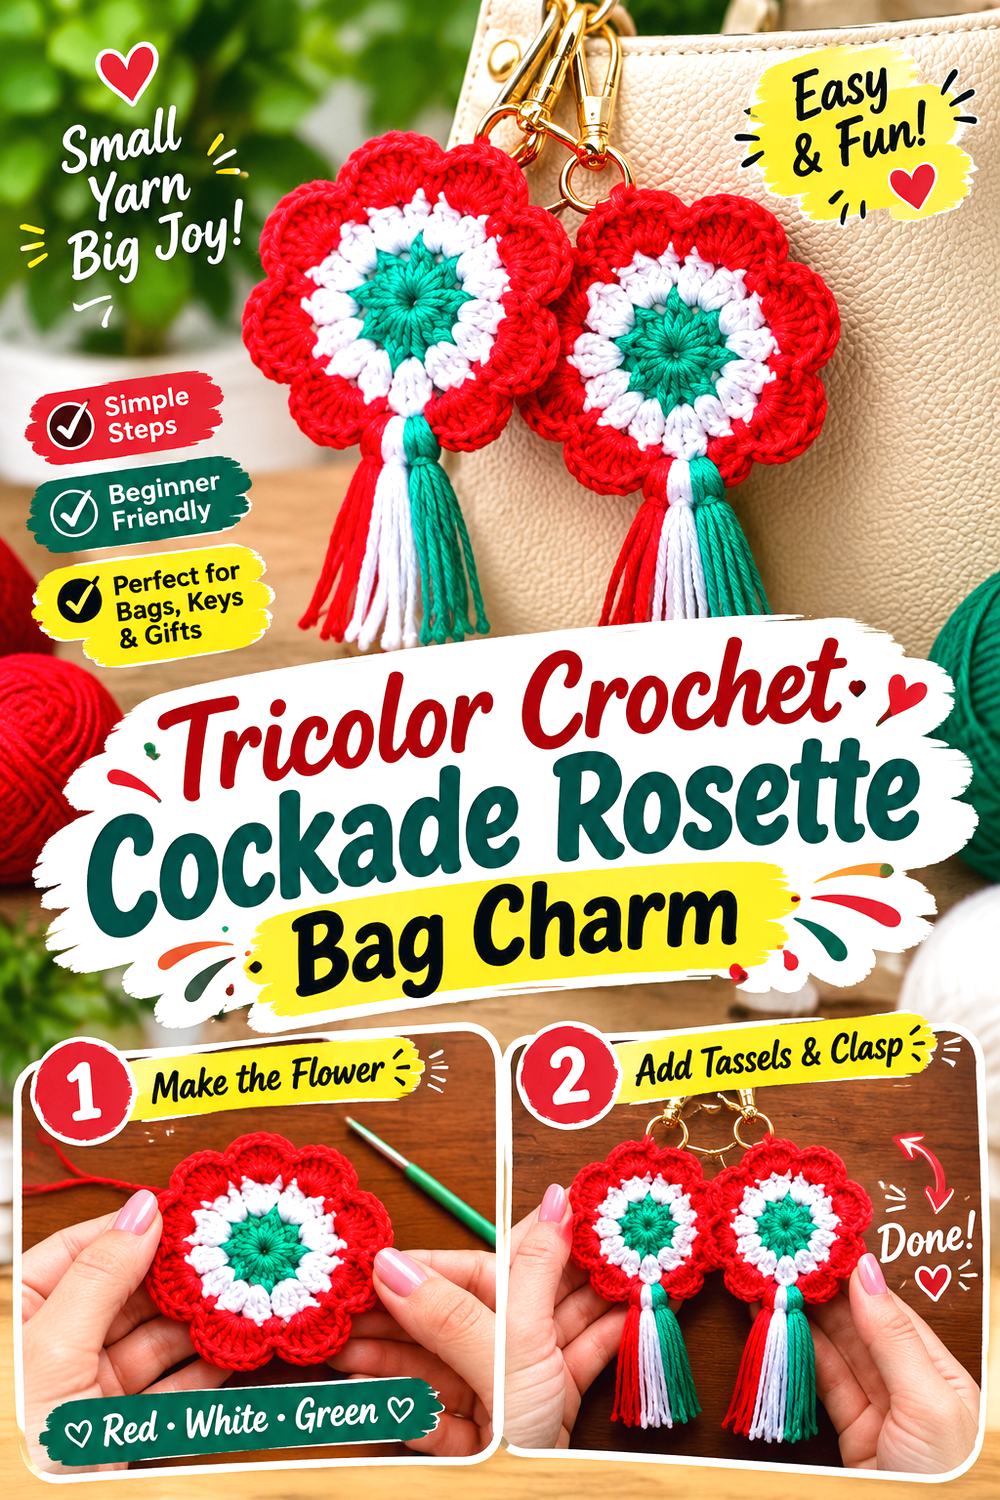
A cockade-style rosette is a good route when clearly separated bands of color matter as much as texture. Instead of treating color changes as random decoration, use them to emphasize the circular structure. The result can feel more formal and graphic than a flower-centered charm.
The referenced video makes a crochet cockade, so the round badge has a strong source match. To shift the idea toward an equestrian bag charm, add a carefully centered attachment point and a restrained pair of lower tails. You could also use stable, personal color combinations inspired by a riding club, stable palette, or favorite competition colors without implying official affiliation.
Strong Color Bands Need Clean Boundaries
If neighboring shades are very similar in value, the circular bands may visually merge. Lay candidate yarns beside each other before starting and decide whether you want subtle coordination or obvious contrast. For this design, clear separation can help the cockade structure remain visible even when the charm is viewed from several feet away.
Keep Club-Inspired Colors Personal
A handmade charm can certainly use colors associated with a rider, barn, or event, but logos and official marks are a separate issue. If the charm is intended for sale or formal team use, confirm what names, marks, or insignia you are permitted to reproduce. A color-inspired design avoids assuming rights that the crochet tutorial does not grant.
YouTube Video Link: Watch on YouTube
Horseshoe Center Crochet Equestrian Rosette Bag Charm
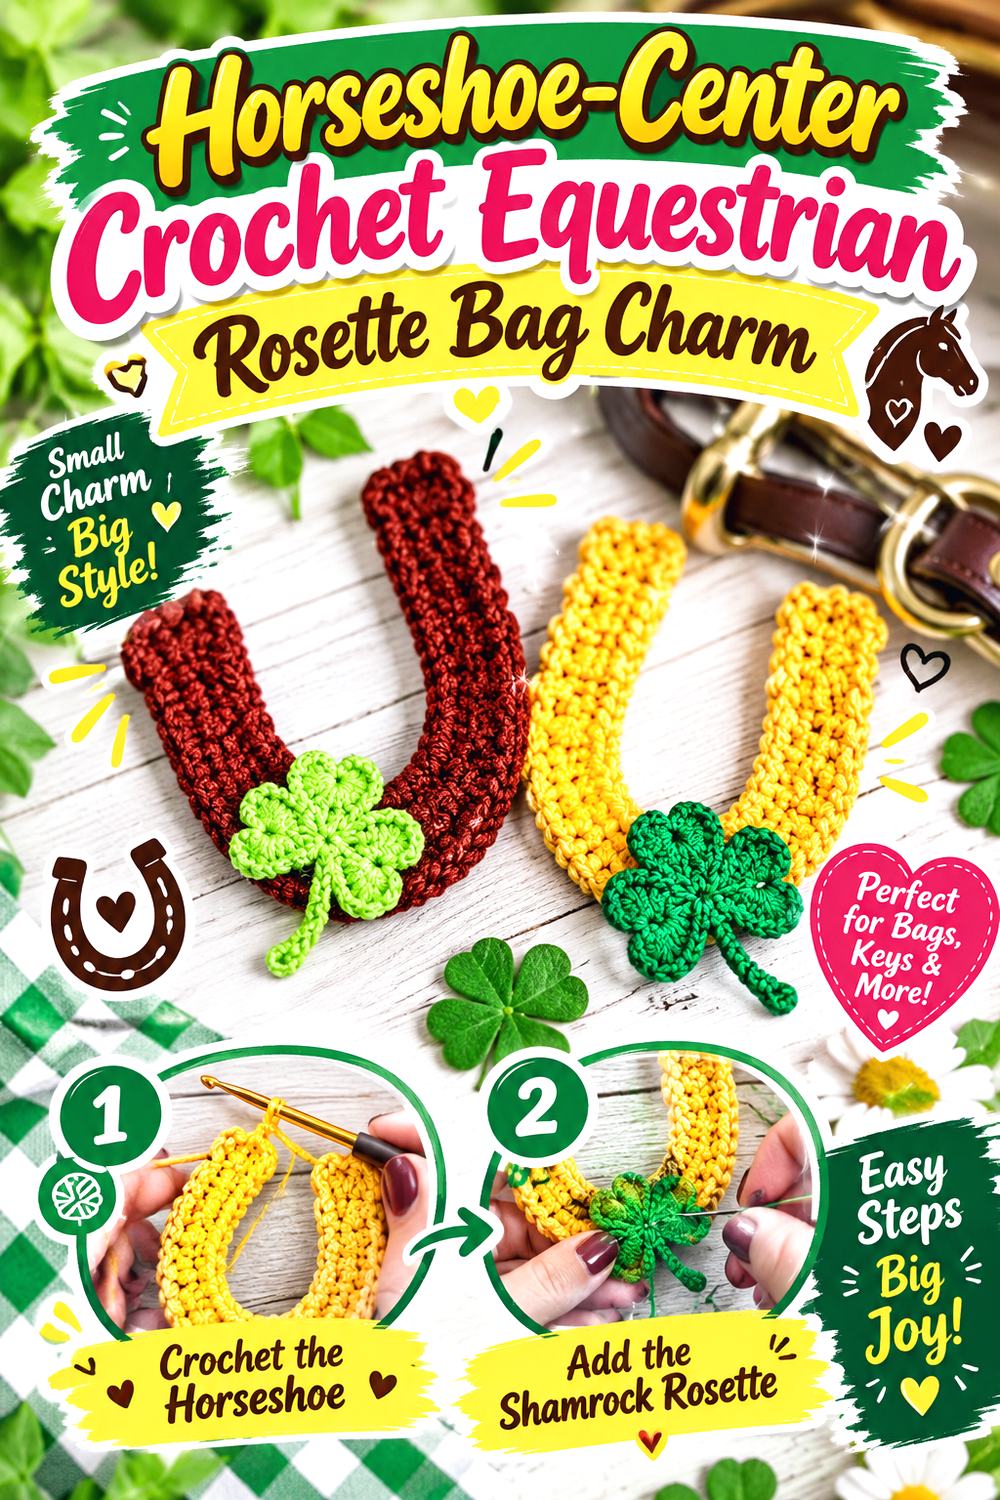
A horseshoe makes the equestrian theme explicit without requiring a horse figure. Place a crochet horseshoe over a simple circular rosette, or allow the tips to extend slightly beyond the center so the motif remains recognizable. Straight twin tails underneath can keep the overall form tied to a traditional prize ribbon.
The supporting video teaches a horseshoe appliqué, not a complete rosette bag charm. That distinction gives you considerable freedom in the badge beneath it. A relatively plain center is usually the safer partner for a detailed appliqué because heavy texture behind the horseshoe can make its curved outline harder to see.
Contrast Around the Horseshoe Matters
A horseshoe that is too close in color to the underlying badge may disappear once the charm is hanging and moving. Test the appliqué against the rosette before sewing it down. Strong outline contrast can be more useful than adding another decorative border, especially when the center is viewed at bag-charm scale.
Avoid Crowding the Open Center
The empty space inside the horseshoe is part of what makes its shape recognizable. Tiny initials or a small contrasting disc can work there, but a large flower or dense embellishment may turn the motif into an indistinct ring. Treat that open area as deliberate visual space rather than something that automatically needs filling.
YouTube Video Link: Watch on YouTube
Horse Mascot Drop Crochet Equestrian Rosette Bag Charm
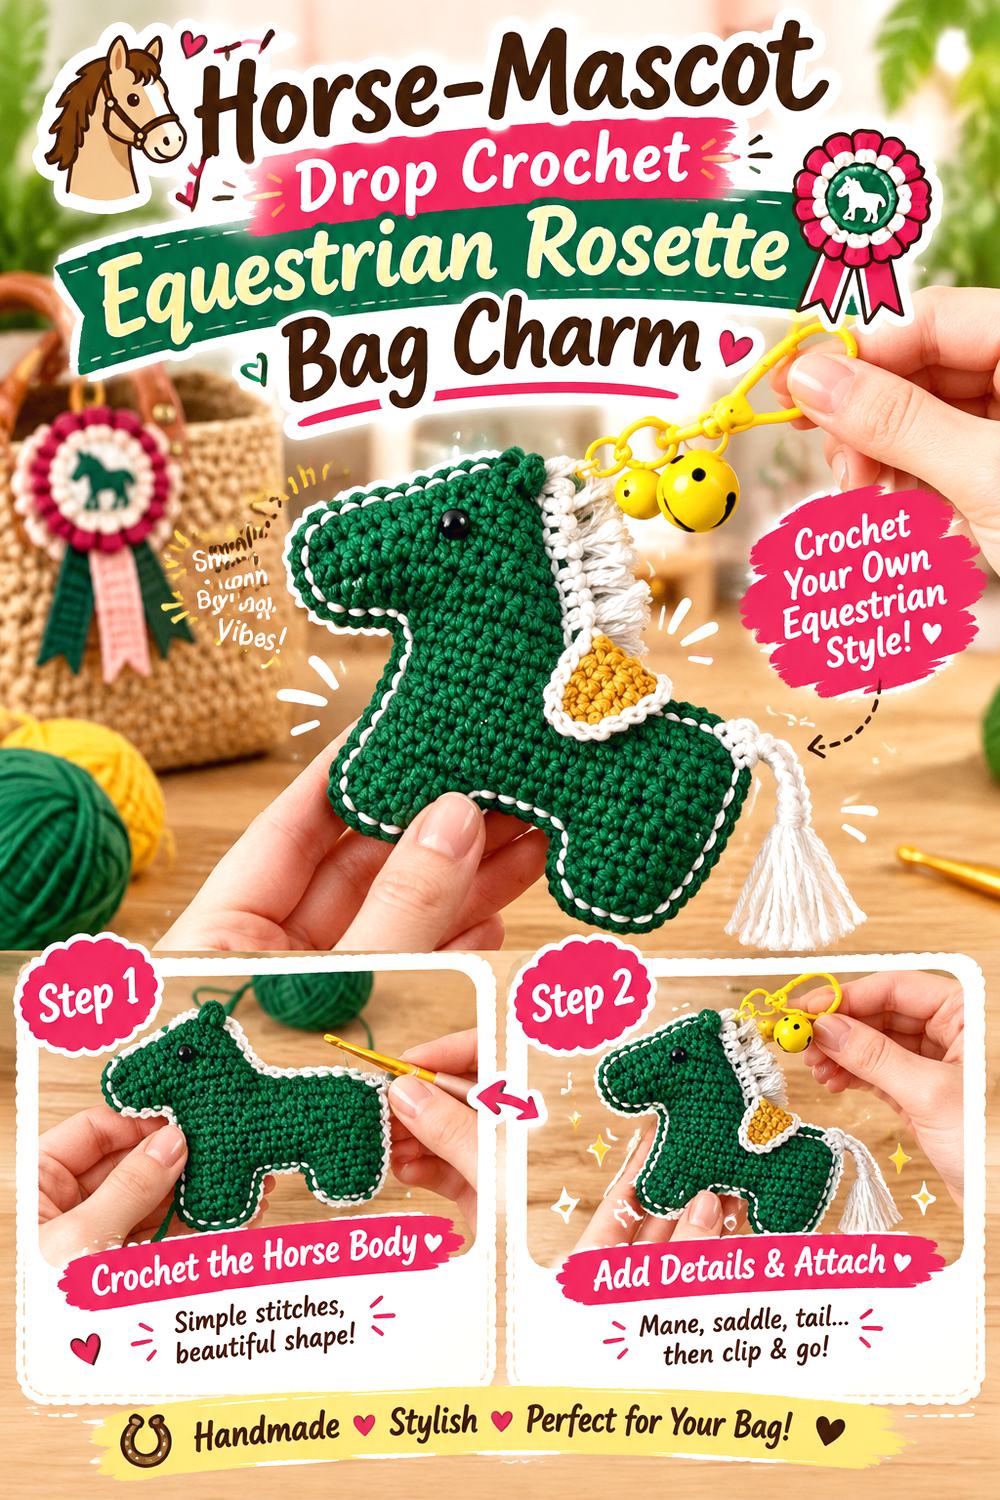
Instead of squeezing a dimensional horse into the center of a flat badge, let the horse become a hanging mascot beneath a smaller crochet rosette. This changes the classic twin-tail silhouette into a rosette-and-pendant arrangement while preserving a very clear equestrian theme.
The horse tutorial creates a separate keychain figure, so think of it as the lower component rather than an exact rosette tutorial. A simple top badge can carry the attachment hardware and establish the award-rosette reference. Keeping that upper section visually quieter prevents the charm from becoming too busy once the three-dimensional horse is added.
A Dangling Horse Changes the Weight Distribution
A stuffed or dimensional figure will pull the charm downward more strongly than two flat crochet tails. Check the junction between the rosette and the horse before relying on it for regular bag use. The connection should carry the moving component without stretching the decorative edge of the badge.
Small Parts Deserve Extra Thought
The source project uses an amigurumi-style horse keychain. If you adapt a similar figure for an item that could reach a baby, small child, or pet, detachable eyes, rings, clasps, and other small components need particular caution. For an adult bag charm, you can still consider embroidered facial details if you prefer fewer protruding pieces.
YouTube Video Link: Watch on YouTube
Rolled Rose Crochet Equestrian Rosette Bag Charm
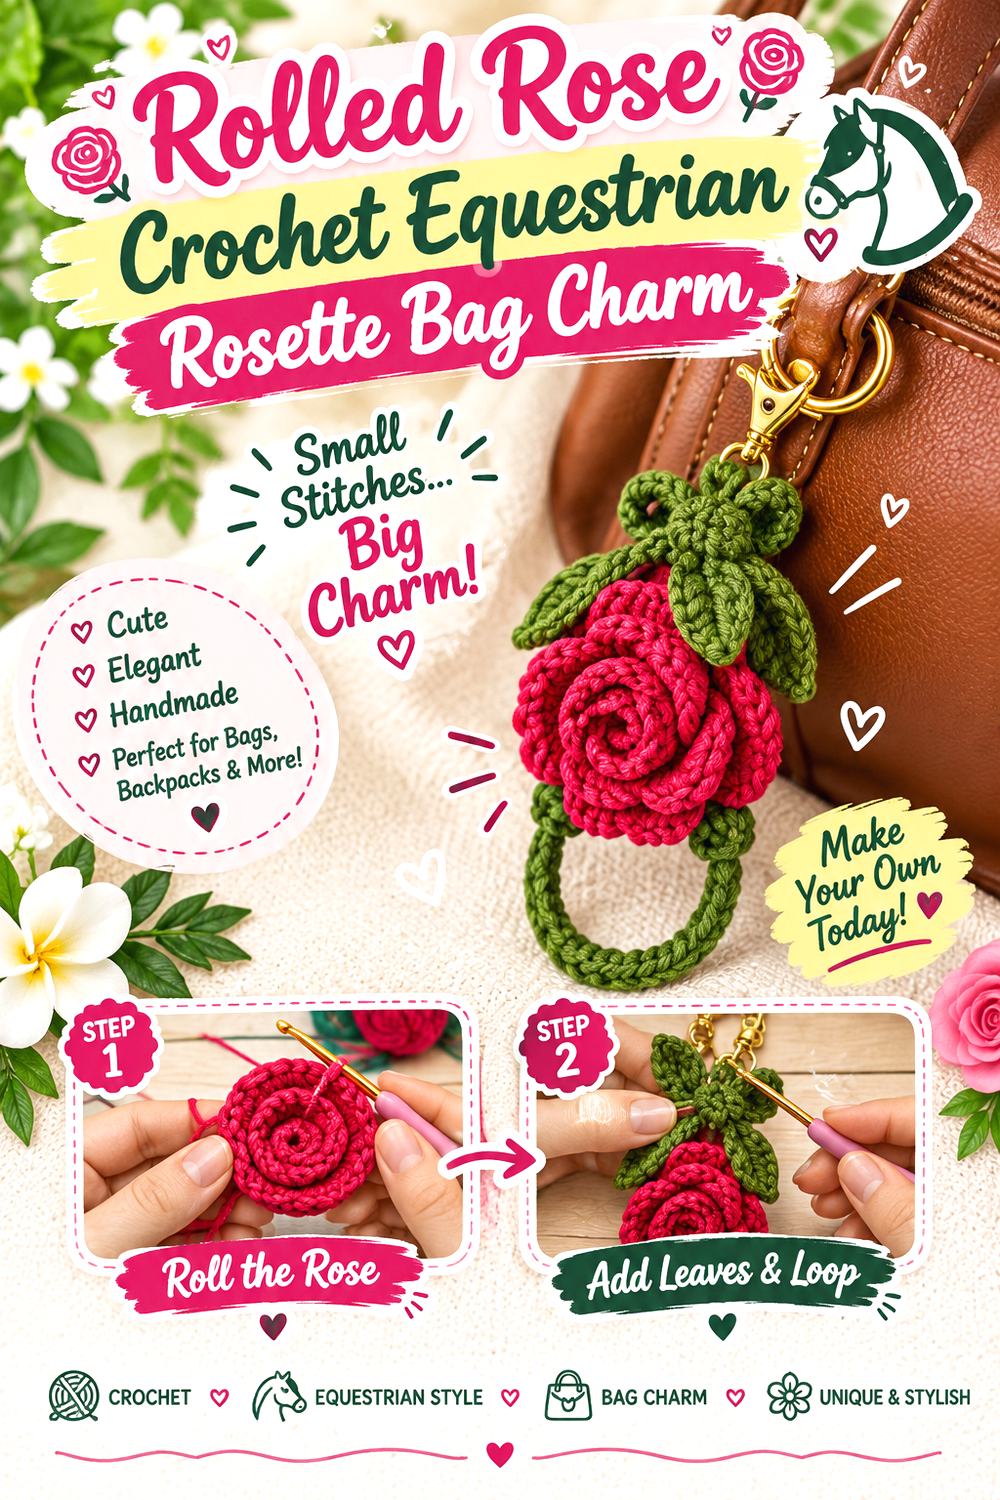
A dimensional rose offers a softer interpretation of a competition rosette. Use the flower as the central focal point and surround it with a flatter circular layer so the finished piece still reads as an award badge rather than a standalone floral keychain. Two narrow tails can complete the equestrian silhouette.
This style suits a more romantic palette or a charm intended as a gift for a horse lover. Because the rose already projects outward, additional thick embellishments are unnecessary. The supporting tutorial creates a rose keychain and bag charm, so it gives useful guidance for the flower and hanging concept while the prize-ribbon backing remains your adaptation.
Protect the Rose Silhouette from Too Many Layers
A three-dimensional flower benefits from breathing room. If the circular layer behind it is heavily ruffled, the rose and rosette may visually merge into one thick mass. A simpler backing allows the curved petals to stand forward while the outer edge still signals the badge shape.
Position the Clip Above the Flower’s Centerline
If the attachment point sits noticeably to one side, a projecting rose can make the charm twist. Before securing the clasp, hold the unfinished piece from several candidate points and see which one lets the badge face forward most naturally. This is more reliable than choosing the top solely by counting stitches.
YouTube Video Link: Watch on YouTube
Petite Rosebud Crochet Equestrian Rosette Bag Charm
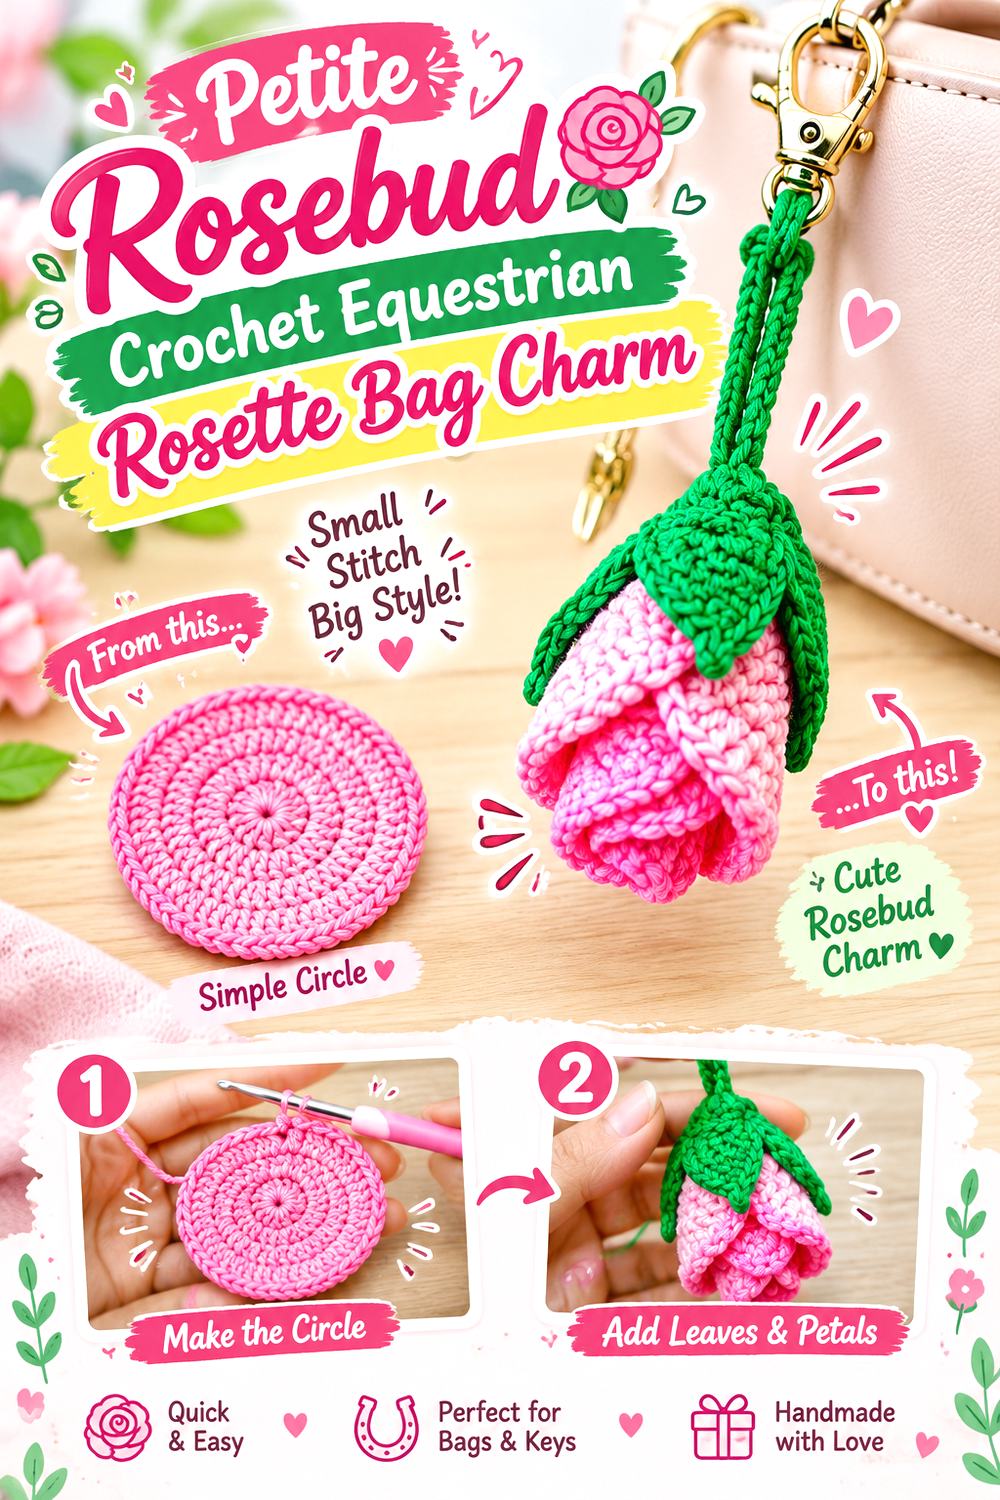
For a narrower, less bulky floral badge, use a petite rose form as the center and give more space to the rosette ring around it. The smaller floral emphasis lets you experiment with contrasting outer scallops or longer equestrian-style tails without making every part equally dominant.
This version works especially well when you want the handmade flower detail to be noticed only after the overall award shape. The cited tutorial provides the rose flower keychain reference. Treat the surrounding badge and ribbon tails as your own structural additions, and compare the flower’s finished footprint with the center space before committing to a backing size.
Scale the Badge Around the Finished Flower
Do not assume that a flower from one tutorial will automatically fit a rosette designed from another source. Make or measure the flower first, then decide how much border should remain visible around it. Enough separation should remain for viewers to recognize both a rose and an award badge rather than seeing one crowded circular cluster.
A Quiet Tail Design Keeps the Rose Refined
Because the flower brings plenty of detail, plain tails can be more effective than textured fringe. Consider solid strips, simple edging, or one controlled contrast line. That gives the eye a clear route from the flower center down through the prize-ribbon silhouette without introducing another competing motif.
YouTube Video Link: Watch on YouTube
Popcorn Petal Crochet Equestrian Rosette Bag Charm
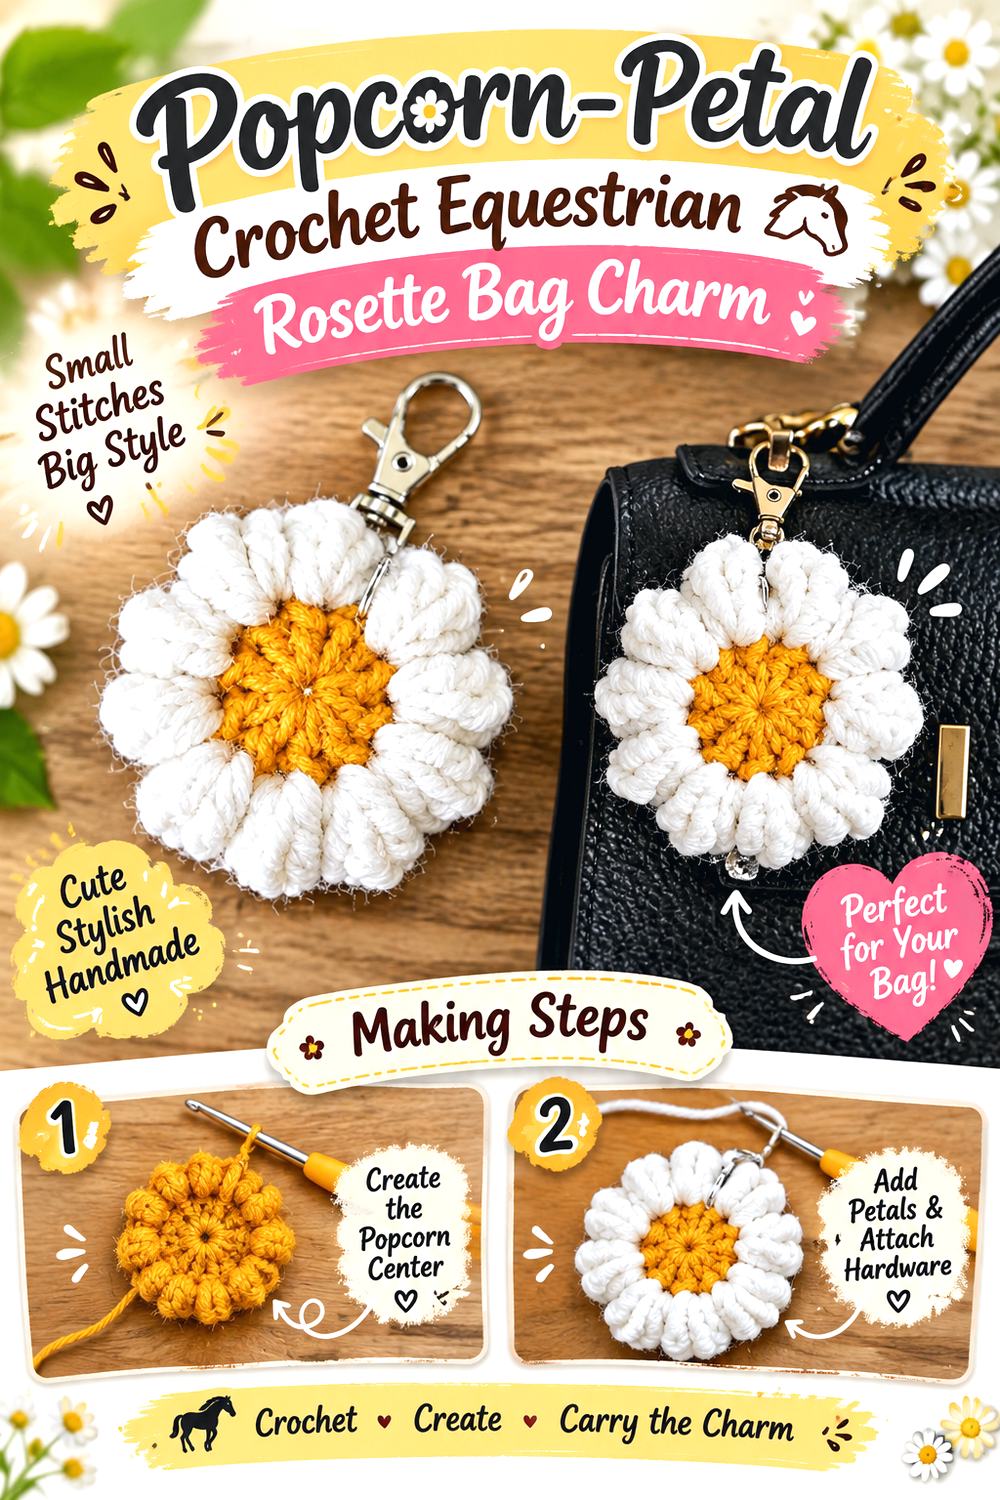
Raised petals can imitate the full edge of a prize rosette without requiring several separate circular layers. A flower with strongly textured petals makes a useful center for a compact bag charm, particularly when paired with a plain back disc and two clean tails.
The cited keychain tutorial uses a flower with pronounced dimensional texture, making it a practical reference for the focal element. Rather than hiding that texture under additional appliqués, consider using color placement to distinguish the center from the surrounding petals. The award-ribbon identity can then come primarily from the lower tails and overall hanging shape.
Raised Petals Can Catch More Easily
A textured edge projects farther than a flat circle, so think about where the charm will hang. On a bag with exposed zippers, buckles, or rough surfaces, prominent loops and petals may experience more rubbing than a compact flat cockade. That does not make the style unsuitable, but it can influence yarn and placement choices.
Finish the Back as Carefully as the Front
Dimensional petals attract attention to the face, but the charm will rotate during use. A tidy backing circle can conceal joining points and create a deliberate surface for the clasp and tails. Before closing or covering the back, confirm that any attachment loops are where you actually want them.
YouTube Video Link: Watch on YouTube
Puff Flower Crochet Equestrian Rosette Bag Charm
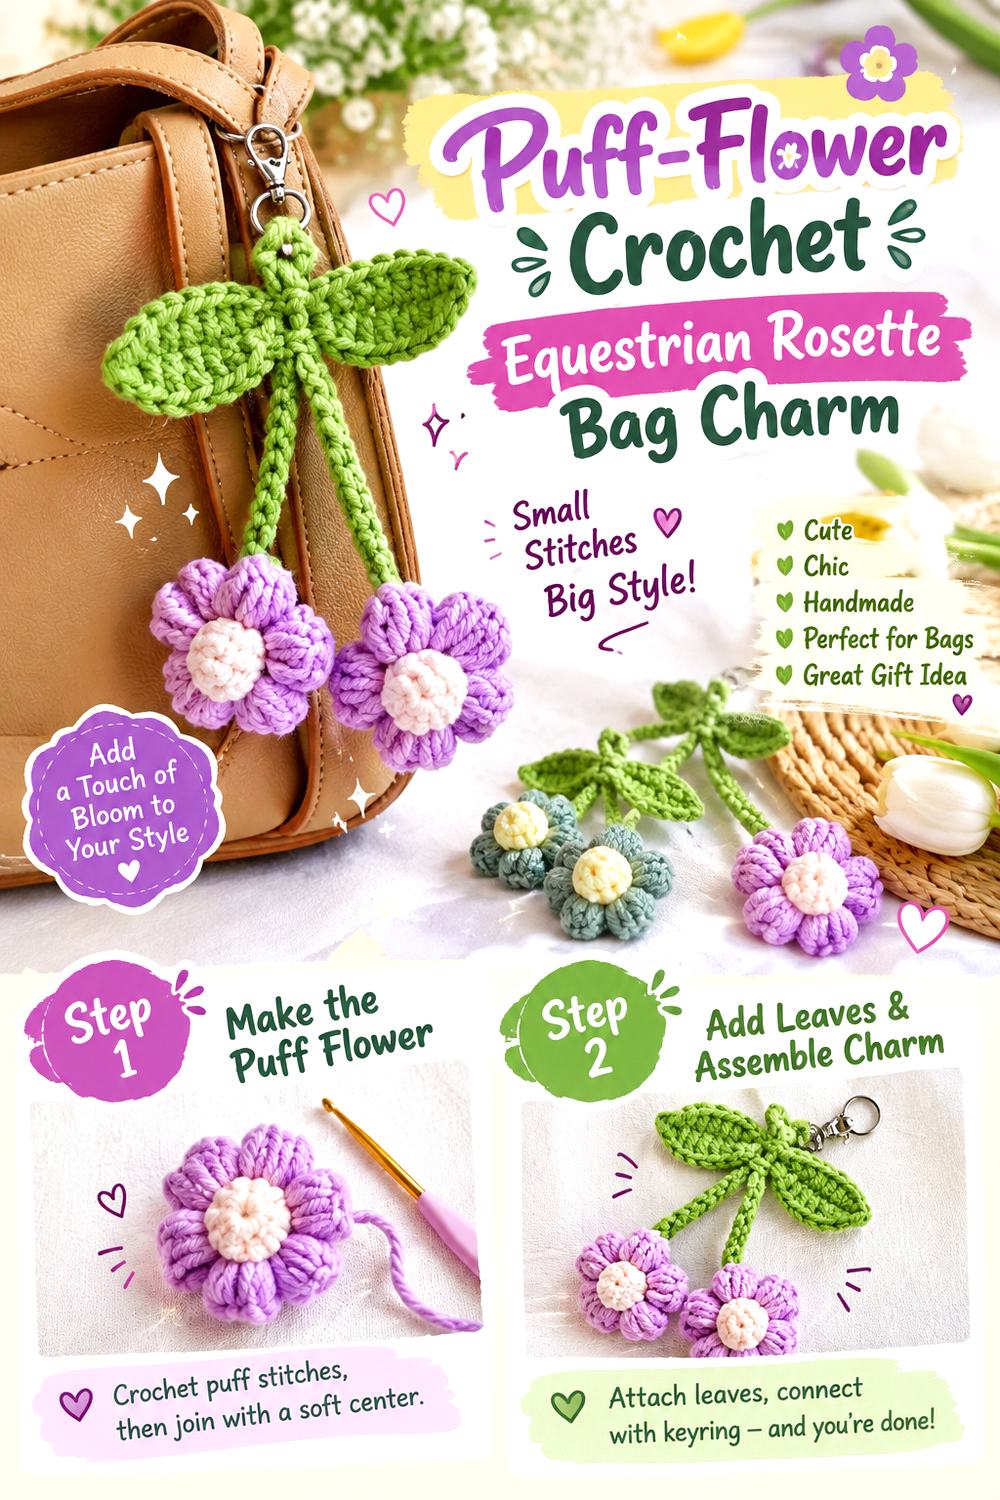
A puff-flower center creates a soft, rounded rosette that feels different from both flat cockades and tightly rolled roses. Use the flower itself as the inner medal and place it over a comparatively smooth badge layer. The contrast between puffed petals and straight tails can keep the piece recognizably equestrian.
This idea also allows a softer center without turning the entire charm into plush amigurumi. The source video teaches a puff-flower keychain with additional floral elements. For the rosette adaptation, decide whether those extra elements belong near the tails or whether the central flower alone gives enough texture.
Let the Puff Texture Supply the Dimension
Stacking several bulky layers underneath puff stitches can make the badge very thick. Compare the profile from the side, not just from the front. If the center already has enough relief, a flatter supporting circle will usually provide a clearer transition to the tails and reduce unnecessary bulk.
Test the Flower Before Choosing Tail Texture
Puff stitches produce strong shadows and a soft outline. Highly textured tails may compete with them. Place a sample strip beneath the finished flower and decide whether you prefer continuity or contrast. Smooth tails can make the center appear more dimensional precisely because the lower section is simpler.
YouTube Video Link: Watch on YouTube
Sunflower Center Crochet Equestrian Rosette Bag Charm
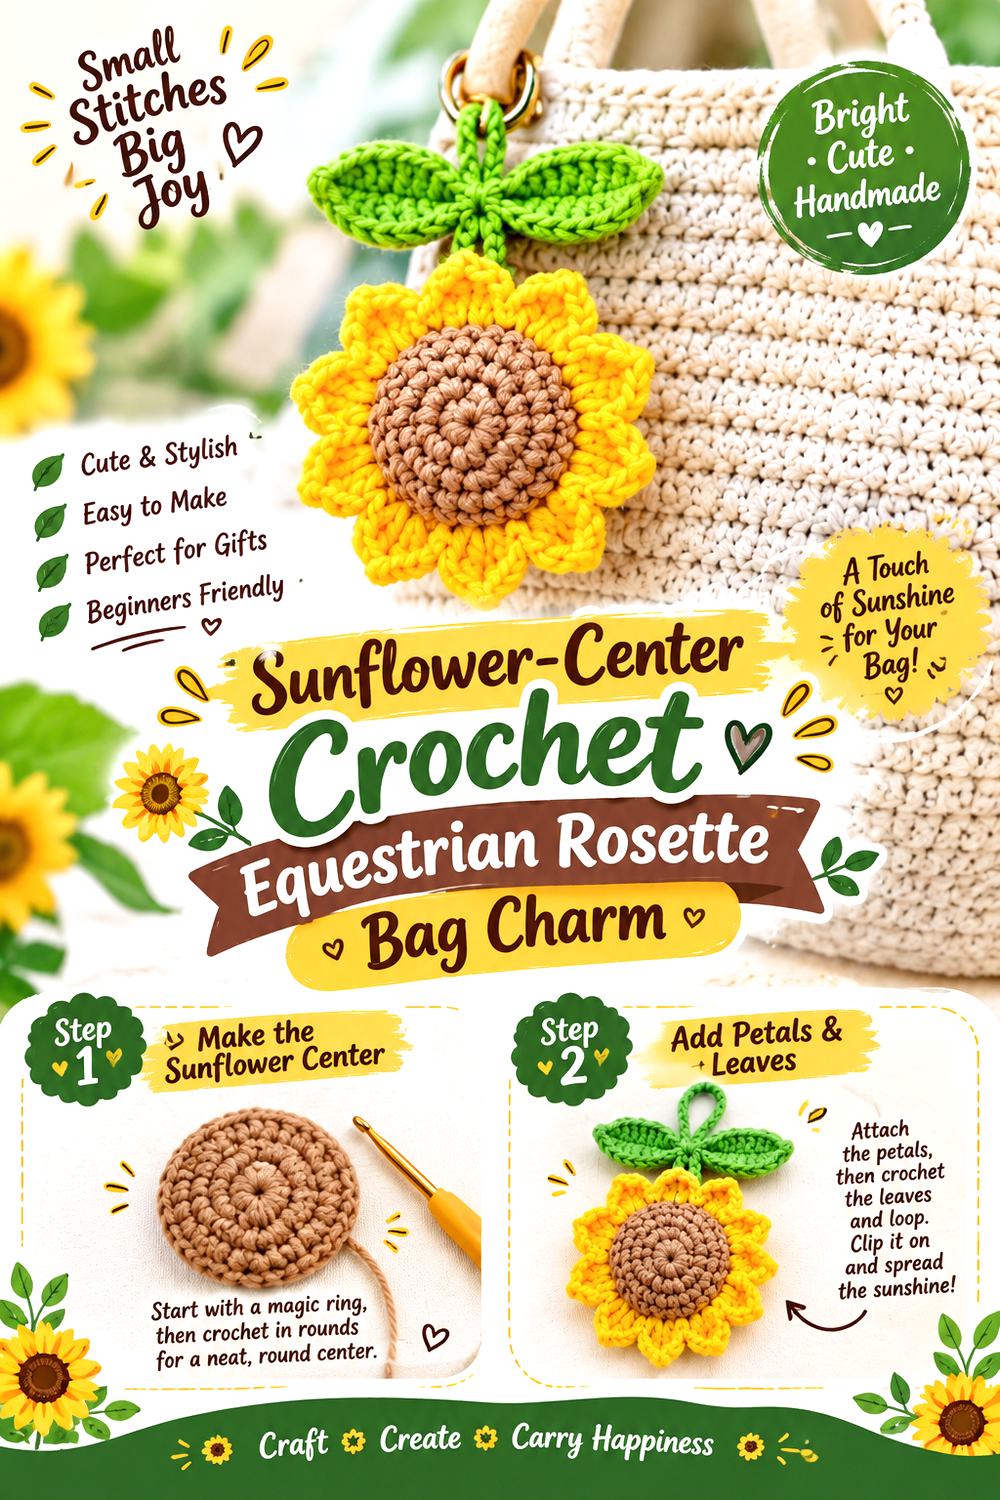
A sunflower creates a bold circular focal point with a naturally contrasting center, making it easy to translate into a rosette-inspired badge. Add a plain backing circle slightly beyond the petals and finish with twin tails for a recognizable horse-show silhouette.
This variation can move away from traditional competition colors while still retaining the structure of an equestrian award. The sunflower keychain tutorial provides the flower component, including the hanging-accessory context. The rosette backing and tails should be planned separately, with enough edge visible that the completed charm does not simply look like a sunflower keyring.
Preserve a Visible Ring Beyond the Petals
When a floral center nearly fills its backing, the award-badge layer disappears. Before joining, place the sunflower on several possible circles or sample rings. The amount of visible border does not need to be large, but it should be intentional enough to separate “flower” from “rosette.”
Earthy Colors Can Still Feel Competition Inspired
Traditional rosettes often rely on clear, bold color blocks, but a sunflower version can use deeper gold, cream, green, brown, or stable-inspired neutrals while retaining the same geometry. The key is to keep the center, surrounding badge, and tails visually organized rather than spreading every shade evenly through every component.
YouTube Video Link: Watch on YouTube
Plush Flower Crochet Equestrian Rosette Bag Charm
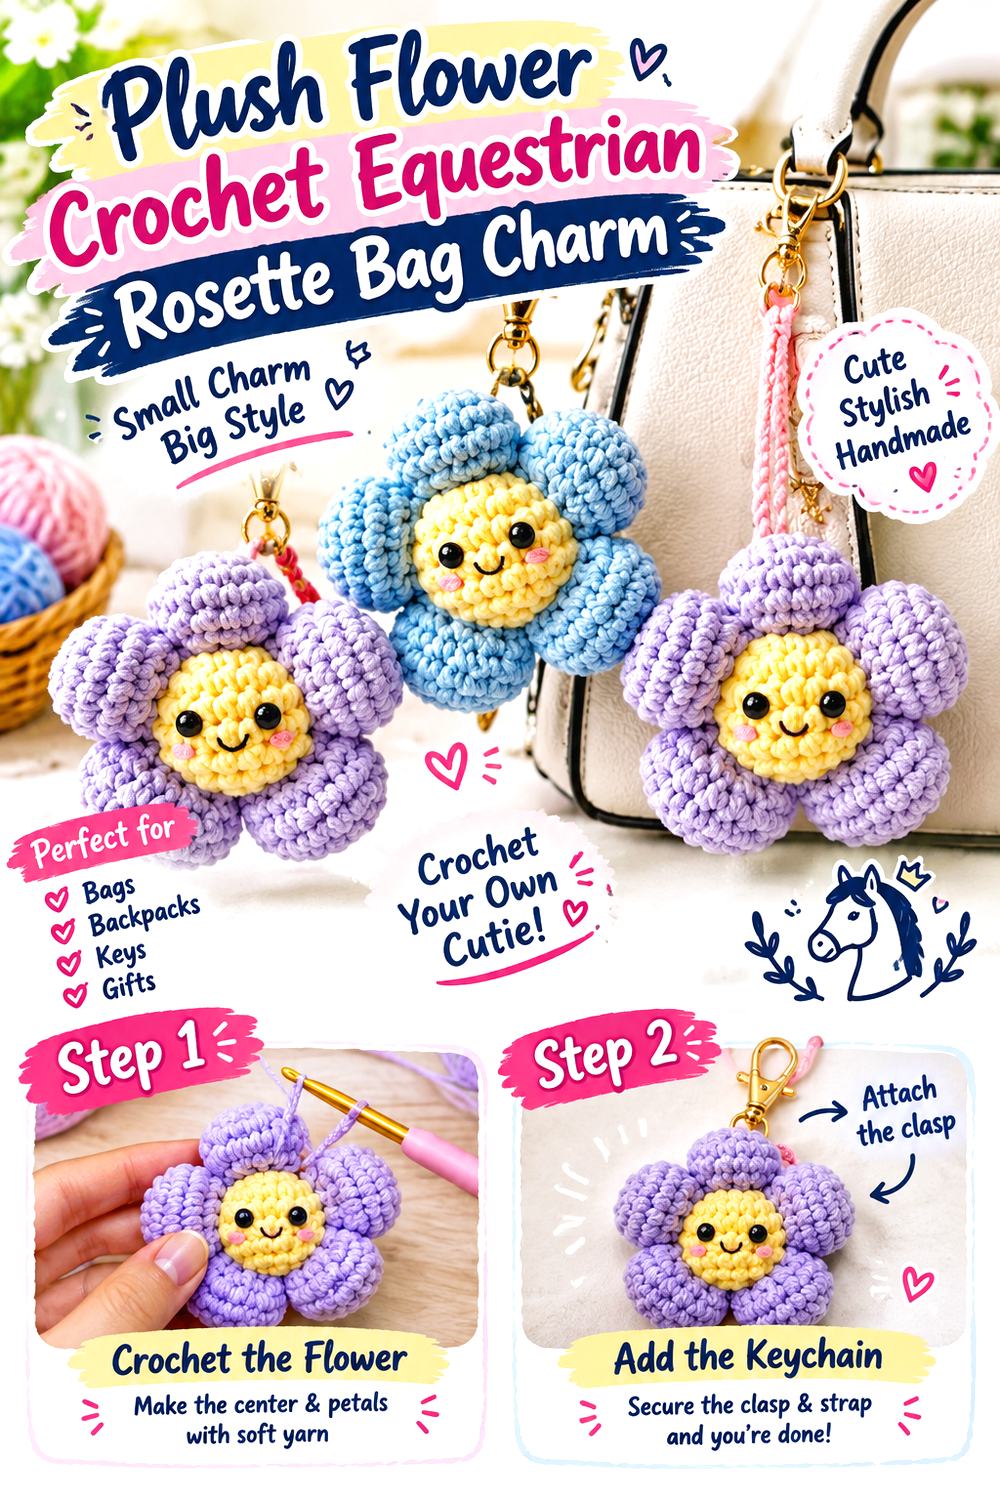
This variation pushes the rosette toward a playful, dimensional accessory. A plush flower can become the raised center while a flatter crochet circle behind it restores the award-ribbon outline. Short tails are usually the cleaner companion because the flower already contributes significant volume.
The cited tutorial creates a flower intended for use as a keychain or bag charm, so the hanging format is directly relevant. For an equestrian adaptation, you do not need to reproduce every decorative facial feature or embellishment from the source. A simpler center can make the piece feel more like tack-room or riding-bag decoration and less like a character charm.
Keep the Backing Wider Than the Plush Center
A stuffed center can visually swallow a backing that is only slightly larger. Temporarily position the flower on the proposed rosette and look at it from arm’s length. If the circular frame disappears, increase the visual separation through scale or contrast rather than adding more embellishment.
Watch the Total Depth Near Zippers
Plush components project outward and can swing against a bag. If you plan to clip the charm near a zipper pull, test whether the finished depth interferes with opening the bag. Moving the clasp to a handle or side ring may suit a bulky version better than placing it beside frequently used hardware.
YouTube Video Link: Watch on YouTube
Carnation Fringe Crochet Equestrian Rosette Bag Charm
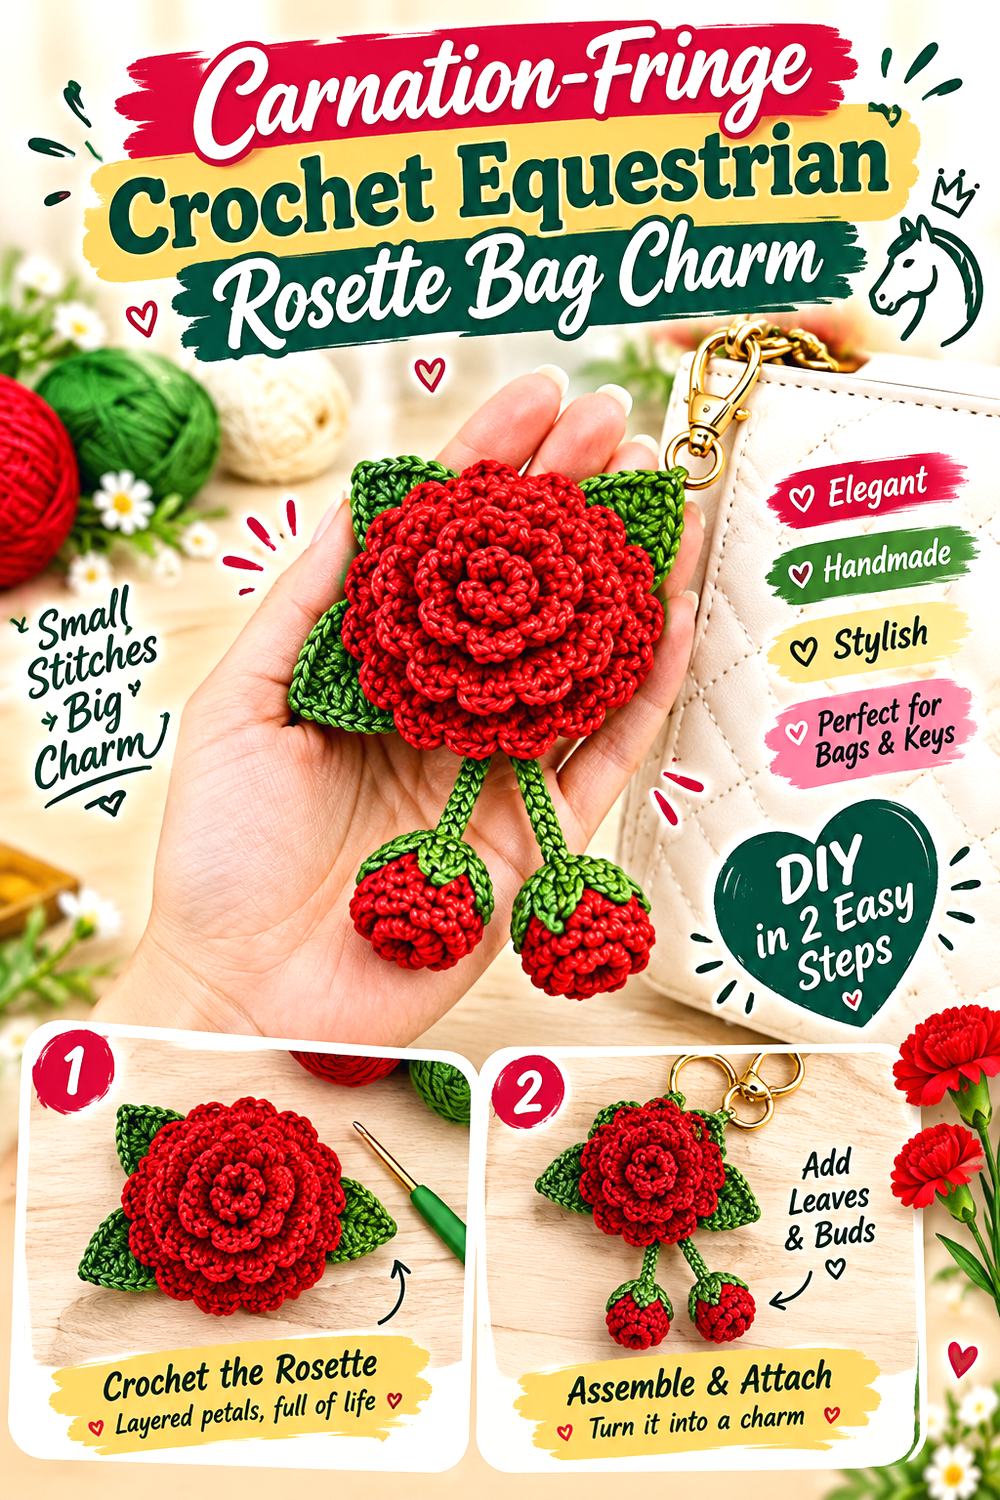
A ruffled carnation-style flower can echo the pleated appearance of fabric prize rosettes without copying their exact construction. Use the frilled flower as the central layer, then add a flatter disc behind it and two restrained tails below. This creates a softer edge than a star or cockade.
The source video presents small carnation-like flowers as keychains and bag charms. For this equestrian version, a single prominent bloom will usually communicate the center more clearly than a large cluster. Keeping the tails smooth also gives the frilled edge somewhere to stand out rather than repeating the same texture everywhere.
Frill Density Changes the Overall Silhouette
A very dense flower may appear almost spherical from the side, while a lighter ruffle remains closer to a badge. Decide which profile suits the bag before building the surrounding rosette. If the center is already deep, use the backing mainly for shape and support rather than trying to create another thick decorative layer.
Give the Lower Half a Cleaner Line
Ruffled centers pair naturally with plain tails because the change in texture separates the “medal” from the “ribbon.” If you want decorative tail ends, a simple point or angled finish can add definition without repeating the flower’s frill. Compare both tails together before attaching them so their angles read as one deliberate pair.
YouTube Video Link: Watch on YouTube
Soft Petal Crochet Equestrian Rosette Bag Charm
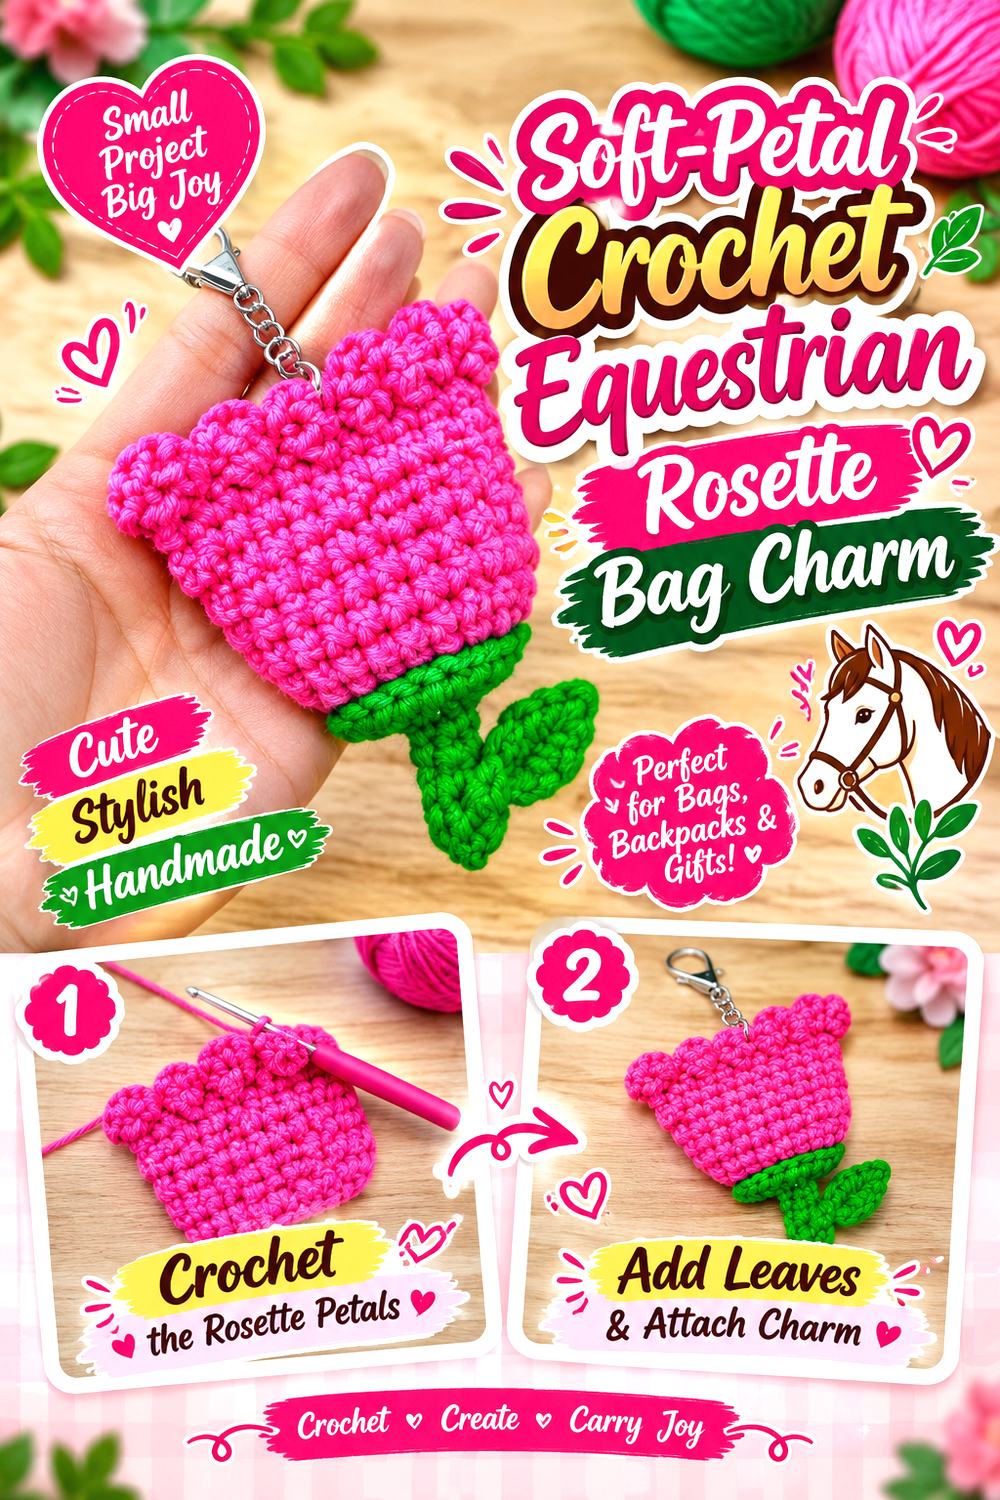
Not every rosette needs a heavily structured edge. A softer flower keychain can supply a relaxed center for an equestrian-inspired charm, especially if the backing circle and tails carry most of the award-ribbon geometry. This creates a casual option for everyday totes or riding accessories.
Use the flower as one component rather than enlarging it until it becomes the entire charm. A contrasting ring behind the petals can establish a clear center boundary, while short twin tails preserve the equestrian reference. This is a useful direction for readers who like floral crochet but want something less dense than a puff or carnation center.
Use the Backing to Add Structure
If the flower naturally bends, the supporting badge can do more than add color. A firmer, closely worked crochet circle can help the finished face remain flatter while leaving the petals visible around it. Check that the support does not extend so far that the flower looks disconnected from the rest of the rosette.
Limit the Number of Competing Accents
A soft-petal center, contrast border, decorative tails, beads, charms, and embroidery can all work individually, but using all of them at once weakens the hierarchy. Choose one secondary detail after the flower—perhaps a narrow outline or pointed tail ends—and let the rest of the composition stay quiet.
YouTube Video Link: Watch on YouTube
Hidden Pocket Crochet Equestrian Rosette Bag Charm
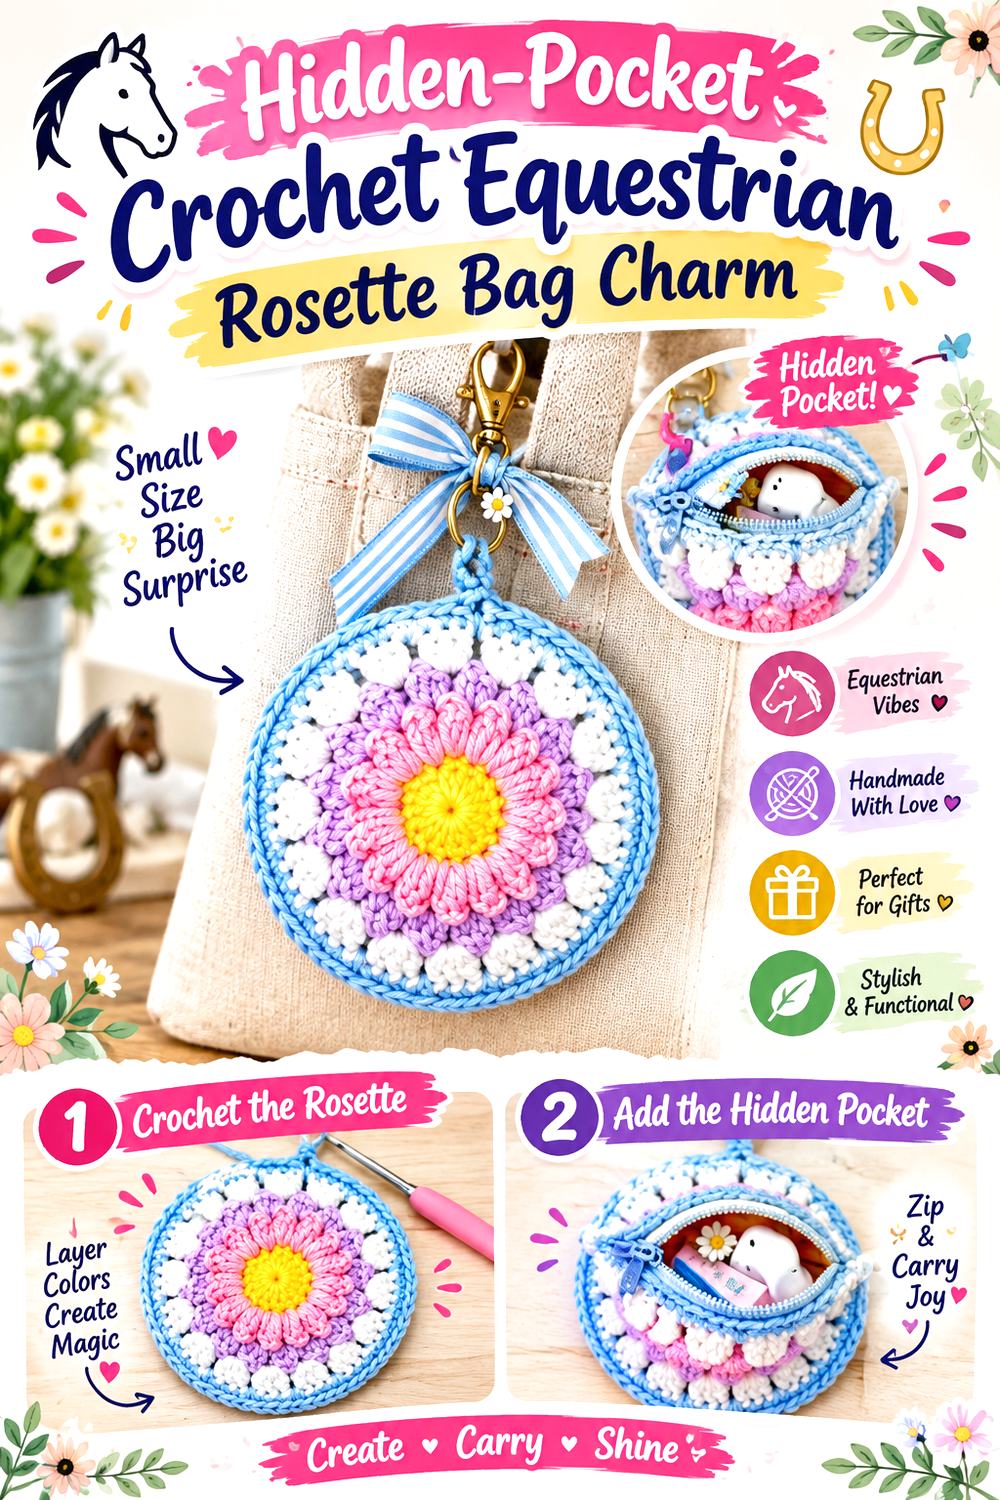
A round flower pouch can turn the rosette concept into something functional. Instead of a completely flat award badge, use a small pouch-like floral body as the center, then add short decorative tails that sit behind it. The result keeps the rosette silhouette while introducing an opening.
This is one of the more substantial ideas in the collection, so avoid assuming it will behave like a tiny flat keychain. The cited tutorial specifically teaches a flower bag-charm pouch. If you add equestrian-style tails, keep them separate from the opening and attachment point so they do not interfere with accessing the pouch.
Keep the Opening Clear of Decorative Tails
A tail that overlaps the pouch opening may look fine in a photograph but become annoying in use. Before sewing it down, open and close the pouch several times while holding the charm from its intended attachment point. Move any decorative strips away from the access path if they fold into the opening.
Do Not Assume What the Pocket Can Carry
A small crochet pouch may suit lightweight personal items, but capacity and strength depend on the exact construction, yarn, closure, and hardware. Avoid promising that an adapted rosette can safely hold a particular object unless you have verified that purpose. Treat the pocket as a feature whose practical limits should be checked against the original tutorial.
YouTube Video Link: Watch on YouTube
Stuffed Daisy Crochet Equestrian Rosette Bag Charm
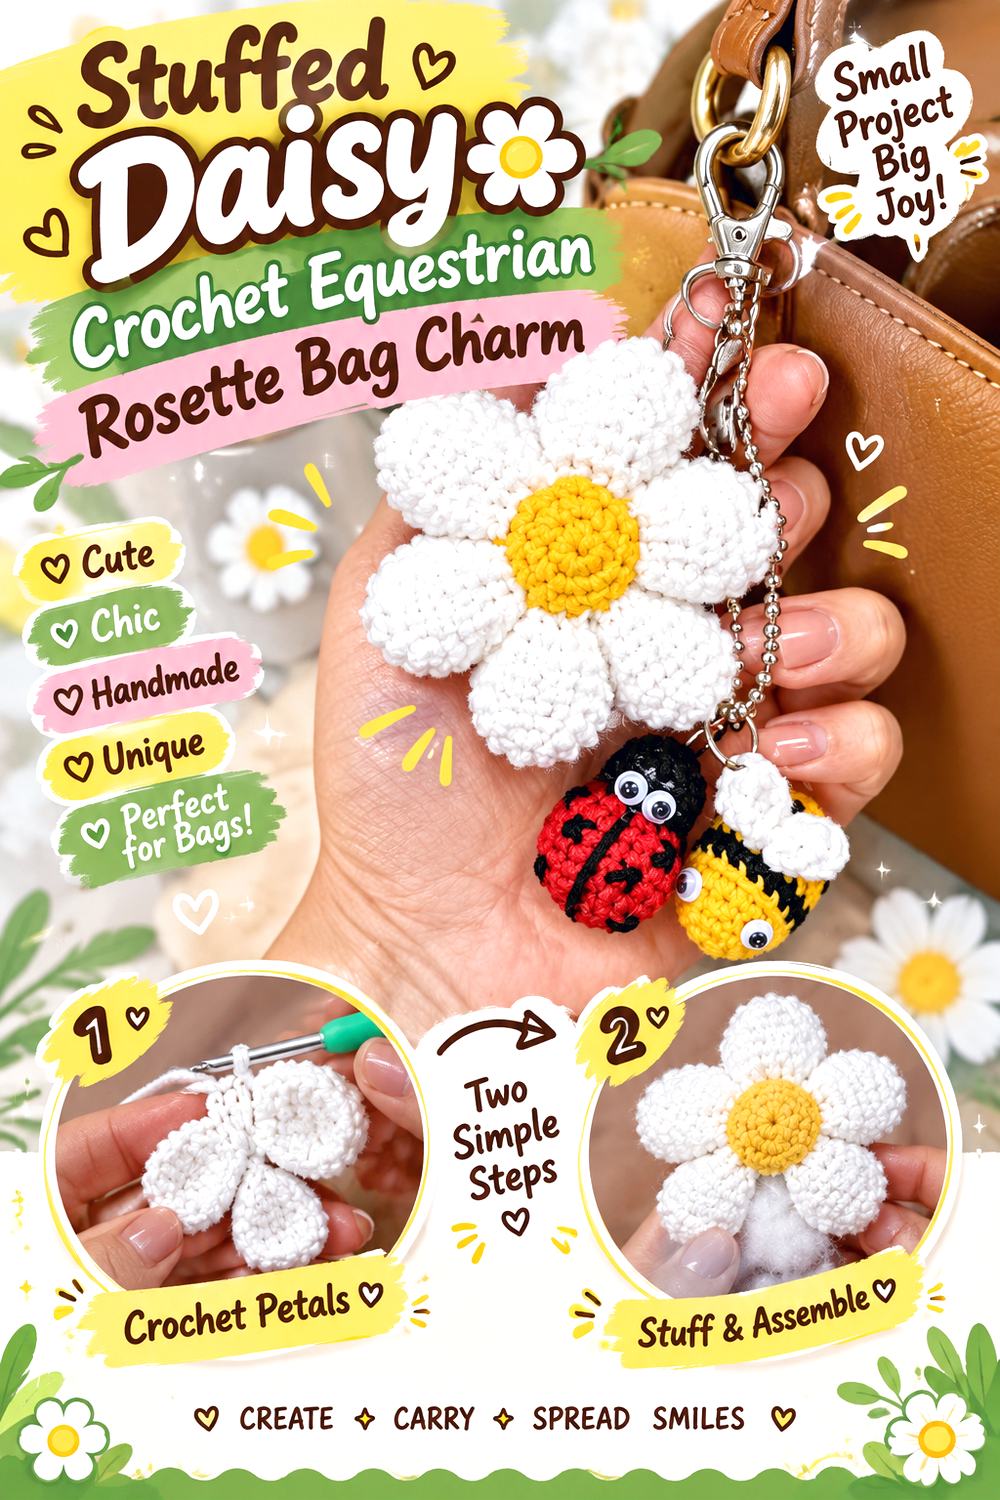
A stuffed daisy center offers a rounded focal point without the spiral appearance of a rose. Mount the dimensional flower over a broader circular badge and add compact twin tails beneath it. The contrast between a puffy center and flatter outer layer gives this rosette a noticeably different profile.
The source tutorial makes an amigurumi-style daisy keychain rather than an equestrian award. For the adaptation, let the badge establish the rosette identity and use the daisy as the centerpiece. This approach is especially useful if you want a cheerful floral style while maintaining the familiar circular-top-and-tails construction.
Stuffing Should Not Hide the Badge Layer
A very rounded center can cover more of the backing than expected. Assess the daisy from the front after stuffing but before final assembly. If only a tiny edge of the rosette remains visible, adjust the relative scale rather than forcing extra decorations into an already crowded center.
Secure the Center Against Rotation
A three-dimensional flower attached at only one small point may rotate independently from the tails. Consider how broadly the center needs to be connected to its backing while still preserving a neat appearance. The exact joining method will depend on your chosen components, so test alignment before permanently closing the back.
YouTube Video Link: Watch on YouTube
Flat Daisy Crochet Equestrian Rosette Bag Charm
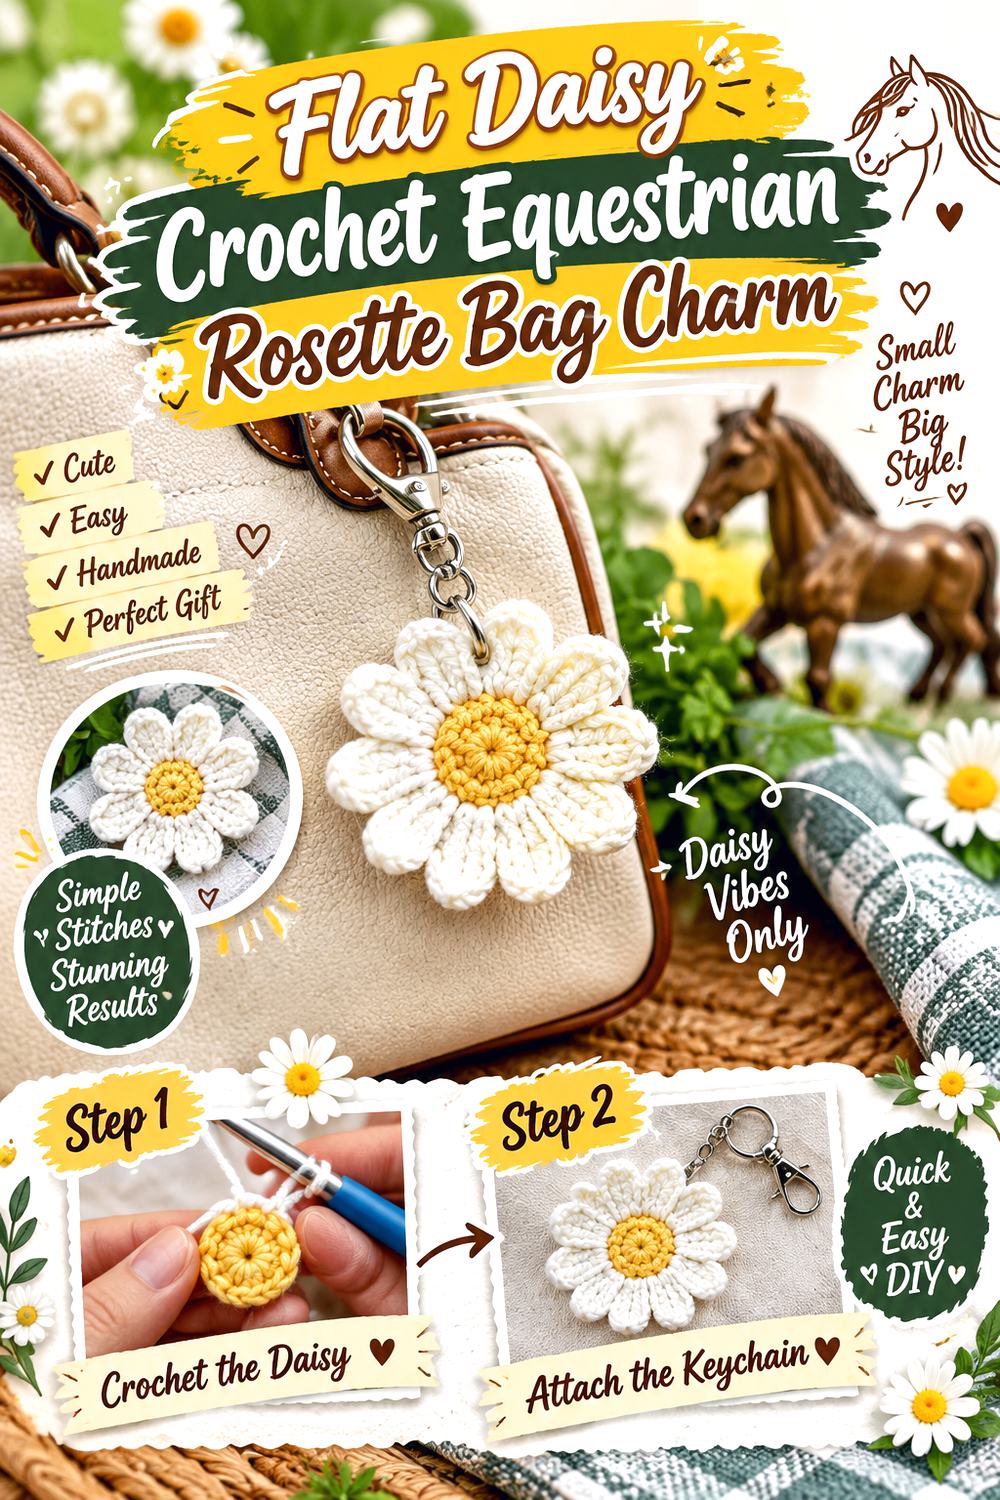
For a lighter-looking floral version, a flatter daisy can sit directly on a round rosette backing without adding much visual bulk. The distinct center-and-petal arrangement gives you an obvious focal point, while the badge behind it can supply competition colors and two classic tails.
Because this source is already a daisy bag-charm tutorial, the attachment context is useful even though it does not create an equestrian rosette. This variation is easier to keep visually crisp than a deeply stuffed flower because the layers remain relatively close together. It also leaves room for a contrasting border around the daisy.
A Thin Profile Makes Layering Easier
With a flatter flower, you can add a clearly visible badge ring without creating a bulky stack. Lay the flower over the proposed backing and check that the outer circle remains even all the way around. Uneven exposure can make an otherwise symmetrical rosette appear off-center when hanging.
Separate the Daisy from the Award Colors
If the daisy and backing use the same colors in similar proportions, their outlines can merge. Consider giving the flower one clear palette and the outer badge another related but distinct treatment. That preserves the floral center while letting the surrounding circle communicate “rosette” rather than simply enlarging the daisy.
YouTube Video Link: Watch on YouTube
Leaf Dangle Crochet Equestrian Rosette Bag Charm
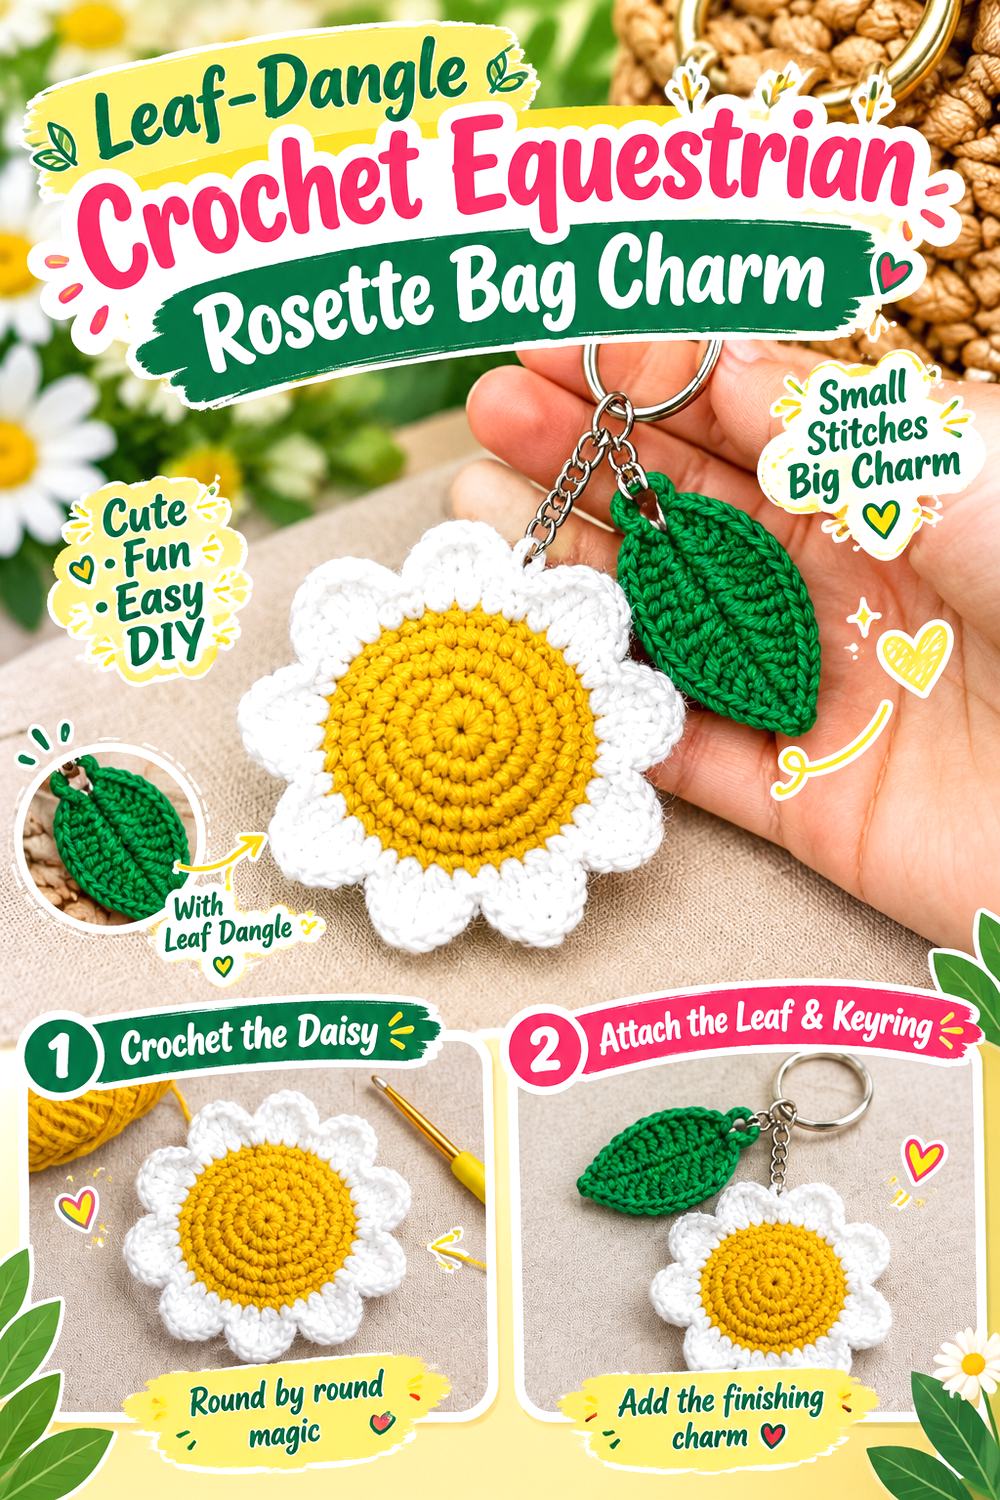
This idea replaces one of the usual ribbon-like lower details with a leaf accent. Keep a recognizable circular rosette at the top, use a daisy-inspired center, and allow the leaf to hang beside or between simplified tails. The asymmetry makes the charm feel botanical without abandoning the award-badge reference.
The supporting tutorial includes a daisy flower keychain with a separate leaf, making it particularly useful for understanding those components together. For the equestrian adaptation, decide whether the leaf is an accent or a substitute tail. If it becomes too large relative to the badge, the project may read primarily as a floral keychain.
Asymmetry Works Best When the Top Stays Stable
A leaf hanging on one side naturally shifts visual and physical balance. Keep the clasp aligned with the main badge rather than automatically moving it toward the leaf. Hold the unfinished charm by the proposed attachment point to see whether the center hangs reasonably straight before securing every component.
Give the Leaf Enough Freedom to Move
If the leaf is stitched tightly across the tails, its shape may disappear. A small amount of separation can make the botanical accent easier to identify and add controlled movement. Avoid an overly long connector, however, if it allows the leaf to wrap repeatedly around other parts of the charm.
YouTube Video Link: Watch on YouTube
Mini Rose Cluster Crochet Equestrian Rosette Bag Charm
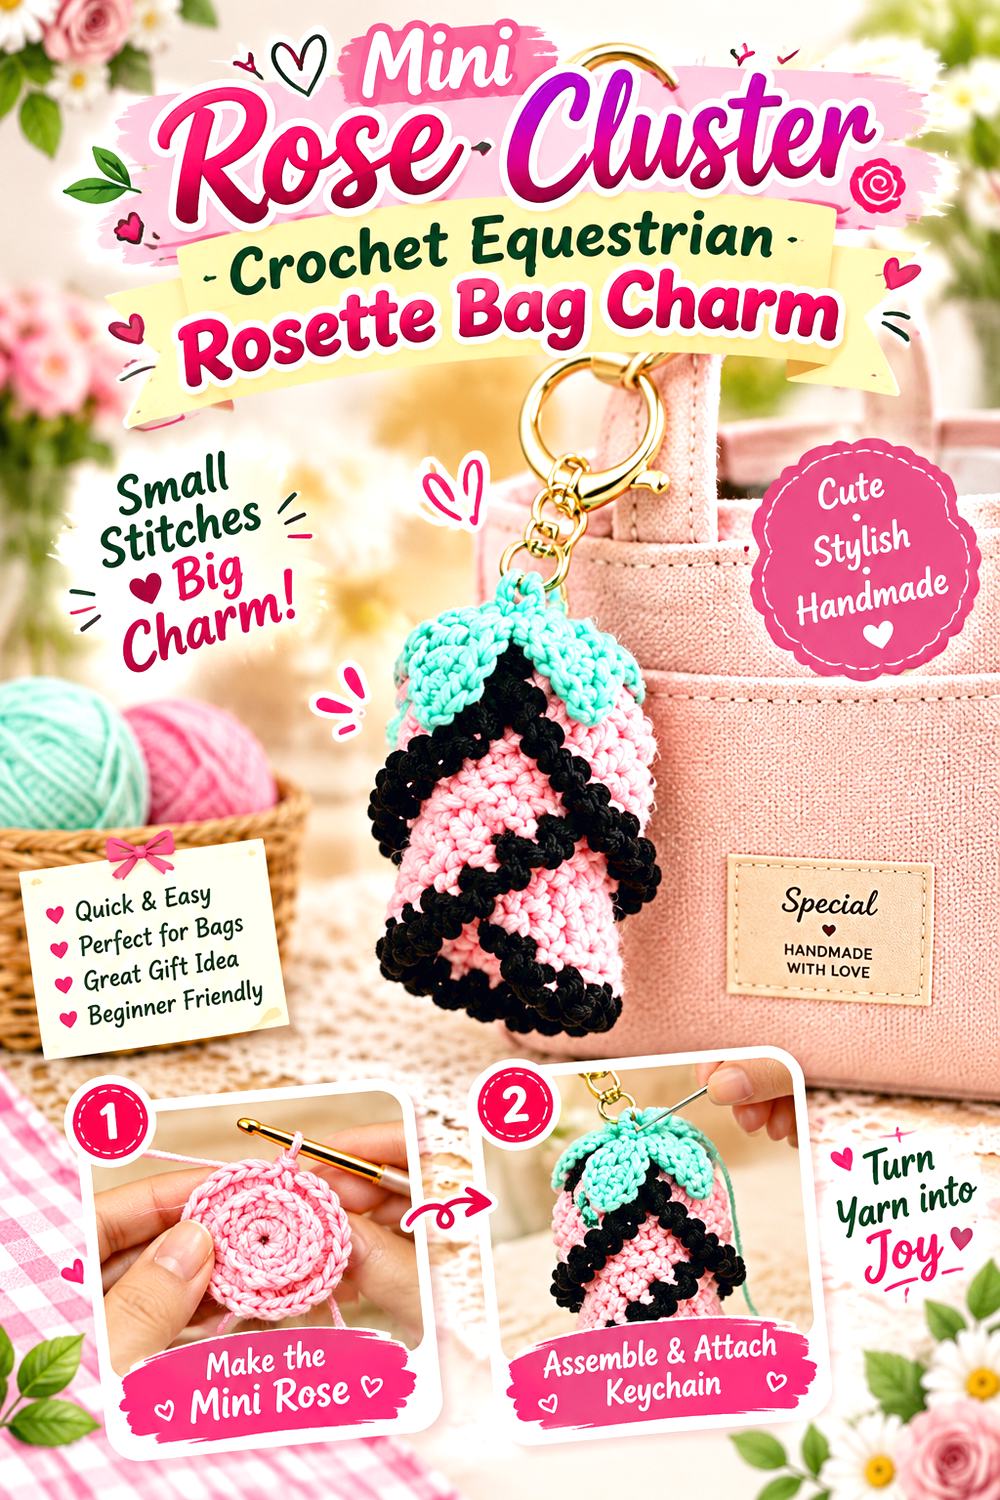
The final option uses one or several small roses as the decorative center rather than one large bloom. A cluster can create depth while leaving the broader circular badge visible around the flowers. Keep the lower section relatively simple so the small petals remain the primary detail.
This arrangement offers an elegant alternative to the single rolled-rose version earlier in the list. The cited tutorial focuses on a mini rose keychain with detailed floral finishing. Use that video for the rose component, then independently plan the rosette ring, tail proportions, and bag attachment. Even two small flowers may be enough if the center begins to feel crowded.
Build the Cluster Before Sizing the Outer Ring
Several small roses do not necessarily occupy the same footprint as one large flower. Arrange the finished components together first, then determine the backing diameter visually. This prevents you from making a badge that either disappears behind the cluster or leaves an awkward amount of unused center space.
Leave Room Between Individual Blooms
Packing miniature flowers tightly can flatten their silhouettes and make the center look like one indistinct mass. A little visible backing between the blooms can help each rose remain identifiable. It also gives you practical areas for joining the cluster securely without sewing through every petal edge.
YouTube Video Link: Watch on YouTube
Which Crochet Equestrian Rosette Style Should You Choose?
For the closest connection to a traditional horse-show award, begin with the Classic Two-Tail, Ruffled Layer, Star-Center, or Tricolor Cockade versions. Their circular badge construction does most of the visual work before extra decoration is added.
For an unmistakable horse theme, the Horseshoe-Center or Horse-Mascot Drop options make the equestrian reference more explicit. If you prefer a softer decorative accessory, the rose, puff-flower, carnation, sunflower, or daisy versions offer more floral personality. The Hidden-Pocket Rosette is the most structurally different option because function becomes part of the design, while the flat daisy and classic cockade approaches are better choices when you want to keep overall bulk lower.
Conclusion
The strongest crochet equestrian rosette bag charm is not necessarily the one with the most decoration. Start by deciding what should communicate the theme: a traditional award silhouette, a star or cockade, an obvious horseshoe, a horse mascot, or a softer floral interpretation. From there, choose tail length, center depth, backing structure, and attachment hardware that support that focal idea rather than competing with it.
The literal rosette and cockade sources are the most direct routes to a prize-ribbon look, while the flower, horse, horseshoe, daisy, and pouch tutorials are best treated as component references for original adaptations. Use the original tutorials for their exact demonstrated construction details, then compare your finished components before assembling the final charm.
Frequently Asked Questions
Can I turn any crochet flower into an equestrian rosette bag charm?
Not automatically. A flower can provide the center, but the overall silhouette still needs to communicate a rosette. Check whether enough circular backing remains visible around the flower and whether the lower section suggests award-ribbon tails or another clearly intentional hanging feature. If the flower fills the whole piece and no badge structure remains, the finished object will probably read as a flower keychain instead.
How can I make the charm look more like a horse-show rosette?
Prioritize the round badge and hanging tails before adding themed embellishments. A centered circle surrounded by a scalloped, ruffled, cockade, or star-like edge gives you the clearest foundation. Two separate tails below it reinforce the traditional award shape. Horseshoes, horses, flowers, initials, or stable colors can then personalize the center without carrying the entire equestrian theme themselves.
Should the crochet rosette be stiff or soft?
That depends on the intended look. A flatter, more structured badge keeps its circular outline clearly visible, while a softer rosette creates a relaxed handmade appearance. What matters most is whether the center folds enough to hide the design or make the hardware pull unevenly. If that happens, a tidy backing layer may help without requiring the entire charm to become rigid.
What should I check before mixing two different tutorials?
Compare the finished dimensions and thickness of the actual components rather than assuming they will fit because both are described as keychains or flowers. A rose from one tutorial may overwhelm a rosette from another, and yarn substitutions can change scale further. Make the focal component first when possible, then size or select the backing and tails around what you actually produced.
Why is my finished rosette hanging sideways?
The attachment point may be off-center, or a heavy embellishment may be shifting the balance. Before changing the crochet itself, hold the charm from several positions along the top edge and see where it naturally faces forward. Also check whether a stuffed flower, horse figure, pocket, leaf, or long tail is pulling more strongly on one side.
Are safety eyes, beads, buttons, and metal findings suitable for every bag charm?
They can be appropriate for adult accessories, but small detachable pieces need more caution if a charm could be handled by babies, young children, or pets. Do not assume that a decorative attachment is child-safe simply because it is crocheted. Embroidered details can reduce the number of separate small parts, and all joins and hardware should be checked regularly for loosening.