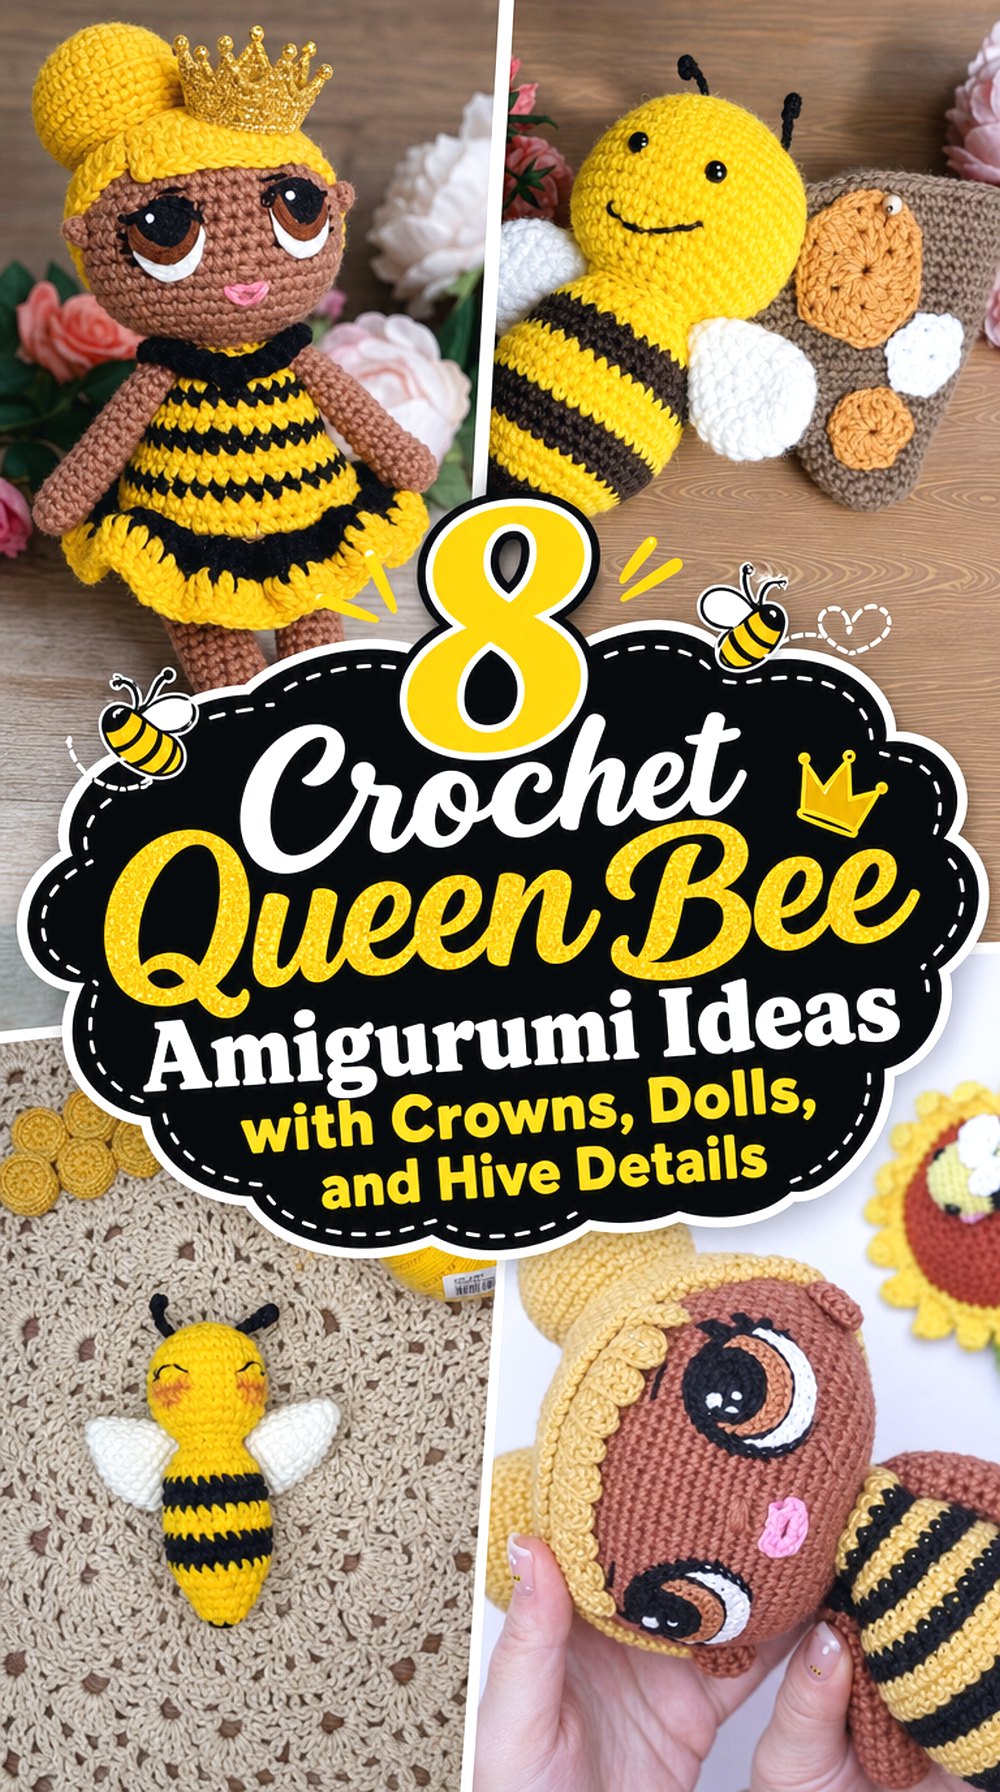

Queen bee amigurumi can range from tiny crowned bees to larger doll-style characters with outfit details, wings, hair, and display-ready shapes. This collection focuses on royal touches that change the personality of each project: a sleepy crown, a sculptural bee queen, fashion-doll styling, Portuguese queen bee designs, and a hive scene that can support a full bee-themed display.
The projects are not identical copies of one idea. Some are compact and rounded, while others have larger doll proportions or extra decorative pieces. Use the differences in size, teaching style, language, finishing needs, and display purpose to choose the queen bee that fits your project plans.
Quick List
- Crochet Sleepy Crowned Queen Bee Amigurumi
- Crochet Mixed-Media Bee Queen Amigurumi
- Crochet Round Portuguese Queen Bee Amigurumi
- Crochet Doll-Style Queen Bee Amigurumi
- Crochet Queen Bee Fashion Doll Amigurumi
- Crochet Tall Queen Bee Doll Amigurumi
- Crochet Glitter-Inspired Queen Bee Doll
- Crochet Bee-in-a-Hive Amigurumi Display
Why These Crochet Queen Bee Projects Are Worth Making
Queen bee amigurumi gives a simple bee theme more character. A crown, doll outfit, hive setting, or sleepy face can turn the finished piece into a small display item instead of only a plain insect toy. These details also help readers choose by purpose: a compact bee may suit a desk shelf, while a doll-style queen needs more display space and more attention to finishing.
Because several projects include small parts, outfits, or multi-part tutorials, it is worth checking the full material list and teaching format first. Royal details often depend on neat attachment, clear color placement, and careful final assembly rather than size alone.
Crochet Sleepy Crowned Queen Bee Amigurumi
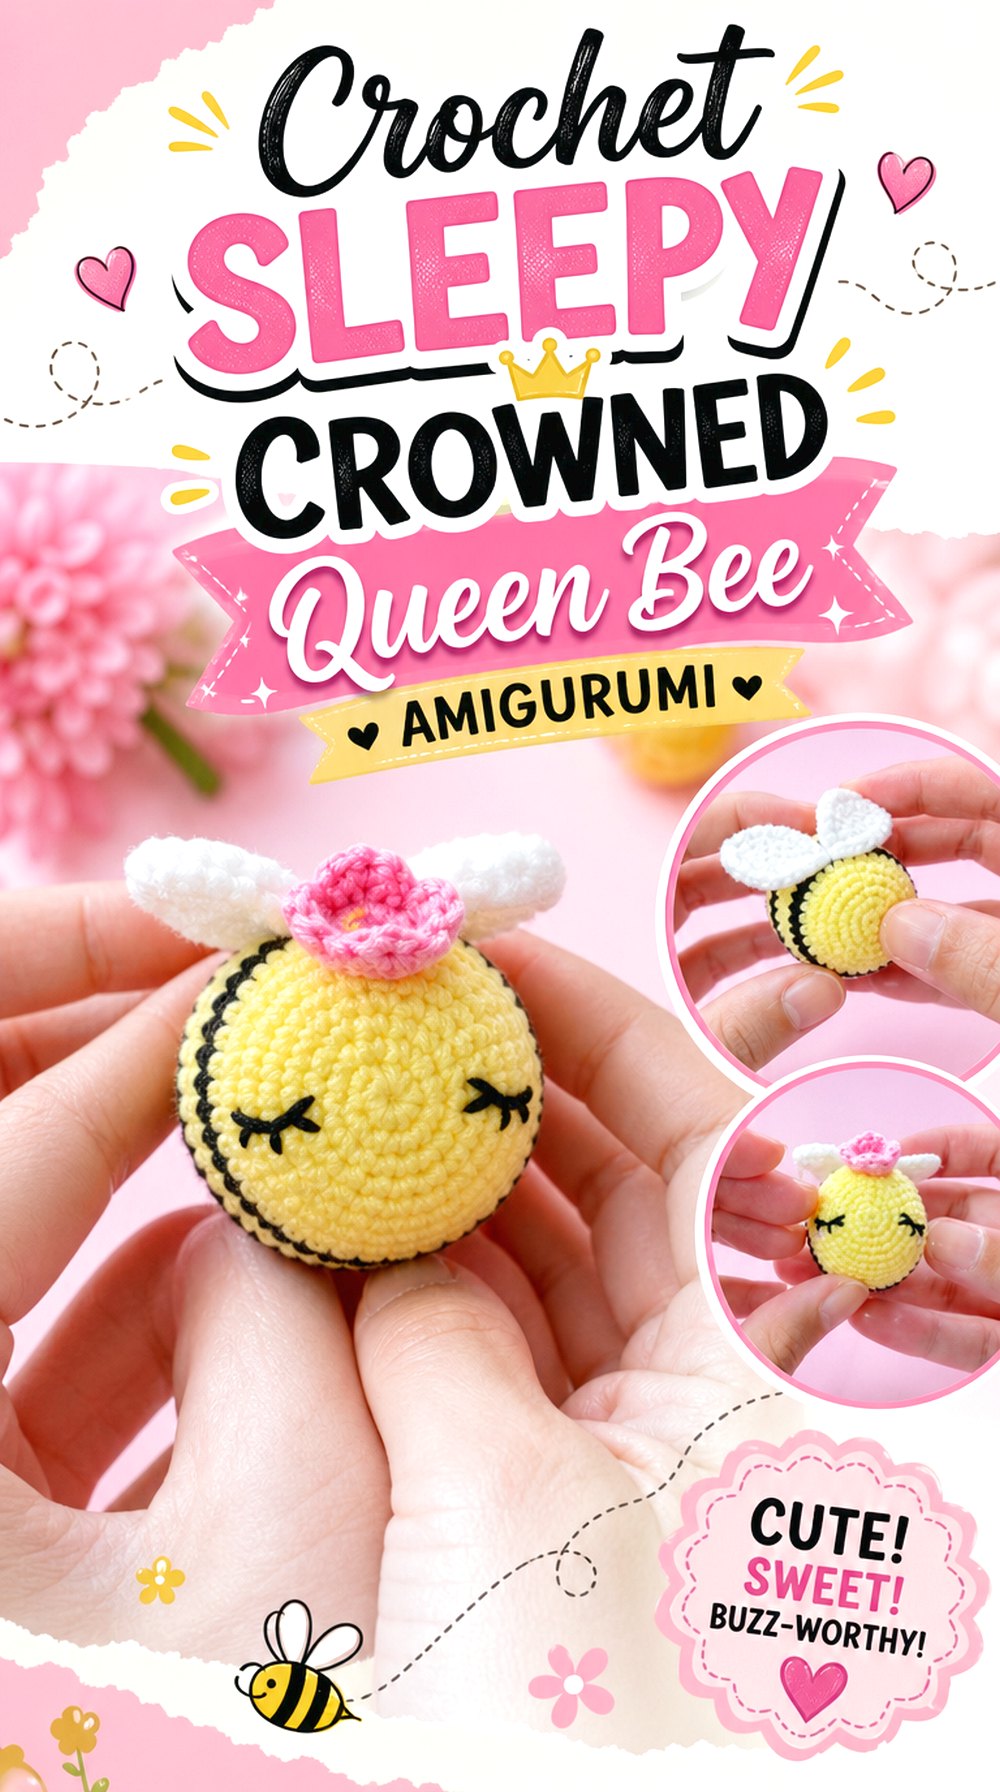
A sleepy face gives this crowned queen bee a soft, restful personality instead of a busy flying pose. The rounded amigurumi body keeps the design compact, while the crown makes the royal theme clear at first glance. This option works well for readers who want a small character piece with a gentle expression rather than a full doll.
The project differs from the larger queen bee dolls because the mood comes from facial detail and crown placement, not clothing or dramatic accessories.
Check the Sleepy Face Details
The sleepy expression is one of the main reasons this queen bee feels different from the other ideas. Before starting, look closely at how the face is handled and whether the creator uses stitched, attached, or inserted features. Small changes in eye placement can affect the whole character, so readers should follow the original source for exact positioning instead of guessing from the finished look.
Confirm the Crown Placement
The crown is the detail that makes the bee read as a queen rather than a regular bee. Check how it sits on the head, whether it appears centered, and whether it needs extra securing after the body is stuffed. A crown placed too far forward can hide the face, while one placed too high may not feel connected to the finished character.
Use Pauses for Tiny Pieces
Small amigurumi details can be easy to lose track of, especially when the project includes facial features, wings, and a crown. Marking stopping points while following the tutorial can help readers return to the correct section without replaying too much. This is especially useful when the royal detail is small but visually important to the finished bee.
Crochet Mixed Media Bee Queen Amigurumi
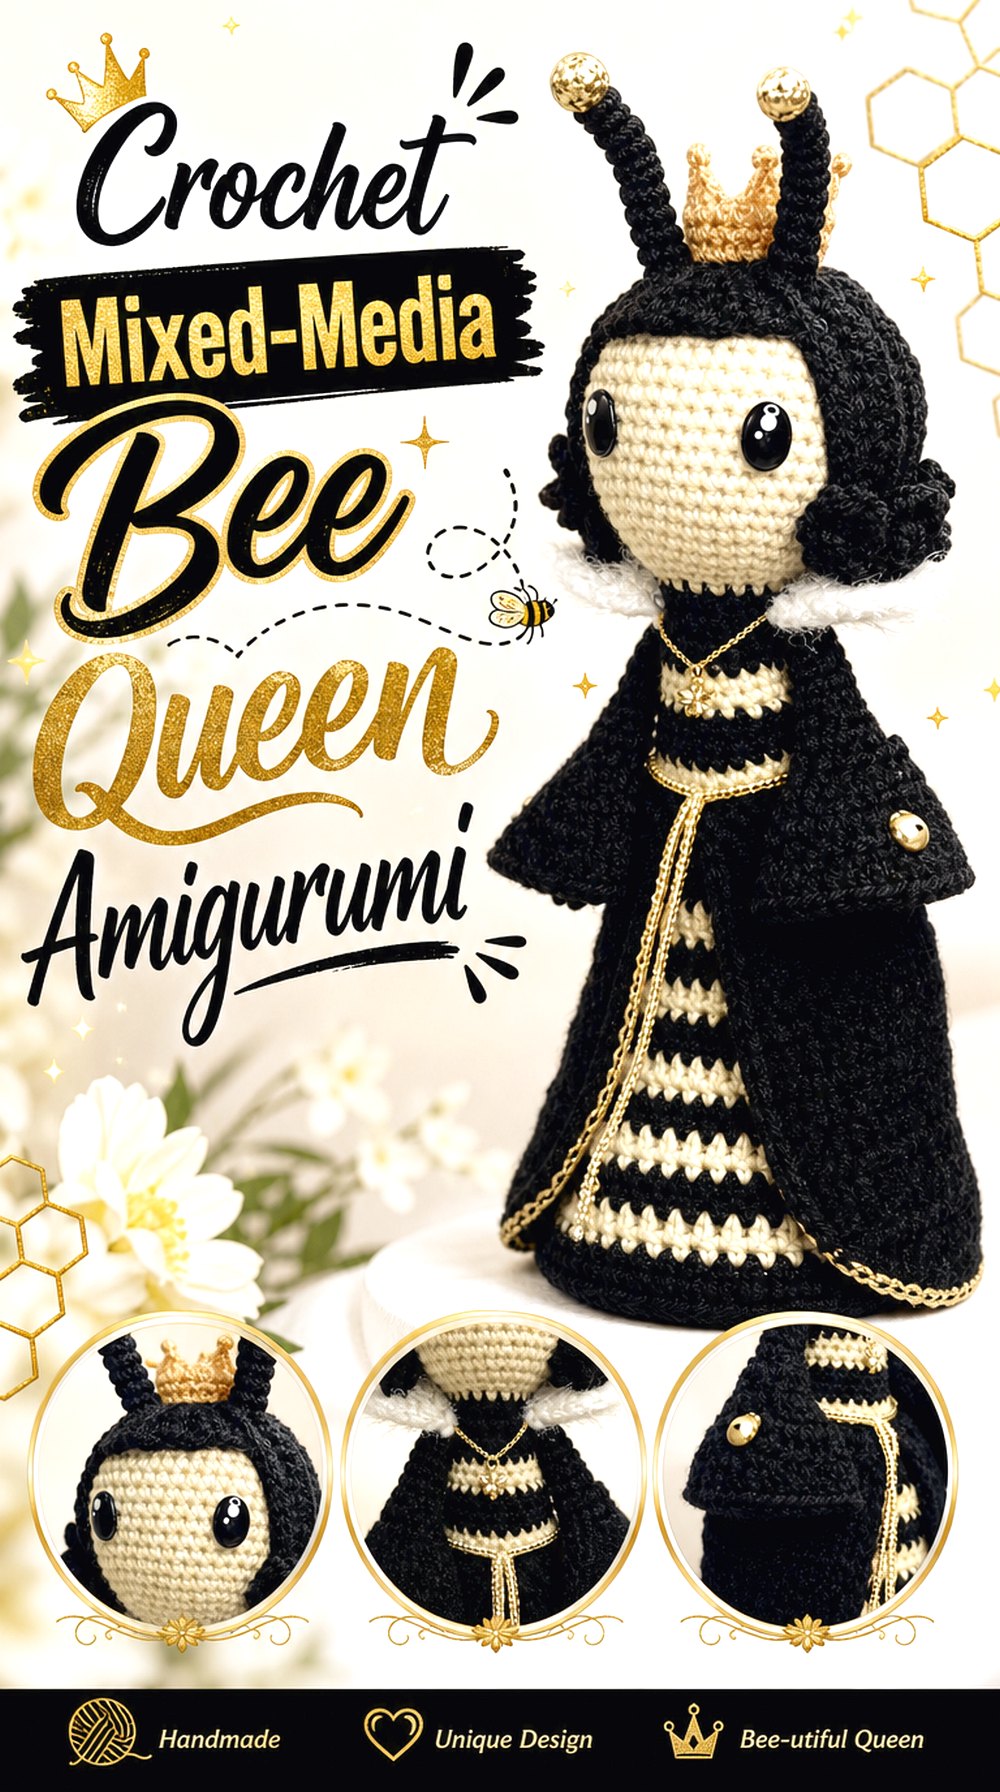
This bee queen has a more display-focused feeling because the project includes decorative components beyond a basic stuffed bee. The royal effect comes from the finished character, the bee theme, and extra elements that make the piece feel closer to a small art object.
It stands apart from the softer sleepy queen and the fashion dolls because the finished result is less about a cuddly toy shape and more about a staged bee queen. Readers who like detailed finishing should review the full supply list before choosing it.
Review the Extra Components
This project may involve more than yarn, stuffing, and a hook. The source lists several added materials, so readers should check the supply section before buying anything. Extra components can change the planning process because they may affect attachment, finishing, and display. Keeping a written supply note is useful when a project includes small decorative pieces that are easy to overlook.
Think About Display Rather Than Play
A mixed-media bee queen is better approached as a display item unless the creator clearly states otherwise. Decorative additions, small parts, wire, charms, or glued elements can make a finished piece less suited to rough handling. Readers making it as a gift should think about where it will sit and whether the recipient expects a soft amigurumi or a decorative figure.
Confirm Adhesive and Small-Part Choices
When a crochet project includes non-yarn details, the finishing choices matter. Check whether any pieces are glued, sewn, pinned, or otherwise attached, and follow the creator’s guidance for the exact method. It is also wise to consider who will handle the item. Small attached decorations should not be treated as child-safe unless the original source clearly confirms that use.
Original Tutorial and Creator Credit
Creator: Craft Cube
Crochet Round Portuguese Queen Bee Amigurumi
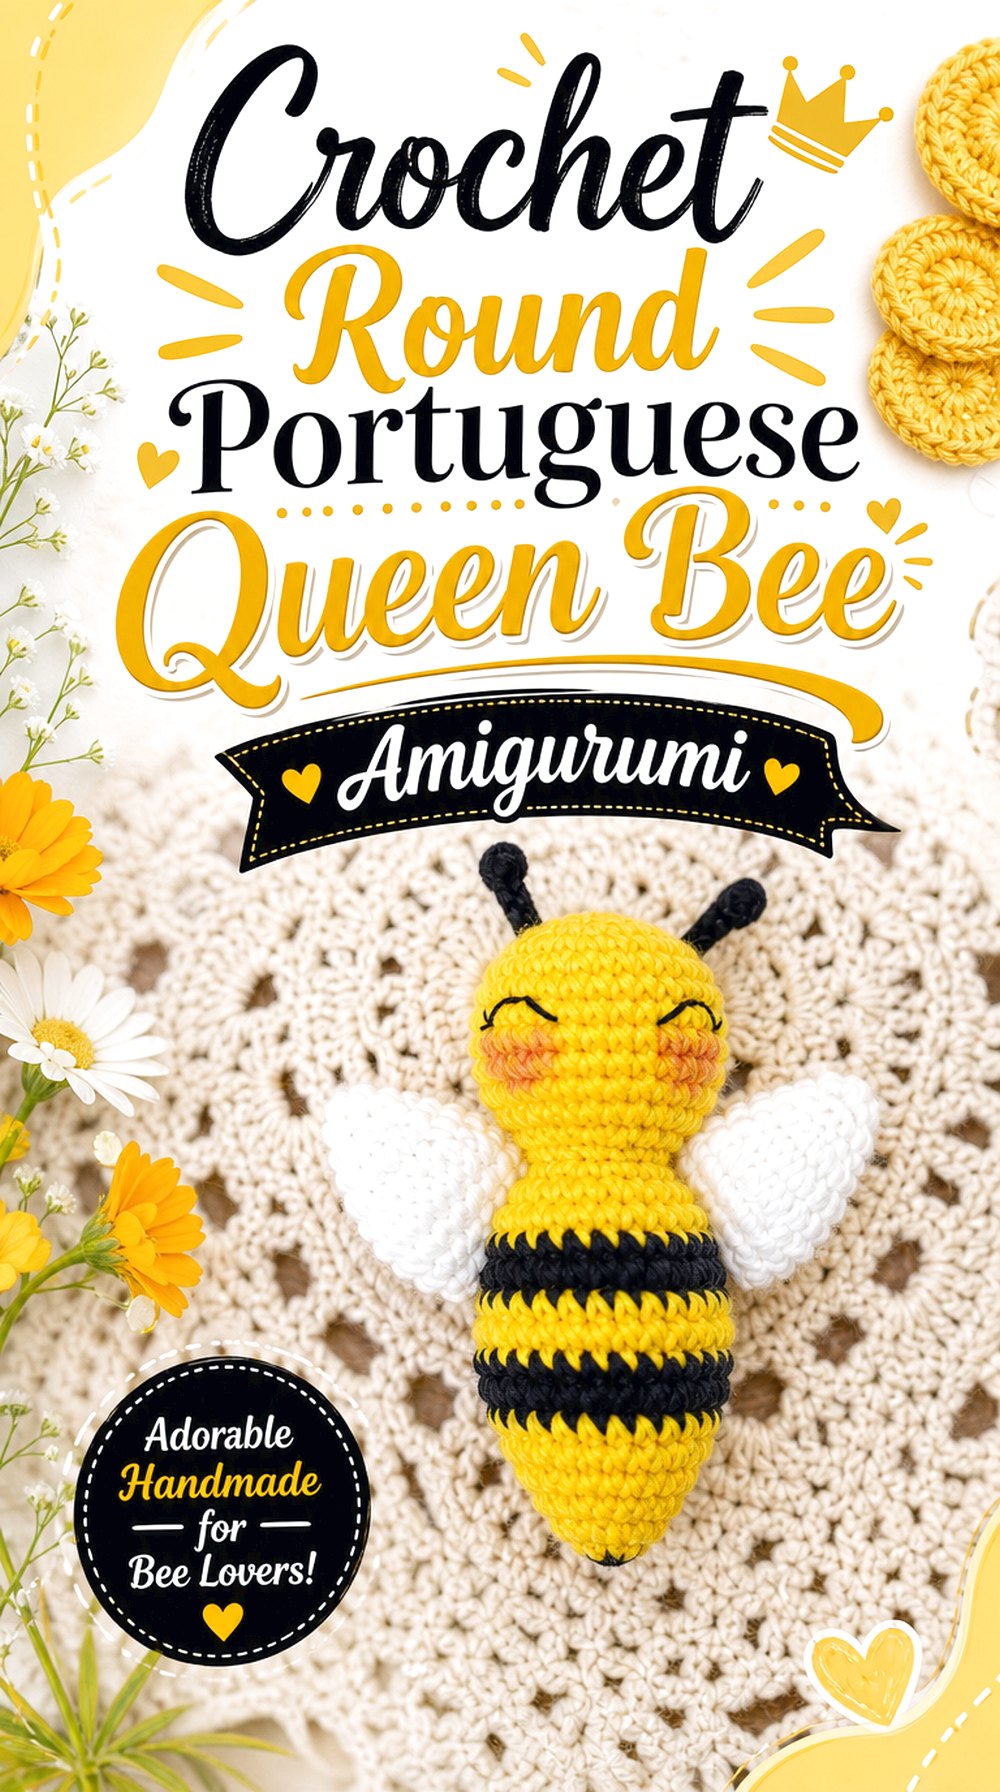
This Portuguese queen bee amigurumi offers a more traditional bee character direction, with the queen theme handled through the overall project rather than a fashion-doll body. It may appeal to readers who want an insect-shaped queen bee instead of a human-like doll design.
Because the project is presented in parts, it is best for someone willing to follow a series carefully. That format can be helpful for focused work, but readers should confirm the continuation and finishing sections before committing supplies.
Plan for the Portuguese Format
The source is in Portuguese, so readers who do not speak the language should review the video pacing, captions, and visible demonstrations before starting. A language difference does not make the project unusable, but it does mean the material list and finishing notes deserve extra attention. Watching a section once before working along can prevent confusion during small shaping or assembly moments.
Check the Finalization Section
The channel listing shows a continuation for final finishing, so readers should not judge the project from the first part alone. Finalization can include important details such as the last shaping, assembly, face, wings, or royal features. Before beginning, open the related part and make sure the full queen bee result is covered in a way that is comfortable to follow.
Compare the Body Shape as You Work
A rounded bee shape depends on steady proportions. Without copying the instructions, readers can still compare their work to the visible shape at natural stopping points. If the body starts looking too long, too flat, or uneven, it is easier to notice during progress than after everything is attached. Use the original tutorial for exact counts and shaping decisions.
Original Tutorial and Creator Credit
Creator: Gilson Viana
Crochet Doll Style Queen Bee Amigurumi
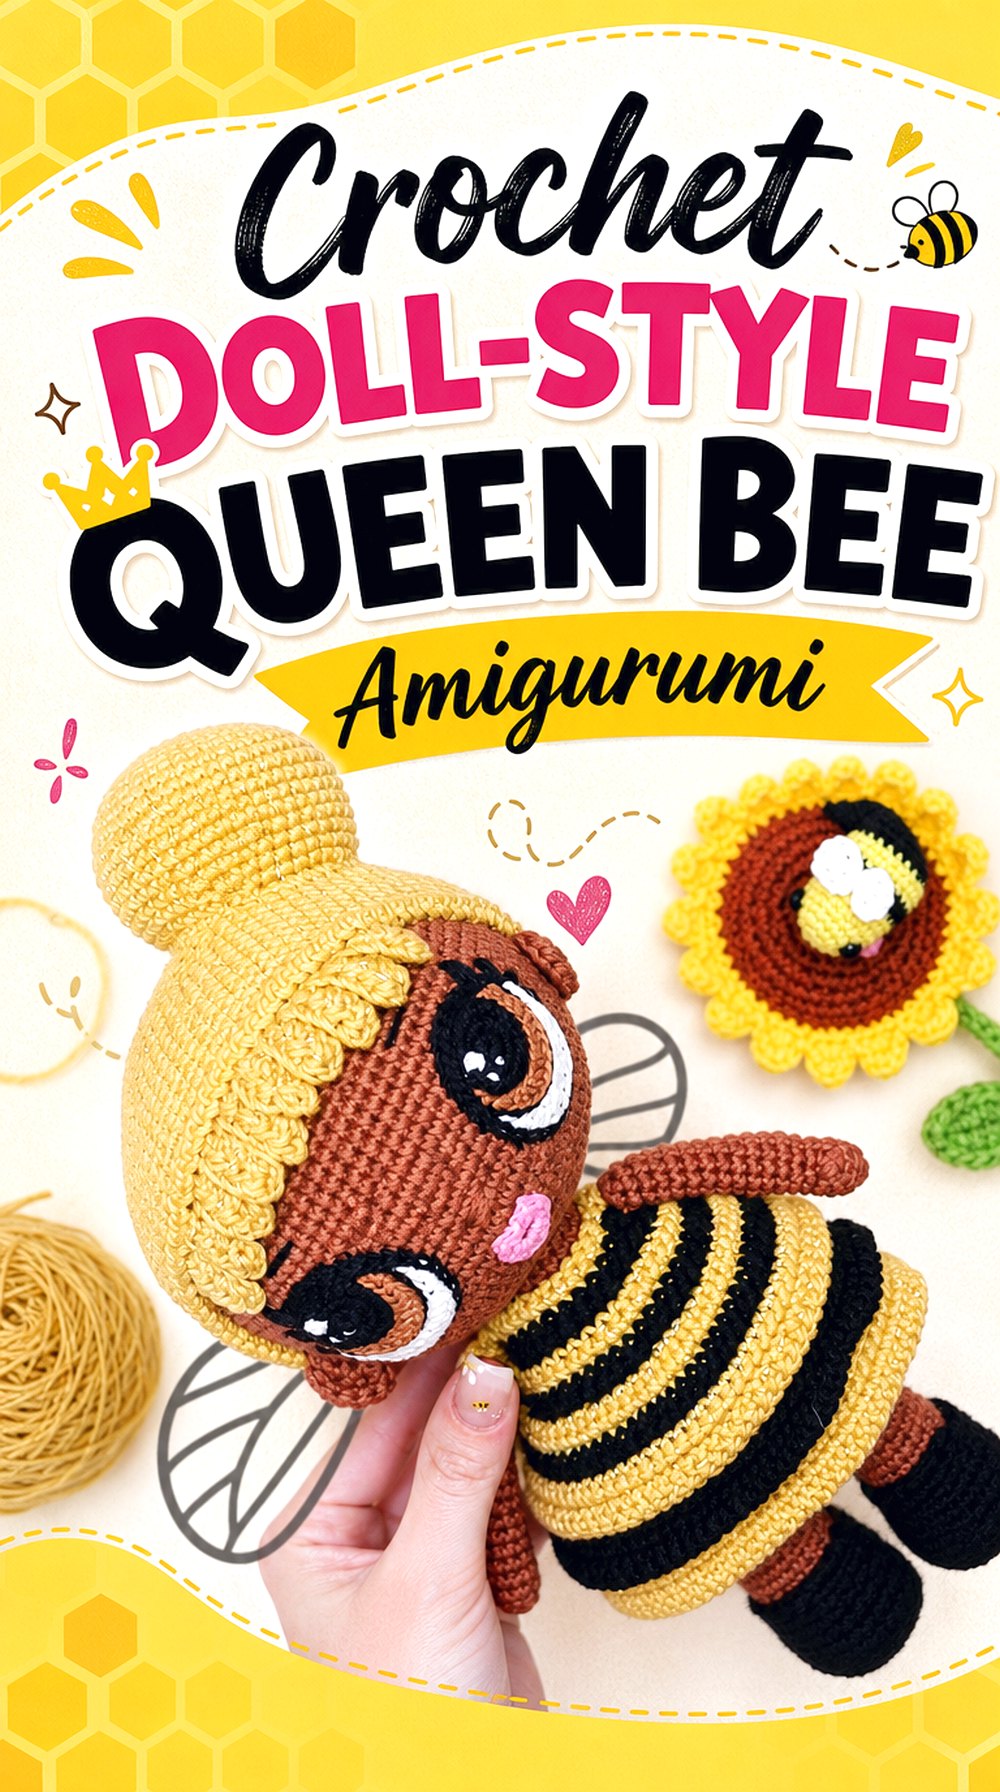
This queen bee moves into doll-style amigurumi, with the character feeling more like a dressed figure than a small insect. The appeal is in the larger personality: body shape, outfit direction, hair or head detail, and bee-inspired styling all work together to create the queen theme.
It is clearly different from the rounded bee projects because the focus is not only on stripes and wings. Readers choosing this idea should be prepared for a more involved character format and a tutorial divided into parts.
Review the Full Part List
This doll-style queen bee is presented as part of a longer tutorial series, so the linked video should be treated as one section of the full guide. Before gathering supplies, check the remaining parts and make sure they cover the body, outfit, hair, and finishing details you expect. Multi-part projects work best when the full path is clear from the beginning.
Think About Doll Display Space
A queen bee doll usually needs more room than a small bee amigurumi. Consider where the finished character will sit, whether it needs support, and whether accessories could catch on nearby items. A doll with a styled outfit often looks better when displayed upright and uncluttered, so shelf depth and height matter more than they do for a compact bee.
Check Creator Terms First
Some character-doll tutorials include creator notes about sharing, selling, translating, or using written materials. Before making the project for anything beyond personal use, read the creator’s description and linked information carefully. This protects both the maker and the designer. The safest approach is to follow the original source for personal crafting unless permission terms are clearly stated.
Original Tutorial and Creator Credit
Creator: GretaWings DIY
Crochet Queen Bee Fashion Doll Amigurumi
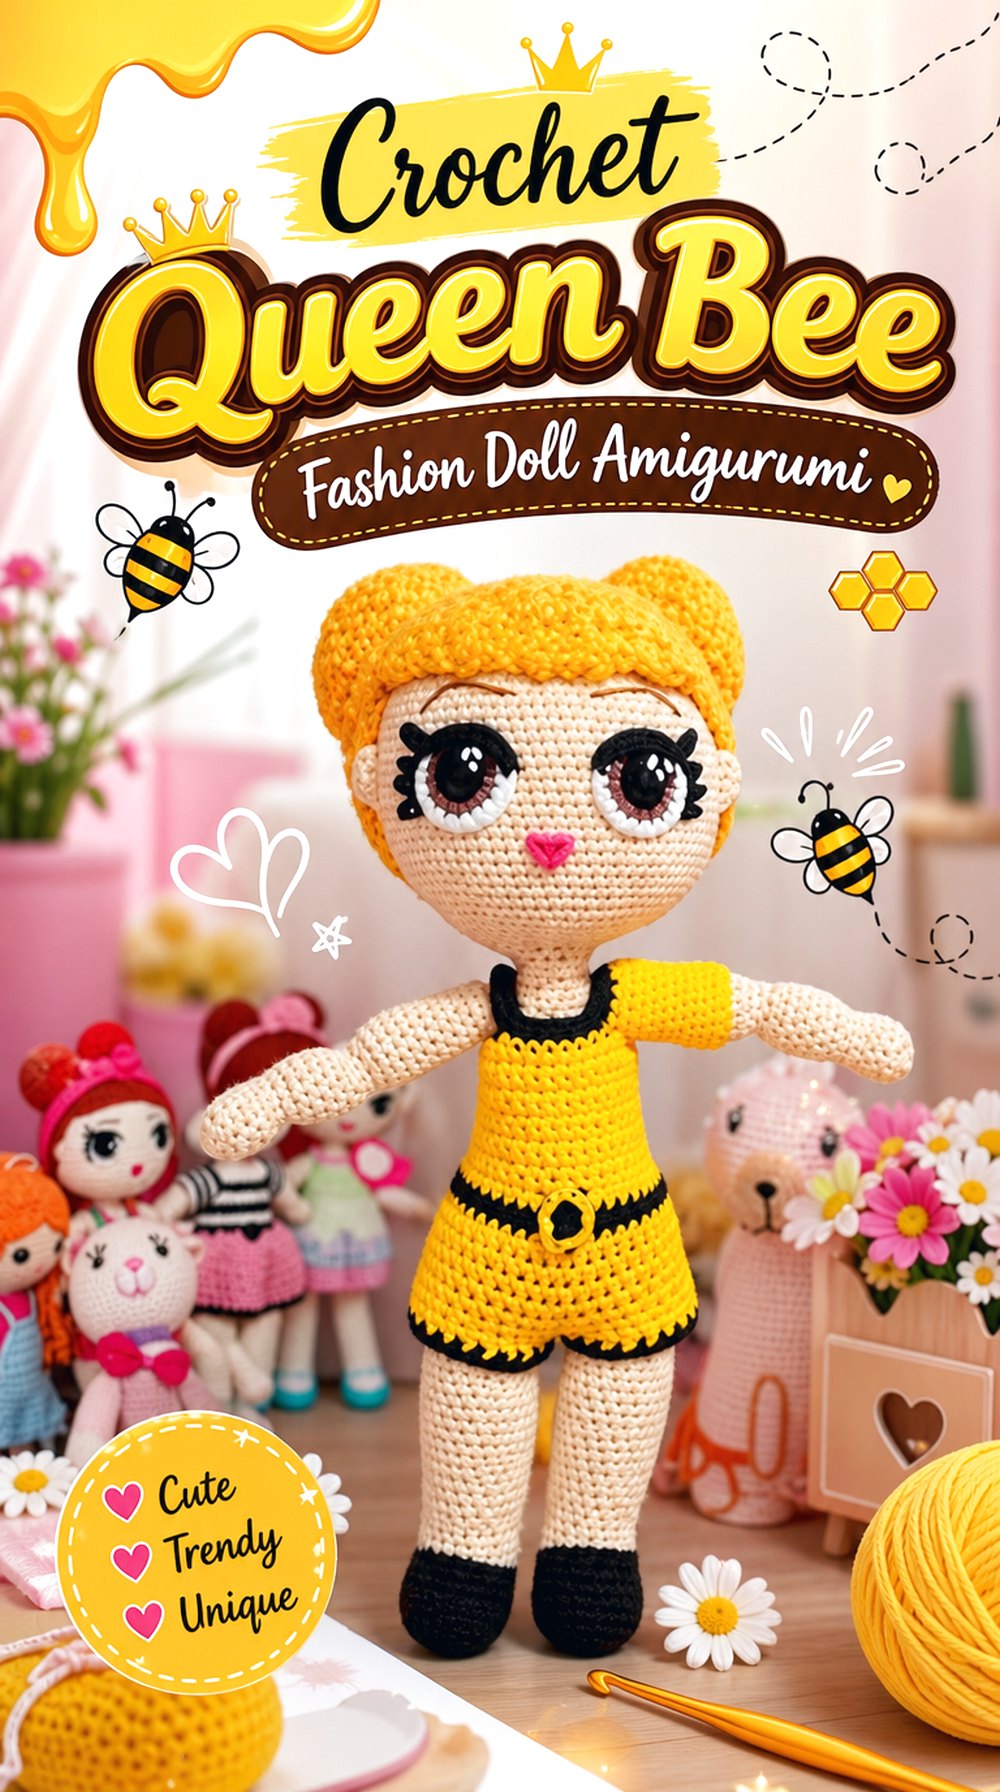
A fashion-doll queen bee gives the royal theme a stronger outfit focus. Instead of relying only on a crown or wings, this style uses clothing pieces and character details to build the finished look. It may suit readers who enjoy separate doll components and want the queen bee to feel dressed, posed, and complete.
This idea differs from the sleepy bee and rounded bee options because the final result depends on coordinated costume sections. Planning the order of parts becomes part of choosing the project.
Organize the Outfit Sections
A dressed queen bee doll can involve multiple visible outfit pieces, and those parts need to work together in color, scale, and placement. Before beginning, review the project sections and note which pieces belong to the body, shoes, dress, or other clothing details. Organization is especially helpful when a series uses separate videos for different parts of the finished doll.
Keep Matching Parts Together
Small doll components can look similar while they are unfinished. Keeping matching parts together helps avoid confusion later, especially if shoes, sleeves, accessories, or clothing panels are worked separately. A simple container or labeled bag can keep the project manageable. This is not a substitute for the tutorial, but it helps readers stay ready for the final assembly stage.
Check Language and Visual Cues
This source may be easiest for readers who can follow Portuguese instruction or strong visual demonstration. Watch a short section before starting to see whether the camera angle, pacing, and captions match your learning style. For detailed dolls, visual clarity matters because the final look often depends on small placement decisions that are not obvious from the finished photo alone.
Original Tutorial and Creator Credit
Creator: Claudia Carinatto Amigurumi
Crochet Tall Queen Bee Doll Amigurumi
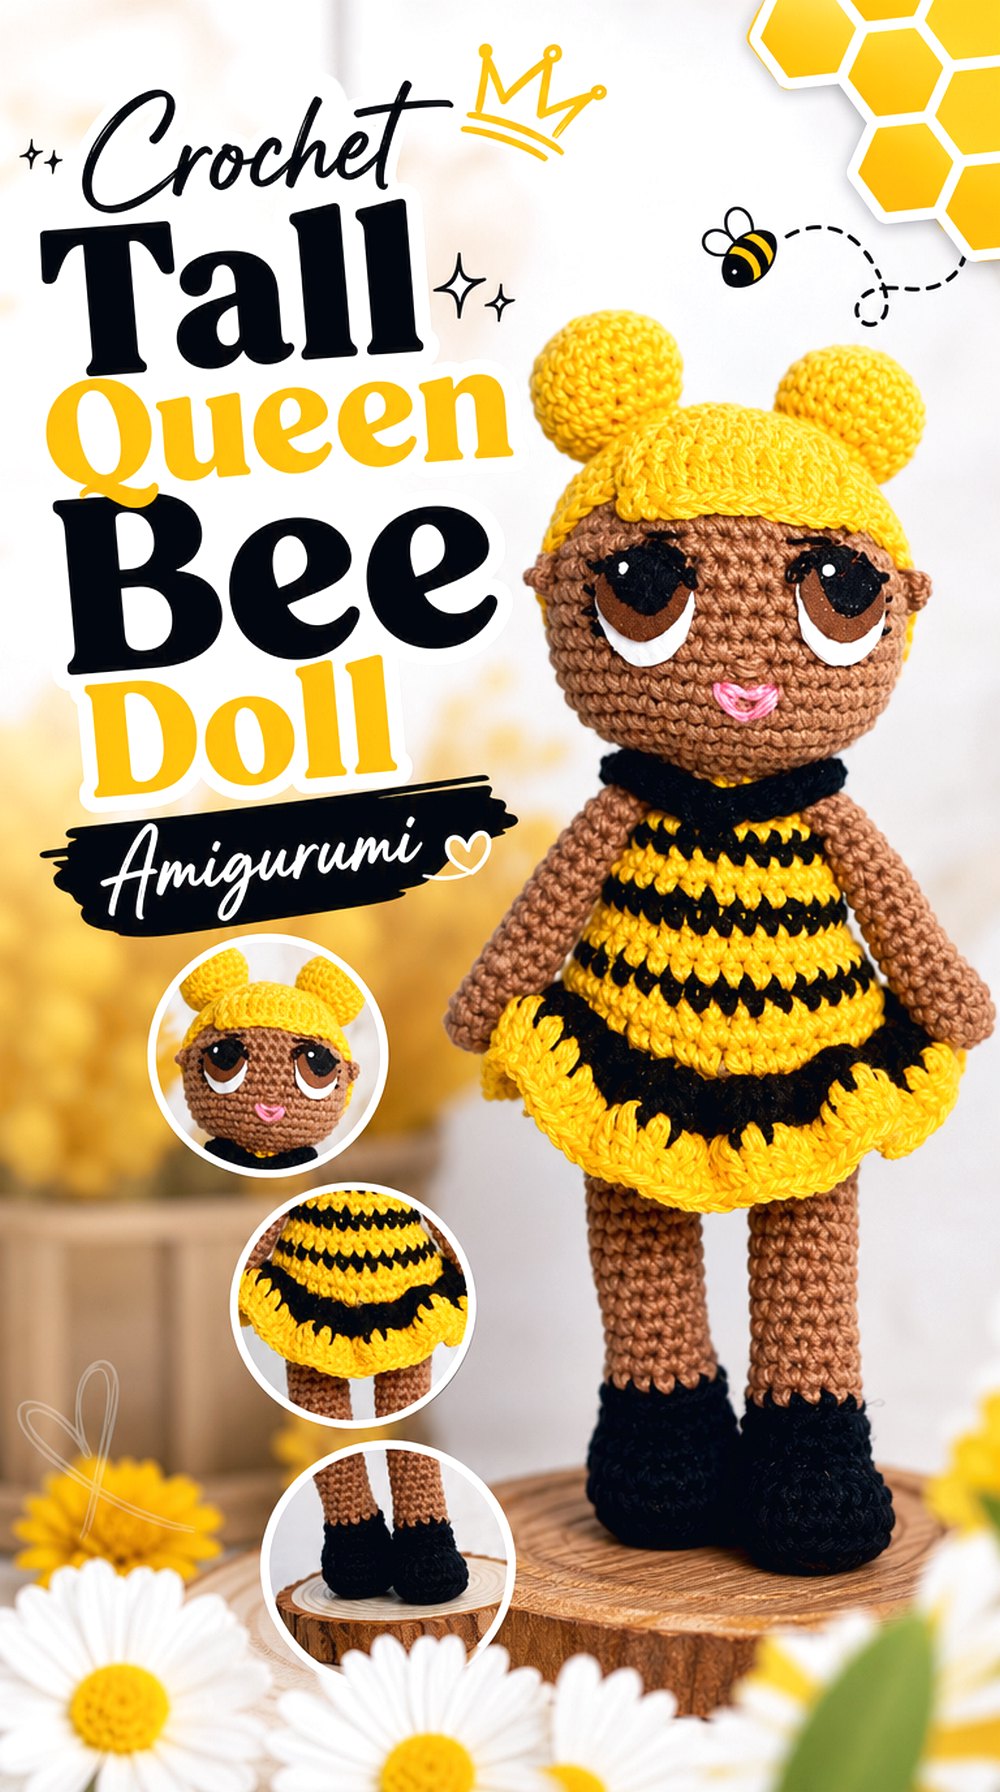
This tall queen bee doll has a stronger display presence than the smaller bee-shaped projects. The source information states a finished doll measurement, which makes it useful for readers who want to plan shelf space before starting. The queen bee theme comes through as a character doll, not just a striped insect.
Because the project has more height and outfit presence, it may need more attention to body proportion, standing or sitting position, and final presentation than a compact amigurumi bee.
Note the Taller Doll Size
A taller doll can become a main display piece instead of a small accent. Readers should compare the stated finished size with their intended space before starting. This matters for gifting, storage, and display shelves. A larger queen bee doll may also make facial features and outfit details more visible, but it can take more planning than a tiny desk-size bee.
Confirm the Thread Setup
The source description includes specific thread information, so readers should check it carefully instead of substituting without thought. Changing yarn or thread can change the finished height, firmness, and proportion of a doll. If using different supplies, compare the expected result with the creator’s stated size and keep the original tutorial open for exact construction details.
Think About Shelf Placement
A tall queen bee doll needs a display spot where the head, outfit, and lower body can be seen clearly. Crowded shelves can hide the details that make the character recognizable. Consider whether the doll will lean, sit, or stand with support. The original source should be used for any finishing decisions that affect stability or final appearance.
Crochet Glitter Inspired Queen Bee Doll
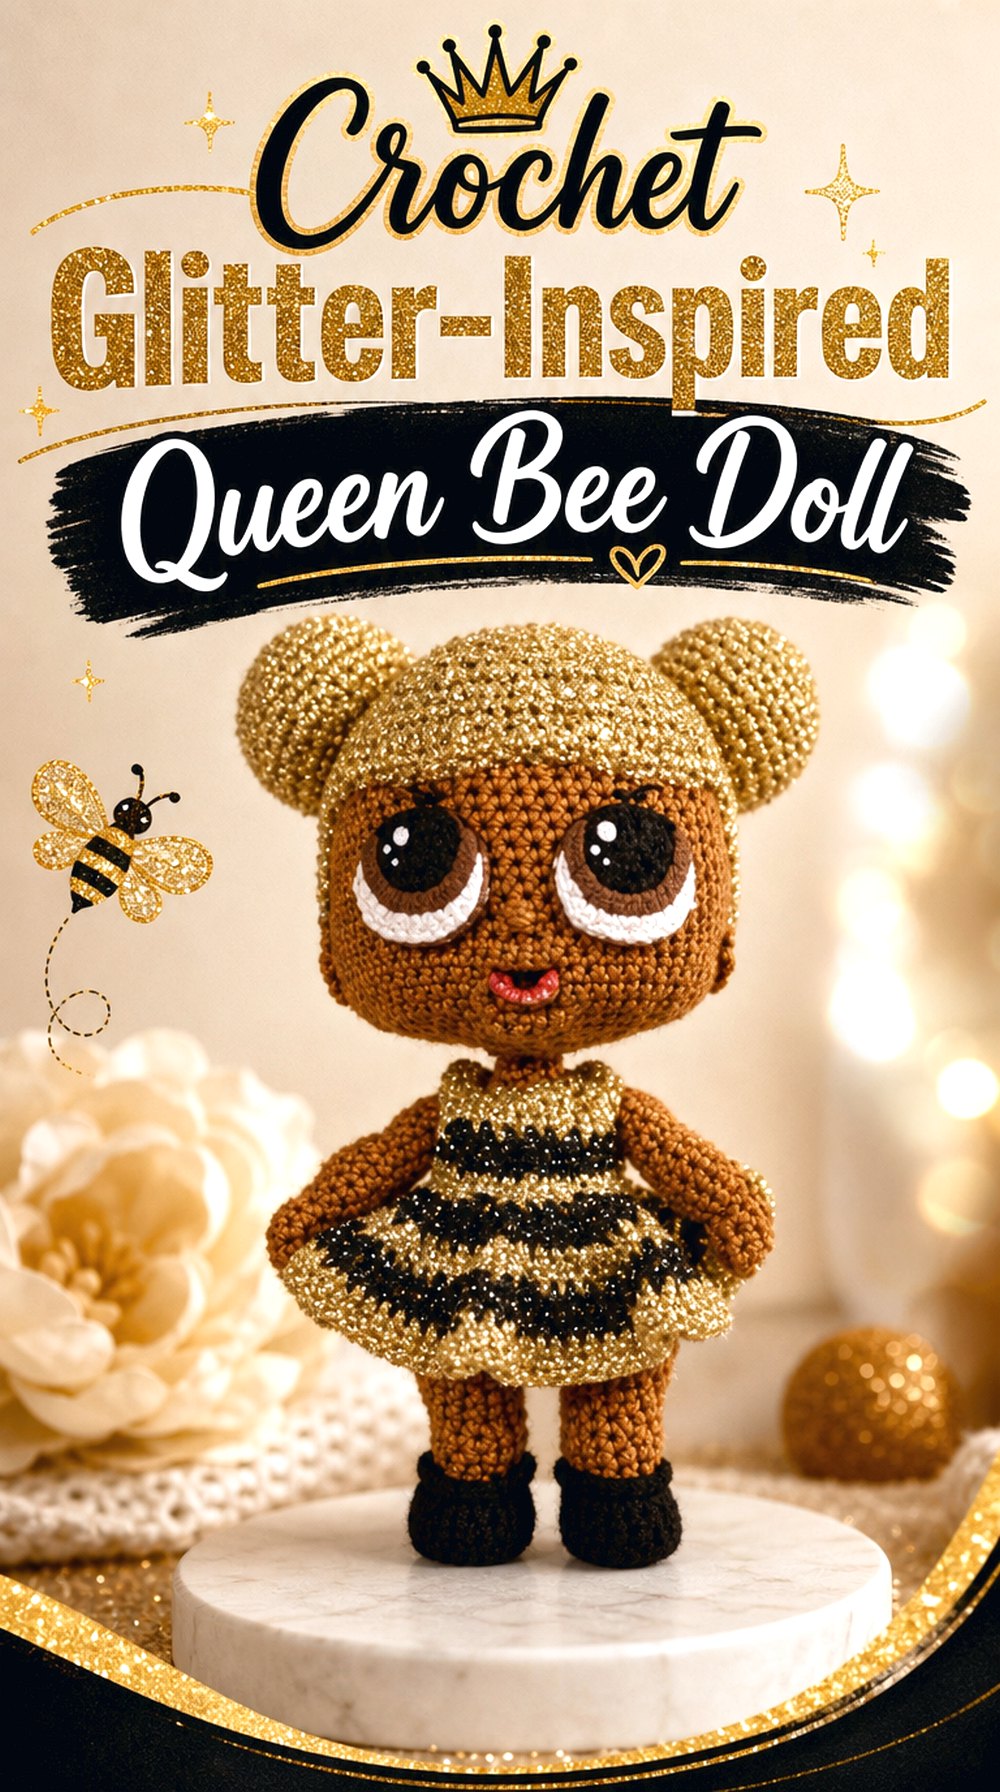
This queen bee doll leans into a glitter-inspired character look, making it different from the softer crowned bee and the more traditional insect shapes. The project is useful for readers who are drawn to bold doll styling, strong color contrast, and a more collectible queen bee feeling.
The source is presented in a construction/photo-report style, so it may suit visual planning better than readers who need a slow, stitch-by-stitch teaching format. Review the whole guide first to make sure it matches your learning needs.
Decide Whether Photo-Report Teaching Fits
A photo-report style can help readers understand the finished direction, but it may not feel the same as a close step-by-step crochet lesson. Before starting, scan the full source and decide whether the amount of visual information is enough for your skill level. Doll projects often need clear shaping, outfit placement, and finishing guidance, so teaching format matters.
Focus on the Glitter Theme
The standout point is the glamorous queen bee styling. Readers can look at how the final character balances bee colors, doll details, and decorative impact without copying any protected photos or thumbnails. For a cleaner finished display, keep the color story controlled and avoid adding unrelated decorations that compete with the queen bee identity.
Check Missing Construction Details
When a source is more visual than instructional, some practical details may not be clearly stated. Confirm whether the materials, size, assembly guidance, and finishing notes are complete enough before buying supplies. This is especially important for a doll with outfit details, because missing information can affect proportion and final styling more than it would on a simple round bee.
Original Tutorial and Creator Credit
Creator: Dulce Cuco
Crochet Bee in a Hive Amigurumi Display
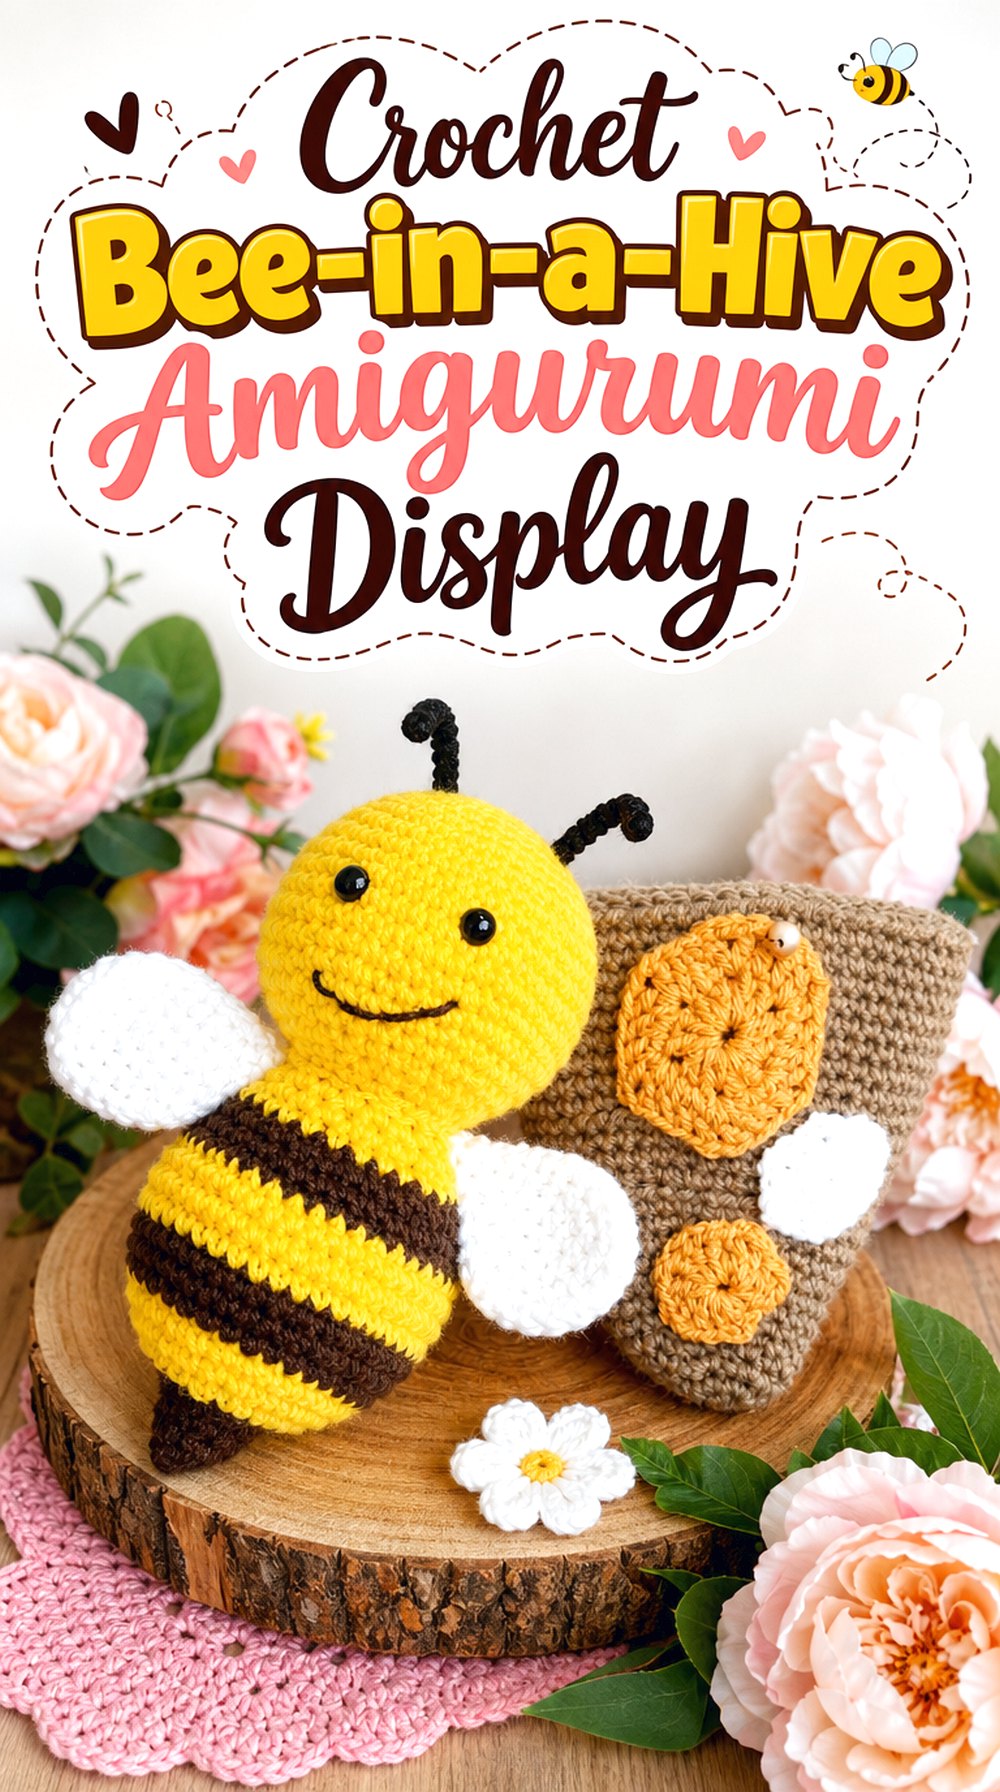
A hive scene gives the queen bee theme a setting, which makes it useful alongside a crowned bee or doll-style queen. Instead of being another stand-alone queen character, this project can act like the home base for a small royal bee display. The hive shape adds height, texture, and context.
This idea is different from the other seven because the focus is the scene around the bee. It may help readers build a more complete display without choosing another dressed doll.
Use the Hive as a Display Anchor
A hive can visually connect several bee amigurumi pieces. Place it behind or beside a queen bee so the collection feels intentional rather than scattered. Because the hive has its own shape and scale, readers should think about how it will sit with the queen character. A display anchor works best when it supports the theme without blocking the main bee.
Check the Opening and Shape
The hive shape is the most important detail to study before beginning. Look for how rounded, stacked, or open the finished hive appears, and confirm whether the bee is separate, attached, or placed inside. These choices affect storage and display. Follow the original source for exact construction, especially where the hive form changes or the bee joins the scene.
Decide How It Fits the Queen Bee Theme
This project is not a crown-focused queen doll, so its value is in building the royal setting. It can support a queen bee collection as a hive, throne-like backdrop, or companion scene. Readers who want every project to be a direct queen character may prefer one of the doll or crowned bee options instead.
Original Tutorial and Creator Credit
Creator: Creator: Heart and Craft Crochet
Conclusion
These crochet queen bee amigurumi ideas give readers several ways to approach the same royal theme. The sleepy crowned bee is compact and character-driven, while the mixed-media bee queen feels more like a display piece. The doll-style options offer stronger outfit detail, and the hive project works well as a setting for a larger bee collection. Before choosing, compare size, language, part count, and finishing needs. Use the original tutorials near the end of each section for exact construction details, materials, and creator-specific guidance.
FAQs
How do I choose the right crochet queen bee amigurumi project?
Start with the finished purpose. A small crowned bee may suit a desk or gift box, while a tall queen bee doll needs more room and more finishing attention. Also compare the teaching format. Some sources are single videos, while others are multi-part or visual-heavy guides that require more planning.
Are queen bee amigurumi projects safe for children?
Do not assume that any queen bee amigurumi is child-safe unless the creator clearly states it. Many designs may include small facial features, crowns, wires, charms, glued pieces, or decorative parts. For a child’s item, review the original material list and attachment method carefully and follow age-safety guidance from reliable sources.
What should I check before changing yarn or thread?
Check whether the creator gives a finished size, recommended yarn, thread, or hook information. Changing materials can change the size, firmness, and shape of the bee or doll. This matters most for crowns, wings, outfits, and attached details because those pieces need to stay in proportion with the body.
Can I sell a crochet queen bee made from a YouTube tutorial?
Do not assume selling is allowed. Read the creator’s video description, linked pattern notes, and any stated terms before making items for sale. Some creators allow finished-item sales with credit, while others restrict pattern use, translation, or commercial activity. When terms are unclear, ask the creator directly.
What royal details make a queen bee amigurumi feel finished?
Crowns, wings, facial expression, outfit pieces, gold or black accents, and hive settings can all support the queen bee theme. The detail should match the scale of the project. A tiny bee may need only a neat crown, while a larger doll can carry stronger costume and display details.