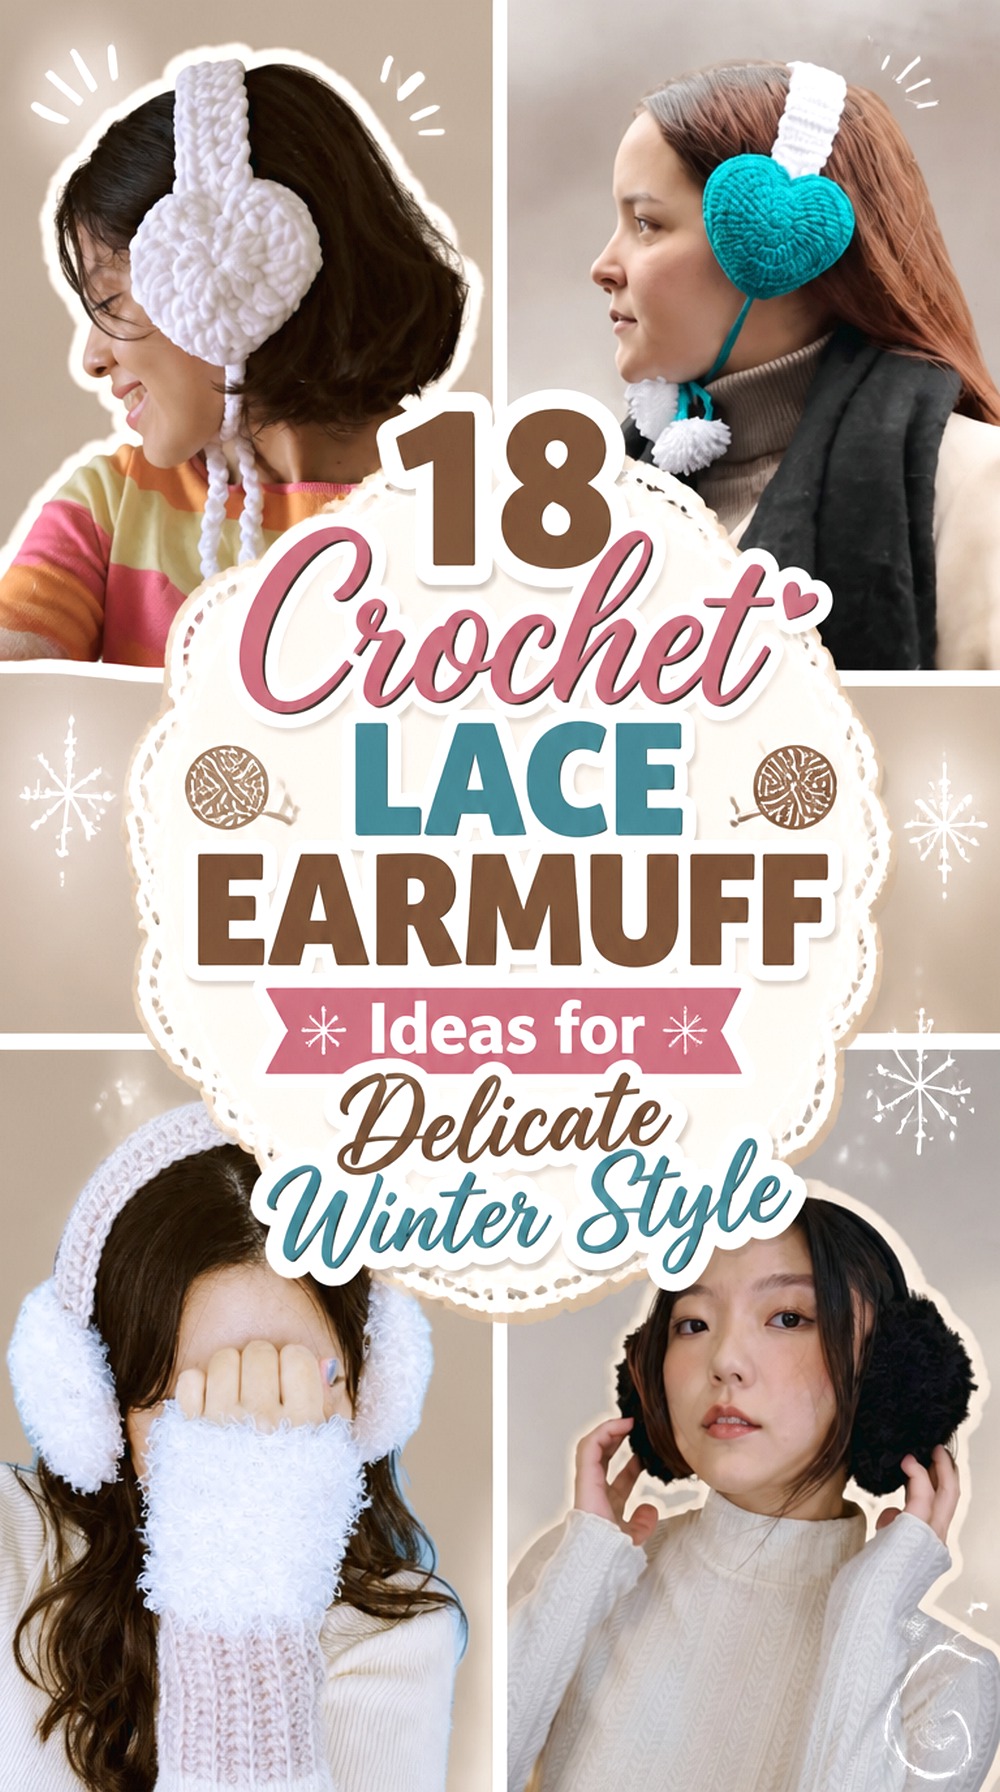

Crochet lace earmuffs can range from softly scalloped round covers to playful hearts, flowers, stars, bows, and character shapes. The most successful designs balance two jobs: the section against the ear needs enough coverage for a winter accessory, while the lace can provide the lighter decorative detail around the outside. That distinction becomes especially important when adapting an existing earmuff tutorial.
The verified tutorials below cover a wide range of earmuff constructions. Some already emphasize decorative details, while others provide a solid base that can be adapted with a lace-inspired border, overlay, medallion, ribbon, or motif. Rather than treating every design as interchangeable, this collection looks at cup shape, headband structure, ties, bulk, surface texture, and embellishment placement so you can choose a construction that makes sense for the lace effect you want.
Quick List
- Crochet Heart-Tie Lace Earmuffs
- Crochet Bow-Accent Lace Earmuffs
- Crochet Lace-Overlay Earmuff Makeover
- Crochet Daisy Lace Earmuffs
- Crochet Cheek-Cover Lace Earmuffs
- Crochet Scalloped Heart Earmuffs
- Crochet Chunky Lace-Trim Earmuffs
- Crochet Faux-Fur Lace-Accent Earmuffs
- Crochet Shell-Edge Round Earmuffs
- Crochet Medallion Lace Earmuffs
- Crochet Frog Lace-Rim Earmuffs
- Crochet Organza-and-Lace Earmuffs
- Crochet Tie-String Lace Earmuffs
- Crochet Fox Lace-Detail Earmuffs
- Crochet Star-Outline Lace Earmuffs
- Crochet Cat-Ear Lace Earmuffs
- Crochet Winter Muffler with Lace Edging
- Crochet Apple-Blossom Lace Earmuffs
Keep the Warmth Layer Dense and Put Lace on the Outside
Openwork is visually appealing, but an earmuff made only from widely spaced lace has a different function from a dense ear cover. For a winter-focused pair, it usually makes more sense to let the tutorial’s solid or plush ear section provide coverage and treat the lace as a decorative outer layer.
That lace might appear as a scalloped perimeter, flower-like medallion, narrow overlay, or small accent around a shaped cup. Before committing to the trim, look at how much of the ear-facing fabric remains covered and whether open loops are likely to curl inward. A delicate border can change the look dramatically without requiring the entire cup to become openwork.
Fit the Earmuff Base Before Adding Decorative Lace
Lace is easiest to plan after the basic earmuff already sits where you want it. Check whether the cups center comfortably over the ears, whether the band or ties hold them in position, and whether both sides sit at the same height. Adding trim too early can make it harder to tell whether a fitting problem comes from the base or the decoration.
Decorative crochet can also add thickness around an edge. On compact heart or star shapes, even a modest border can soften the original outline. With bulky or furry yarn, a very fine lace detail may disappear completely. Think of the finished base as the frame: establish its shape first, then choose lace at a scale that remains visible without interfering with fit.
Match the Lace Treatment to the Earmuff Construction
A single lace treatment does not suit every design. Plain round cups offer room for a centered medallion or shell border, while hearts and stars usually benefit from narrower edging that preserves their points. Animal earmuffs already contain facial or ear details, so extra crochet is most effective when it supports rather than hides those features.
Tie-style earmuffs provide another option: the lace can be concentrated on the cup while the strings stay visually simple. Faux-fur designs need a bolder accent because tiny stitches may vanish into the pile. For a ribbon-based design, a light openwork edge can echo the delicate material without making the accessory overly busy. Choosing the decoration after identifying the construction keeps the finished pair coherent.
Crochet Heart Tie Lace Earmuffs
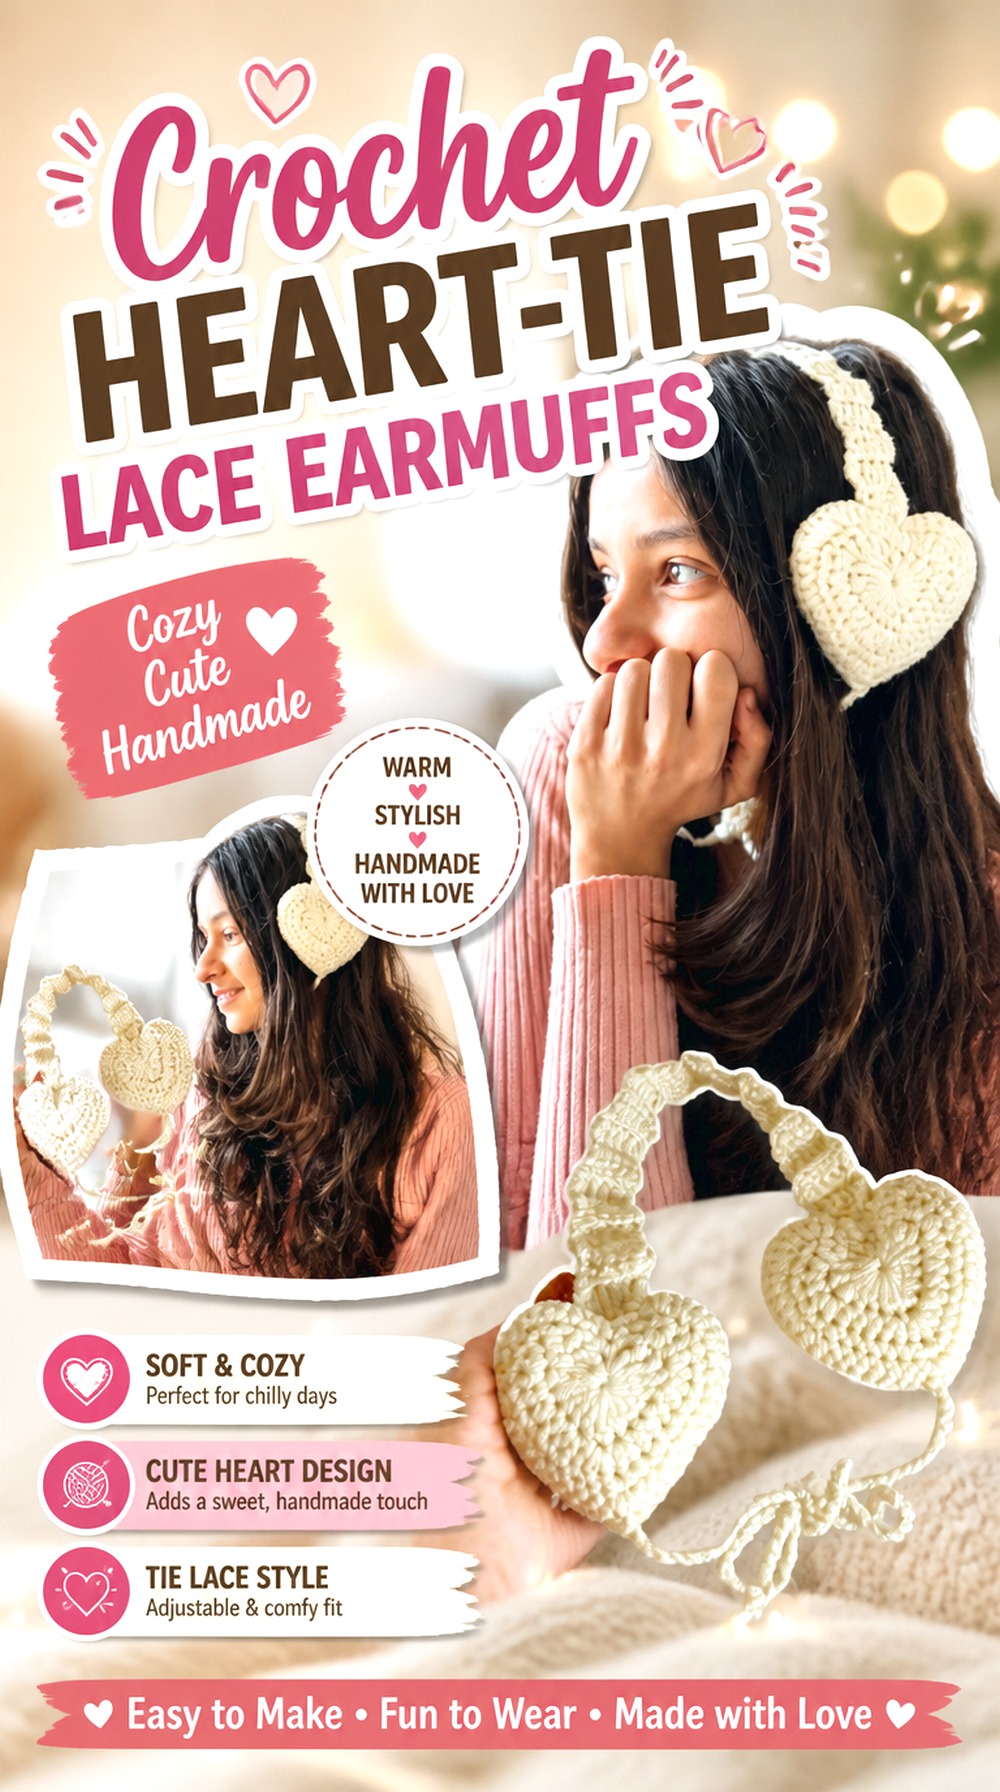
Heart-shaped ear covers give lace a natural place to work because the silhouette already has a romantic, decorative character. This version can use the cited heart-earmuff tutorial as its structural starting point, then add a restrained lace-inspired border around the outer face rather than changing the ear-facing layer. Lower ties make the design visually different from a conventional headband-only pair and give the finished accessory a softer bonnet-like effect.
The most important adaptation is restraint. A large ruffle can blur the dip and lower point that make the heart recognizable, while a narrow scallop or tiny picot-style effect can emphasize the outline without taking it over.
Keep the Lace Beyond the Ear-Facing Center
Treat the central heart as the functional part of the earmuff and place the decorative openwork toward its exterior. This keeps the lacy appearance visible from the side while preserving more of the original coverage over the ear. If the lace starts folding underneath the heart when worn, it is probably extending too far inward. Check the placement on both sides before securing all of the edging.
Test the Lower Ties Before Adding Extra Trim
This source construction includes lower strings, so check their position and movement before adding another decorative element nearby. Heavy lace, tassels, or multiple layered borders can make the lower half of the earmuff visually crowded. If the strings are already a strong feature, a fine edge around the heart is often enough. Tie the earmuffs as intended and make sure the trim does not catch where the strings emerge.
Preserve the Heart Point on Both Sides
The lower point and top indentation are useful symmetry checkpoints. Lay the two finished heart bases next to each other before adding lace and compare their outlines. If the decorative border is fuller on one side, the difference can become more noticeable when both earmuffs are worn together. Working from matching bases makes it much easier to keep the finished pair balanced.
Crochet Bow Accent Lace Earmuffs

A bow-centered pair works well when you want lace to feel decorative rather than dominate the entire earmuff. The bow already creates a focal point, so the adaptation can stay relatively simple: think of a narrow openwork edge around the ear cover or a small lace detail that visually frames the bow. That makes this option distinctly more structured and dressy than a flower-covered or all-over openwork look.
Before adding anything, study how much space the bow occupies on the finished cup. If it extends close to the perimeter, extra ruffling may make the shape feel crowded. A quieter lace treatment gives the bow room to remain recognizable.
Let the Bow Remain the Main Detail
When an earmuff already includes a dimensional bow, two equally strong embellishments can compete. Keep the lace narrower or flatter than the bow so the eye still reads the central feature first. A fine outer edge can provide the “lace” character without turning every available surface into decoration. This is particularly useful if you want a coquette-inspired result that still looks clean from a distance.
Place Openwork Where the Cup Stays Stable
Avoid positioning a loose overlay where it can bunch between the bow and the ear cover. The perimeter is usually the easier place to assess because you can see whether the border lies evenly around the existing shape. Check the cup flat first, then again while the earmuff is positioned as worn. Decorative loops that look neat on a table can behave differently once the cup curves around the ear.
Check Bow Bulk Around Hair and Eyewear
A raised bow changes the outer profile of the earmuff more than flat lace does. If you regularly wear glasses, large earrings, or thick hairstyles near the ear, consider how the bow and added trim share that limited space. The goal is not to eliminate dimension, but to keep every layer intentional. If the bow already projects substantially, flatter lace can be the more practical companion.
Original Tutorial and Creator Credit
Creator: RiO’s Corner
Crochet Lace Overlay Earmuff Makeover

Instead of starting the entire accessory from scratch, this idea uses an existing earmuff as the underlying form and adds crocheted covers. That makes it especially useful for experimenting with a lace overlay because the original earmuff already establishes the cup size, spacing, and headband fit.
The cited tutorial demonstrates covering old earmuffs with crochet. For a lace-inspired variation, the solid crocheted cover can become the foundation for a second decorative surface layer or outer border. This approach gives you more freedom to explore openwork visually without asking the lace itself to provide all the structure. It also creates a noticeably different project from the fully crocheted headband constructions elsewhere in the collection.
Treat the Existing Earmuff as the Fit Standard
Before covering anything, confirm that the original pair is still comfortable and positions the cups correctly. Crochet will not solve a headband that is already too loose, too tight, or poorly aligned. Once the fit is established, the existing dimensions become useful boundaries for planning the decorative layer. Keep comparing the two sides as the covers are added so the makeover does not create uneven bulk.
Give a Lace Overlay a Stable Attachment Edge
An overlay looks more intentional when its outer edge has somewhere consistent to attach. If it is connected only at a few widely spaced points, it may sag, twist, or catch on nearby objects. You do not need to cover every inch with fastening; instead, plan enough support that the decorative layer follows the cup shape. A flatter lace motif is generally easier to control than a heavily dimensional one.
Keep the Headband Visually Quieter
Because the ear covers already receive both a crochet cover and a lace treatment, the headband does not need the same degree of embellishment. A simpler band can make the detailed cups stand out more clearly. This is also a useful way to keep extra texture away from the hairline, where raised loops or ruffles may be less convenient than they are on the outer face of the earmuff.
Original Tutorial and Creator Credit
Creator: Brunaticality
Crochet Daisy Lace Earmuffs
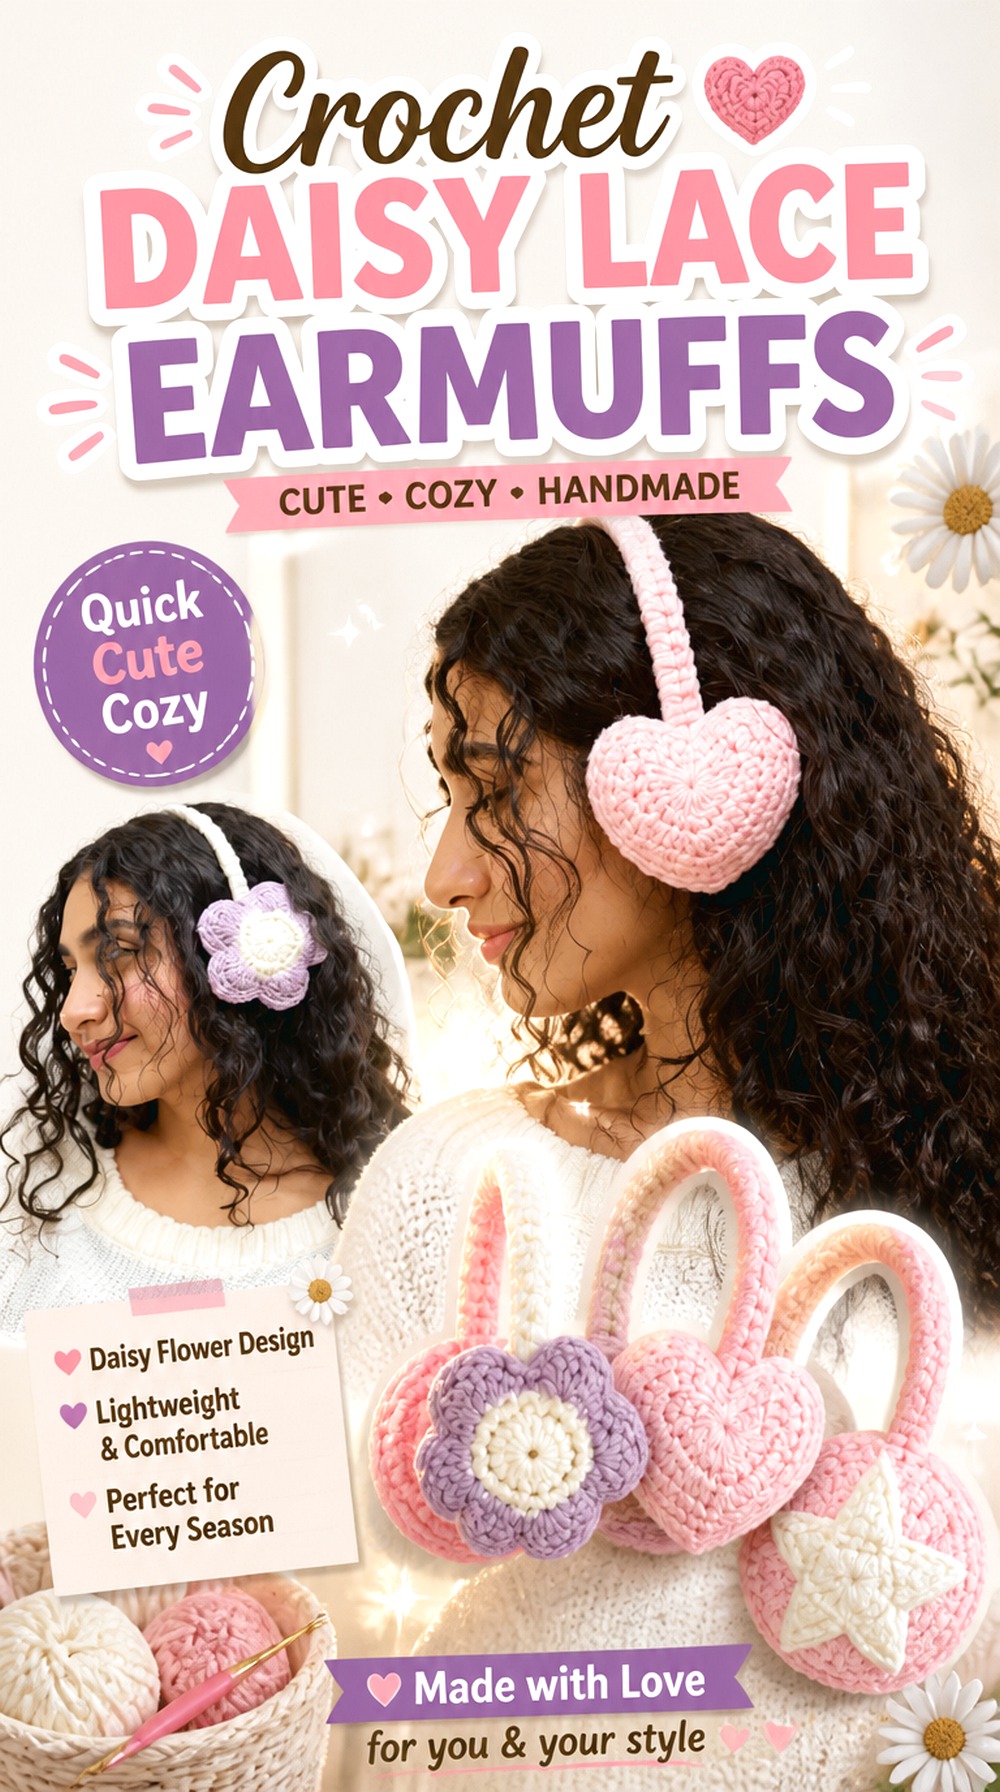
A floral earmuff is one of the most natural ways to create a lace-like appearance without relying on a separate frilled border. The open spaces between petals can provide visual lightness, while the flower itself becomes the full decorative face of the ear cover. The referenced tutorial includes multiple shaped earmuff options, including a daisy flower, making it a useful foundation for this variation.
Compared with heart or bow designs, this style spreads the focal detail evenly around a center point. That radial layout makes alignment especially noticeable. A pair looks more polished when each flower is centered consistently and the petals sit in comparable positions relative to the headband.
Let Petal Openings Create the Lace Effect
A daisy already contains repeated edges and spaces, so additional ruffles may be unnecessary. Instead of piling another lace border around the flower, use the flower shape itself as the openwork feature. This keeps the silhouette readable and avoids excessive bulk. If you want more detail, a very small outer edging can work, but compare it against the petal scale before committing to both earmuffs.
Center Both Flowers Before Permanent Attachment
Floral designs make off-center placement easy to spot. Set both finished flower faces against their ear bases and compare the center position, petal orientation, and distance from the headband. A small shift can make one flower look higher or more rotated than the other. Pinning or temporarily holding the pieces first gives you a better visual checkpoint before final assembly.
Use Center Contrast Instead of Extra Layers
If the flower needs more definition, changing the visual contrast of the center can be more effective than adding another dimensional layer. This keeps the outer petals clear and preserves the airy effect. It also gives you a simple way to coordinate the earmuffs with a coat, scarf, or hat without changing their basic construction. The key is to maintain the flower as one readable shape.
Original Tutorial and Creator Credit
Creator: mahum 🎀
Crochet Cheek Cover Lace Earmuffs
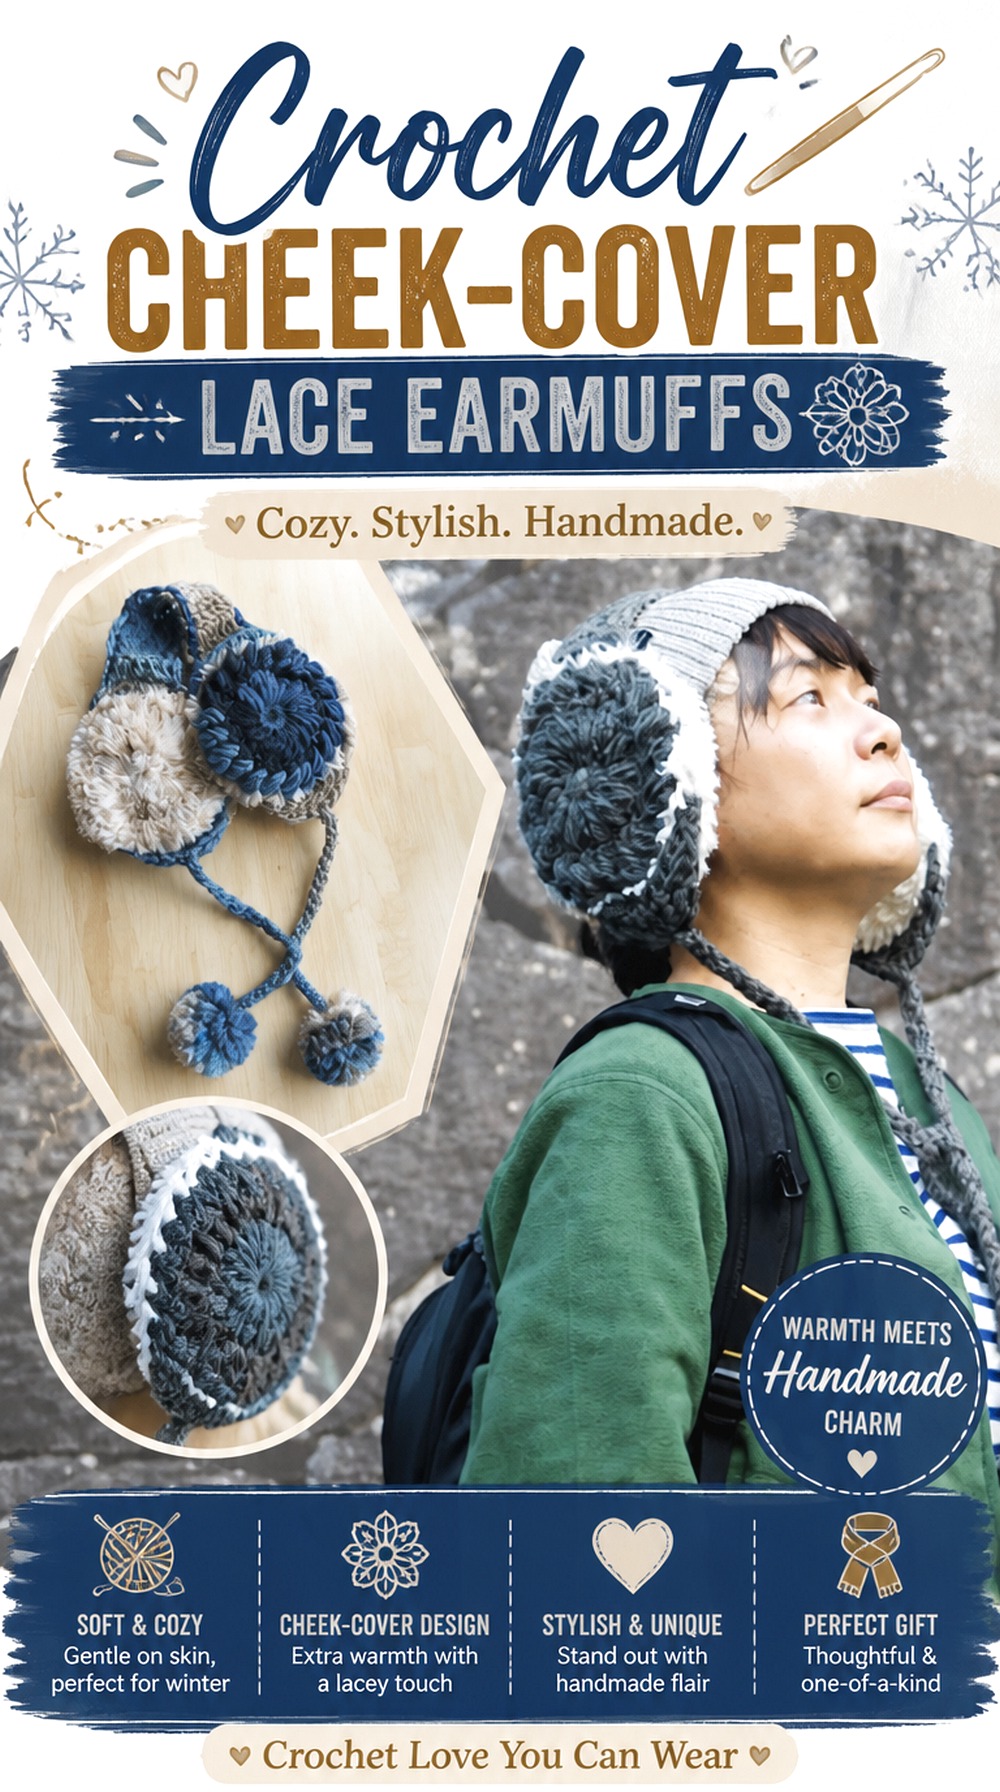
This larger construction extends beyond a compact ear cup, creating more visual coverage along the side of the face. That extra surface changes how lace should be used. Instead of covering the entire piece in openwork, consider concentrating the decorative detail along an outer edge, lower flap, or transition point where it can be seen without replacing the denser main fabric.
The cited tutorial shows a substantial earmuff design with a headband, lower section, chin strap, and pom-pom details. Because the shape already includes several visual elements, the lace adaptation works best when it behaves like finishing rather than another full feature. This option suits readers drawn to a fuller winter-accessory silhouette.
More Coverage Changes the Best Lace Position
A border that feels small on a round ear cup can look much more prominent when it continues along a cheek-covering shape. Decide whether you want the lace to outline the entire piece or highlight just one section. A partial border can create a cleaner result and prevent openwork from sitting directly against areas where you want the fabric to remain smooth and comfortable.
Keep the Chin-Strap Area Flexible
Decorative trim should not make a moving or tying section stiff. Before adding lace near a chin strap or lower fastening area, check how the original construction bends and where tension occurs during wear. Keeping the lace concentrated on a more stable outer edge allows the strap to keep doing its job without extra layers bunching at the connection point.
Balance Pom-Poms Against Lace
Pom-poms already bring significant texture and movement. Pairing them with large ruffles can make the lower part of the design visually heavy. Decide which detail should dominate: fluffy accents or lace. If the pom-poms stay, a narrow repeating edge usually gives enough delicacy without creating a second competing focal point.
Original Tutorial and Creator Credit
Creator: Cotoson素朴な編み物
Crochet Scalloped Heart Earmuffs
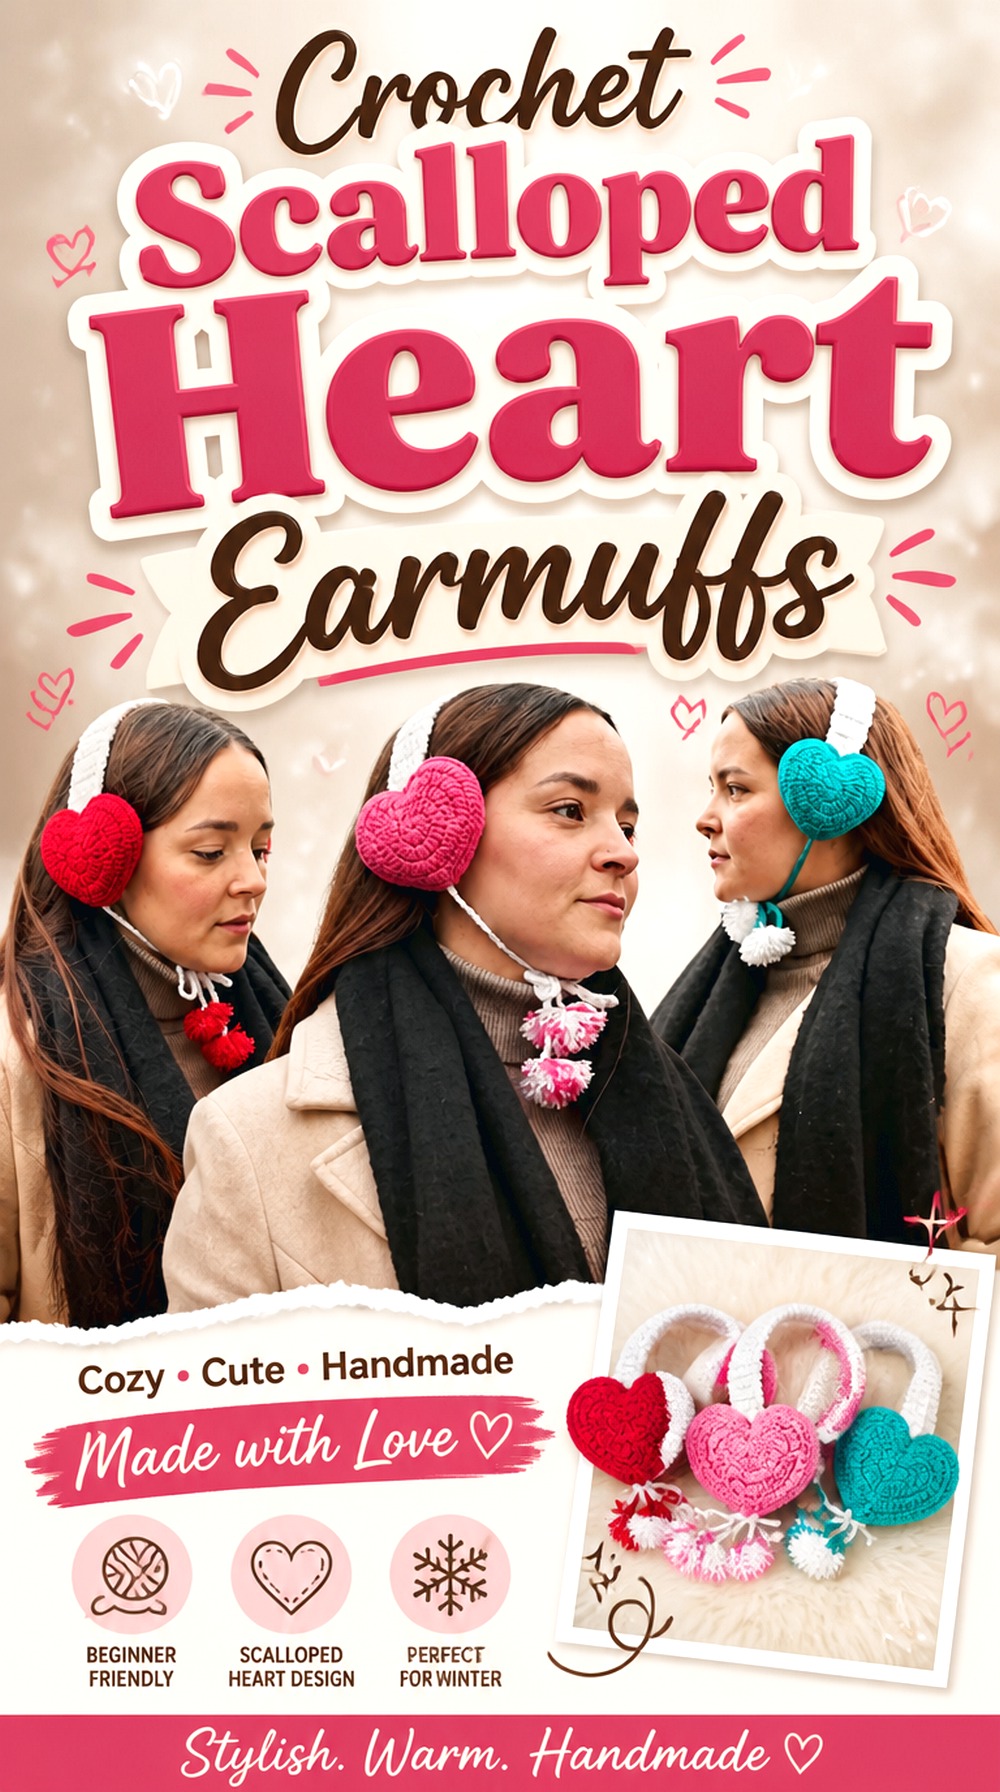
This second heart option keeps the focus on a more compact heart cup rather than lower tie details. A narrow scalloped border can follow the curves at the top and emphasize the lower point, creating a clear lace-inspired outline without turning the ear cover into openwork.
The heart format works especially well when you want the accessory itself to read as decorative from a distance. Because the silhouette already carries much of the personality, the lace should support it. Compared with the heart-tie version earlier, this idea is better suited to a cleaner outer contour with fewer competing elements.
A Narrow Scallop Keeps the Heart Readable
Large loops can soften the two upper lobes and make the lower point disappear. Keep the decorative scale proportional to the heart rather than choosing lace simply because it looks dramatic on its own. Lay a sample portion alongside the finished heart first. If the trim becomes the first thing you notice and the heart shape becomes secondary, simplifying the edge may create a stronger result.
Check the Heart Point After Layering
Adding a backing, stuffing, or additional surface crochet can subtly change the outline. Before finishing the lace, compare the lower point on both earmuffs and make sure it still sits where intended. This is particularly important with a heart because asymmetry is more obvious than it is on a plain circle. Finish the base shape first, then use the edging to frame—not correct—the silhouette.
Original Tutorial and Creator Credit
Creator: Mayelin Ros
Crochet Chunky Lace Trim Earmuffs
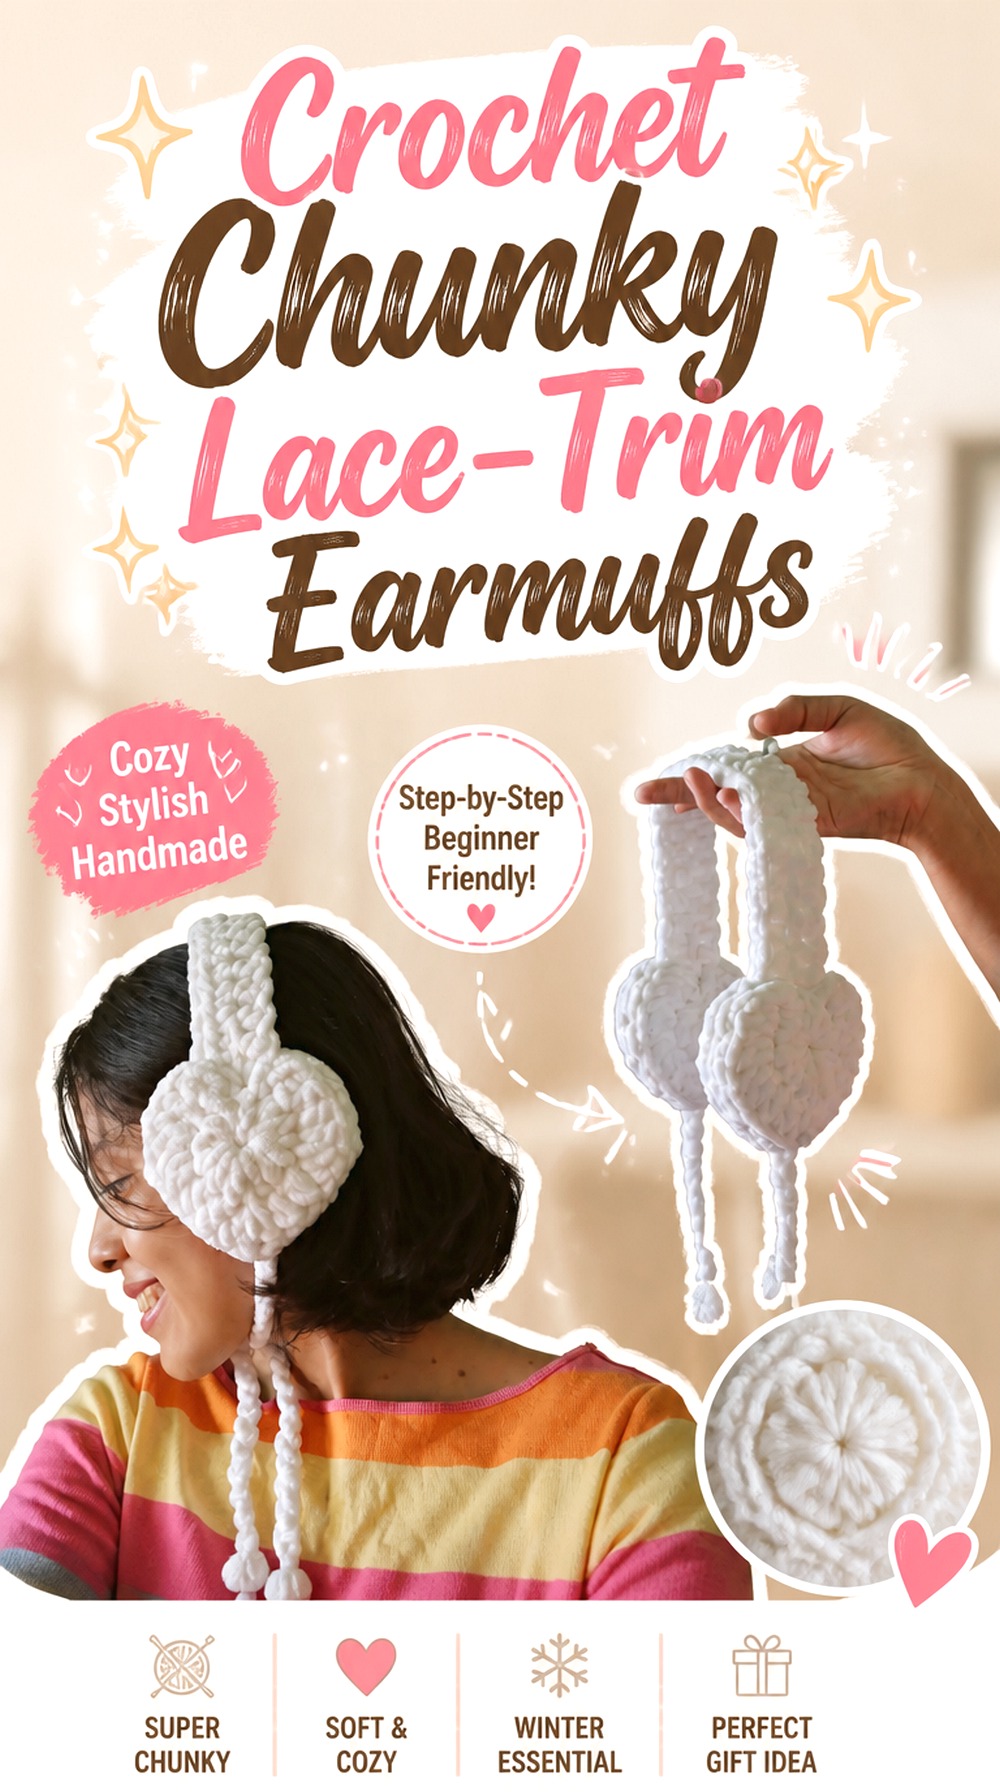
Chunky earmuffs create an interesting contrast with lace: the base looks plush and substantial, while an open decorative edge can make the outside feel lighter. The challenge is scale. Very fine lace can disappear next to thick yarn, so the accent needs enough visual presence to remain intentional.
The referenced chunky earmuff tutorial supplies the substantial base concept. Rather than copying that texture into the trim, consider the lace as a separate visual layer. A broader scallop, larger openwork motif, or clearly contrasting edge is easier to read than a tiny intricate border. This makes the project a useful option for anyone who likes bold winter texture but still wants a softer decorative finish.
Chunky Yarn Needs a Larger-Scale Accent
The heavier the visual scale of the earmuff, the easier it is for miniature lace details to get lost. Compare a sample against the finished cup before making a full pair. You may find that fewer, larger openings read more clearly than many tiny loops. This is a design-scale decision rather than a fixed yarn rule, so judge the combination from normal viewing distance as well as close up.
Keep Openwork Sparse Around a Thick Cup
A chunky base already carries depth around the ear. Adding several layers of ruffles can increase that volume quickly. If you want the earmuffs to retain a clean rounded shape, use lace primarily as an outline rather than stacking multiple dimensional trims. The contrast between a solid plush center and one airy perimeter detail is often enough to distinguish this version.
Original Tutorial and Creator Credit
Creator: katili crochet
Crochet Faux Fur Lace Accent Earmuffs

Faux-fur yarn produces a very different surface from ordinary crochet because the stitch structure is partly hidden by the pile. That makes this idea less about intricate lace stitches and more about contrast between textures. A smooth, clearly defined lace accent can frame the fluffy ear covers while the faux fur remains the dominant tactile element.
The cited tutorial uses faux-fur yarn and a headband-based earmuff construction. For an adapted version, keep the lace on the visible exterior or perimeter rather than burying it inside the fuzzy surface. This option is particularly effective when you want a soft, plush look with only a small romantic detail.
Fine Lace Can Disappear Into Faux Fur
Before making an elaborate motif, hold a small sample against the furry surface. If individual loops disappear into the pile, greater stitch complexity will not necessarily improve the result. A stronger outline or larger open spaces can provide better separation. Color contrast can help too, but the main goal is to ensure that the two textures remain distinguishable rather than blending into an undefined edge.
Attach Decoration to a Clear Outer Boundary
Faux fur makes attachment points harder to see, so decide exactly where the decorative layer should sit before fixing it in place. The outside edge is generally easier to evaluate than the plush center because you can judge whether the lace follows the overall shape. Avoid allowing loose openwork to drift toward the ear-facing side, where it contributes less visually.
Check Care Requirements Before Mixing Fibers
A lace accent may use a different fiber from the plush earmuff. Before combining them permanently, compare the yarn labels and any care information for the existing headband or internal components. The safest care choice is usually governed by the least tolerant material in the finished accessory. Do not assume two yarns can be washed or dried the same way simply because both are used for crochet.
Original Tutorial and Creator Credit
Creator: yaejiyea
Crochet Shell Edge Round Earmuffs
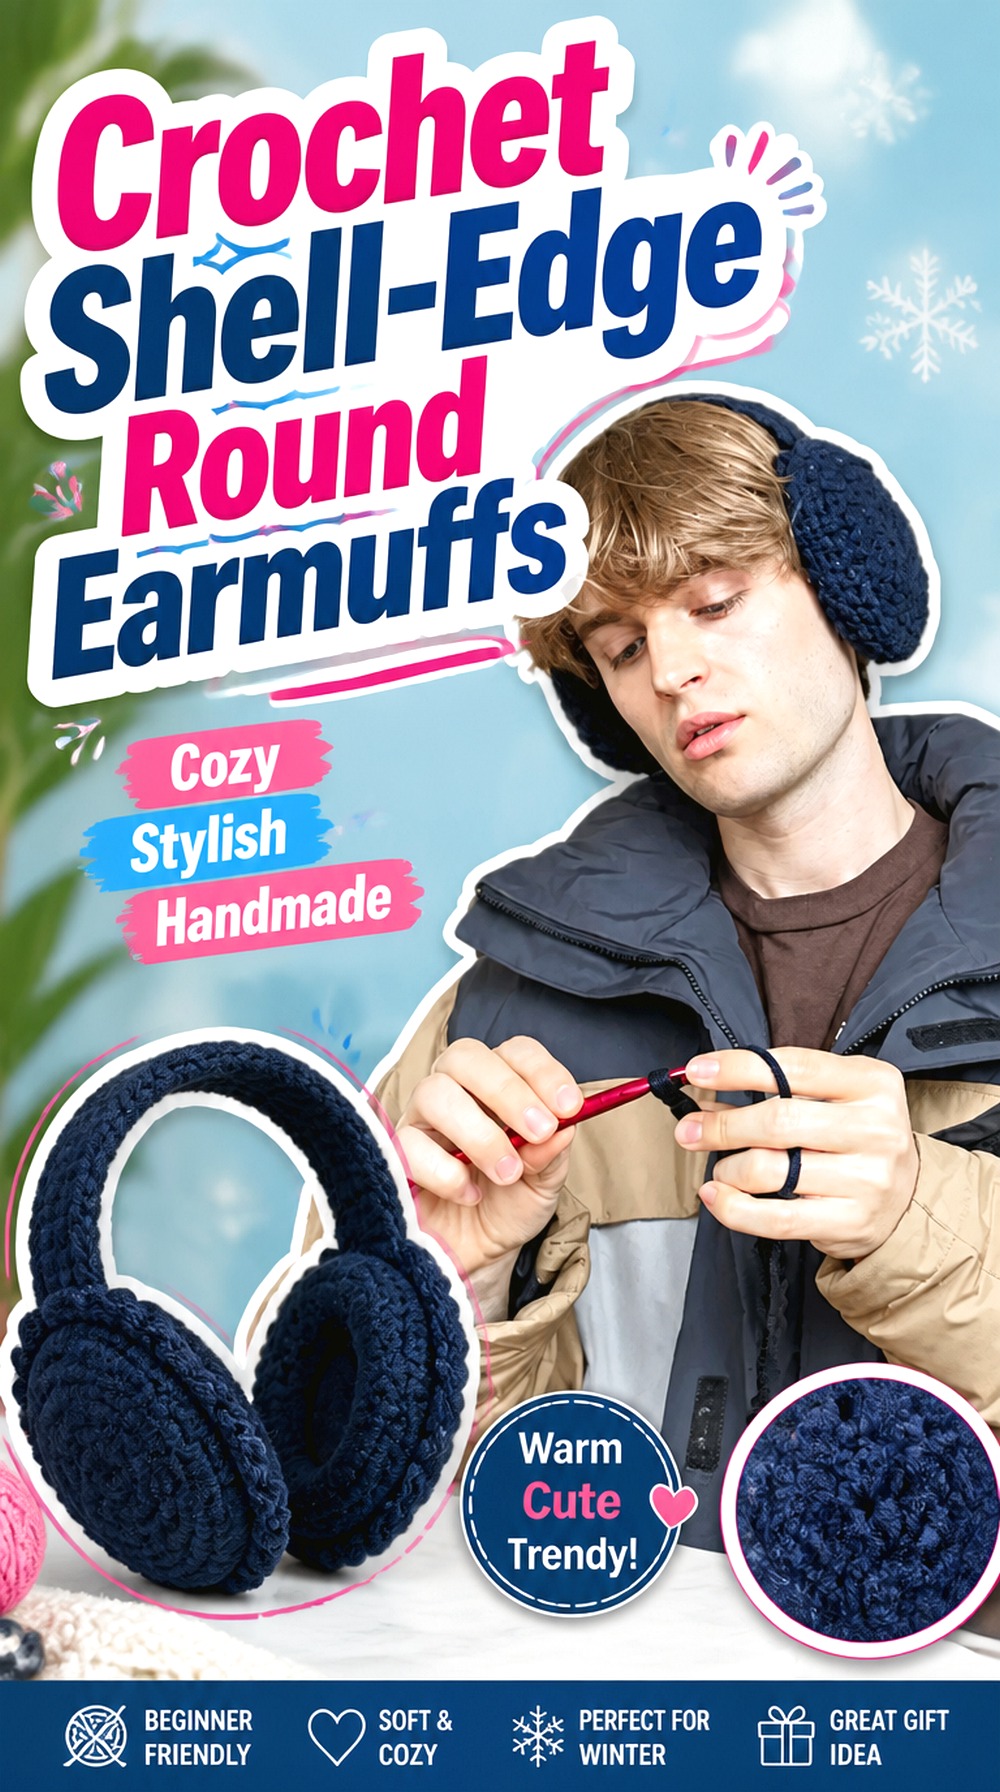
Plain round ear cups are one of the most flexible starting points for a lace adaptation. Because the base has no points, petals, ears, or other strong directional details, you can use the perimeter as a continuous decorative frame. A shell-inspired edge is a particularly natural choice because repeated curves echo the circular cup.
The cited tutorial provides a straightforward round-earmuff reference. This concept stays visually simpler than the flower or character designs, making it useful when you want the lace itself to be the distinguishing feature. It can also coordinate more easily with other winter accessories because the overall silhouette remains neutral.
A Shell Border Softens a Plain Circle
The circular base gives repeated scallops a consistent path, so you do not have to negotiate sharp corners or points. Keep the border evenly distributed and compare the two cups frequently. If one side develops noticeably fuller waves, the mismatch will be easy to see when worn. The goal is a soft decorative perimeter that still preserves the original round outline.
Keep the Cup Flat Before Edging
If the basic ear cover is already cupping, rippling, or twisting unexpectedly, lace added around the edge can exaggerate the problem. Assess the base first and make sure its shape is behaving as intended. Decorative edging is most successful as finishing, not as a way to hide uneven construction. Once both circles look comparable, the border can be planned much more predictably.
Original Tutorial and Creator Credit
Creator: Henri Purnell
Crochet Medallion Lace Earmuffs
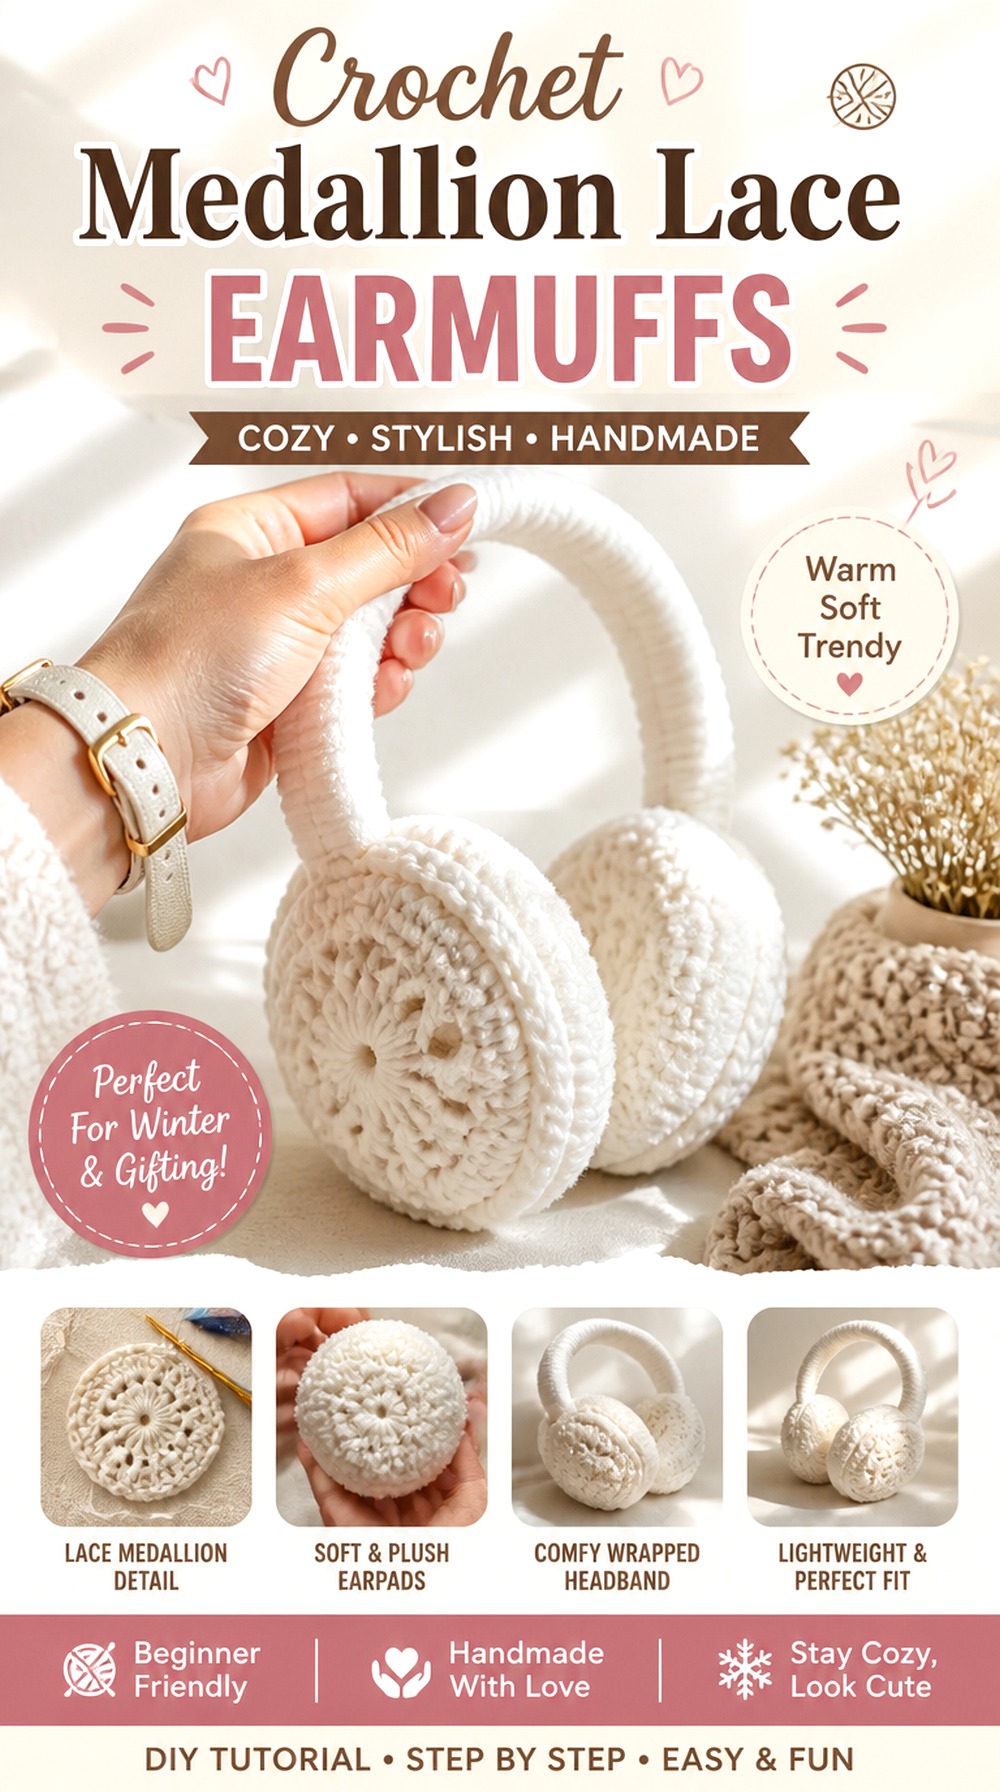
Instead of decorating only the perimeter, this version places the lace effect directly on the outward-facing center of a round earmuff. A flat crochet medallion can act like a decorative overlay while a denser layer underneath remains responsible for coverage and shape. That creates a more obviously “lace” appearance than a narrow border without requiring the entire earmuff to become openwork.
The source tutorial demonstrates round earmuffs with a plush, substantial construction. For this adaptation, think of the medallion as surface decoration. It should sit within the existing cup rather than extend so far that it interferes with the join to the headband.
Use the Medallion as a Surface Layer
A lace motif works best here when it is treated like an appliqué rather than the primary ear cover. That gives you freedom to choose more open spaces while still retaining the underlying fabric. Place the medallion over the completed outer face and assess how much of the base remains visible. A little background showing through the openings can help the lace pattern read more clearly.
Align the Center With the Ear Cup
Round-on-round layering makes centering important. Mark or visually identify the midpoint of both the base and the medallion before attaching them. Compare the distance from the motif edge to the cup edge in several directions. Even if the crochet itself is handmade and not mathematically perfect, consistent placement keeps the final pair looking intentional.
Watch Added Thickness Near the Perimeter
A medallion plus an additional border can create several layers at the outer edge. Decide whether you need both. If the motif already provides enough visual detail, leaving the perimeter simpler may make the earmuff easier to assemble and less bulky. This is one project where surface decoration can do more work than a large ruffled edging.
Original Tutorial and Creator Credit
Creator: crochet daniela
Crochet Frog Lace Rim Earmuffs

Frog earmuffs already carry a strong character theme, so the lace should function as a framing detail rather than a competing motif. A narrow green-on-green openwork rim could soften the outside edge, while a contrasting lace detail could create a more whimsical, storybook look. Either way, the frog features need to remain immediately readable.
The cited tutorial specifically demonstrates frog earmuffs, giving this project a clearer themed base than a general round tutorial. This is a good option for readers who want lace incorporated into playful crochet rather than only romantic or vintage styling.
Keep the Frog Features Clear Around the Border
Eyes and other identifying features establish the frog theme. Before adding lace, look at the earmuff from a normal viewing distance and identify which areas make the character recognizable. Keep those areas free from large ruffles or overlapping loops. Decorative edging works best around the outside, where it can frame the face without covering it.
Use Lace as a Frame, Not a Facial Detail
Highly open crochet placed directly across the face of the earmuff can make the design visually confusing. A cleaner approach is to let the central character stay solid and put the lacy texture around it. That division also makes the project easier to coordinate: the frog remains the playful focal point while the lace provides a secondary decorative style.
Compare Feature Placement Before Sewing
Character earmuffs are particularly sensitive to left-right differences. Before final assembly, place both frog faces side by side and compare eye height, spacing, orientation, and lace position. Small variations are normal in handmade work, but an accidental tilt can make one side read very differently from the other. Checking before permanent attachment gives you an opportunity to correct obvious imbalance.
Original Tutorial and Creator Credit
Creator: Vyva ‘s Crochet
Crochet Organza and Lace Earmuffs

Ribbon changes the character of crochet earmuffs immediately, especially when the ribbon is sheer or softly reflective. The referenced tutorial includes organza ribbon among its materials, making it a useful starting point for a more delicate lace-and-ribbon interpretation. Rather than adding a large crochet ruffle, this version can pair the ribbon with a small openwork edge that echoes its lightness.
Because two decorative materials are involved, balance matters more than complexity. The crochet lace, ribbon, and main earmuff should read as one accessory rather than three separate embellishments competing for attention.
Organza Already Supplies a Delicate Contrast
Sheer ribbon gives the design an airy element even before lace is added. That means the crochet border can stay relatively restrained. Compare the visual weight of the ribbon with the proposed lace: if the trim is much heavier, the materials may feel disconnected. A lighter openwork treatment tends to echo organza more naturally than a deep, dense ruffle.
Match Lace Scale to the Ribbon Detail
Think about width and visual rhythm rather than trying to match the materials exactly. A narrow ribbon detail usually pairs more comfortably with a modest crochet edge, while a larger bow or ribbon feature can support a slightly bolder lace accent. Test them together before permanently attaching anything. The decision is easier when you can see the finished textures side by side.
Keep Decorative Ends Clear of the Ear
Ribbon tails and open lace loops are most effective on the visible exterior, where they can move freely without sitting between the ear and the cup. Check the earmuff in its worn position rather than evaluating it only flat. If any decorative end naturally folds inward, shortening, repositioning, or simplifying it can make the finished design cleaner.
Original Tutorial and Creator Credit
Creator: TSUMUGI かぎ針編み🧶
Crochet Tie String Lace Earmuffs

Tie-string earmuffs offer a softer alternative to designs dominated by a rigid-looking headband. The cited tutorial shows a simple earmuff form with crocheted strings and layered ear pieces, giving this idea a useful base for a lace border that remains concentrated around the cups.
Because the ties already create linear movement below the ears, extra hanging decoration is not necessary. A neat openwork perimeter can supply enough detail while the strings stay functional and visually calm. This project also gives you a different styling direction from bow, animal, or flower earmuffs: the lace can feel understated rather than themed.
Tie Strings Change Where Lace Looks Balanced
With lines already extending downward from the earmuffs, a deep lower ruffle can make the design feel bottom-heavy. Consider placing the strongest lace detail along the outer or upper curve instead. Look at the pair while the ties hang naturally, not just while laid flat. That gives you a better sense of how the vertical strings interact with the decorative edge.
Test Tie Placement With Your Usual Hairstyle
Strings can sit differently with loose hair, a ponytail, braids, a hat, or a hood. Before adding lace close to their attachment points, wear or position the base in the way you expect to use it most often. If hair repeatedly catches in a loose decorative loop, shifting the lace outward or reducing that detail may make the pair more convenient.
Original Tutorial and Creator Credit
Creator: pippi.crochet
Crochet Fox Lace Detail Earmuffs

Fox earmuffs bring pointed ears and character shaping into the collection, so they need a more selective lace treatment than a plain circle. Instead of surrounding the entire piece with a large border, this idea can place delicate crochet inside or near the fox ears, creating a softer inner-ear texture while preserving the outer silhouette.
The referenced tutorial specifically teaches fox earmuffs and includes the character ears as part of the design. That makes it a useful base for anyone who wants a themed pair with lace used as a small detail rather than an all-over style.
Keep the Fox Ears Crisp
The pointed ears are one of the strongest identifying features, and an oversized ruffle can visually round them off. Keep added crochet inside the ear area or along a controlled section of the outer edge. After placing the lace, step back and check whether the fox shape is still immediately obvious. If not, reduce the width or move the embellishment inward.
Inner-Ear Lace Can Replace a Heavy Overlay
A small lace insert or surface motif can introduce texture without covering the entire earmuff face. This is particularly useful when the main fox design already includes multiple color or shape changes. Concentrating the openwork in one small area gives the lace a purpose and preserves the rest of the character details.
Preserve Contrast Around the Face
Before choosing the lace color, consider how it interacts with the facial features and outer ear. Very similar tones may produce a subtle embossed effect, while stronger contrast makes the openwork more noticeable. Neither is automatically better. The useful checkpoint is whether the added detail helps the fox remain readable instead of breaking the face into too many competing areas.
Original Tutorial and Creator Credit
Creator: reré & crochet
Crochet Star Outline Lace Earmuffs
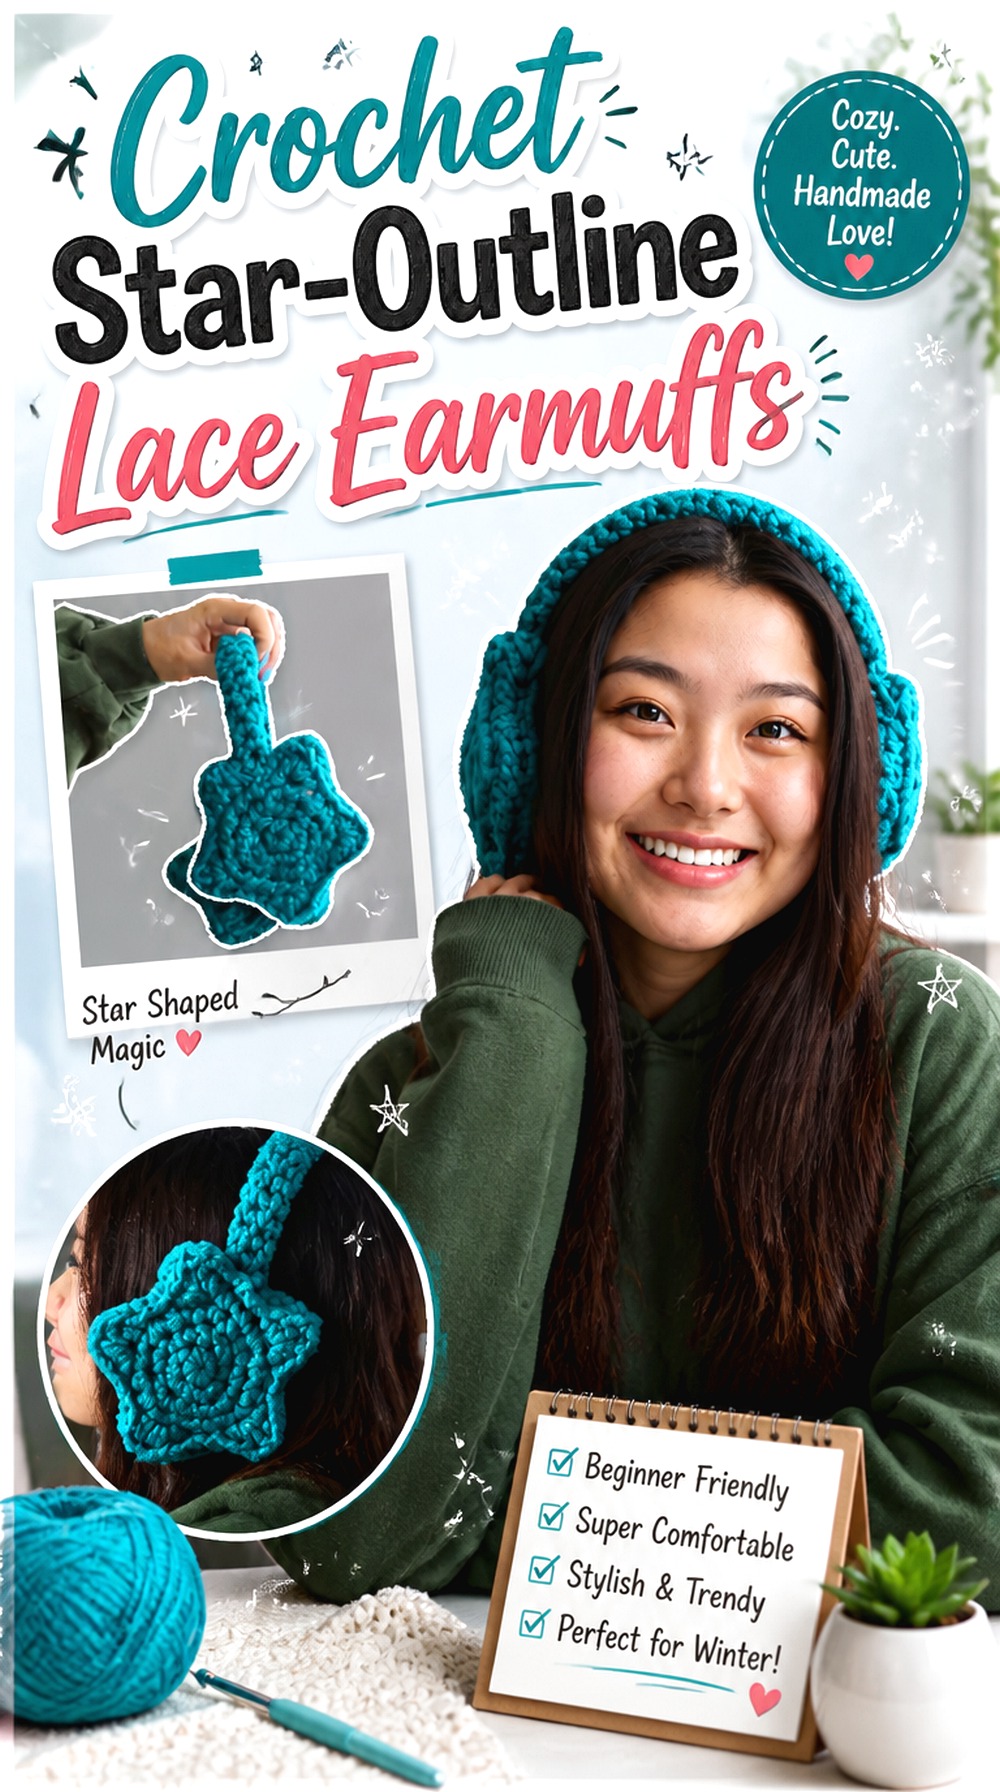
Star earmuffs offer a sharper geometry than the circles, hearts, and flowers in this collection. Lace can make that geometry feel softer, but it needs to follow the points closely enough that the star does not turn into an indistinct ruffled shape. A narrow outline or openwork accent between points is therefore more suitable than a deep continuous frill.
The cited tutorial demonstrates a star-earmuff construction and assembly. Use that as the structural guide, then treat the lace as an optional finishing layer. This is a strong choice for a playful accessory where the silhouette itself is more important than elaborate surface decoration.
Let the Lace Follow the Star Points
Instead of forcing a perfectly even circular ruffle around the star, allow the decoration to respect its direction changes. The visual goal is to reinforce each point rather than hide it. Place a sample around one section and check how the border behaves at both the tip and the inward angle. If the lace bridges across those areas, the star may lose definition.
Avoid Rounding the Shape With Too Much Trim
The deeper the border becomes, the more likely it is to visually fill the spaces between points. A modest edge can keep the accessory clearly star-shaped while still introducing delicacy. This is one design where “more lace” does not necessarily create a stronger lace effect; maintaining negative space around the silhouette can be more effective.
Compare Both Stars Before Assembly
Lay the two star pieces in the same orientation and compare the points before attaching them to their ear bases or headband. Once lace is added, small differences in point length or rotation can become more obvious. Matching the basic orientation first gives the decorative edging a consistent path and keeps the pair looking intentional.
Original Tutorial and Creator Credit
Creator: Alli Nicole
Crochet Cat Ear Lace Earmuffs

Cat-ear earmuffs combine the simplicity of an ear-warmer shape with a recognizable pointed accent. Lace can be used to make those points softer and more decorative without covering the rest of the ear cup. One approach is to keep the exterior solid and use a small contrasting openwork section inside each cat ear.
The source tutorial is specifically for crochet cat earmuffs, so the character construction is already established. Your adaptation can focus on visual refinement rather than trying to redesign the whole accessory. Compared with the fox idea, this version can be more minimal because the cat silhouette does not require as many facial details.
Cat Ears Need Clear Silhouette Contrast
The ear points should still be easy to distinguish from the rounder portion below them. If lace spreads too far beyond the edges, the points can look wider and less distinct. Keep any external border narrow near the tips, or move the openwork into the inner-ear area. Check the shape against a plain background before final attachment to see whether the silhouette remains clear.
Lace Can Soften the Inner-Ear Area
A small openwork insert gives the design a lace identity without changing the main cup. This also creates a natural place for a secondary color if desired. Keep the insert proportionate to the ear so there is still enough solid outline around it to define the point. The result can feel detailed without becoming visually crowded.
Check Ear Angle Before Final Attachment
Two cat ears tilted in noticeably different directions can make the pair look mismatched even when the crochet pieces are otherwise similar. Arrange the earmuffs side by side and compare the angle of each point before finishing the lace or assembly. It is easier to adjust placement while the decorative sections are still separate than after every layer is permanently joined.
Original Tutorial and Creator Credit
Creator: Shana & the Hook
Crochet Winter Muffler with Lace Edging
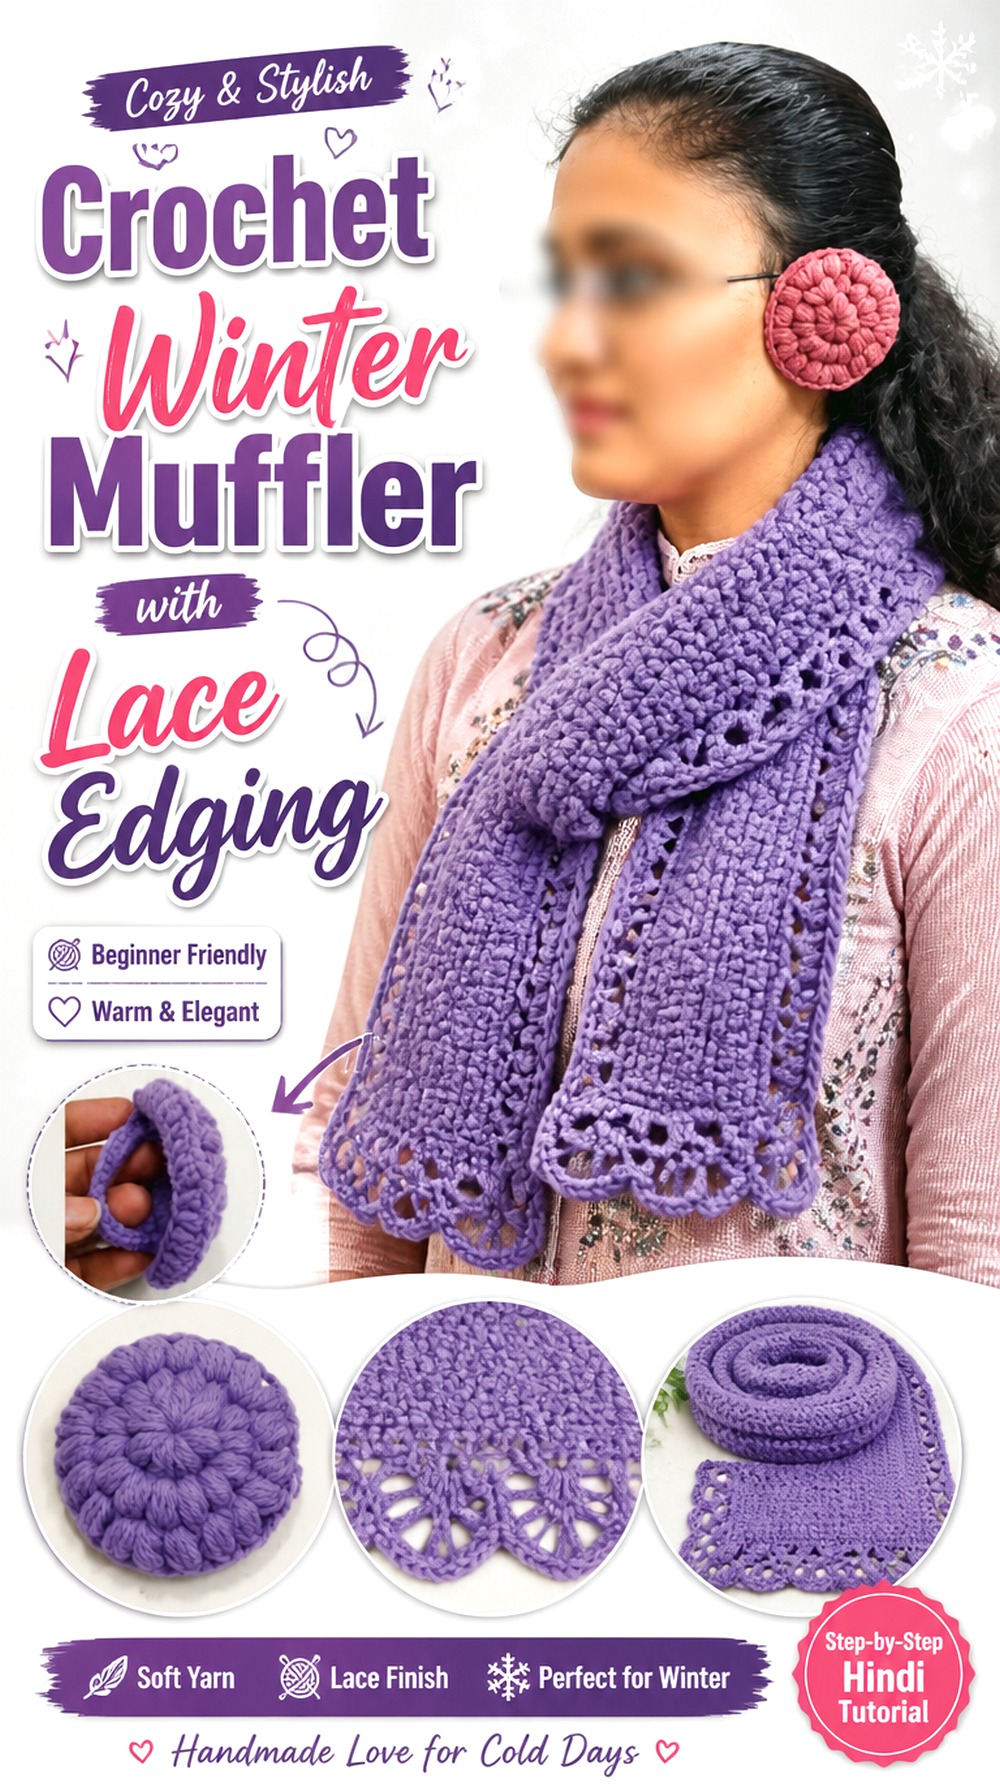
A fuller ear-muffler construction offers a different direction from compact decorative cups. Because more fabric participates in the overall shape, lace becomes an edging decision rather than the main body of the accessory. A narrow decorative finish along a visible boundary can make the piece feel softer while leaving the central coverage substantially unchanged.
The cited Hindi tutorial focuses on a winter crochet ear muffler. For this variation, use the tutorial for the actual construction and think of the lace as optional styling afterward. This makes the design useful for readers who prefer broader winter coverage but still want some of the decorative character associated with lace crochet.
Longer Coverage Makes Edge Placement More Important
A lace border that travels along a larger section of the accessory creates more visual repetition than one surrounding a small circular cup. Sample the edging against a portion of the finished shape first. A detail that looks delicate over a few inches may become much more dominant when repeated along the full visible edge, so scale and spacing deserve extra attention.
Keep Trim Away From High-Friction Areas
Consider where the accessory contacts a coat collar, scarf, hair, or fastening point. Long loose loops in those locations may snag more readily than a compact edge. Concentrating decorative openwork on a stable visible boundary can preserve the lace look without placing it everywhere. The exact placement should follow the finished form shown in the tutorial rather than a universal assumption.
Let the Muffler Shape Stay Dominant
Because this construction differs from conventional round earmuffs, its broader silhouette is part of what makes it interesting. Avoid covering that distinction under excessive embellishment. A repeated narrow border can make the outline more visible, whereas several large flowers or bows may distract from it. Choose one decorative language and let the underlying muffler construction remain easy to recognize.
Original Tutorial and Creator Credit
Creator: Radhe krishna crochet
Crochet Apple Blossom Lace Earmuffs
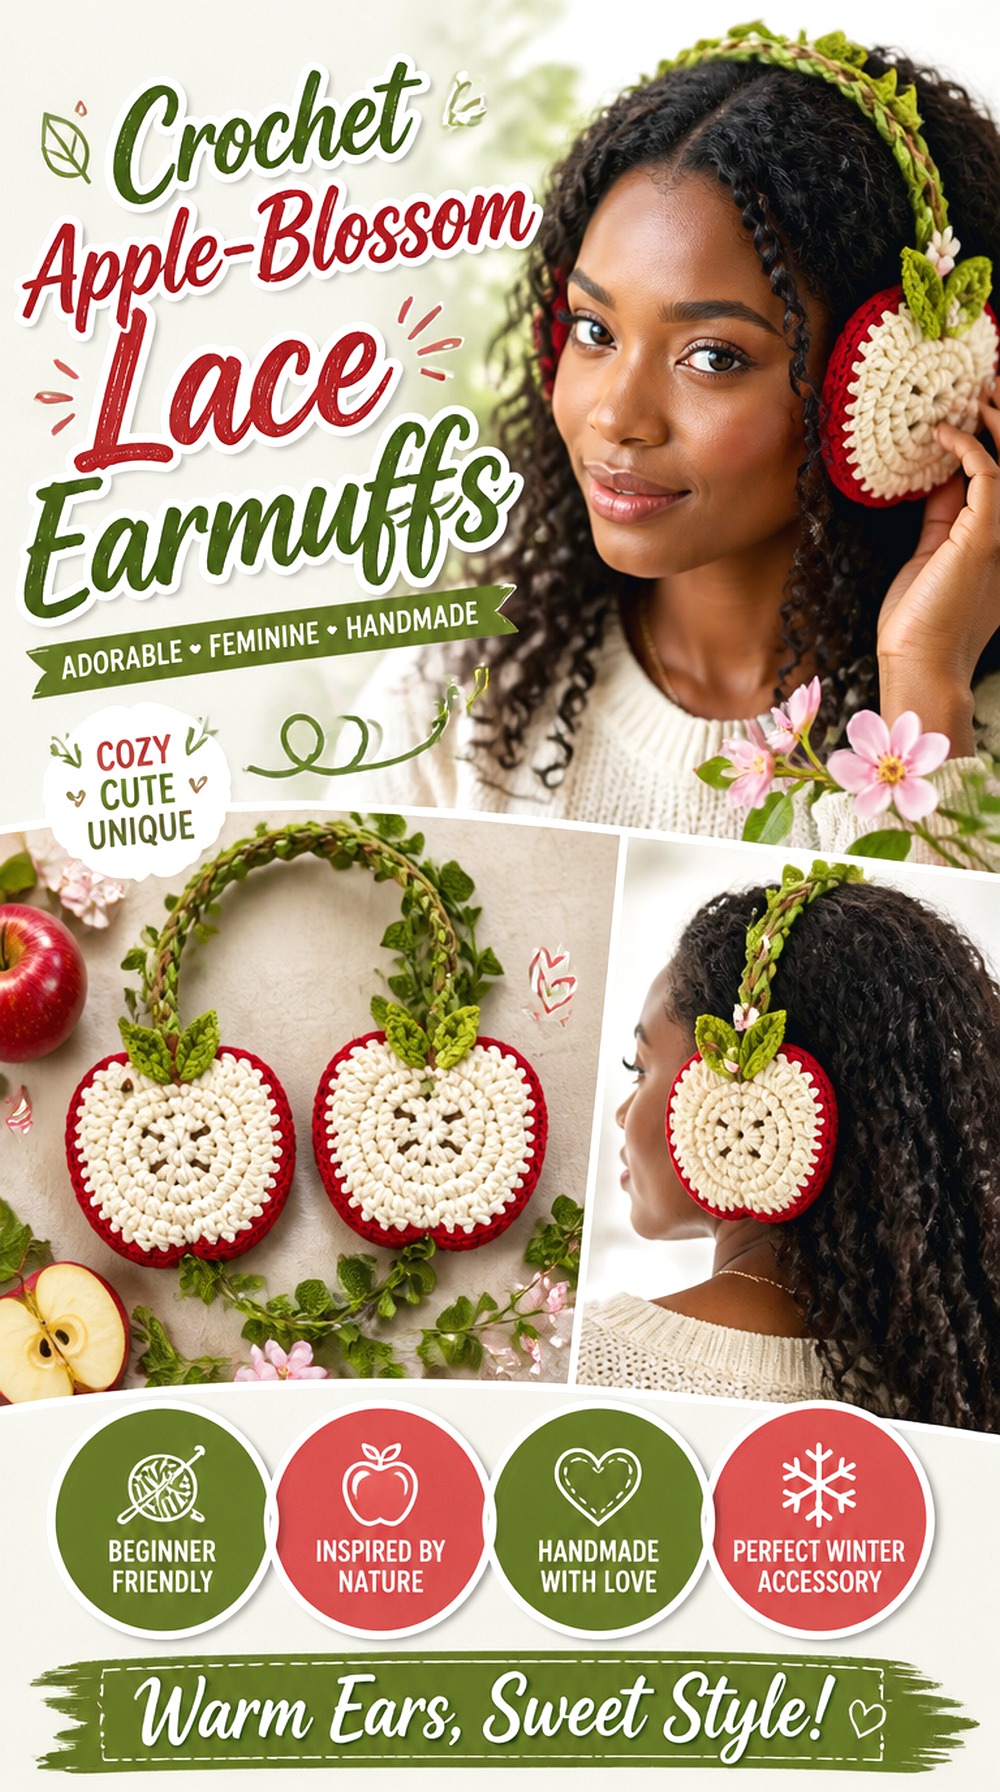
Apple earmuffs give the final idea a graphic fruit theme that is very different from traditional romantic lace. The cited tutorial describes reversible apple earmuffs, providing a themed construction that can be adapted with a tiny blossom-like lace element, delicate leaf-adjacent detail, or subtle openwork edging.
The best approach is to keep the apple outline recognizable. Think of the lace as botanical decoration rather than an all-over cover. That might mean a small flower-inspired accent near the upper section or a restrained border that echoes petals without concealing the fruit shape. This project is a good example of how “lace earmuffs” can include selective openwork rather than requiring a fully lacy ear cup.
Use Blossom-Like Lace to Support the Apple Theme
A small floral detail naturally connects with the fruit motif, so the embellishment can feel related rather than added arbitrarily. Keep it secondary to the apple. If the flower or lace element becomes nearly as large as the fruit face, the theme can become harder to read. Place the proposed decoration temporarily and view it from a distance before securing it.
Keep Reversible Faces Functional
Because the source presents the earmuffs as reversible, consider whether an added lace feature would interfere with that characteristic. A raised embellishment fixed only to one side could change how the opposite face sits or feels. If retaining reversibility matters to you, plan decoration that works with both orientations, or decide intentionally that your adapted version will prioritize one decorated face instead.
Position Leaves or Petals Without Hiding the Outline
Fruit shapes depend on a few clear visual cues. Decorative leaves, flowers, and lace should enhance those cues rather than obscure the top or sides of the apple. Compare both earmuffs before final attachment and check that the embellishments sit in comparable positions. A small asymmetrical botanical accent can be charming, but accidental mismatching may look less deliberate.
Which Crochet Lace Earmuff Style Should You Choose?
For the clearest lace effect, the round shell-edge and medallion styles provide uncomplicated surfaces where openwork can remain visible. Heart, bow, daisy, and ribbon versions lean more romantic, but they already contain strong decorative elements, so smaller lace details usually create better balance.
Star, frog, fox, cat, and apple earmuffs are more shape-driven. On those projects, lace works best as framing, an inner detail, or a small thematic accent that does not hide the character silhouette. Chunky and faux-fur earmuffs need stronger-scale decoration because tiny stitches can disappear against thick texture. If coverage matters more than ornament, the cheek-cover and winter muffler constructions provide larger bases where a narrow outer border can add delicacy without replacing the denser fabric.
Conclusion
These 18 crochet lace earmuff ideas range from simple round bases with scalloped edges to heart, flower, bow, star, animal, fruit, faux-fur, ribbon, tie, and fuller muffler constructions. Choose by the underlying shape first, then decide how much lace that structure can carry without losing its fit or character.
For a pronounced lace look, start with a plain round cup or flat medallion surface. For character earmuffs, use openwork more selectively around ears, edges, petals, or other secondary details. Plush and chunky versions benefit from larger, clearer accents rather than very fine lace. Once you have chosen a direction, follow the original tutorial for its exact construction details and treat the lace ideas here as optional adaptations.
Frequently Asked Questions
Can lace crochet alone provide enough coverage for winter earmuffs?
Very open lace allows more air through than a dense crochet fabric, so it may not provide the same type of coverage as a solid or plush ear cup. For a winter-oriented project, a practical approach is to retain a denser base and use lace on the outside as a border, overlay, or motif. How warm a finished pair feels also depends on fiber, fabric density, fit, weather, and the underlying construction.
Where can I add lace without changing the fit of the earmuffs too much?
Start with areas that do not determine how the earmuff grips or centers over the ear. The outward-facing cup edge is often easier to adapt than the ear-facing surface, band connection, or tie attachment. Fit the completed base first, then temporarily position the lace while the earmuff is worn. If the trim pulls the cup outward, folds underneath it, or interferes with the band, reduce or reposition the decoration.
Can I combine a delicate lace motif with chunky or faux-fur earmuffs?
Yes, but visibility is the main challenge. Fine openwork can disappear against thick chenille, faux fur, or heavily textured yarn. Hold a sample against the finished base before making two complete motifs. A larger-scale design, smoother contrasting yarn, or simple bold scallop may read more clearly. Also compare fiber-care instructions before permanently combining different materials, since the finished accessory will need to accommodate all of them.
How can I keep both lace earmuffs looking symmetrical?
Finish and compare the two underlying ear pieces before adding decoration. Place them in the same orientation and check key landmarks such as heart points, star tips, flower centers, animal ears, or the position where the headband connects. Then temporarily place the lace on both sides before permanent attachment. Handmade pieces do not need to be mathematically identical, but matching the major visual landmarks prevents obvious left-right imbalance.
Should lace be added before or after the earmuff base is assembled?
For an adaptation, adding decorative lace after the main shape and fit are established is usually easier to evaluate. You can see how much space is actually available and whether the border interferes with the headband, strings, or character details. Some constructions may make earlier attachment more convenient, however, so use the cited creator’s tutorial for the base assembly and plan any independent embellishment around that construction rather than assuming one sequence fits every design.
How should I care for earmuffs that combine lace, fuzzy yarn, ribbon, or an existing headband?
Check the care information for every material used, including the main yarn, lace yarn, ribbon, internal filling, adhesive if present, and any reused commercial earmuff components. Do not assume the whole accessory is machine washable because one yarn is. When materials have different requirements, the more delicate component should guide your care decision. Reshape decorative lace gently after cleaning if necessary and make sure the accessory is fully dry before storage.