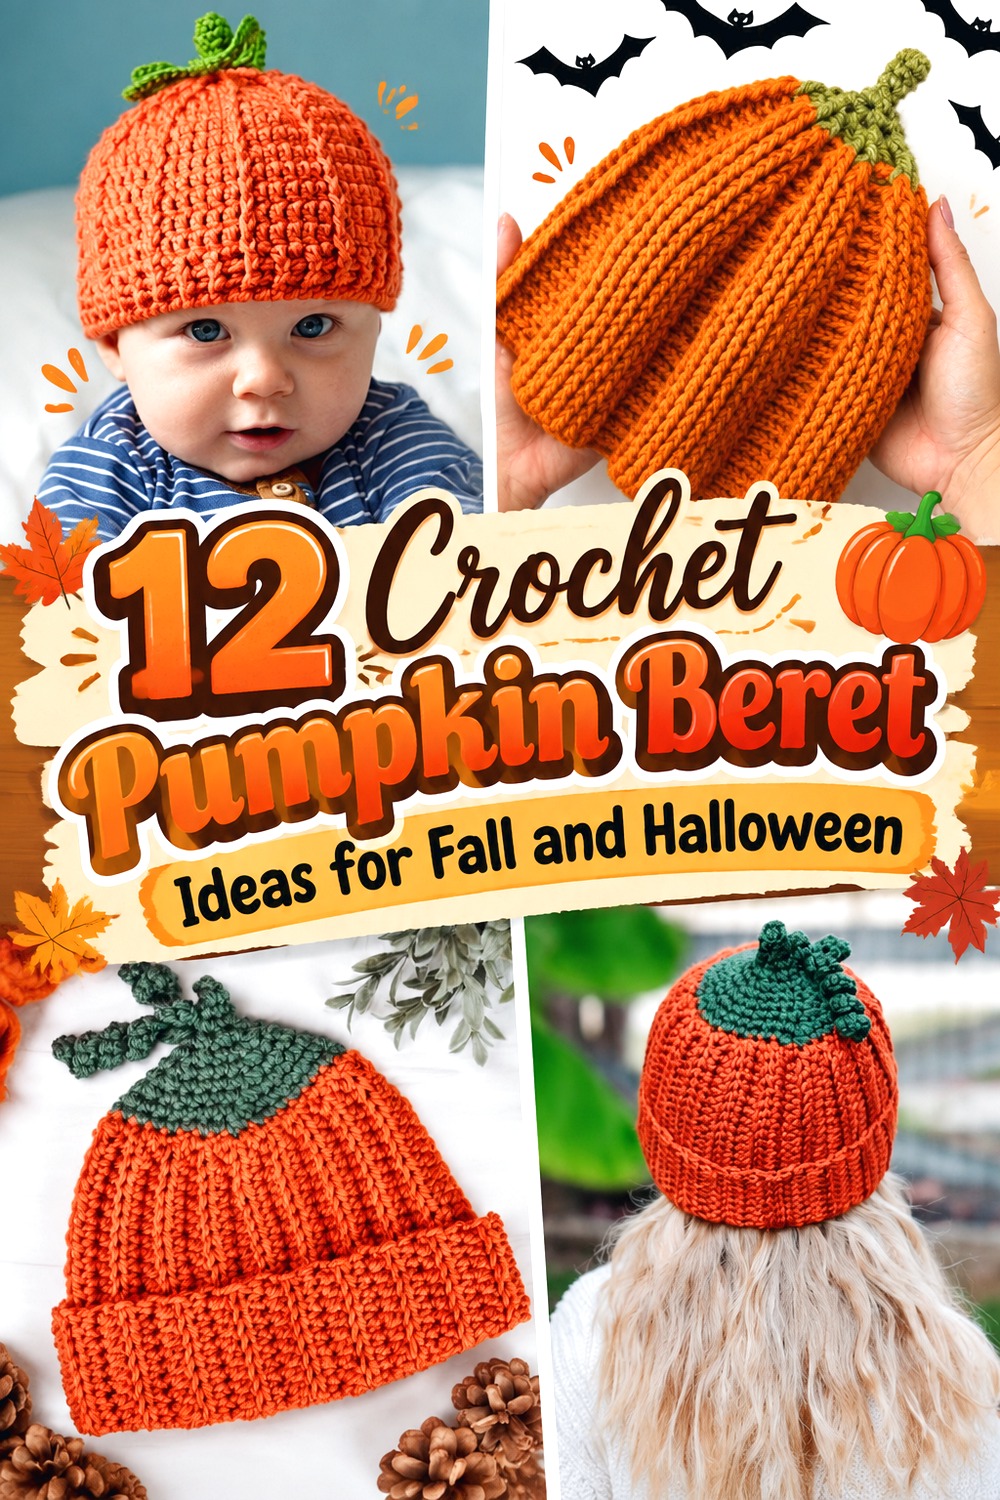

A crochet pumpkin beret can look like understated fall headwear, an unmistakable pumpkin, or a full Halloween costume accessory. The important differences are in the crown spread, vertical texture, amount of slouch, wearing band, stem, leaves, and optional face or brim—not simply the shade of orange.
This collection includes five tutorials that directly teach a pumpkin or pumpkin-themed beret. The remaining sources teach closely related pumpkin hats whose ribbing, toppers, crown texture, or brim concepts can support an original beret adaptation. Those adaptation sources should not be treated as interchangeable beret patterns; preserve a proven beret fit and use the pumpkin-hat videos for the particular design feature they demonstrate.
Quick List
- Crochet Stemmed Harvest Pumpkin Beret
- Crochet Quiet-Ridge Pumpkin Beret
- Crochet Jack-o’-Lantern Slouch Pumpkin Beret
- Crochet Sculpted Segment Pumpkin Beret
- Crochet Pumpkin Pie Dessert Beret
- Crochet Leaf-and-Vine Pumpkin Beret Adaptation
- Crochet Chunky Rounded Pumpkin Beret Adaptation
- Crochet Ribbed Fold-Band Pumpkin Beret Adaptation
- Crochet Pumpkin Newsboy Beret Hybrid
- Crochet High-Contrast Halloween Pumpkin Beret Adaptation
- Crochet Multi-Size Post-Stitch Pumpkin Beret Adaptation
- Crochet Compact-Crown Pumpkin Beret Adaptation
Choose the Beret Silhouette Before the Pumpkin Details
A beret and a fitted pumpkin beanie solve different shaping problems. A recognizable beret normally has extra width through the upper crown before narrowing to an opening that stays on the head. A beanie follows the head much more closely. That distinction matters when you use one of the adaptation tutorials later in this collection.
Start by deciding whether you want a low fashion-beret profile, obvious round pumpkin volume, or relaxed slouch. Establish the fit and crown spread before experimenting with stems, vines, faces, or extra texture. Simply adding more stitches to a pumpkin beanie does not guarantee useful beret fullness; uncontrolled expansion can create ripples instead. When adapting, use the source video for its pumpkin-specific visual idea and keep your chosen beret construction responsible for the actual silhouette.
Let Texture and Top Details Control the Pumpkin Effect
Vertical ridges can make a beret read as a pumpkin even in rust, cream, mustard, brown, or muted green. Smooth yarn usually leaves structural lines easier to see, while a heavily fuzzy surface can soften them. At the other extreme, a very stiff fabric may keep pronounced ridges but lose the relaxed movement many people expect from a beret.
Top decorations change the mood just as much. A compact stem keeps attention on the crown; vines and leaves give a stronger harvest look; a face moves the project toward Halloween; and a bill creates an entirely different newsboy silhouette. Add major embellishments after checking the finished hat on the wearer whenever possible. A topper that looks proportionate on a flat beret can feel much larger after the crown is tilted.
Check Fit in the Position the Beret Will Actually Be Worn
A centered pumpkin beret emphasizes symmetry. A traditional side tilt shifts the crown, stem, ridges, and any facial decorations away from their flat-table positions. Try the finished crown in its intended wearing position before permanently placing directional details.
The head opening deserves its own check. Crown width creates style, but the lower edge keeps the hat in place. If you substitute yarn, hook size, or construction, do not assume the original tutorial’s dimensions will transfer unchanged. Measure the intended wearer and use gauge or sizing information supplied for the exact source project where available. For adaptation projects, the pumpkin-hat sizing belongs to that original hat; establish the fit of the separate beret framework independently.
Crochet Stemmed Harvest Pumpkin Beret
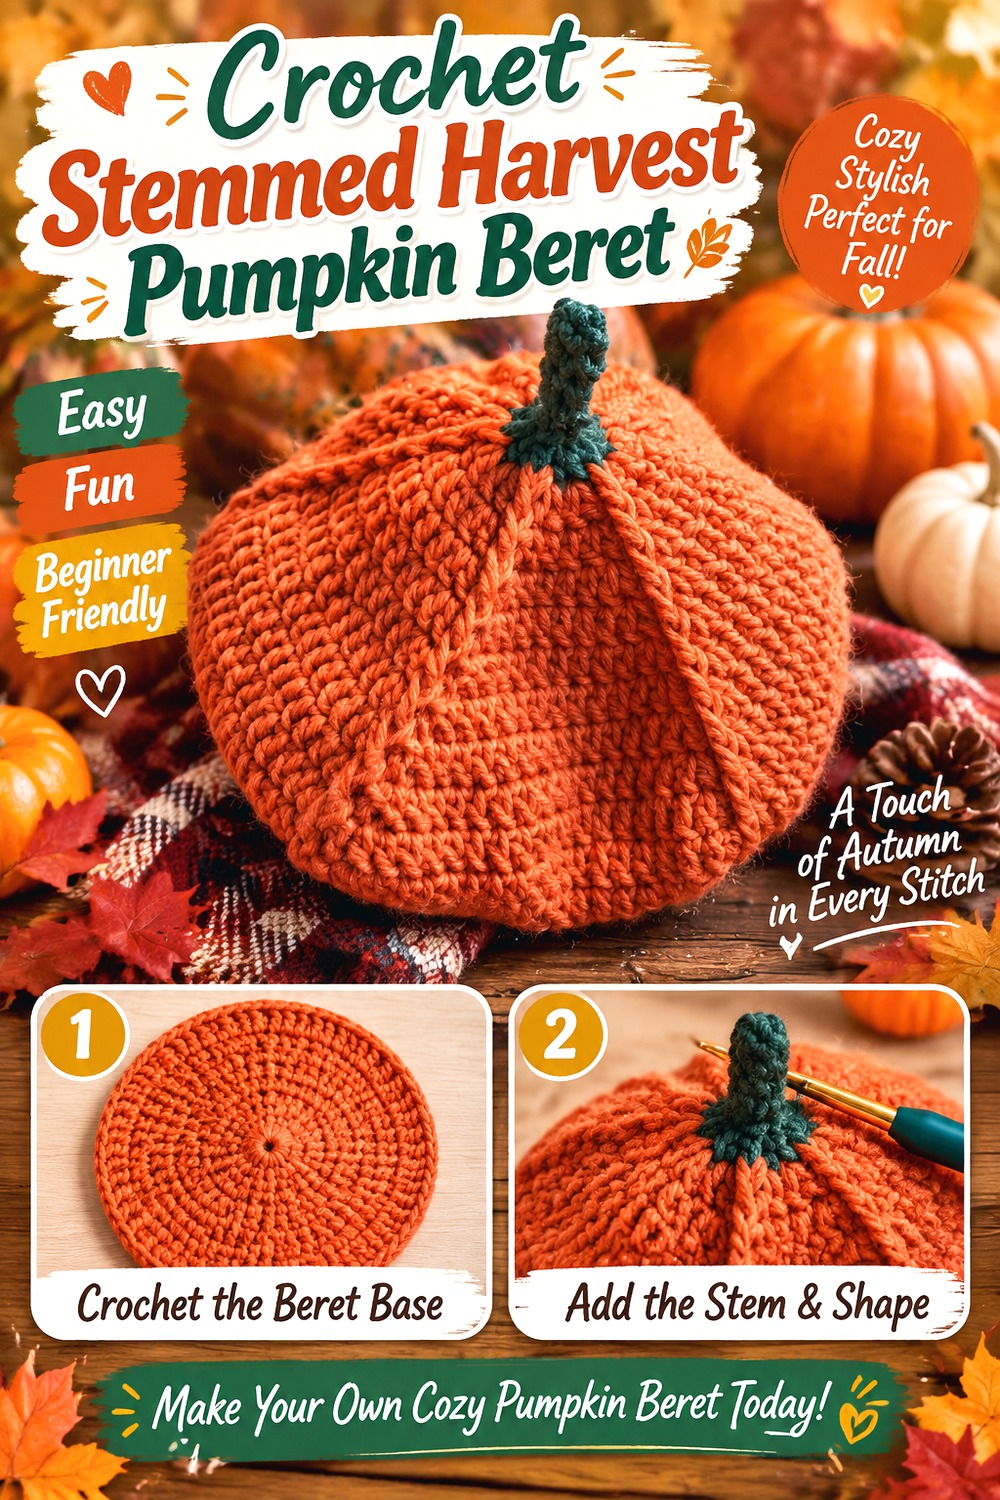
This is the most straightforward option for someone who wants the finished accessory to look unmistakably like both a pumpkin and a beret. The rounded orange crown spreads beyond the head before narrowing toward the wearing edge, while a contrasting green top detail supplies the immediate harvest reference.
Because the design already communicates “pumpkin” through its complete silhouette, it does not need a face or elaborate appliqués. That makes it useful for pumpkin-patch outfits, October photos, or fall clothing where a jack-o’-lantern would feel too costume-specific. Jess And Her Crafts’ source is explicitly a pumpkin beret tutorial rather than a general beanie being adapted after the fact.
Keep Crown Fullness Separate From Band Fit
The broad pumpkin portion and the opening around the head perform different jobs. When changing yarn or tension, check both rather than judging success from the crown alone. A beautiful wide circle will not wear well if the opening slips, while an overly tight transition can suppress the soft pumpkin volume.
If you want more dramatic fullness, establish a satisfactory original fit first. That gives you a dependable reference before making stylistic changes instead of altering crown width and band behavior at the same time.
A Small Stem Keeps the Shape Wearable
The top accent only needs enough contrast to make the pumpkin idea clear. Enlarging it substantially can move attention away from the rounded crown and may add weight at the point where a soft beret naturally shifts.
Finish the main hat first and examine it both centered and tilted. If the pumpkin form already reads clearly, a restrained topper may give a cleaner result than several large leaves or vines. This is especially useful when you want seasonal clothing rather than costume headwear.
Color Can Change the Seasonal Range
Bright orange and green create the most literal pumpkin impression, but the same construction can feel quieter in burnt orange, terracotta, cream, ochre, or earthy green. When using a more subdued body color, keep enough contrast around the stem or structural lines for the pumpkin reference to remain intentional.
Avoid choosing a substitute solely from the skein color. Make sure the fabric still has enough definition and drape for the rounded crown shown in the source.
Original Tutorial and Creator Credit
Creator: Jess And Her Crafts
Crochet Quiet Ridge Pumpkin Beret
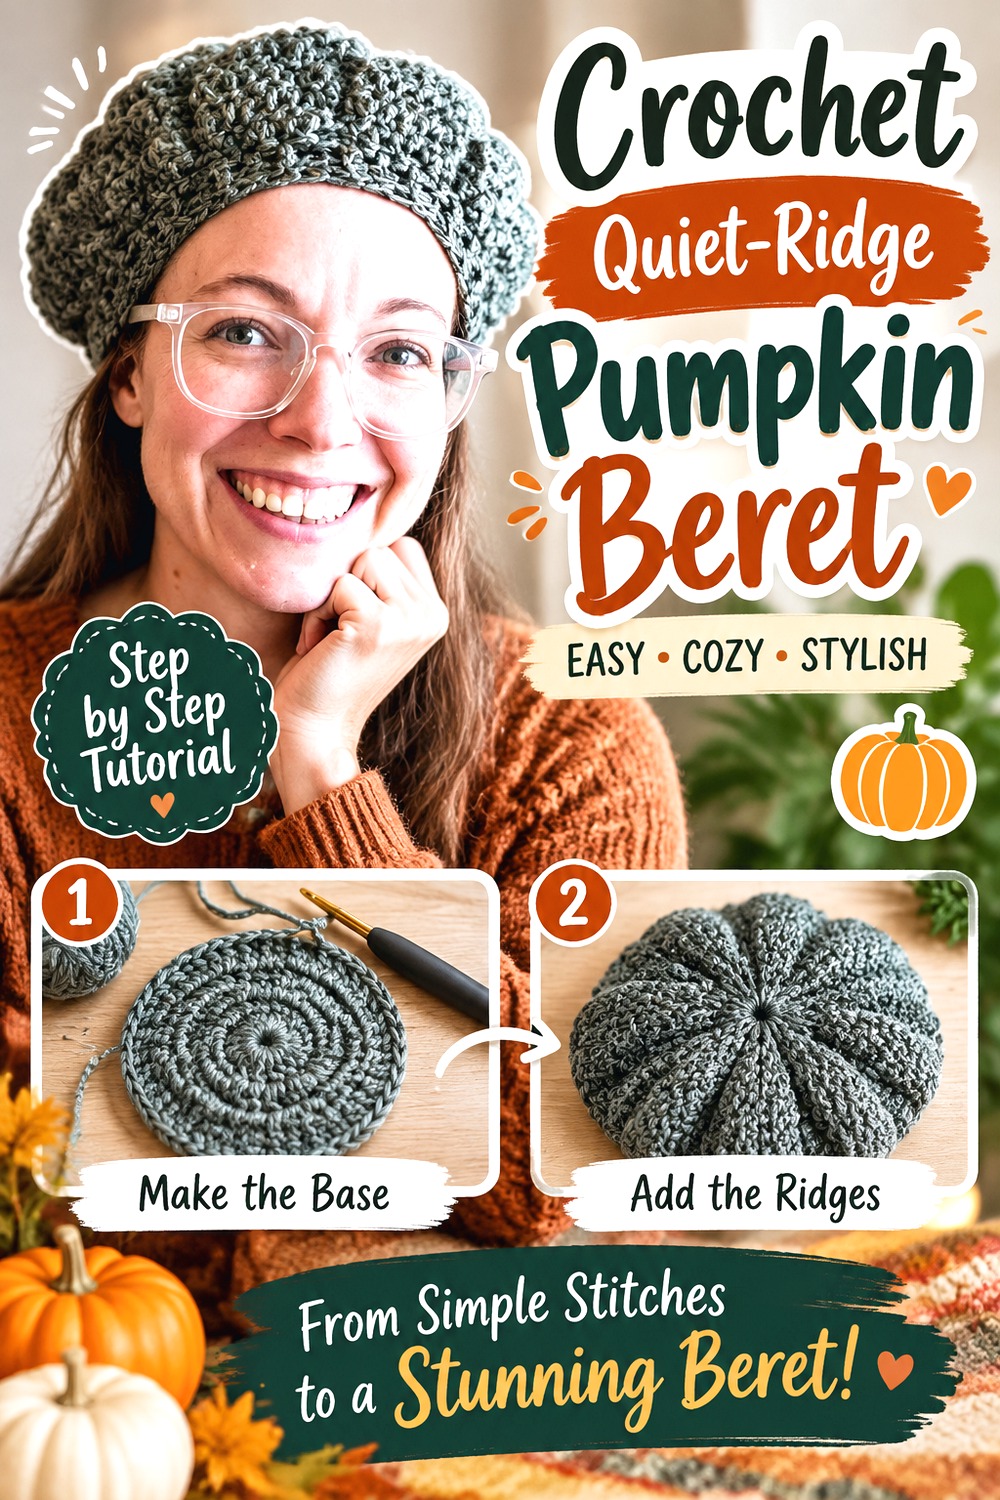
This version lets structural texture communicate the pumpkin theme without requiring vivid orange or large decorations. Raised lines divide the crown into understated gourd-like sections, giving the finished beret a more restrained character than the stem-heavy or jack-o’-lantern options.
That makes it a good direction for everyday autumn styling, particularly if you prefer rust, brown, moss, gray-green, or other muted shades. Slow Crochet specifically presents the project as a subtle pumpkin beret, and the creator notes an editing issue with the round numbering in the tutorial description. Reviewing that note before beginning is worthwhile rather than discovering it midway through the video.
Subtle Styling Makes Stitch Definition More Important
When there is no face or oversized topper to carry the concept, the ridges become the design. A yarn that visually blurs raised texture may leave the finished hat looking like an ordinary soft beret rather than a pumpkin-inspired one.
Before substituting a very fuzzy or highly variegated yarn, examine a small sample under normal room light. You want to be able to see the structural divisions without needing extreme contrast or close-up photography.
Let the Beret Tilt Soften the Symmetry
Pumpkin segments naturally create a centered, radial appearance. Wearing the crown slightly to one side keeps that geometry from feeling too rigid and can make the design read more like fashion headwear.
Check how the raised lines settle when tilted. If one section folds sharply while the others remain flat, redistribute the crown rather than assuming more decoration is needed. The subdued design works best when the silhouette itself remains controlled.
Read the Creator’s Tutorial Note First
The video description specifically calls out a numbering mix-up during editing. That is a useful reminder to review the creator’s notes before crocheting directly alongside the screen.
Watching the finished result and reading the correction first can reduce unnecessary confusion. Do not reconstruct or guess the intended round sequence from another source; use the creator’s own correction and tutorial for the exact construction.
Original Tutorial and Creator Credit
Creator: Slow Crochet
Crochet Jack o’ Lantern Slouch Pumpkin Beret
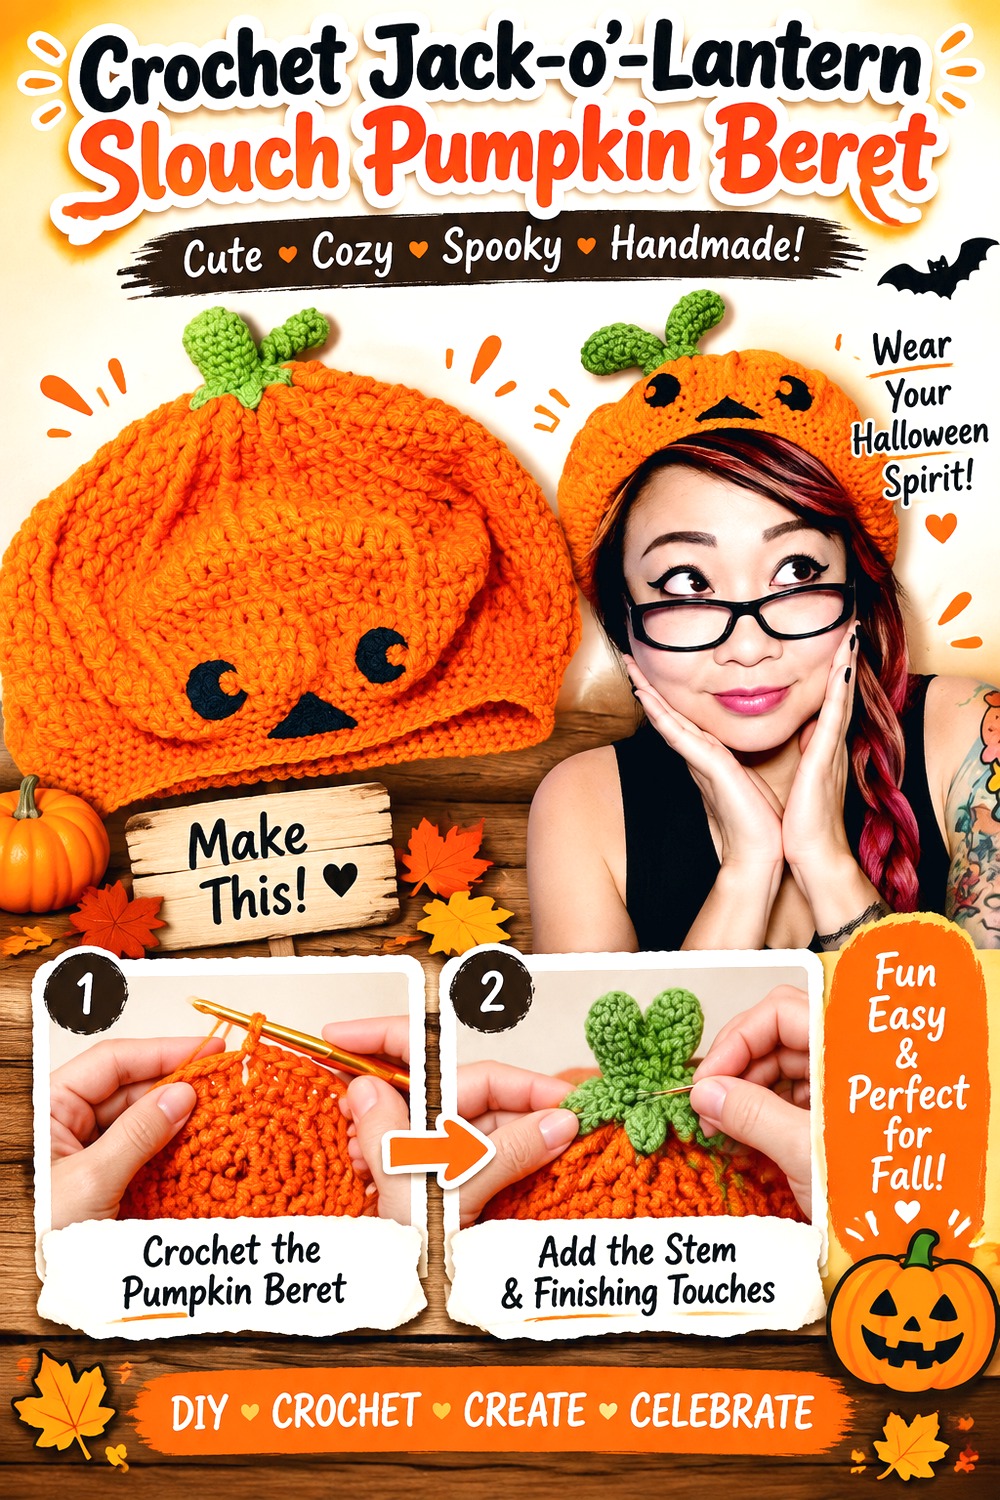
TwinkieChanTV’s pumpkin beret takes the theme firmly into Halloween territory. The crown is deliberately slouchier than a neat fashion beret, and the project can become a jack-o’-lantern through added facial details. That combination gives the hat a softer, oversized pumpkin form instead of a tight geometric shape.
Choose this idea when you want the accessory to function as part of a costume or playful October outfit rather than disappear quietly into general fall clothing. Leaving the face off keeps it closer to a pumpkin hat; adding one establishes a definite front and changes how the beret needs to be positioned every time it is worn.
Place the Face Only After Finding the Natural Front
A face that appears centered while the hat lies flat can rotate noticeably once the slouch is pushed backward or to one side. Wear the completed crown in its normal position first, then identify the area that genuinely faces forward.
This matters even more with expressive jack-o’-lantern features because slight misalignment becomes obvious. Treat any face as a separate finishing decision rather than attaching it according to the center of the flat crochet circle.
Extra Slouch Needs Deliberate Distribution
The generous crown is what distinguishes this project from a close pumpkin beanie, but extra fabric needs somewhere to go. Decide whether you prefer the volume falling backward, toward one side, or distributed more evenly.
If a yarn substitution makes the crown collapse much more heavily than expected, examine drape before changing dimensions. A soft fiber and a stiffer fiber can make the same general amount of crown volume behave very differently on the head.
Permanent Halloween Details Reduce Styling Flexibility
A plain pumpkin crown can work through much of fall. A jack-o’-lantern expression immediately makes the piece more event-specific. Decide which use matters before committing to permanent embellishments.
If you design your own additions, secure them according to the way the hat will be worn and handled. For young children, avoid loose decorative pieces that could detach. The original source should remain your reference for the actual beret construction.
Original Tutorial and Creator Credit
Creator: TwinkieChanTV
Crochet Sculpted Segment Pumpkin Beret
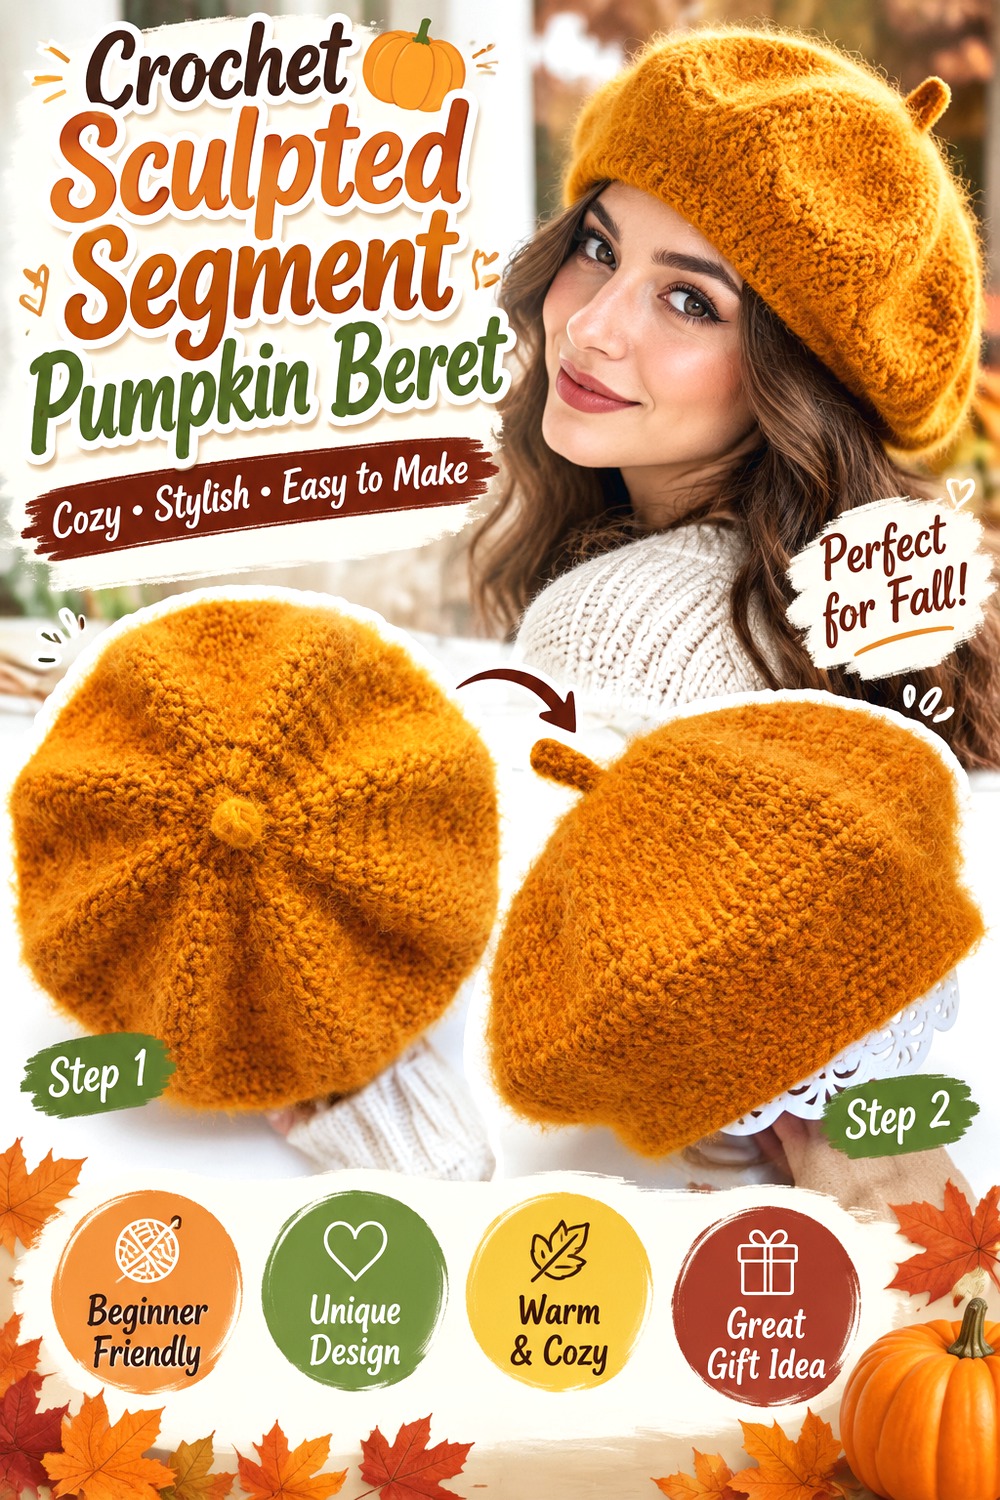
For a stronger fruit-like silhouette without adding a face, this project emphasizes the rounded crown itself. The anxin_crochet source is specifically a pumpkin beret tutorial, so the finished object already combines broad beret shaping with a recognizable pumpkin form rather than teaching a close-fitting cap.
This direction suits someone who wants the top view to be the main attraction. Organized crown divisions give the hat visual structure, while the relatively simple seasonal treatment leaves room to choose a bold orange, pale heirloom-pumpkin shade, or darker harvest palette. Compared with the subtle version, the goal here is less restraint and more clearly sculpted pumpkin volume.
Judge the Crown From Above and From the Side
A segmented pumpkin can look convincing from above yet feel too tall, flat, or floppy from the side. Check both perspectives before deciding that a crown needs more width or decoration.
The side view tells you whether the piece still reads as a beret when worn. The top view shows whether the divisions create a balanced pumpkin form. Solving only one perspective can produce a hat that photographs well flat but behaves differently on the head.
Strong Segments Need Clean Visual Separation
When the shape itself is the feature, the boundaries between pumpkin sections should remain visible. A smooth yarn surface can make structural lines easier to read, whereas a highly fuzzy yarn can soften the contrast between raised and recessed areas.
That does not mean the fabric should be rigid. Look for enough definition to preserve the sculpted effect while retaining the movement needed for the crown to settle naturally around the wearer.
Do Not Let Extra Leaves Hide the Main Feature
The segmented crown already supplies considerable visual information. Several large leaves or long vines can cover the very lines that make this option different from a smooth orange beret.
Complete the crown and try it on before adding anything beyond the essential pumpkin accent. If the structure is clearly readable from normal viewing distance, the simplest topper may produce the strongest finished balance.
Original Tutorial and Creator Credit
Creator: anxin_crochet
Crochet Pumpkin Pie Dessert Beret
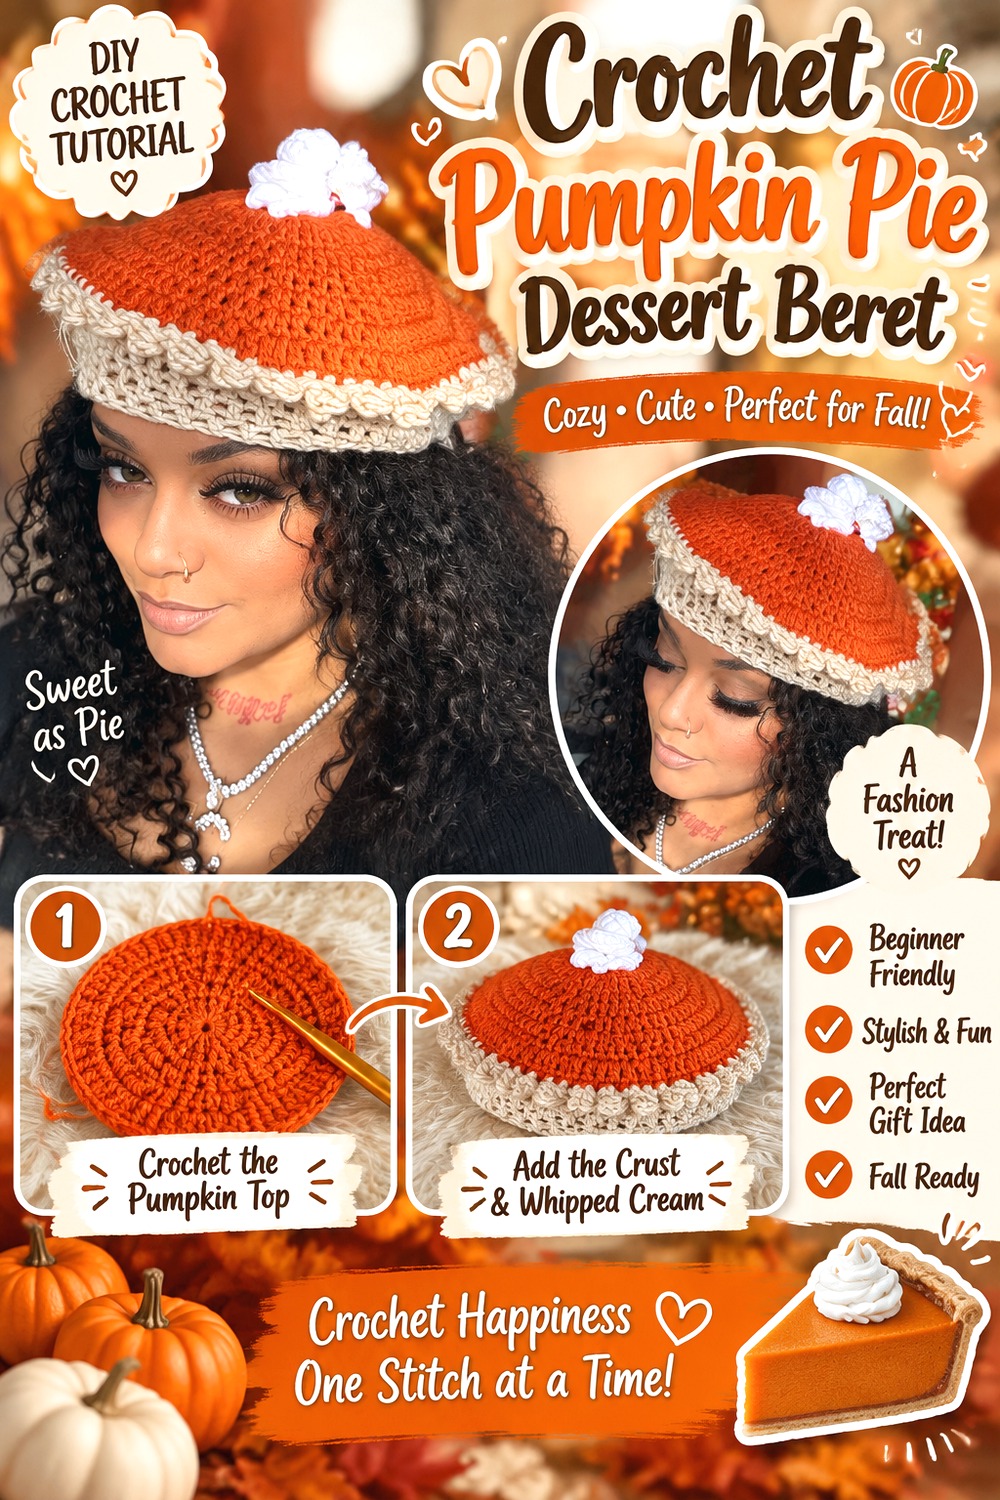
This project changes the visual language completely. Instead of making the wearer’s head resemble a whole pumpkin, MarieMadeIt__ turns the beret into a pumpkin-pie or sweet-potato-pie-inspired accessory. The flatter food reference gives the collection a Thanksgiving-friendly option that does not depend on a stem, vines, or jack-o’-lantern imagery.
Color boundaries become especially important here. Orange can read as filling, while warmer neutral shades around the edge can suggest crust. The concept is deliberately whimsical, but the underlying item is still presented as a crochet beret tutorial, making it a true alternative rather than merely a pie appliqué attached to unrelated headwear.
The Outer Edge Becomes Part of the Food Illusion
On a standard beret, the perimeter can be visually quiet. With a pie concept, the edge contributes strongly to what the viewer thinks the object represents.
Watch for unwanted waviness or a border that becomes disproportionately bulky. An exaggerated edge can change the crown profile as well as the dessert effect. Evaluate the perimeter while the beret is worn, not only when it is arranged as a flat “pie.”
Color Separation Matters More Than Pumpkin Ribbing
Unlike the segmented projects, this idea does not need strong vertical ridges to be recognizable. Instead, adjacent colors need enough contrast for the different “pie” areas to remain readable.
Place your intended yarn shades together before beginning. Two attractive colors can still merge visually if their values are too similar. A clear boundary often communicates the dessert idea more effectively than adding another decorative motif.
This Style Extends Beyond Halloween
The absence of a jack-o’-lantern face makes this project particularly suited to Thanksgiving, harvest events, food-themed outfits, or playful fall accessories. It is also the strongest option here for someone who likes seasonal novelty but does not want to look like a literal pumpkin.
Before gifting one, consider the recipient’s style. A dessert beret is intentionally specific and more whimsical than the subtle textured projects.
Original Tutorial and Creator Credit
Creator: MarieMadeIt__
Crochet Leaf and Vine Pumpkin Beret Adaptation
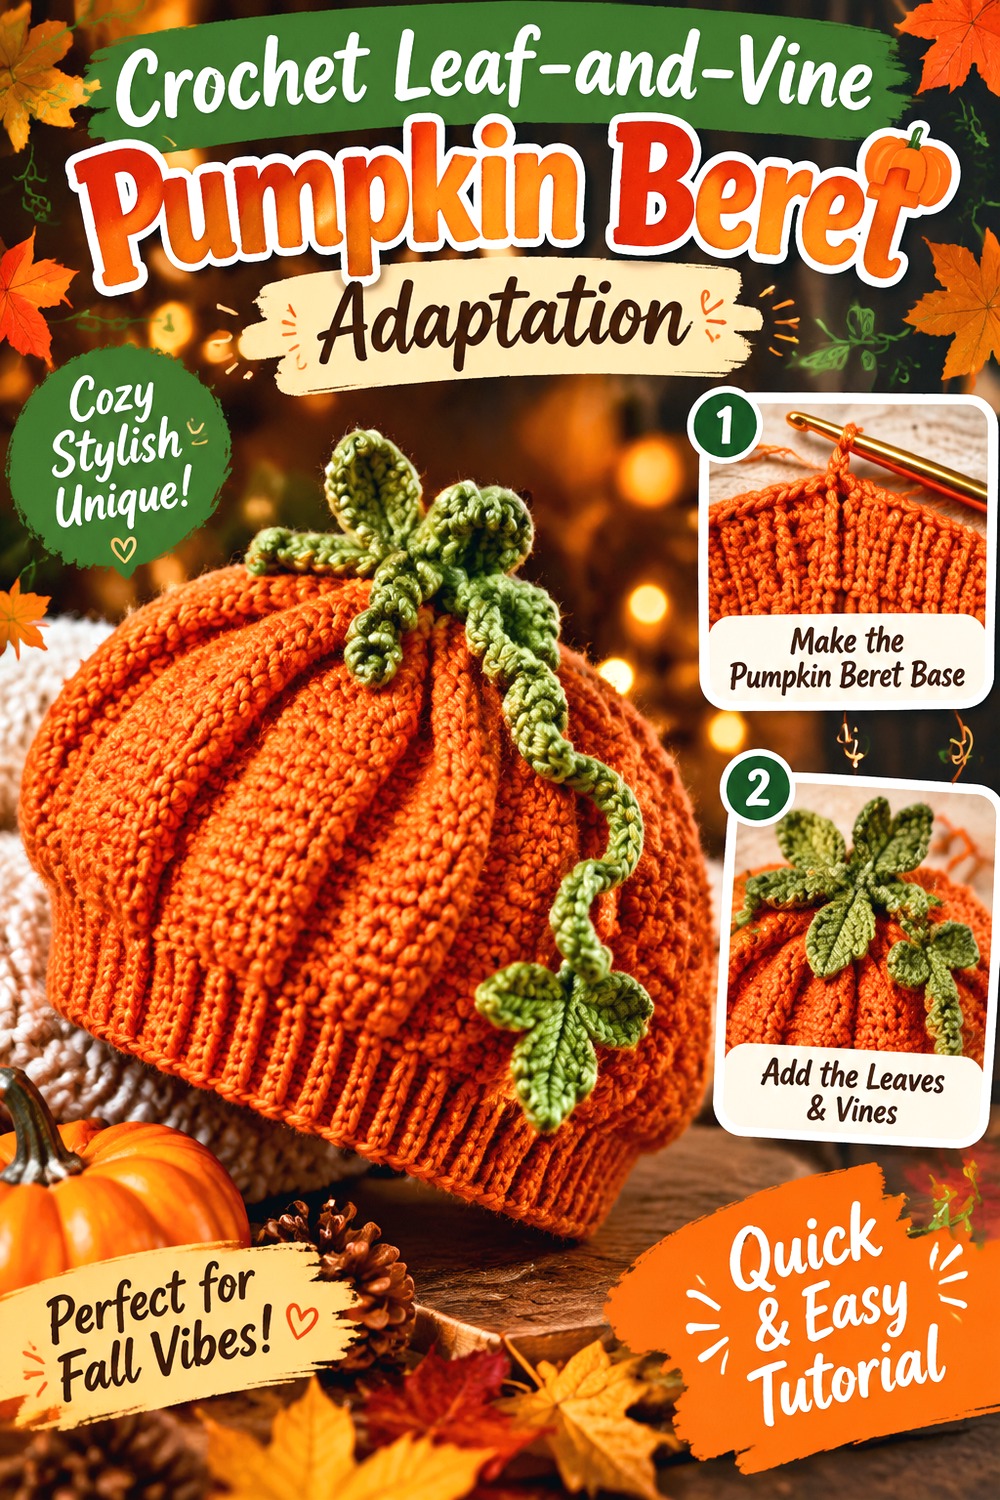
This adaptation is for readers who care as much about the topper as the pumpkin crown. Blue Star Crochet’s source teaches a pumpkin hat with prominent texture plus leaves and curling vines, rather than an actual beret. The most useful transferable idea is therefore the relationship between the orange body and the layered green decoration at the top.
On a wider beret, those details become even more visible because the crown offers a larger display area. Keep your proven beret shaping separate, then decide how much of the leaf-and-vine character you want to bring across. The goal is not to copy the beanie’s sizing into a wider hat.
Use the Top View as a Composition
A beret exposes more crown surface than many fitted hats, so leaves and vines can be arranged almost like a small composition. Place the strongest leaf near the stem, then check how any curling detail travels across the crown when worn.
Avoid covering every section. Leaving open space around the topper preserves the pumpkin ridges and keeps the decoration from looking like a separate cluster pasted onto the hat.
Pumpkin Texture Must Still Work at Greater Width
The source uses structural texture to strengthen the pumpkin effect. If you bring that visual concept to a broader beret, check whether the ridge spacing still feels organized across the larger surface.
Do not copy stitch counts from the original hat into a different construction. Instead, establish the beret framework first and make sure whatever texture you choose remains visually balanced after the crown reaches its intended spread.
Source Sizing Belongs to the Source Hat
Blue Star Crochet’s accompanying project is offered across multiple hat sizes, but those dimensions describe its own pumpkin-hat construction. They do not automatically become beret measurements.
For an adaptation, use the original source when making the source hat and use a separate, suitable beret measurement plan for the wider version. Mixing the two sizing systems can create an opening and crown that no longer work together.
Original Tutorial and Creator Credit
Creator: Blue Star Crochet | Veronika Cromwell
Crochet Chunky Rounded Pumpkin Beret Adaptation
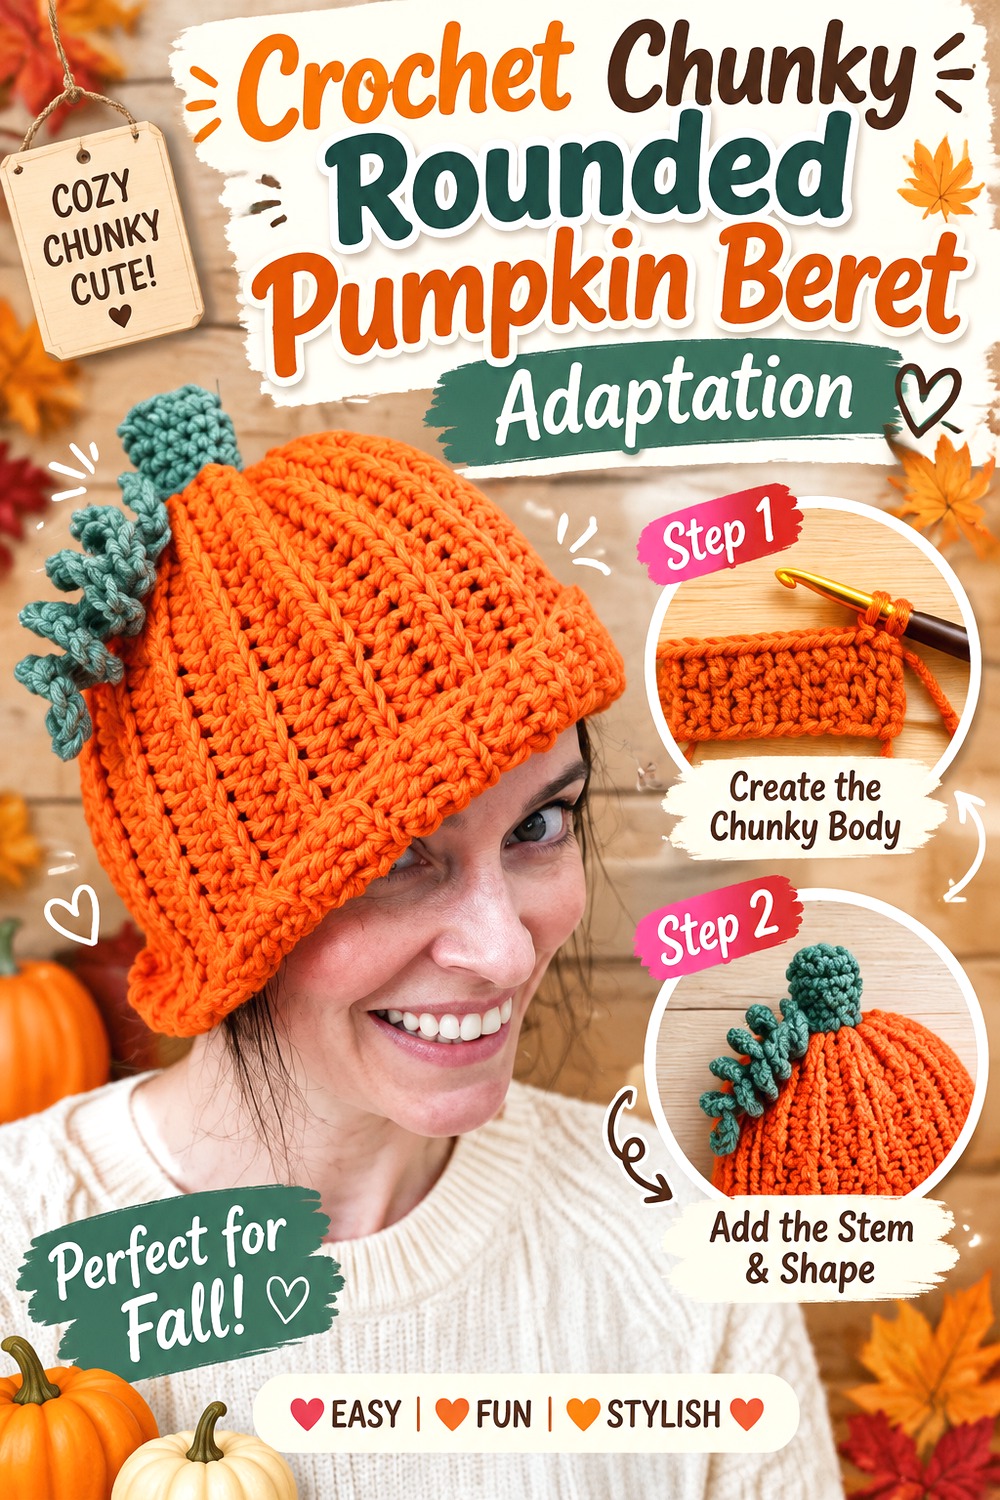
Jayda InStitches’ Perfect Pumpkin Hat is a pumpkin hat rather than a dedicated beret, but its strongly rounded harvest silhouette makes it useful for a fuller, more dimensional beret concept. The source is aimed at children and adults and emphasizes the recognizable pumpkin form.
For an adaptation, treat that full pumpkin impression as the visual target while retaining the spread-and-opening relationship of an actual beret. This direction is best when you want the hat to look substantial rather than flat or delicate. Keep the topper comparatively restrained so the broad orange crown remains the first thing the viewer notices.
More Volume Is Not the Same as Random Expansion
A plump pumpkin shape can tempt you to keep enlarging the crown, but extra stitches without controlled shaping can create waves instead of useful volume.
Start from beret proportions that already behave correctly. Then evaluate whether your fabric needs more visual fullness through drape, texture, or carefully planned crown dimensions. Changing several factors simultaneously makes it difficult to identify why the finished hat no longer sits correctly.
A Fuller Crown Can Carry a Simpler Topper
Once the pumpkin silhouette is obvious, the green detail does not need to compete with it. A small stem or modest leaf can be enough to finish the seasonal reference.
This is a useful contrast with the leaf-and-vine adaptation. Choose the chunky rounded direction when the body should dominate, and the previous project when elaborate crown decoration is part of the appeal.
Check Weight Before Committing to Maximum Slouch
A larger, more substantial fabric crown can behave differently from a lightweight fashion beret. Added yarn weight may encourage the hat to fall farther to one side or backward.
Try the crown in the intended wearing position before adding extra decorative pieces. If it already pulls noticeably, increasing topper size may intensify the problem rather than improve the pumpkin effect.
Original Tutorial and Creator Credit
Creator: Jayda InStitches
Crochet Ribbed Fold Band Pumpkin Beret Adaptation
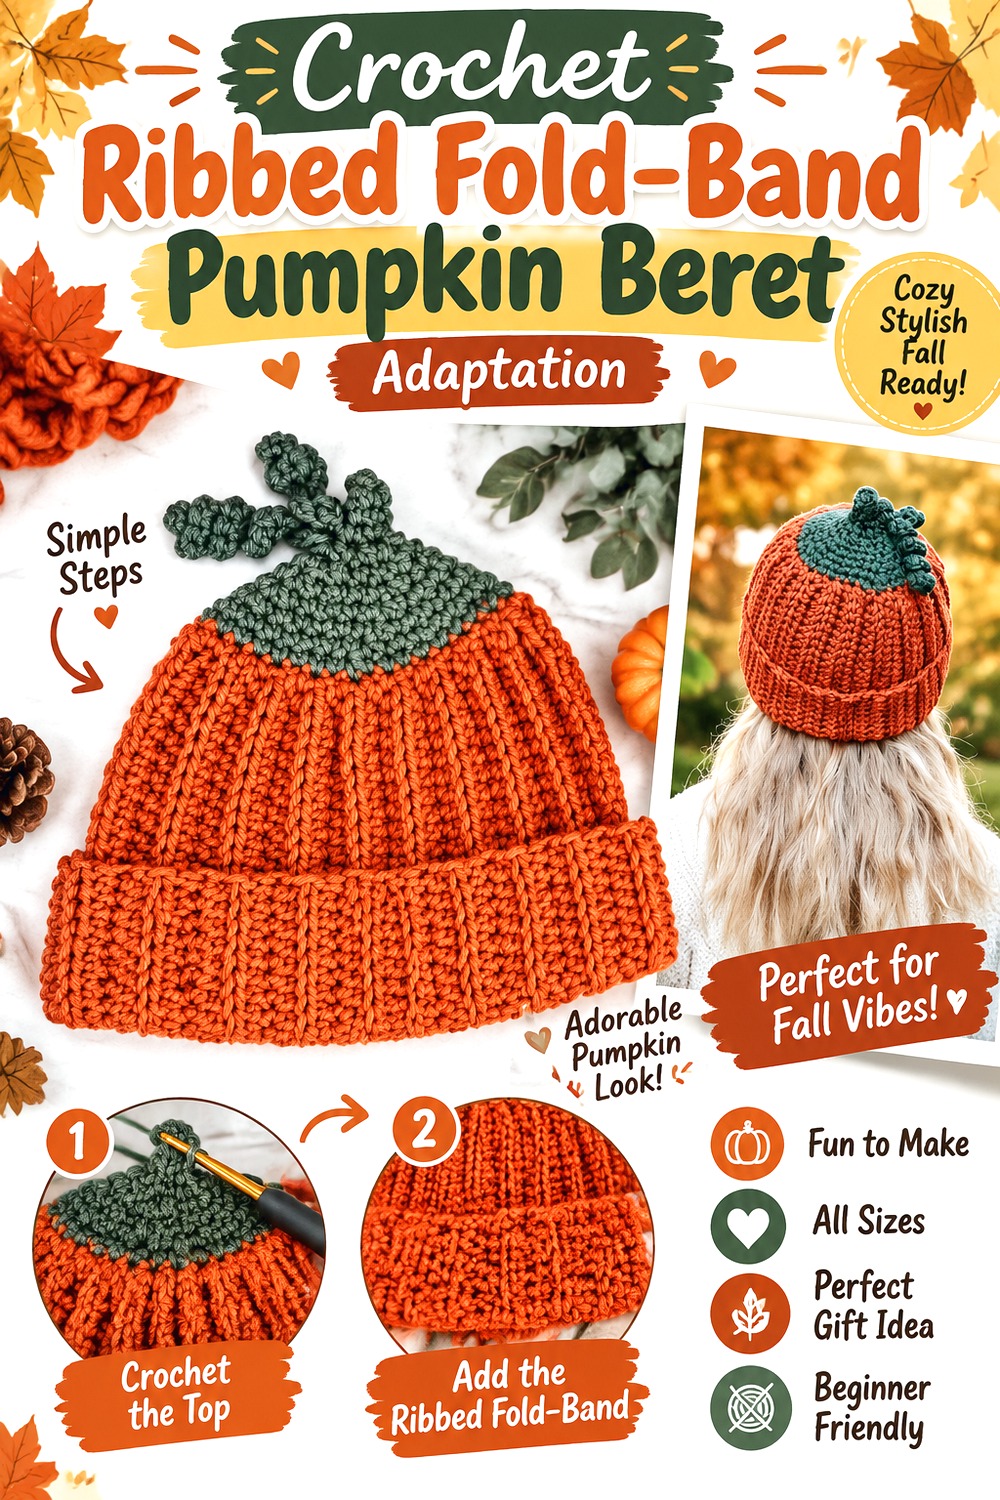
A substantial ribbed lower edge gives this idea a completely different visual balance. The Turtle Trunk’s source is a pumpkin beanie with a ribbed construction and green topper rather than a true beret, so use it as a reference for the strong vertical surface and defined lower band. The creator provides multiple beanie sizes and specifically advises viewers to check gauge for that source project.
A beret adaptation can keep the ribbed character while widening the upper crown. The trade-off is that a heavier-looking lower edge can make the finished item feel more like a beanie-beret hybrid than a classic French-style beret.
A Deep Band Changes How the Crown Tilts
A narrow beret opening visually disappears beneath the crown, while a prominent ribbed band becomes part of the outfit. Decide whether you want that lower edge displayed or partially hidden.
Try the adapted crown at your preferred angle. A deep, elastic band may hold the hat more upright than a minimal edge, which changes how much traditional side slouch you can achieve without deliberately repositioning the crown.
Ribbing Makes Stretch a Fit Variable
Ribbed crochet can change noticeably when worn compared with how it looks lying flat. That makes the actual head opening more informative than an unstretched table measurement alone.
For the source beanie, follow the creator’s gauge and sizing guidance. For your separate beret version, measure the intended wearer and evaluate how the adapted band stretches in the yarn you selected instead of assuming the source dimensions remain valid.
Centered Toppers Behave Differently on a Tilted Hat
The source pumpkin topper is naturally positioned for a beanie. On a wider beret, the crown center can shift noticeably to one side once the hat is styled.
Before permanently attaching your own stem or vines, wear the beret as intended. Decide whether you want the topper at the mathematical center of the crochet circle or visually centered from the viewer’s perspective when the hat is tilted.
Original Tutorial and Creator Credit
Creator: The Turtle Trunk
Crochet Pumpkin Newsboy Beret Hybrid

A projecting bill changes the pumpkin beret more dramatically than any color adjustment could. The Crochet Crowd’s source specifically teaches an adult pumpkin newsboy hat, giving this idea a clear front and a structured lower feature instead of the rotational freedom of an ordinary beret.
This is the option for someone who likes the rounded harvest crown but prefers a cap-like silhouette. It is also useful for costume styling because the bill anchors the direction of the hat. Treat it as a true hybrid rather than pretending it will look like a classic beret. Once the brim is present, pumpkin divisions, leaves, and any other decoration need to respect that fixed orientation.
The Bill Creates a Permanent Front
A standard beret can often be rotated until the slouch falls attractively. A newsboy brim removes that freedom because the front is immediately obvious.
Plan pumpkin segmentation and topper placement relative to the bill. If a strong ridge appears unintentionally off-center over the visor, the whole crown can look rotated even when the brim itself sits correctly.
Lower-Edge Structure Matters More Here
A soft beret can tolerate considerable drape at the opening, but a projecting visor needs enough structure to maintain its intended form. If adapting materials, evaluate how the yarn behaves around the bill rather than choosing only for softness or pumpkin color.
The crown and brim do not have to use identical visual stiffness. What matters is that the finished lower edge still supports the directional silhouette.
Choose the Hybrid for Function, Not Purity
This is not the project for someone seeking the cleanest traditional beret outline. Its appeal comes from combining the playful pumpkin crown with a clearly defined cap brim.
If you frequently find soft berets difficult to position, the fixed front may actually make styling simpler. If you want the hat to rotate and slouch freely, one of the first five direct beret tutorials will be a closer match.
Original Tutorial and Creator Credit
Creator: The Crochet Crowd
Crochet High Contrast Halloween Pumpkin Beret Adaptation
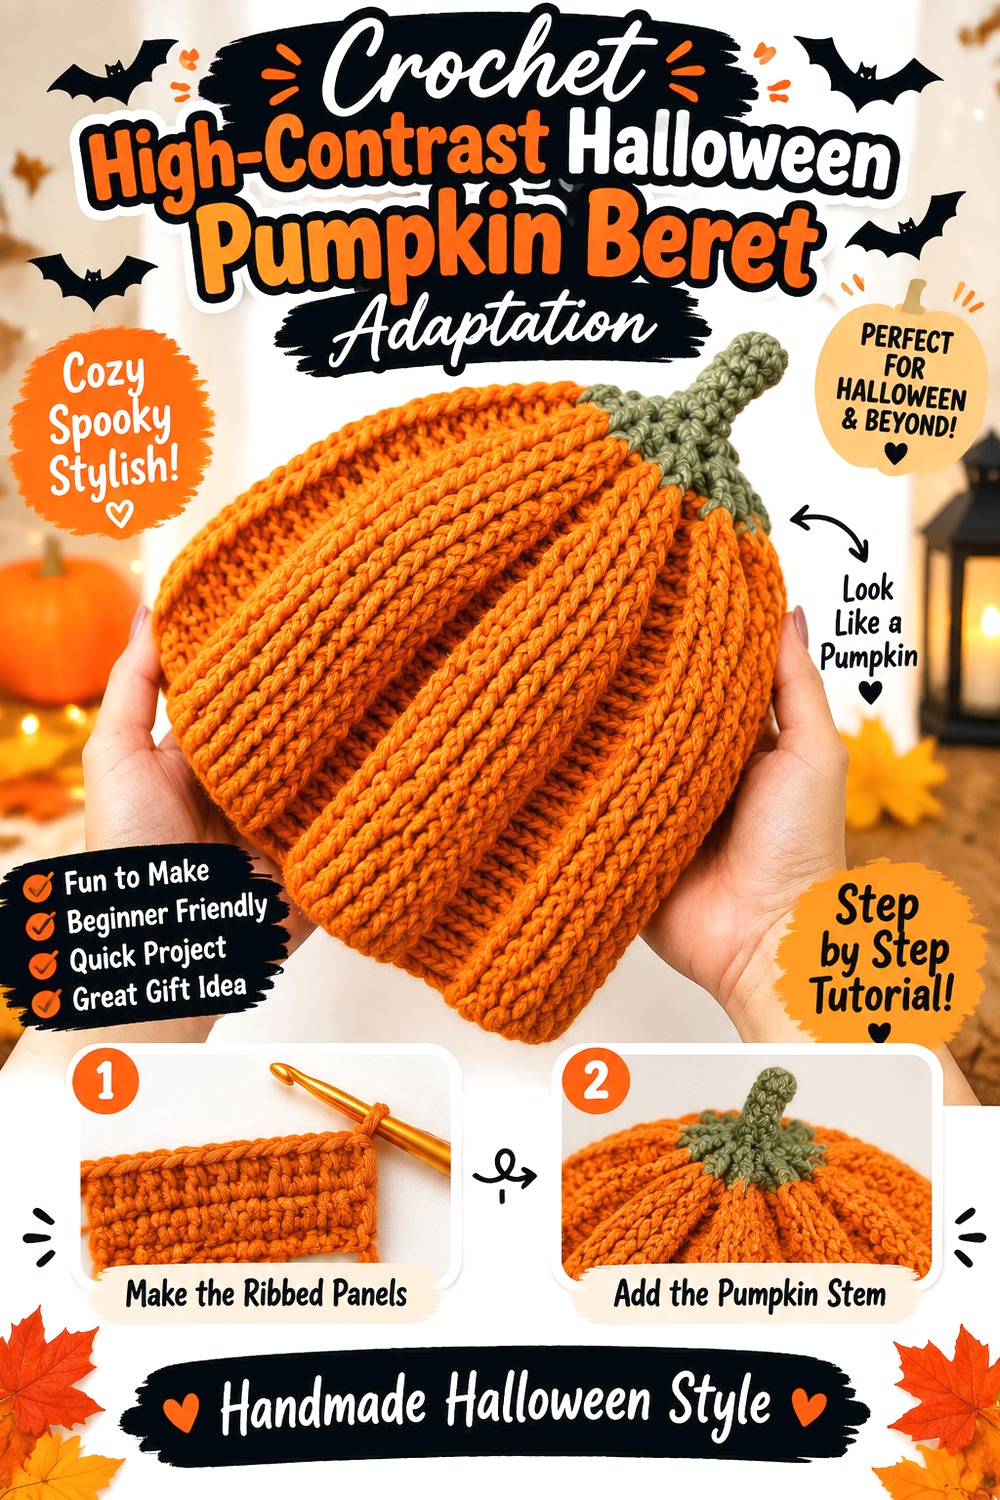
Sirin’s Crochet teaches a Halloween pumpkin hat rather than a dedicated beret, making this project an adaptation reference for a stronger orange-and-green seasonal treatment. The source’s finished hat clearly prioritizes the pumpkin theme, which makes it useful when you want an adapted beret to read immediately as Halloween or fall headwear.
Keep the beret shaping separate and borrow the visual emphasis rather than the fitted hat proportions. Compared with the muted Quiet-Ridge Beret, this direction is intentionally bolder. It works well when the accessory needs to register clearly in photographs, costumes, school events, or pumpkin-patch settings rather than blend into a neutral wardrobe.
High Contrast Pushes the Design Toward Novelty
Bright pumpkin orange against clear green is instantly readable, but it also makes the finished accessory more costume-like. For a version you want to wear throughout fall, consider whether rust, burnt orange, olive, or another quieter pairing would give you more styling flexibility.
Do not remove so much contrast that the topper disappears completely. The goal is to control the seasonal intensity, not eliminate the pumpkin reference.
Change One Major Proportion at a Time
When converting a fitted pumpkin-hat concept to a beret, the wider crown already introduces a major structural change. Avoid simultaneously changing yarn weight, opening size, topper scale, and overall height.
Establish a wearable beret first, then evaluate one adaptation at a time. That makes rippling, slipping, or unwanted stiffness easier to diagnose because you know which change most likely altered the result.
Stop Decorating Before the Crown Becomes Cluttered
Pumpkin accessories invite stems, leaves, vines, faces, and additional Halloween motifs. A beret already displays a broad upper surface, so all of those elements can quickly compete.
Add the essential pumpkin feature, try the hat on, and look at it from normal conversational distance. If the theme is already obvious, additional motifs may reduce clarity rather than strengthen it.
Original Tutorial and Creator Credit
Creator: Sirin’s Crochet
Crochet Multi Size Post Stitch Pumpkin Beret Adaptation
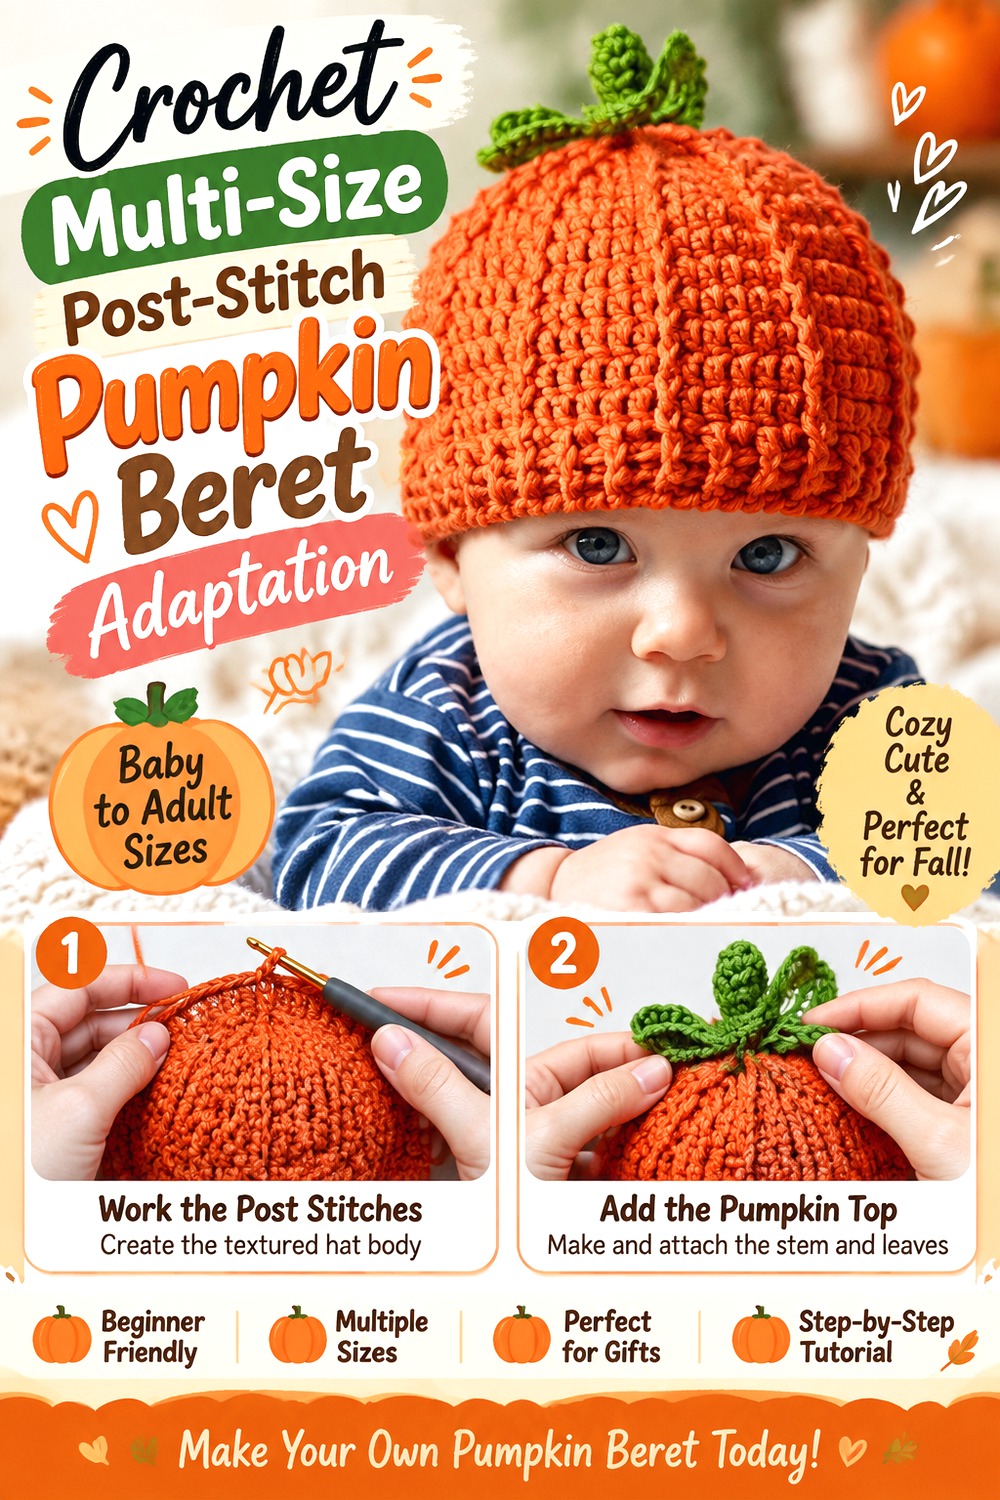
HanJan Crochet’s tutorial teaches a pumpkin beanie with a stalk and leaf and provides a range of sizes from very small through adult options. It is not an exact beret pattern, but its post-stitch pumpkin texture and sizing information make it a helpful reference when you want an adapted beret whose ridges are an important visual feature.
This direction differs from the leaf-and-vine project because the priority is not an elaborate topper. The stronger editorial focus is how repeated vertical definition can keep a pumpkin recognizable across different headwear sizes. Use the source measurements only for its own beanie, then build a separate wider crown around the intended beret fit.
Post-Stitch Lines Can Replace Extra Decoration
Strong vertical definition gives the viewer repeated pumpkin cues from the crown toward the lower part of the hat. If those lines are clean, you may not need multiple leaves or a large stem.
That is particularly helpful on a wider beret, where too much surface decoration can make the crown appear busy. Let the texture establish the rhythm first and add only the topper needed to complete the harvest reference.
Scaling Requires More Than Changing the Opening
The source supplies several sizes for its own pumpkin beanie. A beret adaptation introduces extra crown spread, so you cannot assume that changing only the lower circumference will create equivalent proportions.
For each intended wearer, confirm the opening and then evaluate crown fullness separately. A child-size beret and an adult beret may need different visual relationships rather than simply being scaled copies of one another.
Compare Ridge Definition After Yarn Substitution
The pumpkin identity depends heavily on the raised structural lines. If your substitute yarn has more halo, less body, or a substantially different gauge, those lines may appear softer than in the source.
Make a small textured sample before committing to the entire adapted crown. This is more informative than judging the yarn by color because it shows whether the surface detail survives in the actual fabric.
Original Tutorial and Creator Credit
Creator: HanJan Crochet
Crochet Compact Crown Pumpkin Beret Adaptation
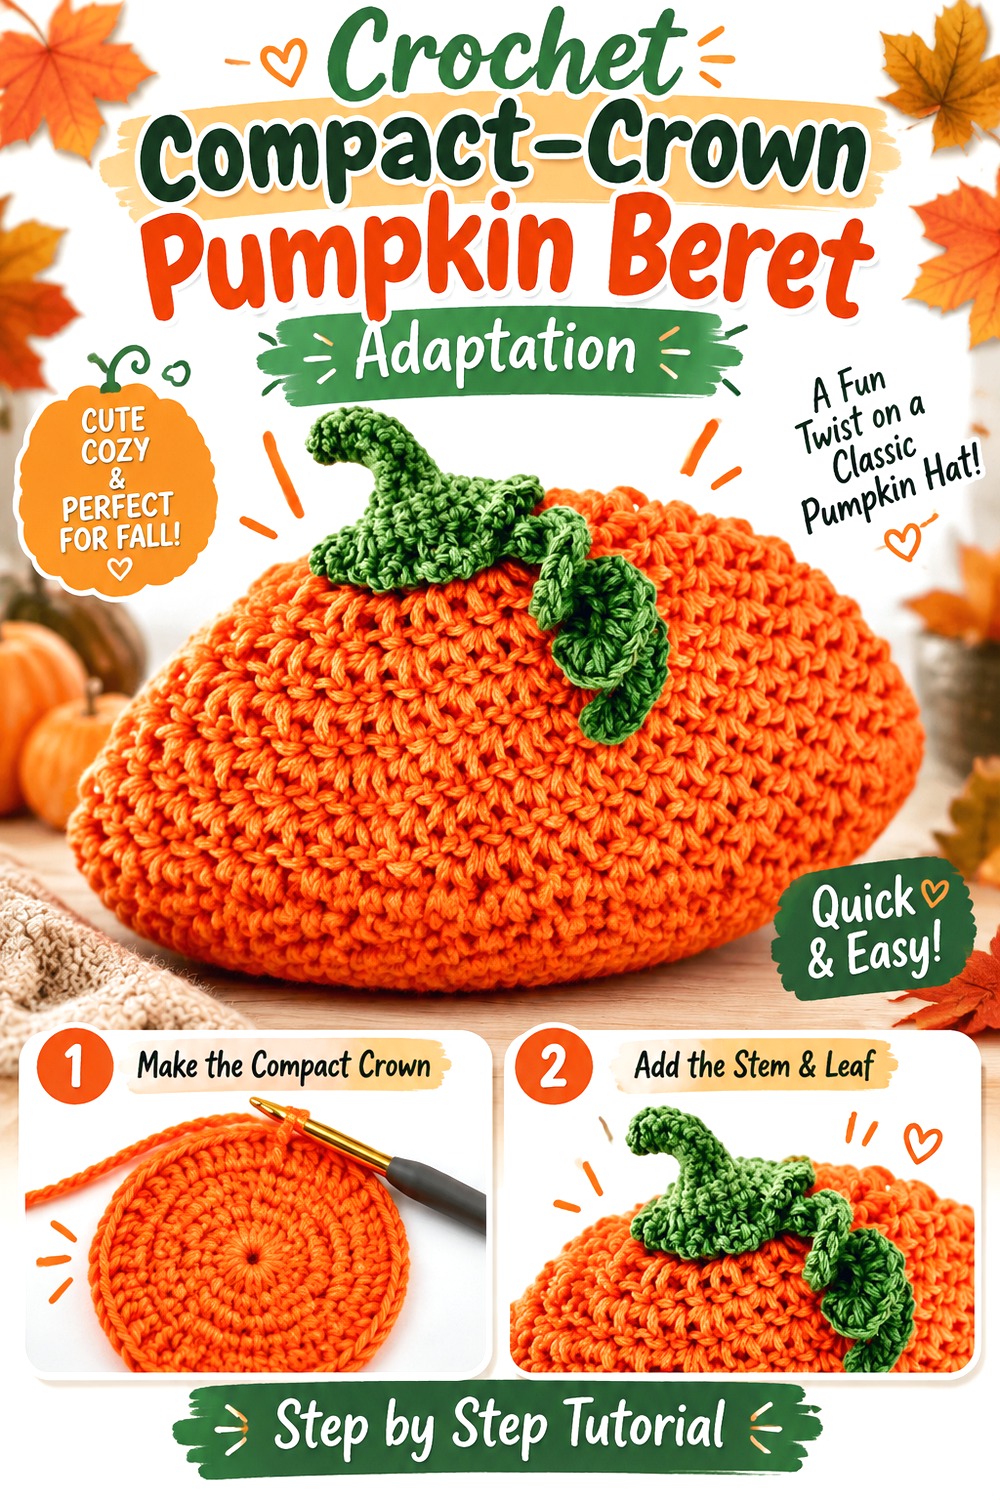
Ahuyama Crochet’s step-by-step source teaches a pumpkin hat rather than an exact beret and presents the project for multiple sizes. For this collection, its value is as a reference for a cleaner, compact pumpkin profile that can inspire someone who does not want an oversized or heavily slouching crown.
Pair the pumpkin-specific finish with an established beret framework, but keep the upper spread comparatively controlled. The result can sit between a fitted pumpkin cap and the exaggerated slouchy projects earlier in the list. This is a useful final direction for readers who like recognizable pumpkin headwear yet find very wide crowns, large vines, or strong newsboy brims too theatrical.
Controlled Spread Keeps the Profile Neater
Not every beret needs maximum volume. A moderately widened crown can still create a recognizable side tilt while remaining closer to the head than the jack-o’-lantern or chunky rounded versions.
Judge the adapted shape while worn. If there is barely any difference between crown width and opening width, it may still read as a beanie. If the extra fabric overwhelms the compact look, reduce the adaptation rather than adding a stiffer band to fight the slouch.
Let the Stem Finish Rather Than Define the Hat
With a cleaner pumpkin silhouette, a simple top detail can act as punctuation rather than becoming the entire design. Keep its scale proportional to the crown and check whether it remains upright or shifts when the beret is tilted.
If the topper begins pulling the crown out of position, downsizing it may preserve the intended profile better than reinforcing the whole hat.
Use Multi-Size Claims Only for the Original Construction
The Ahuyama Crochet description presents the source pumpkin hat for all sizes. That statement applies to the creator’s hat, not automatically to a separate beret conversion.
When adapting, measure the intended wearer and establish the beret opening independently. This keeps the source tutorial valuable for its original pumpkin construction without implying that its sizing automatically solves a different silhouette.
Original Tutorial and Creator Credit
Creator: Ahuyama Crochet
Compare the Pumpkin Beret Directions
| Project | Tutorial relationship | Defining look | Main checkpoint |
|---|---|---|---|
| Stemmed Harvest | Direct pumpkin beret | Classic rounded pumpkin | Balance crown fullness with opening fit |
| Quiet-Ridge | Direct pumpkin beret | Subtle segmented texture | Keep ridges visible without excessive stiffness |
| Jack-o’-Lantern Slouch | Direct pumpkin beret | Large slouch plus optional face | Place facial details after deciding the wearing angle |
| Sculpted Segment | Direct pumpkin beret | Strong radial pumpkin form | Check both top and side profiles |
| Pumpkin Pie | Direct themed beret | Flat dessert-inspired styling | Preserve clear color boundaries |
| Leaf-and-Vine | Pumpkin-hat adaptation | Decorative green crown treatment | Keep topper from hiding the pumpkin texture |
| Chunky Rounded | Pumpkin-hat adaptation | Full, substantial pumpkin volume | Control added weight and crown spread |
| Ribbed Fold-Band | Pumpkin-beanie adaptation | Strong ribbing and visible lower band | Check stretch and whether the band limits tilt |
| Pumpkin Newsboy | Direct pumpkin-hat hybrid | Rounded crown plus front bill | Align crown details with the fixed front |
| High-Contrast Halloween | Pumpkin-hat adaptation | Bold orange-and-green seasonal look | Decide how costume-specific you want it |
| Multi-Size Post-Stitch | Pumpkin-beanie adaptation | Pronounced vertical texture | Do not transfer source sizing directly to a beret |
| Compact-Crown | Pumpkin-hat adaptation | Neater, controlled pumpkin profile | Preserve enough crown spread to still read as a beret |
Conclusion
The strongest choice depends on whether you want a beret first or a pumpkin first. The Stemmed Harvest and Quiet-Ridge designs stay closest to versatile fall headwear, while the Sculpted Segment version makes the pumpkin shape more obvious. Choose the Jack-o’-Lantern Slouch for Halloween, the Pumpkin Pie Beret for a Thanksgiving or food-themed look, and the Newsboy Hybrid when a front bill matters more than a traditional beret edge.
For adaptations, establish the beret fit before transferring ribbing, leaves, vines, or other pumpkin details. Use the original tutorials near each project for their exact construction information rather than trying to reconstruct their patterns from the descriptions here.
Frequently Asked Questions
Are all 12 of these YouTube sources exact crochet pumpkin beret tutorials?
No. Five sources directly teach pumpkin or pumpkin-themed berets: the Jess And Her Crafts, Slow Crochet, TwinkieChanTV, anxin_crochet, and MarieMadeIt__ projects. The remaining videos teach pumpkin hats, beanies, or a newsboy style and are included as adaptation references for specific visual ideas such as ribbing, stems, vines, texture, or a projecting bill. Their original hat sizing and shaping should not be presented as an exact beret pattern.
Can any crochet pumpkin beanie simply be widened into a beret?
Not reliably. A beret requires a deliberate relationship between a broader crown and a smaller, secure head opening. Adding arbitrary increases to a fitted beanie can create rippling without producing attractive beret drape. A safer planning approach is to begin with a beret construction that already fits, then incorporate compatible pumpkin features such as vertical texture, a stem, leaves, color placement, or surface decoration without copying another creator’s stitch sequence.
What yarn qualities help pumpkin ridges stay visible?
Prioritize stitch definition when the project depends on raised or recessed pumpkin sections. A very fuzzy yarn can soften structural lines, while an extremely rigid fabric can make a broad crown feel stiff rather than relaxed. Make a small textured sample when substituting yarn and look at it from normal viewing distance. The best choice is not necessarily the brightest orange; it is the yarn that produces the combination of definition, drape, and fit you want.
How can I keep a pumpkin stem or vine from pulling a soft beret out of shape?
Finish and try on the main beret before deciding the final topper scale. A large stem, several leaves, or long vines can add weight at the center of a flexible crown and change where the slouch falls. Smaller decorations often preserve more wearing flexibility. Position the topper while considering the beret’s normal tilt, and attach it securely. For children’s headwear, avoid loose pieces that could detach during wear or handling.
Where should a jack-o’-lantern face go on a tilted pumpkin beret?
Determine the front while the beret is actually being worn. A design centered on a flat crochet circle may rotate noticeably after the crown is pushed backward or to one side. Mark the area that faces forward in the intended wearing position before permanently attaching facial details. This is particularly important for a slouchy crown because the fabric can settle differently each time unless the wearer positions it consistently.
How should I size a crochet pumpkin beret for another person?
Start with the wearer’s actual head measurement and the sizing or gauge information supplied by the specific beret tutorial you select. Do not rely only on labels such as child, teen, or adult. Crown width and head opening should also be evaluated separately: the upper crown creates the beret silhouette, while the lower edge determines whether it stays in place. If you adapt a pumpkin-beanie source, its published sizing belongs to that beanie and should not automatically be transferred to the wider beret.