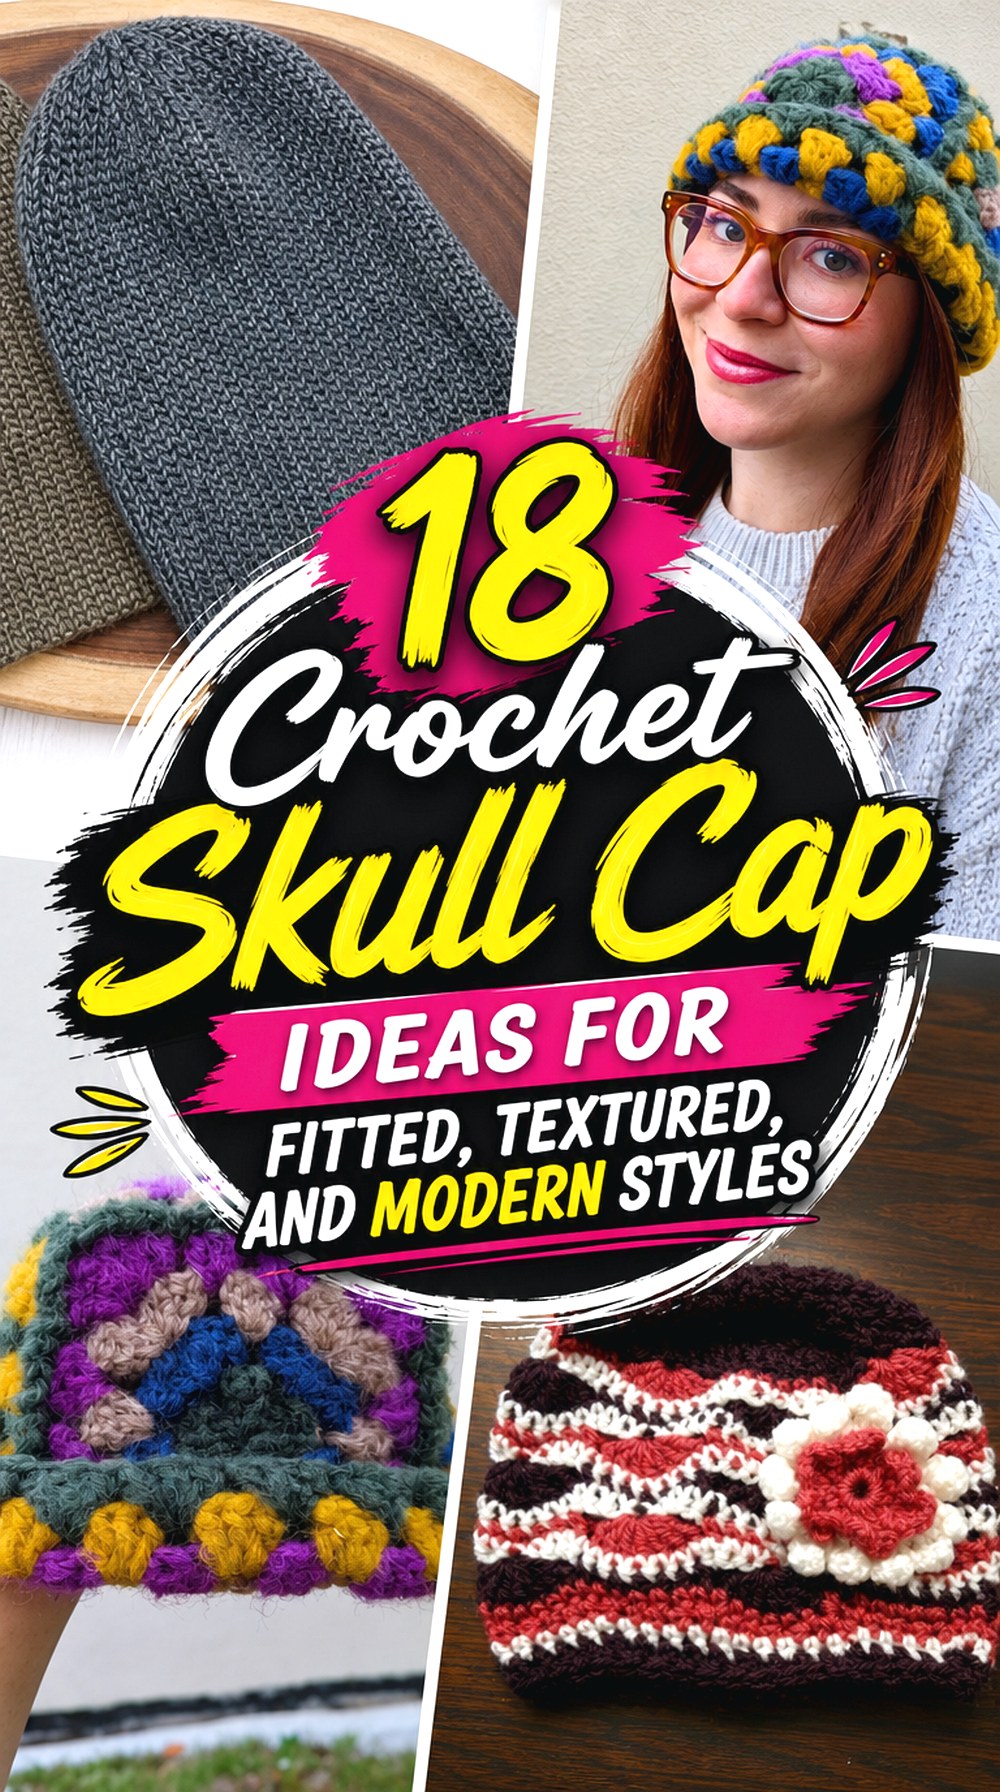

A crochet skull cap can be much more specific than a basic beanie. Some sit close to the crown with almost no extra fabric, while others use a short cuff, strong ribbing, decorative texture, colorwork, or a kufi-inspired silhouette. Construction also changes the result: top-down caps let you watch crown diameter develop, while side-to-side designs make length and stretch easier to judge before seaming.
These 18 ideas cover distinctly different routes, including minimal fitted caps, flat-crown ribbing, moss stitch, granny-square construction, cables, shells, waves, puff stitches, and a prayer-cap style. The comparisons below focus on fit, structure, yarn behavior, and finishing so you can choose a tutorial for the kind of skull cap you actually want rather than simply picking by color.
Quick List
- Crochet Close-Fit Skull Cap
- Crochet Short Fisherman-Style Cap
- Crochet Kufi-Inspired Prayer Cap
- Crochet Top-Down Everyday Skull Cap
- Crochet Ribbed No-Bunch Skull Cap
- Crochet Flat-Crown Knit-Look Cap
- Crochet Split-Color Fitted Beanie
- Crochet Moss-Texture Skull Cap
- Crochet Stretch-Rib Everyday Cap
- Crochet Fine-Rib Slip-Stitch Skull Cap
- Crochet Chunky Fold-Cuff Skull Cap
- Crochet Men’s Straight-Rib Cap
- Crochet Granny-Square Skull Cap
- Crochet Cable-Texture Fitted Cap
- Crochet Three-Color Wave Cap
- Crochet Shell-Texture Skull Cap
- Crochet Puff-and-Post Stitch Cap
- Crochet Minimal Everyday Skull Cap
What Makes a Crochet Skull Cap Fit Differently From a Slouchy Beanie?
The biggest difference is vertical room. A skull cap normally follows the head closely instead of leaving substantial fabric behind the crown. That means the crown depth, lower-edge position, and amount of stretch all matter more than they do on a deliberately slouchy hat.
Do not rely only on an age label or a general “adult” size. Compare the tutorial’s intended finished fit with the wearer’s actual head measurement and notice whether the fabric is supposed to stretch. A cap that looks correct while lying flat can still feel loose once worn if the stitch pattern grows easily.
Also check the profile before finishing. If the crown already sits where you want it, adding several decorative rounds or a deep cuff can turn a skull cap into a standard beanie.
Yarn, Stretch, and Texture Can Change the Same Cap Shape
Dense slip-stitch ribbing, open shell textures, raised post stitches, granny squares, and bulky back-loop ribbing do not behave alike. A highly ribbed fabric can compress around the head, while a firm textured stitch may need more deliberate sizing. Thick yarn also builds physical bulk quickly, which can change a supposedly short cap into a heavier-looking winter hat.
For a close silhouette, consider how much the fabric stretches horizontally and whether the yarn rebounds afterward. A softer draping yarn may follow the head smoothly but show less texture. Firmer yarn can make cables or moss stitch clearer but may feel more structured.
When substituting yarn, use the tutorial’s gauge or fitting checkpoints rather than assuming another yarn with the same label category will produce the same cap.
Crown Shape and the Lower Edge Deserve Separate Checks
A skull cap can fit correctly around the forehead yet still bunch at the top. Side-to-side rectangles often close by gathering one end, so excess fabric at that edge can create a pronounced puckered crown. Tapered panels, shaped wedges, or top-down rounds can reduce that effect.
The lower edge creates a separate decision. A narrow plain edge gives the strongest skull-cap look. Ribbing adds grip and visual weight, while a turned cuff makes the hat warmer but also taller and more substantial.
Before permanently finishing a cap, check both areas independently: does the crown lie as smoothly as you want, and does the lower edge land where you intended? Fixing length before seaming is usually simpler than trying to disguise unwanted extra fabric afterward.
Crochet Close Fit Skull Cap

This is the most direct interpretation of the topic: a compact crochet cap designed to sit close to the head rather than hanging into a long beanie shape. Peculiar’s Crochet specifically presents the project as a skull cap, and the finished style keeps the focus on the crown and lower edge instead of a pom-pom or oversized cuff.
Choose this direction when you want the silhouette itself to be the main feature. Because a close cap exposes sizing errors quickly, pay particular attention to the creator’s measurement discussion instead of copying the visual proportions from the screen.
Keep the Lower Edge Deliberately Short
Decide where you want the cap to finish before adding extra depth. Extending a fitted skull cap downward changes both the look and the pressure around the ears. If you want a very short streetwear-style result, compare the work against the wearer’s crown-to-edge measurement rather than assuming the video’s final depth will suit every head.
Let the Stitch Texture Stay Visible
A close-fitting cap has little extra fabric to hide uneven tension. Watch the spacing between stitches as the sides develop. If the fabric becomes noticeably tighter or looser from one section to another, correct the tension issue before finishing; stretching the completed cap aggressively is not a reliable substitute for consistent construction.
Crochet Short Fisherman Style Cap
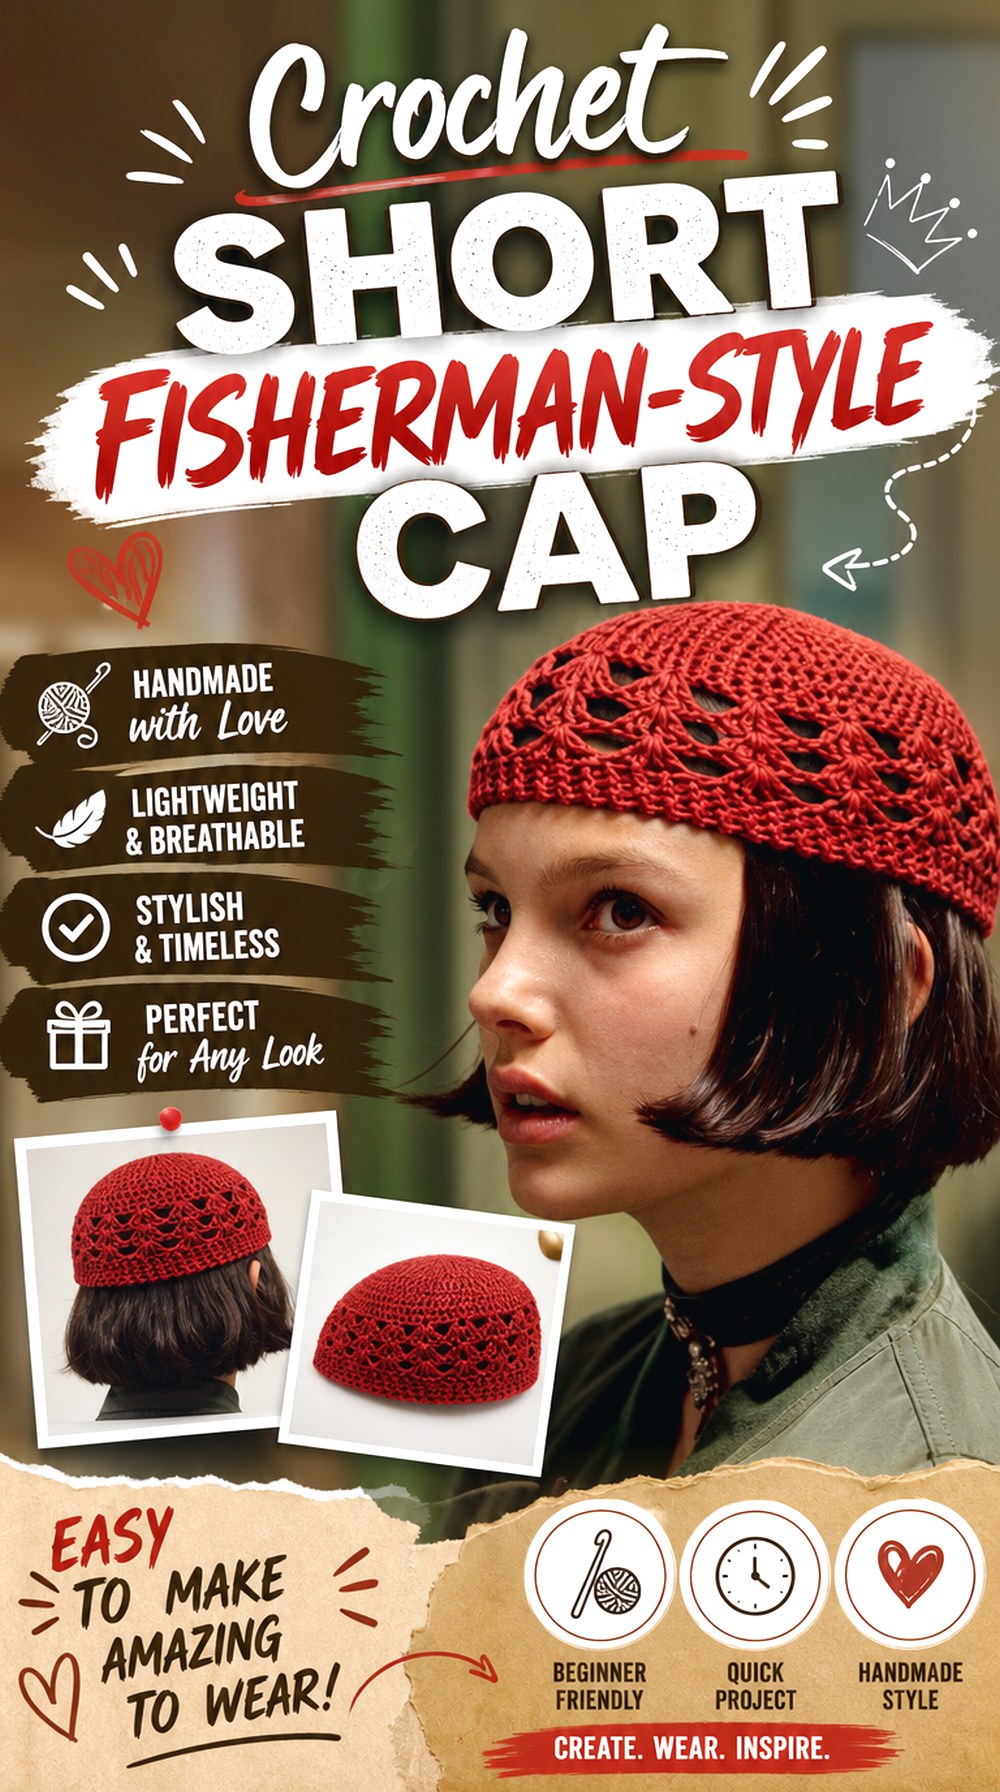
The Mathilda tutorial from ABoC Studio produces an intentionally short crochet beanie, making it a strong starting point for a fisherman-style skull cap that sits high around the ears. The creator explicitly describes the design as a “super short beanie” and discusses adjustments for people who want additional length.
That short profile makes this idea different from a conventional winter beanie. It works best when the exposed lower edge looks intentional, so yarn thickness and crown depth deserve more attention than decorative extras. A smooth solid color can emphasize the compact silhouette, while multicolor yarn will make the stitch surface more prominent.
Check Ear Coverage Before Calling the Length Finished
A short cap can move from stylishly cropped to impractical with a relatively small change in depth. Try the developing cap against the intended wearer when possible. Decide whether the bottom should sit above, across, or below the upper ear before finishing rather than adding rounds simply because another hat has them.
Cotton Changes the Feel of a Short Cap
The tutorial uses cotton yarn in its demonstrated version. A cotton-based fabric may feel and recover differently from a springy wool blend or acrylic. If substituting fiber, compare actual gauge and stretch instead of matching only yarn thickness. A short cap has less depth to compensate for unexpected looseness.
Original Tutorial and Creator Credit
Creator: ABoC Studio
Crochet Kufi Inspired Prayer Cap
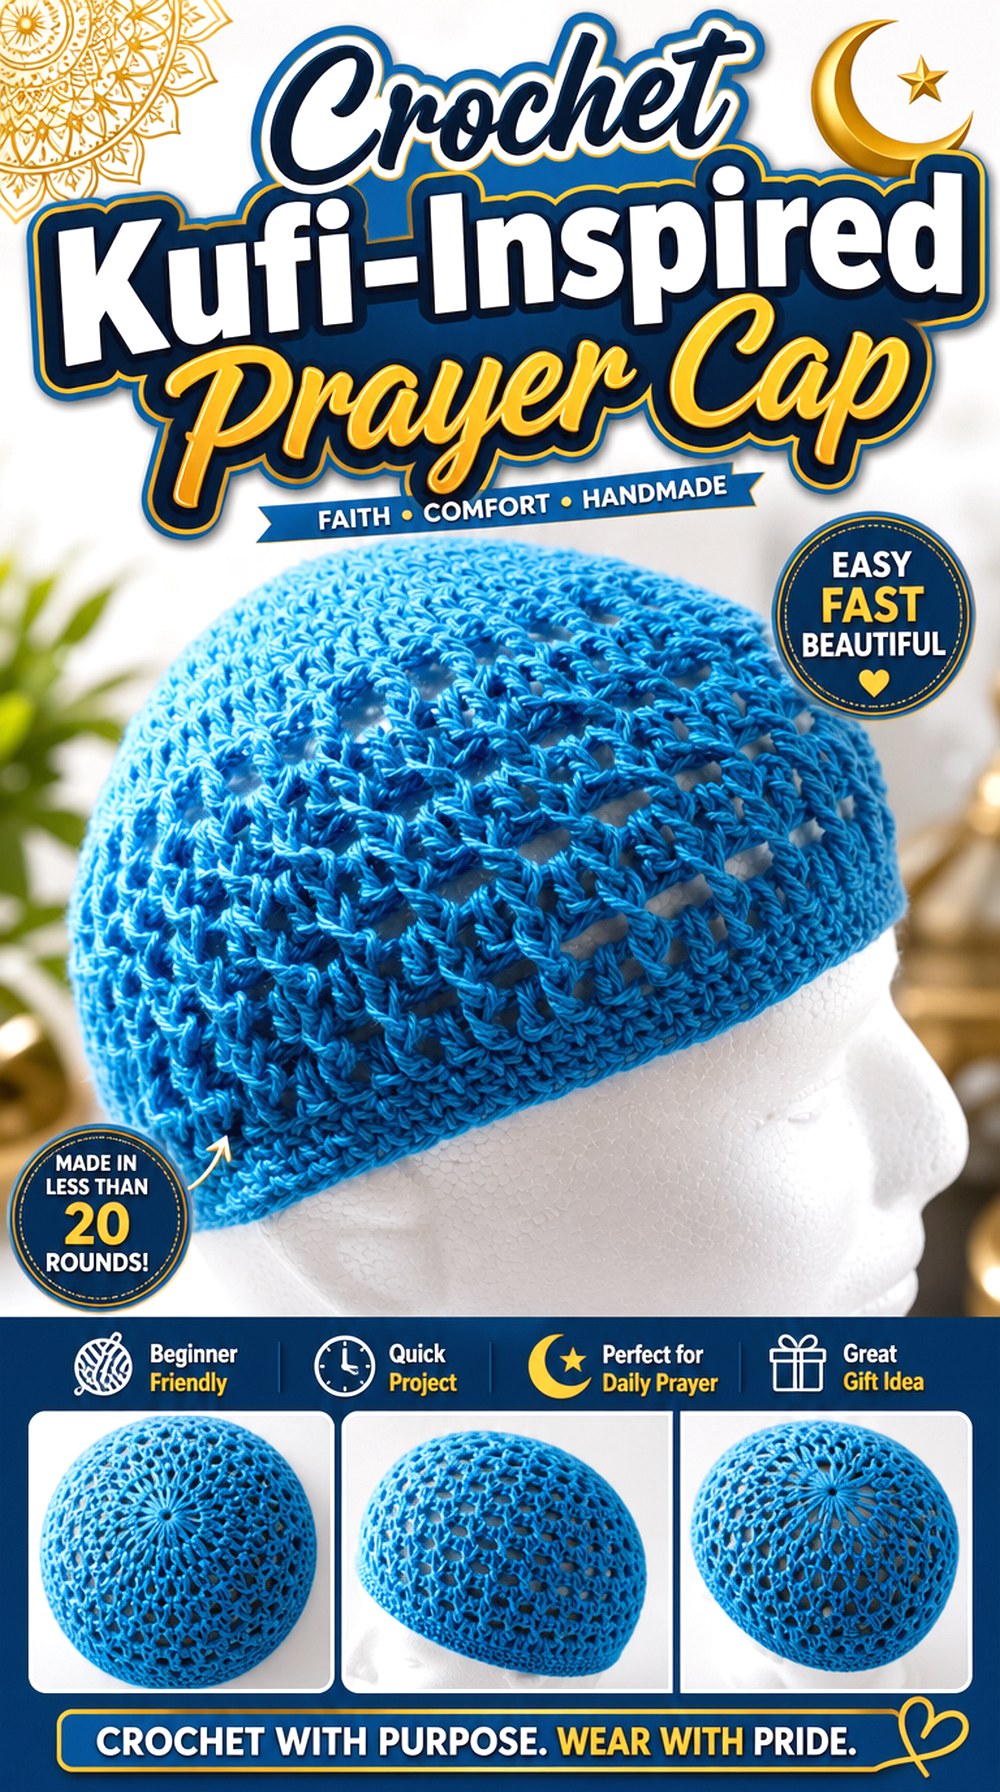
For a skull cap with a clearly different cultural and structural direction, this kufi tutorial from Atreyu Crochet creates a close, brimless prayer-cap shape rather than a cuffed winter beanie. The creator specifically identifies it as a kufi and discusses crown diameter, head circumference, and head height as relevant measurements.
That measurement-based approach makes this a useful option when you want a cap that follows the head without gathered fabric at the crown. Keep the styling respectful of its intended prayer-cap context, particularly when describing or gifting the finished piece.
Crown Diameter Controls More Than the Top
In a top-down cap, the increasing crown establishes the eventual circumference before the sides descend. If the crown is too wide, the finished cap can flare or sit loosely; too narrow and the sides may grip excessively. Use the tutorial’s sizing discussion rather than estimating from a flat photograph.
Keep the Edge Clean Instead of Adding a Heavy Cuff
A kufi-style cap gets much of its character from a simple lower edge and compact height. Adding a deep folded ribbing would substantially change the silhouette. If extra firmness is needed, first consider whether a subtle edging that preserves the original profile is more appropriate than converting the design into a winter beanie.
Respect the Intended Use
The creator describes the project as an Islamic cap or prayer cap. If you are adapting it primarily as fashion headwear, retain accurate terminology when discussing the source and avoid presenting a culturally specific form as an invented trend.
Original Tutorial and Creator Credit
Creator: Atreyu Crochet
Crochet Top Down Everyday Skull Cap
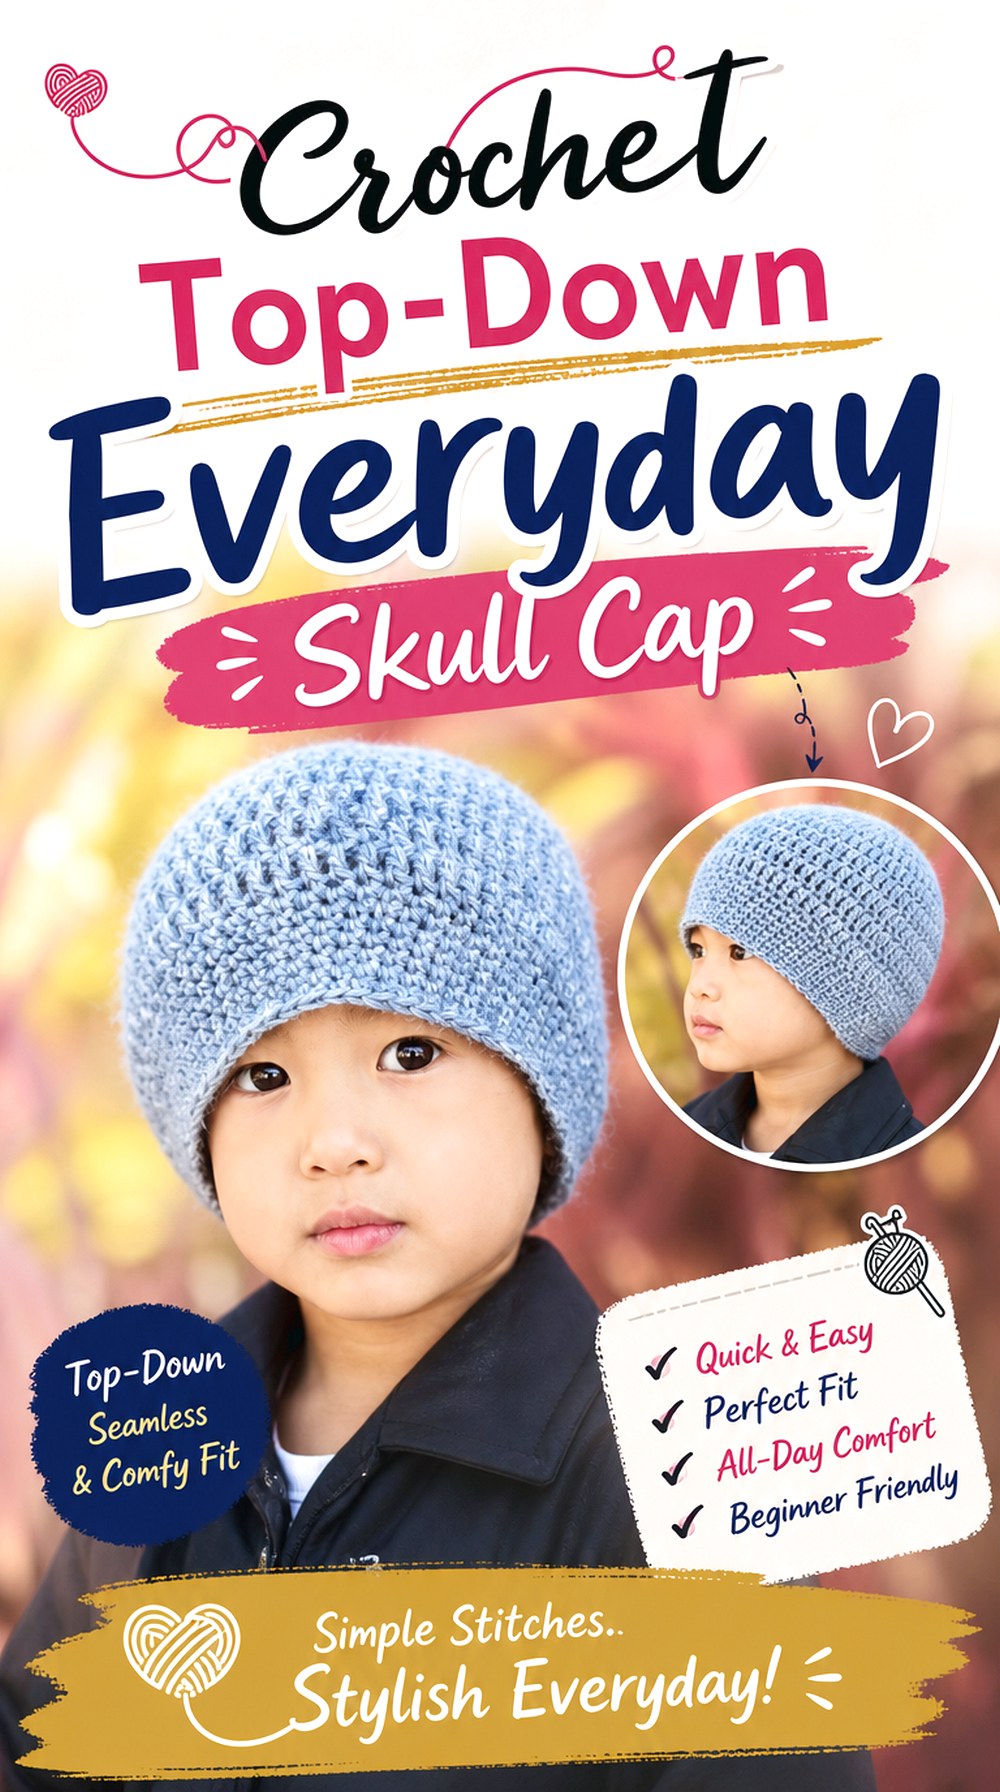
A plain top-down construction is one of the easiest skull-cap concepts to adapt because you can watch the crown expand before deciding how far the sides should descend. Designs by Phanessa’s tutorial is explicitly designed around a basic top-down beanie that can be sized for different heads.
For a skull-cap version, keep the finishing restrained: a compact body and narrow lower edge will preserve the close silhouette. This option also gives color-changing yarn plenty of space to show without competing with elaborate surface texture.
Stop Increasing at the Right Crown Width
The transition from crown increases to straight side rounds determines whether the cap follows the head or spreads outward. Use the creator’s sizing guidance and check the developing crown rather than continuing increases simply because the hat still looks small while flat.
A Narrow Brim Keeps It Closer to Skull-Cap Territory
The tutorial includes a brim section, but brim depth is a styling decision. If your goal is a sleek skull cap, keep that lower treatment visually light. A deep turned cuff can add warmth, but it will move the finished project toward a conventional beanie.
Original Tutorial and Creator Credit
Creator: Designs by Phanessa
Crochet Ribbed No Bunch Skull Cap
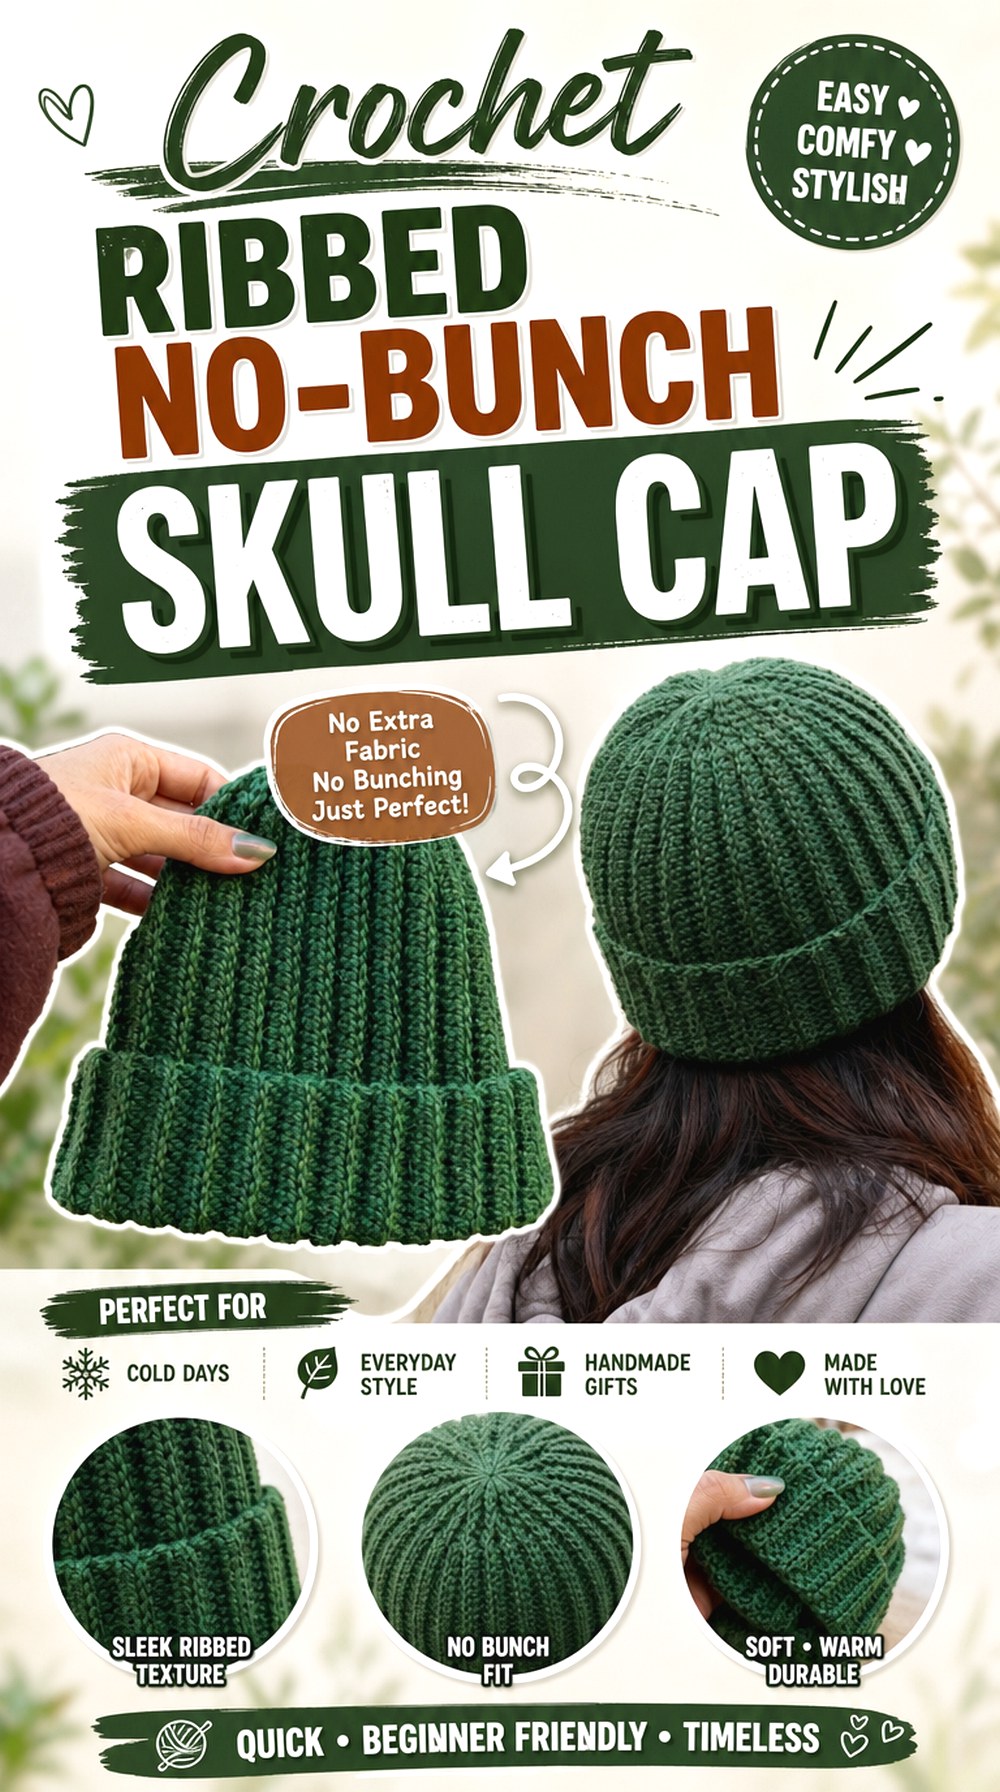
VivCrochets’ ribbed beanie is built around a knit-like ribbed appearance and reduced bunching at the top, two qualities that translate especially well to a skull-cap look. The video includes measurement and sizing guidance before the seaming and crown-closing stages.
This style works well when you want strong vertical ribs without a heavily rounded top-down stitch pattern. The ribbing gives the fabric visual depth while the shaped top keeps the gathered area from dominating the finished cap. Leave off extra ornamentation if you want the cleanest possible profile.
Judge Width in Its Stretched State Too
Ribbed crochet can appear narrow while resting and expand significantly on the head. Compare both relaxed and gently stretched measurements before seaming. If you size only from the unstretched rectangle, the finished cap may feel looser than expected after the ribs open during wear.
Crown Shaping Matters More When There Is No Pom-Pom
A pom-pom can visually hide a gathered crown, but a minimalist skull cap leaves the top exposed. This tutorial specifically addresses reducing top bunching. If a clean crown is one of your priorities, inspect the shape before fastening the closing yarn permanently.
Original Tutorial and Creator Credit
Creator: VivCrochets
Crochet Flat Crown Knit Look Cap

Kemunto crochets offers another solution to the common gathered-top problem: a knit-look beanie shaped to create a flatter crown. The tutorial describes a stretchy ribbed effect and specifically focuses on a “NO Bunching” flat top.
That makes this project particularly relevant for a fitted skull cap worn without a pom-pom. The upper shaping becomes a visible design feature instead of an area to hide. Choose a yarn with enough stitch definition to show the ribbing clearly, especially if you want the hat to resemble a compact knitted fisherman cap.
Inspect Each Shaped Section Before Repeating It
This construction uses shaped sections rather than relying only on gathering a rectangle. If one section begins to pull differently from the others, repeating it will magnify the imbalance around the crown. Compare the edges and overall wedge shape as you progress.
Length Determines Fitted Versus Slouchy
The creator notes that the design can be adjusted toward fitted or slouchy proportions. For this roundup, the fitted route is the better skull-cap match. Decide on the desired crown-to-edge depth before adding extra length, particularly if you want the edge to sit high.
Original Tutorial and Creator Credit
Creator: Kemunto crochets
Crochet Split Color Fitted Beanie
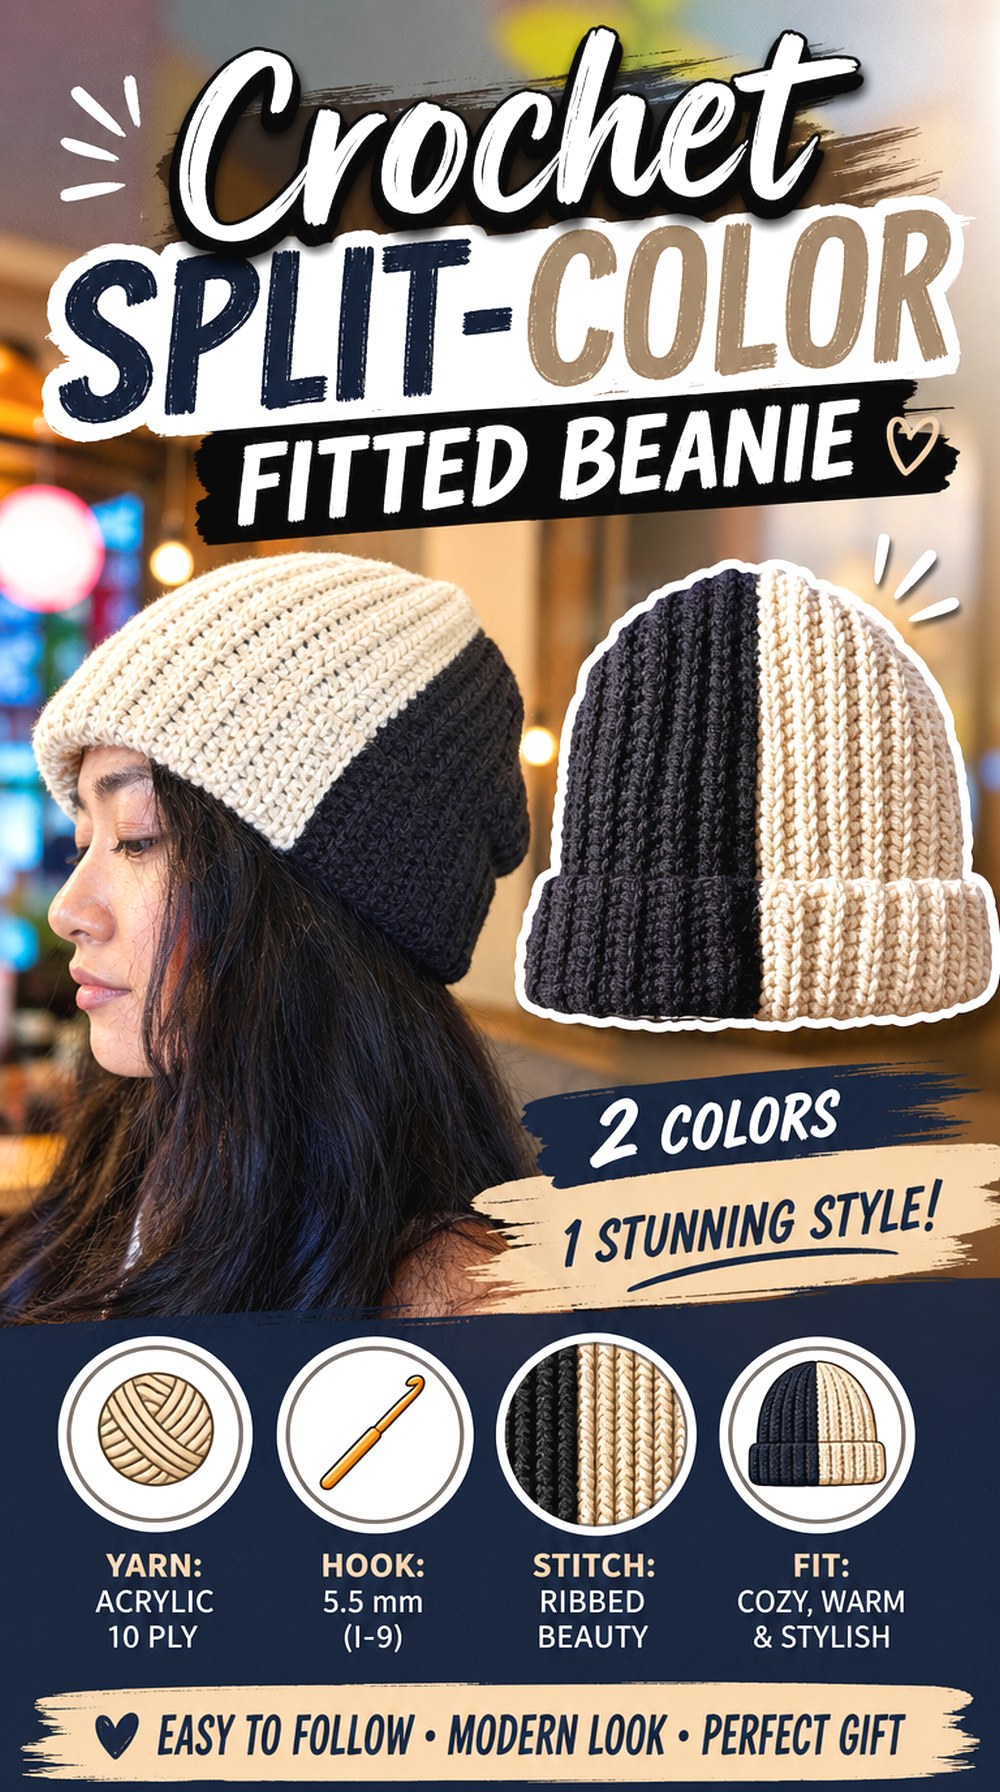
A two-tone cap makes color placement part of the construction rather than treating stripes as decoration added afterward. Cherilyn Q’s tutorial uses a split two-color knit-look beanie and shows the color change as part of the project before seaming and closing the top.
For a skull-cap adaptation, the two-color division can create a strong graphic effect even when the silhouette is very simple. It is a useful choice when you want visual interest without cables, shells, or bobbles. High contrast emphasizes the division; neighboring shades make it subtler.
Plan the Color Boundary Before Starting
Because the two colors divide the cap prominently, the location of that change will be easy to notice after seaming. Decide whether you want the contrast to appear balanced, intentionally asymmetrical, or aligned with a particular side before you commit to the full panel.
Keep Both Colors Similar in Behavior
Two yarns can share the same stated weight while stretching differently. That can make one half of the cap feel firmer or wider. Using yarns with similar fiber content and construction reduces that risk; otherwise, make small swatches and compare how the fabrics relax after being handled.
Original Tutorial and Creator Credit
Creator: Cherilyn Q
Crochet Moss Texture Skull Cap
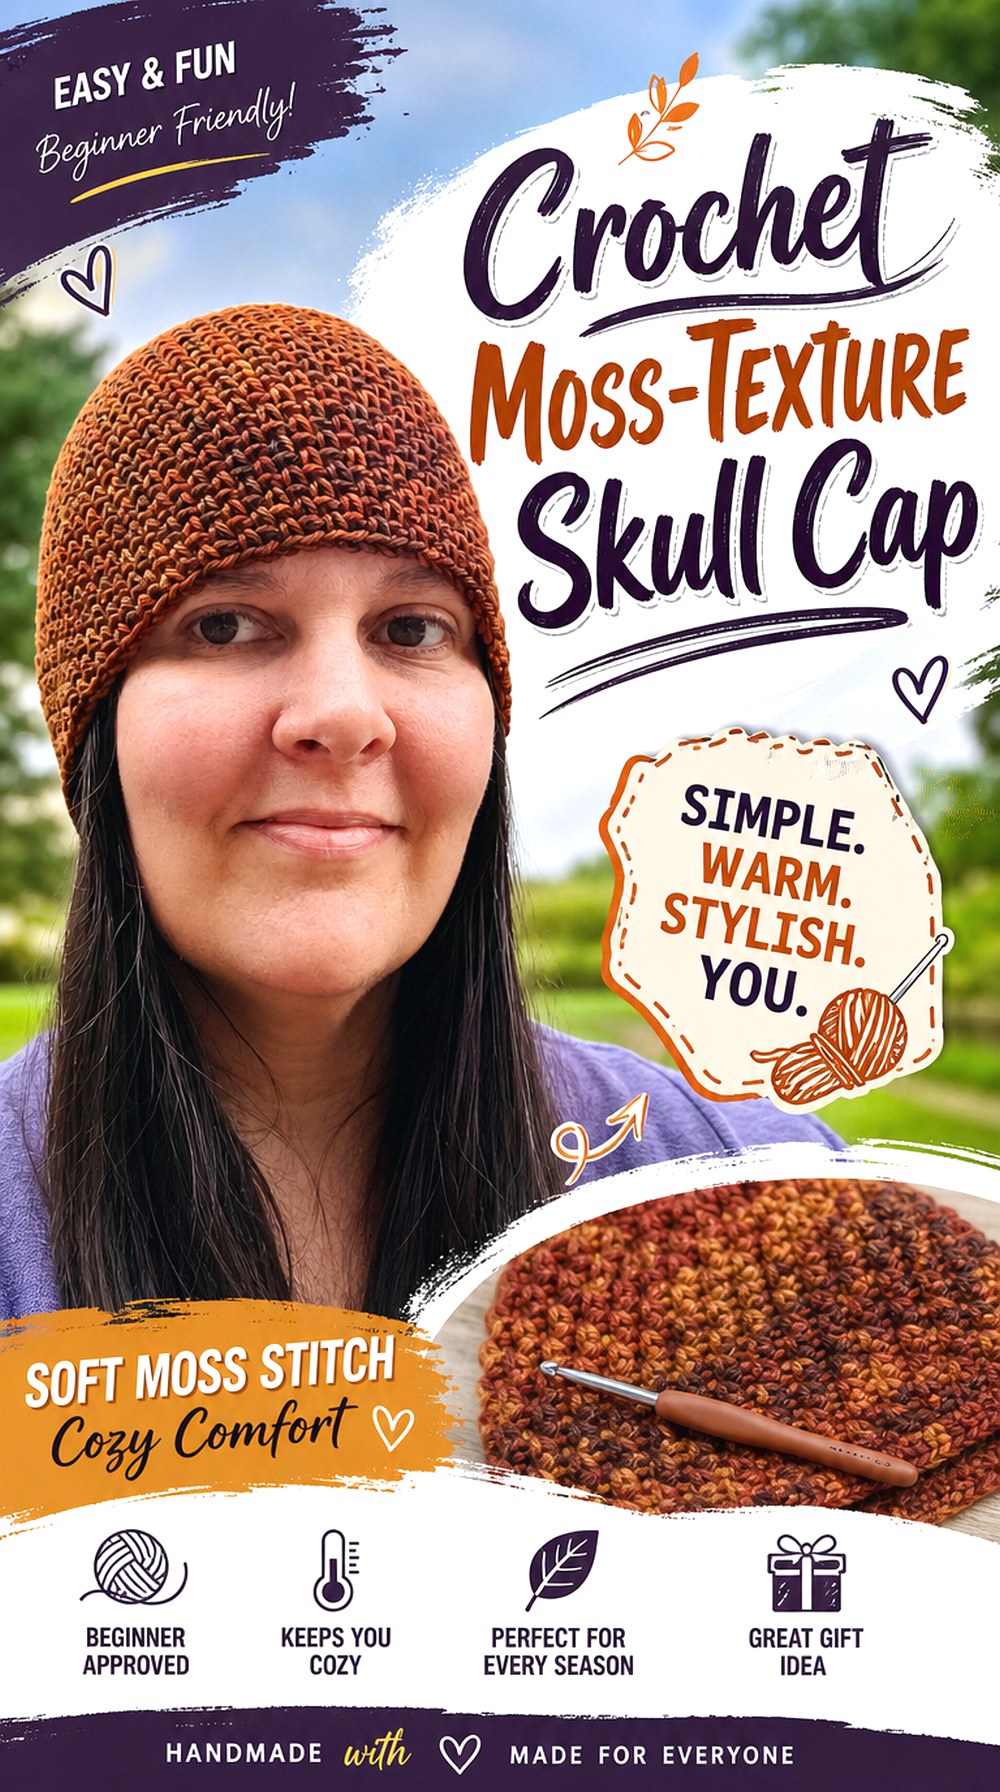
Moss stitch gives a fitted cap a smaller, more granular surface texture than deep ribbing or cables. Bag-O-Day Crochet’s tutorial works the hat top-down and uses moss stitch as the defining texture. The creator describes the finished beanie as suitable for men or women.
This makes it a useful choice for a restrained skull cap that still looks visibly crocheted. A solid yarn will show the texture consistently, while a highly variegated yarn may shift attention toward color. Because the stitch surface is relatively even, the finished crown shape remains especially noticeable.
Watch Whether the Moss Texture Opens Under Stretch
A stitch pattern can look dense on the table and become noticeably more open when stretched around a head. Test the developing fabric gently before deciding it is opaque enough for your intended use. If the openings become larger than you prefer, revisit yarn and gauge rather than adding an unrelated lining automatically.
Top-Down Construction Gives You a Length Checkpoint
The crown and sides are established before the final length is complete. That makes this a practical project for a skull-cap adaptation: once the circumference feels right, you can pay attention to how low the edge should sit instead of committing to the entire depth at the beginning.
Original Tutorial and Creator Credit
Creator: Bag-O-Day Crochet
Crochet Stretch Rib Everyday Cap
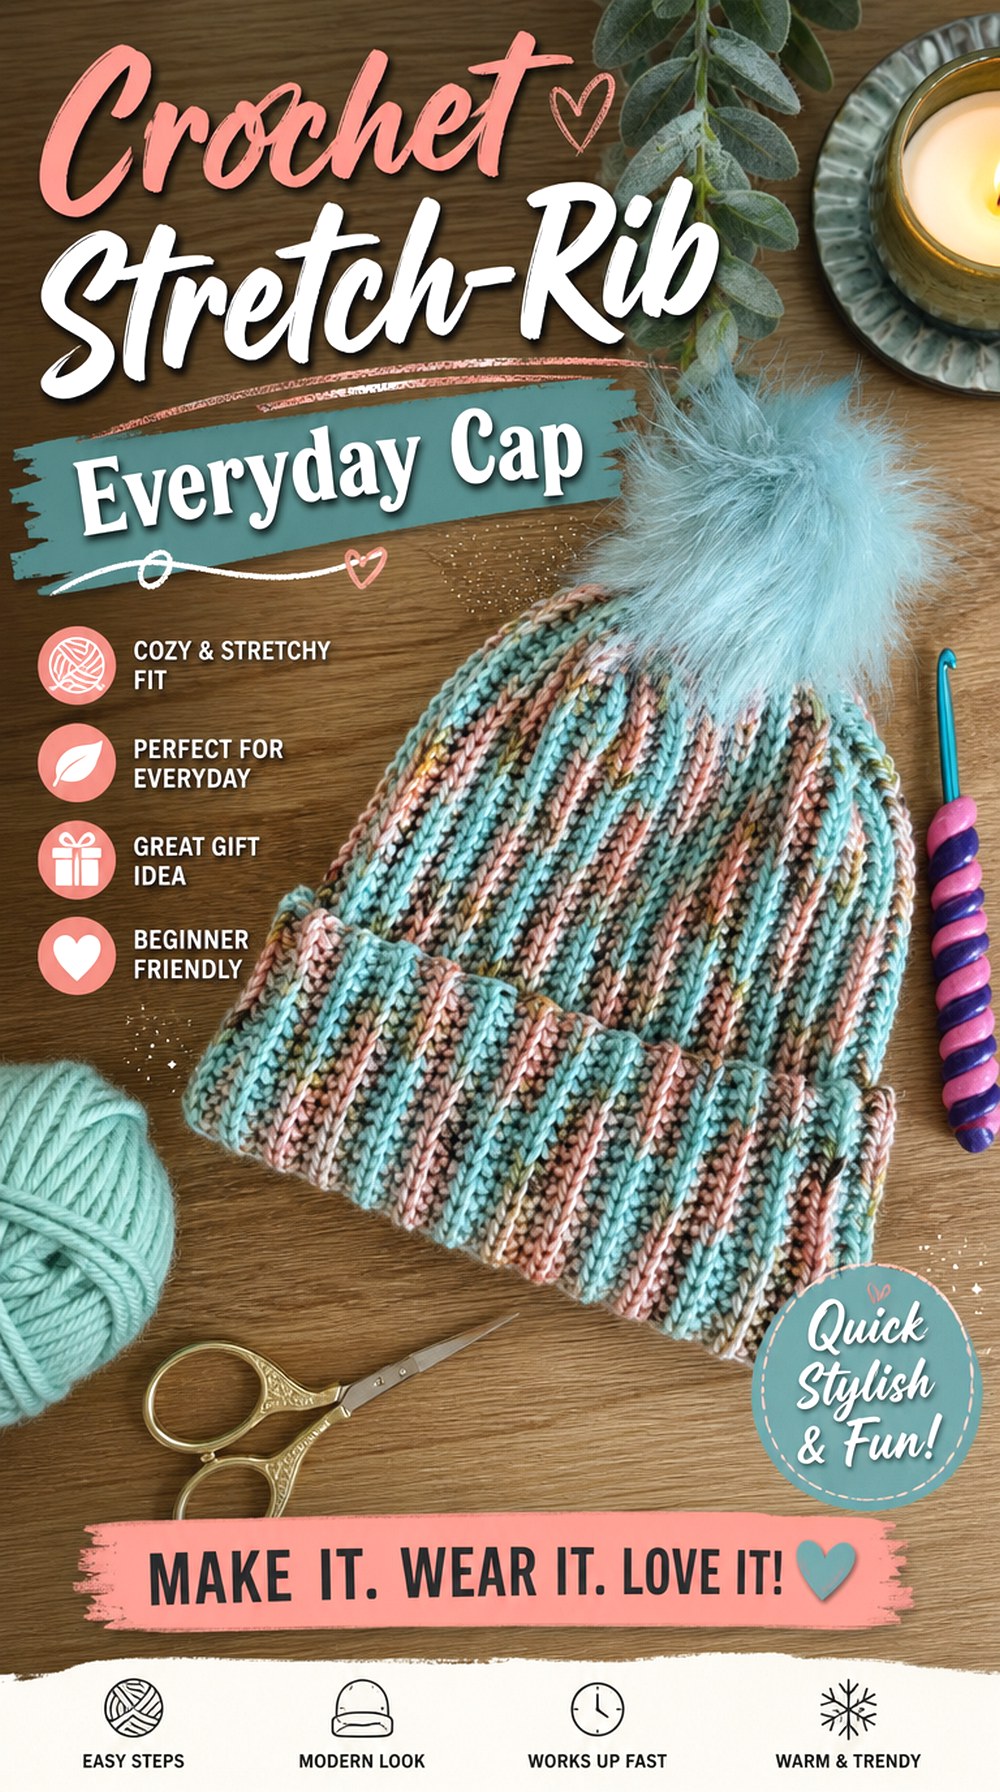
Crafted by Cat’s beanie uses a simple ribbed construction that can be adjusted by changing the starting length and the number of rows. The associated pattern information identifies yarn-over slip stitch worked through the back loop as the key ribbed fabric.
That gives this skull-cap idea a flatter, elastic-looking surface than chunky half-double-crochet ribs. It is a practical choice when you prefer a plain cap that depends on stitch direction rather than embellishment. Keep it shorter for a skull-cap profile or allow more depth if you want a turned edge.
Do Not Confuse Stretch With Correct Sizing
A stretchy stitch can compensate for small measurement differences, but it should not be expected to rescue a panel that is dramatically too wide. Wrap the work around the intended head periodically and look for comfortable negative ease rather than maximum possible stretch.
Decide on the Pom-Pom Before Finalizing the Crown
The tutorial allows a removable pom-pom as an option. A skull cap worn without one exposes the crown closure, so finish that area as neatly as possible. If you intend to alternate between minimal and pommed looks, make sure the attachment method does not distort the top when bare.
Original Tutorial and Creator Credit
Creator: Crafted by Cat
Crochet Fine Rib Slip Stitch Skull Cap
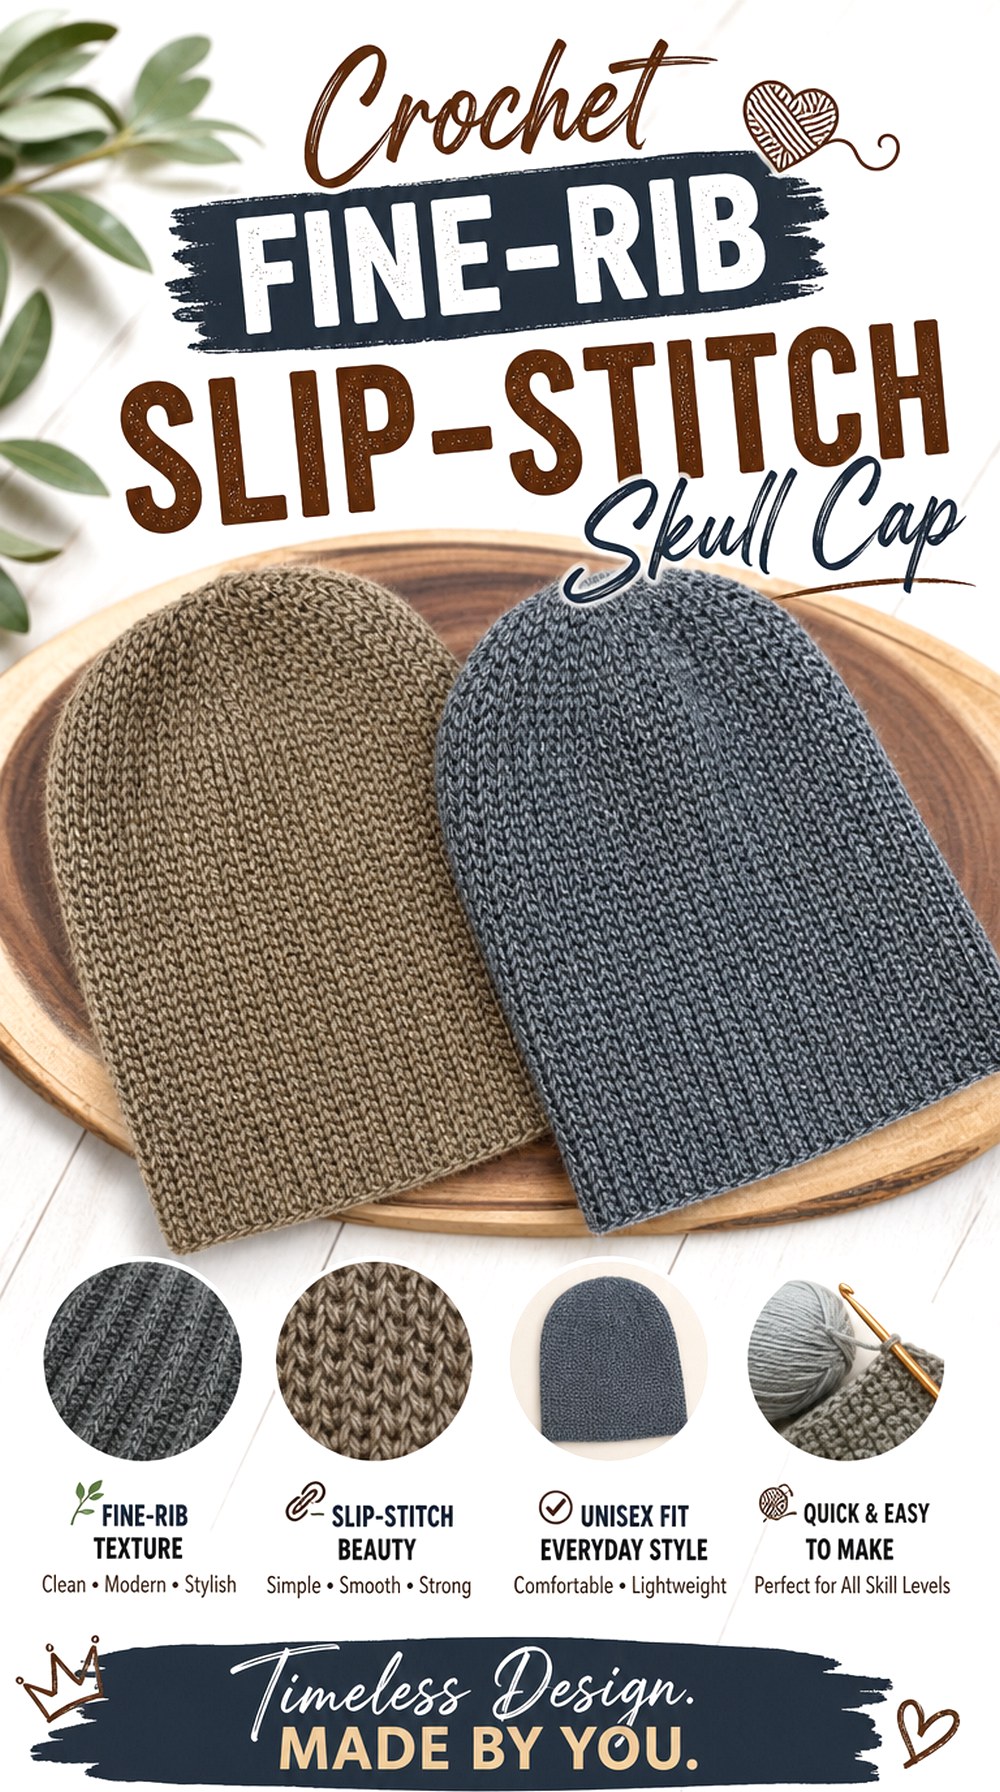
Rich Textures Crochet’s classic knit-look design uses slip stitches to create very fine ribbing. The creator notes that the hat can be worn with the brim folded or unfolded and specifically highlights a bulk-free top.
For a skull cap, the unfolded version is especially interesting because it keeps the lower profile visually clean. Fine slip-stitch ribbing also produces a distinctly different surface from wider half-double-crochet ribs. The trade-off is that short stitches build fabric more gradually, so consistency is more important than rushing.
Fine Ribs Make Row Consistency Obvious
Because each rib is narrow, skipped stitches or uneven row ends can create a visible change in the vertical lines. Count or mark edges if that helps you maintain consistency. Correcting a wandering edge before seaming produces a cleaner side join and more even circumference.
Folded or Unfolded Changes the Entire Look
The same base hat can read as a winter beanie with a substantial cuff or as a sleeker skull cap without one. Decide which version you want while checking length because the fold consumes part of the available depth and changes where the edge sits.
Original Tutorial and Creator Credit
Creator: Rich Textures Crochet
Crochet Chunky Fold Cuff Skull Cap

A chunky skull cap creates a much bolder silhouette because each rib and each fold occupies more physical space. The For The Frills tutorial makes a chunky knit-look beanie from a flat rectangle and explains that the pom-pom can be omitted. The companion pattern also notes that the brim can be reduced when a cuff is not wanted.
This is a useful cold-weather direction if you want the short cap to feel substantial rather than lightweight. Keep in mind that chunky yarn makes small sizing differences more noticeable because fewer stitches span the same distance.
Decide Whether the Cuff Is Structural or Decorative
A folded edge adds thickness around the forehead and ears. If you want a true short skull-cap look, reducing or eliminating the fold can keep the silhouette compact. If warmth is the priority, retaining the cuff makes sense even though the finished cap will look heavier.
Bulky Yarn Magnifies Crown Gathering
Thick fabric takes up more space when gathered. Before closing a rectangular crown, distribute the fabric evenly instead of pulling one section tight first. If the top looks too bulky for an unpommed cap, a shaped construction elsewhere in this roundup may suit your preferred finish better.
Original Tutorial and Creator Credit
Creator: forthefrills
Crochet Men’s Straight Rib Cap
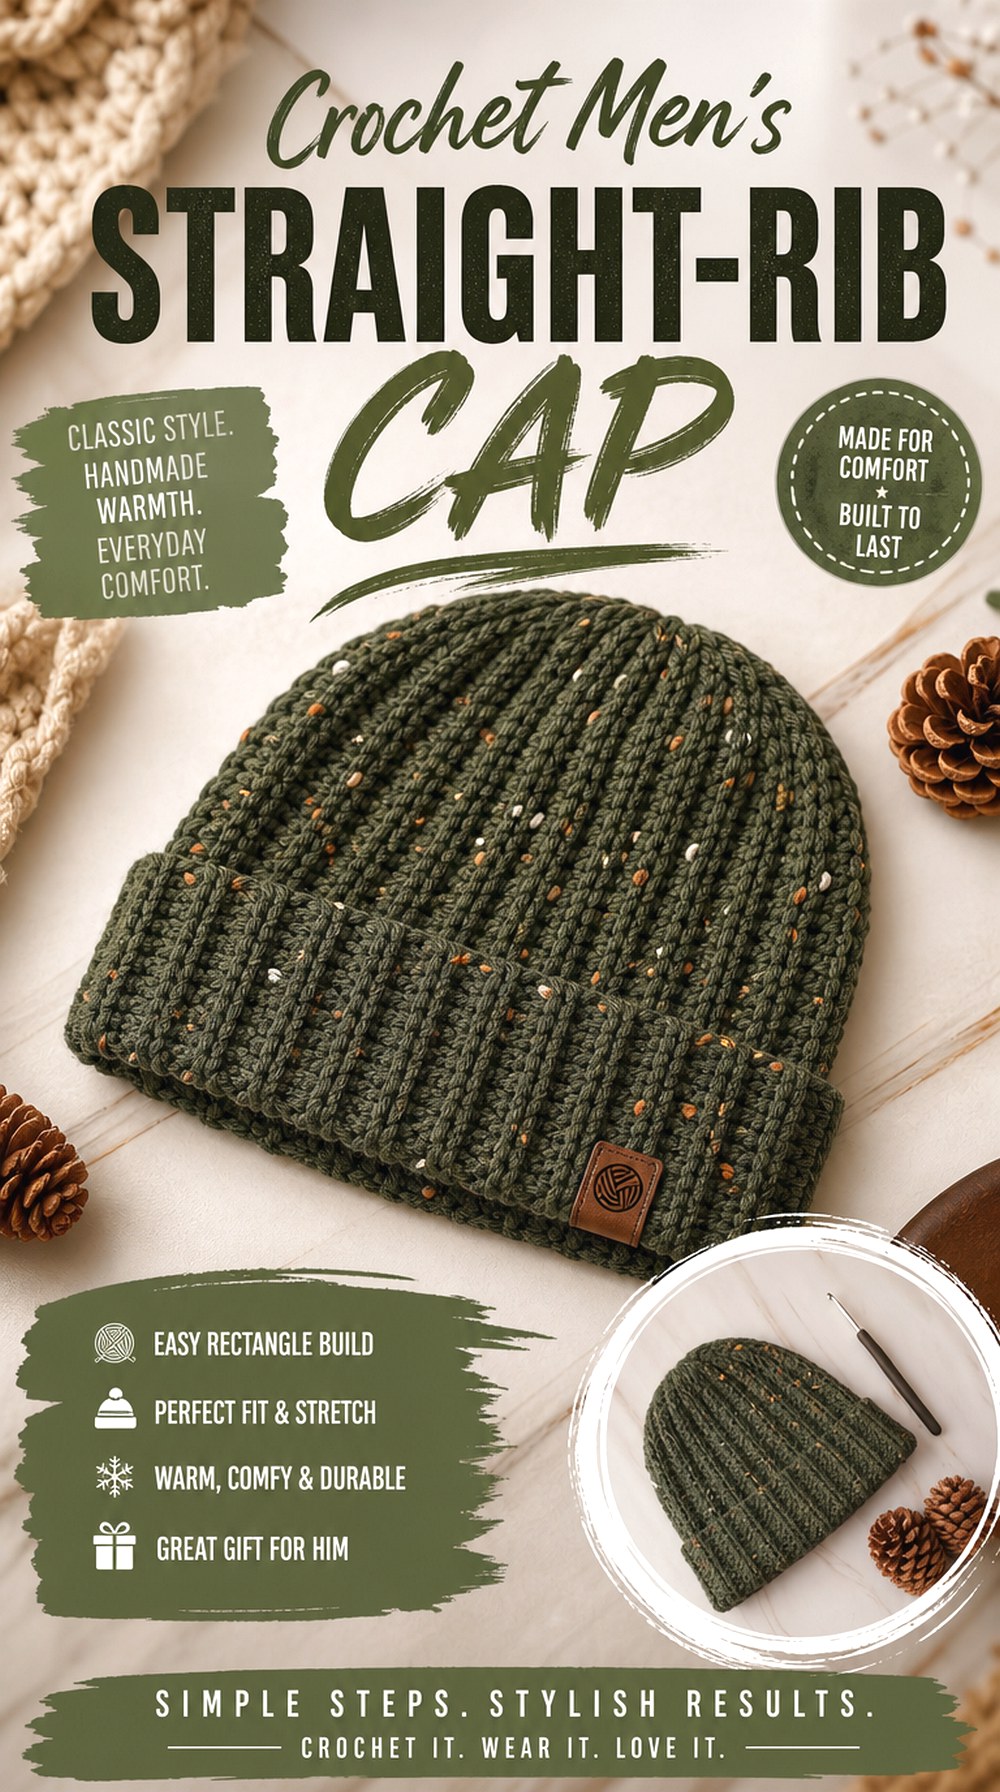
With Love, Leisha’s men’s beanie starts from a simple crocheted rectangle and uses loop-based half-double-crochet texture. The creator discusses fitted versus slouchy proportions and includes measurement guidance for the hat.
For this collection, keep the fitted interpretation and shorten any unnecessary extra crown depth. The alternating rib effect gives the cap a straightforward, understated surface that works especially well when you want a skull cap without decorative motifs. It can also be a useful base for subtle stripes because the construction itself remains uncomplicated.
Use the Fit Guidance, Not the Gender Label
Head measurements vary regardless of whether a tutorial is marketed as a men’s hat. Use the actual wearer’s measurement whenever available. The value of this tutorial is its rectangular construction and fit discussion, not the assumption that every adult man needs the same circumference.
Yarn Stiffness Changes the Profile
The creator discusses different behavior between yarn options in the tutorial description, including how one yarn suits a fitted result more readily. That is a useful reminder that fiber and thickness affect whether a cap stands away from the head or conforms closely.
Original Tutorial and Creator Credit
Creator: With Love, Leisha
Crochet Granny Square Skull Cap

A granny-square cap breaks almost every visual rule of a plain skull cap while keeping the headwear function. Brunaticality’s tutorial builds the beanie from five granny squares, joins them into the hat shape, and finishes the lower edge with a brim.
This is the option to choose when motif placement matters more than a seamless surface. Because separate squares create the body, blocked square dimensions become part of the sizing logic. Color planning also has a bigger effect here than with a solid ribbed cap: the joins, centers, and repeated motifs all contribute to the final composition.
Match the Squares Before Joining
Five squares that look similar while unblocked can still differ enough to twist the cap after assembly. Compare their finished dimensions before permanent joining. If one is noticeably larger, address that discrepancy first instead of expecting the brim to straighten the entire hat later.
Plan Which Square Becomes the Crown
The top motif is viewed from a different angle than the side motifs. A strongly directional color arrangement may look balanced on the table but visually off-center when worn. Lay out the five pieces in their intended positions before joining and rotate them until the motif directions feel deliberate.
Keep the Brim From Overpowering the Motifs
A deep, high-contrast brim can visually separate the granny squares from the face, while a narrower coordinating edge allows the motifs to dominate. Choose the treatment based on whether you want the cap to look like a motif piece first or a traditional beanie with motif panels.
Original Tutorial and Creator Credit
Creator: Brunaticality
Crochet Cable Texture Fitted Cap
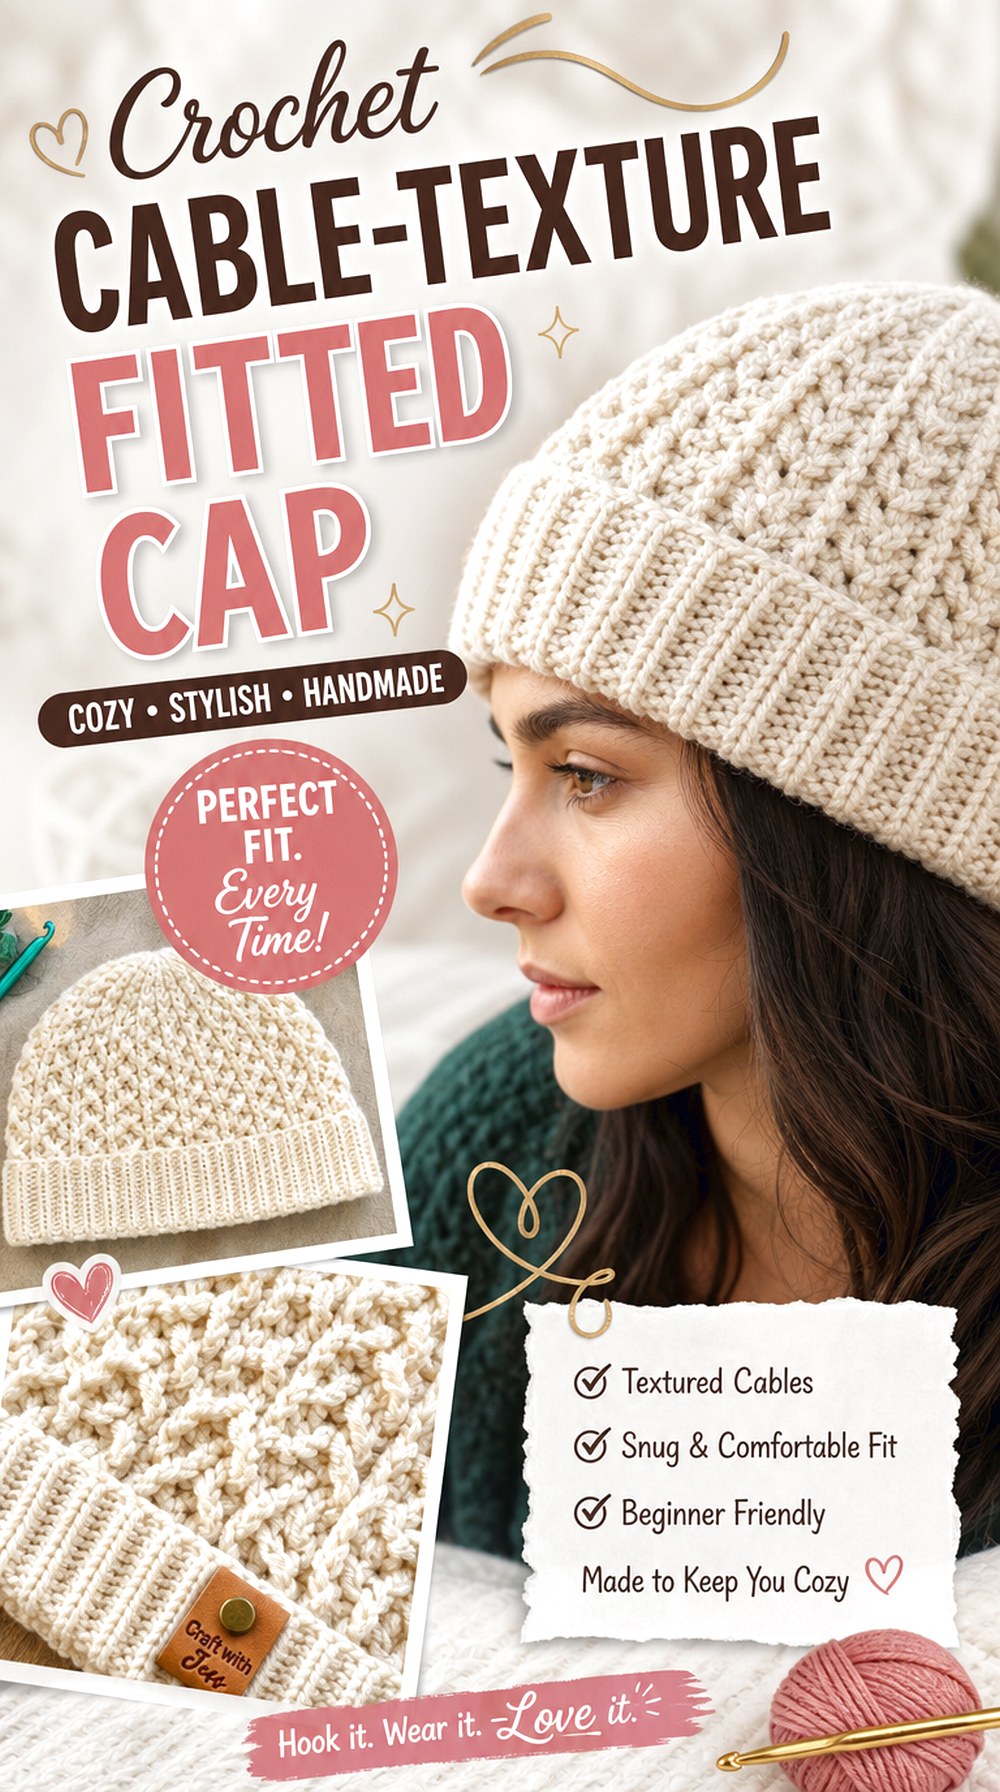
Crochet cables create raised vertical movement without requiring multiple colors. Craft with Jess’s Saint Moritz hat uses cable texture and is described as having a snug fit, making it a strong skull-cap option when you want more surface detail than simple ribbing.
The main consideration is bulk. Post stitches that cross or stand forward can make the fabric feel thicker than a plain stitch pattern. A smooth yarn with clear stitch definition will let the cables remain visible without relying on dramatic color variation.
Cable Sections Need Room to Stay Defined
If the cap is stretched excessively, raised cable shapes can flatten and the spaces between them may open. Check the fabric while gently stretched around the intended head. The goal is a close fit that still preserves enough structure for the cable pattern to read clearly.
Keep the Crown Shaping Symmetrical
A cable cap draws the eye upward, so uneven crown shaping becomes more obvious than on a busy variegated hat. Watch how the decorative columns approach the top and make sure they remain balanced around the head rather than drifting toward one side.
A Plain Brim Can Balance the Texture
When the body already carries strong raised detail, a simpler lower edge gives the eye somewhere to rest. Before adding extra decoration, decide whether the brim should compete with the cables or simply frame them. For a skull cap, restraint often keeps the overall shape more compact.
Original Tutorial and Creator Credit
Creator: Craft with Jess
Crochet Three Color Wave Cap
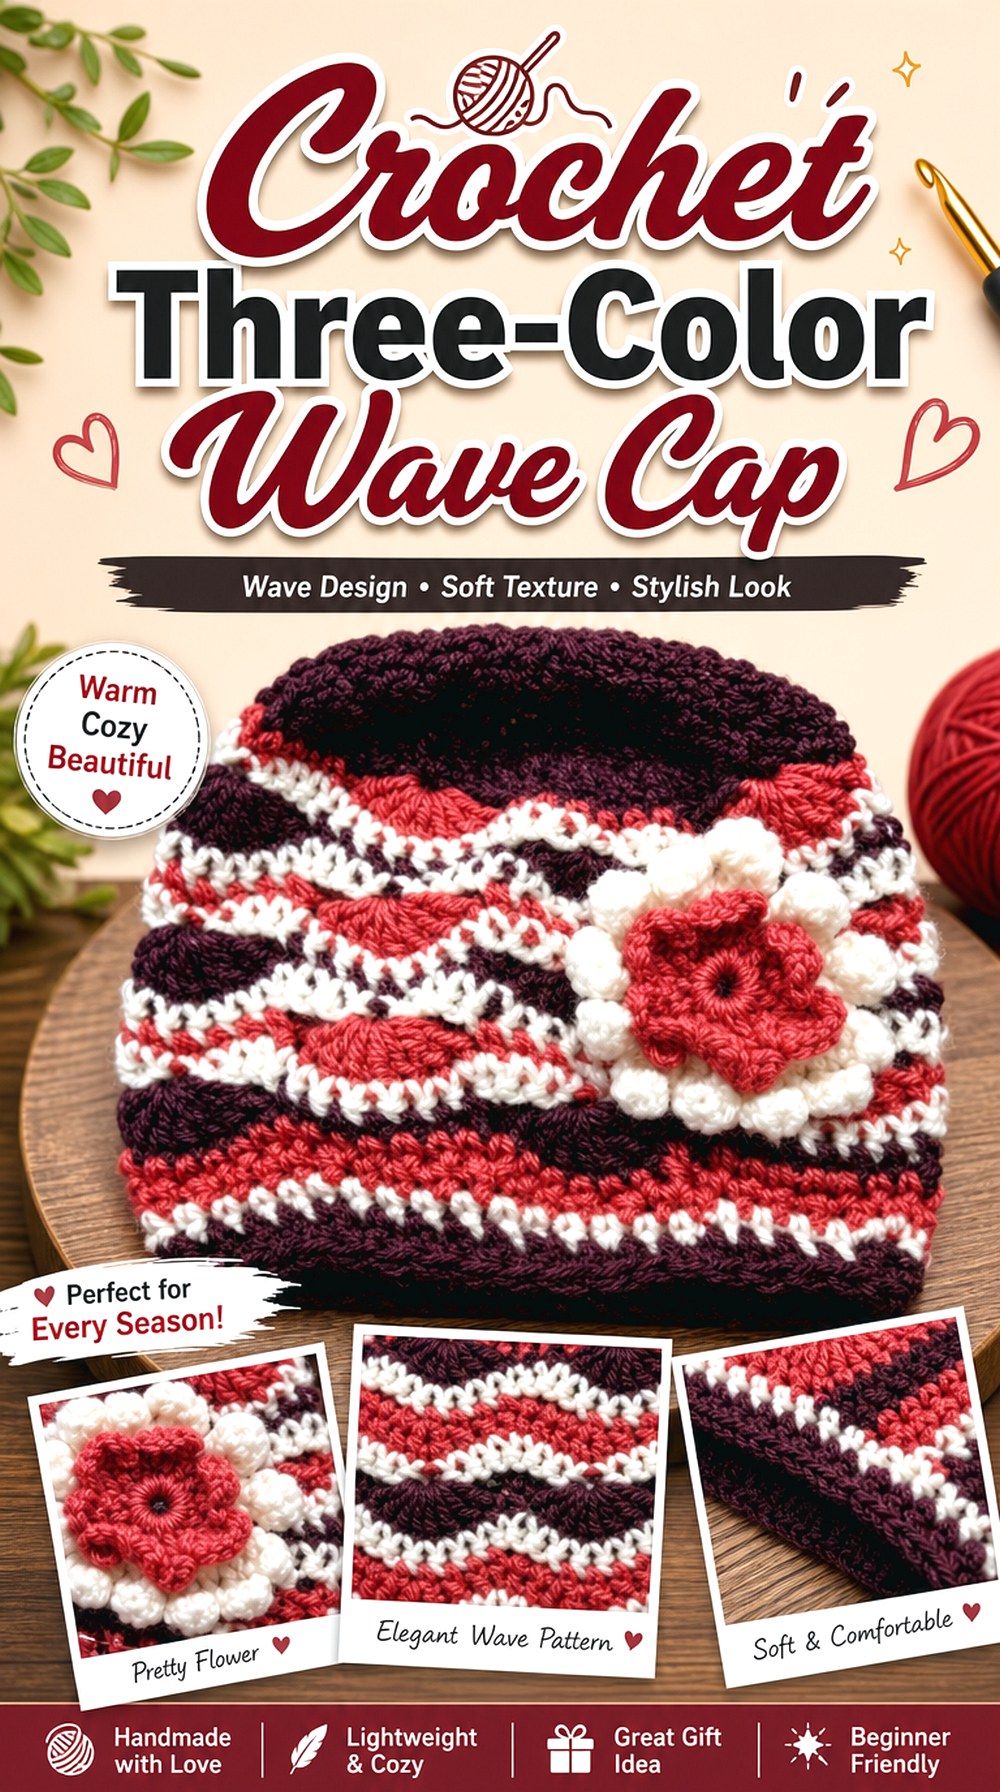
Meladora’s Creations for Crochet uses a wave stitch and three-color sequence to create a cap where horizontal pattern movement becomes the focal point. The tutorial includes sizing discussion, color planning, and a separate rim section.
This is a strong alternative to vertical ribs because the eye travels around the hat rather than from edge to crown. For a shorter skull-cap profile, the number of visible wave repeats will be limited, which makes color order especially important. Choose colors that remain distinct enough for the wave to read without making every transition equally loud.
Decide the Color Rhythm Before the Cap Gets Tall
A short cap may show only a limited number of complete color sequences. Place the three yarns beside each other and decide which should dominate before you begin. If one is much darker, consider where that strong band will sit relative to the face and crown.
Keep the Wave From Distorting the Circumference
Decorative stitch patterns can alter width differently from plain single-crochet rounds. Check the cap after the first full wave repeat rather than waiting until the final rim. If the body starts flaring or tightening, it is easier to reassess gauge early.
Treat the Rim as a Separate Design Decision
The tutorial moves into a distinct rim treatment. On a skull cap, that final edge can either anchor the waves or add too much visual weight. Choose its color and depth based on the balance of the body rather than automatically matching the brightest stripe.
Original Tutorial and Creator Credit
Creator: Meladora’s Creations for Crochet
Crochet Shell Texture Skull Cap
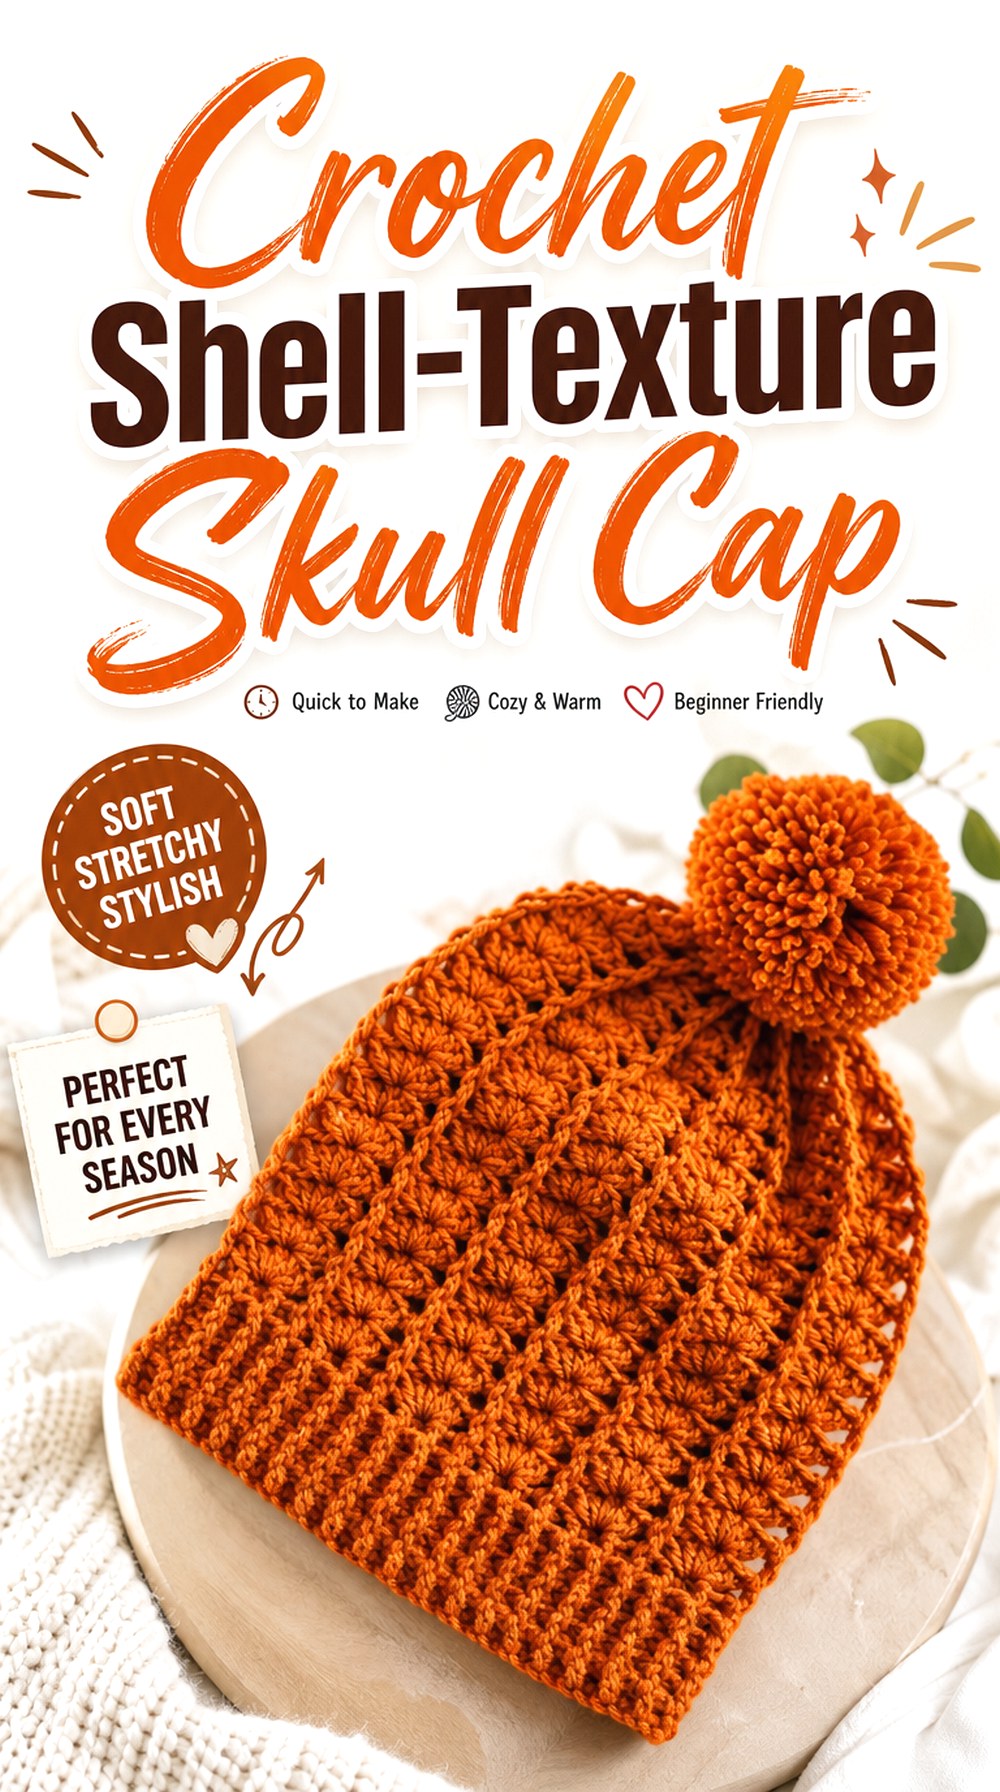
Shell stitches create a softer, more decorative surface than ribbing, cables, or moss stitch. Sirin’s Crochet demonstrates a full shell-stitch beanie in a dedicated hat tutorial.
This idea suits readers who want a close cap that still has visible patterning around the head. Because shell motifs naturally create openings and curves, yarn choice changes the effect significantly: smooth yarn highlights each fan, while fuzzy yarn can blur the edges. Before adapting the height, make sure you understand how complete shell repeats affect the final lower edge.
Keep Complete Shell Repeats Visually Balanced
Stopping a patterned cap at an arbitrary point can leave the edge looking unfinished. When aiming for skull-cap length, compare the desired depth with the stitch repeat and decide where a natural pattern break can occur. Follow the creator’s construction rather than cutting a decorative repeat apart.
Check Openness While the Hat Is Worn
Shell texture may reveal more space between stitches once stretched around the head. If you want a dense winter cap, inspect the fabric under normal wearing tension. A decorative open surface is not inherently a problem, but it should match the warmth and coverage you expect.
Let the Shells Be the Main Decoration
Pom-poms, extra appliqués, strong striping, and shell texture can quickly compete. For a cleaner skull cap, consider using the shells themselves as the focal point. A restrained edge and one well-chosen color can make the stitch architecture much easier to see.
Original Tutorial and Creator Credit
Creator: Sirin’s Crochet
Crochet Puff and Post Stitch Cap
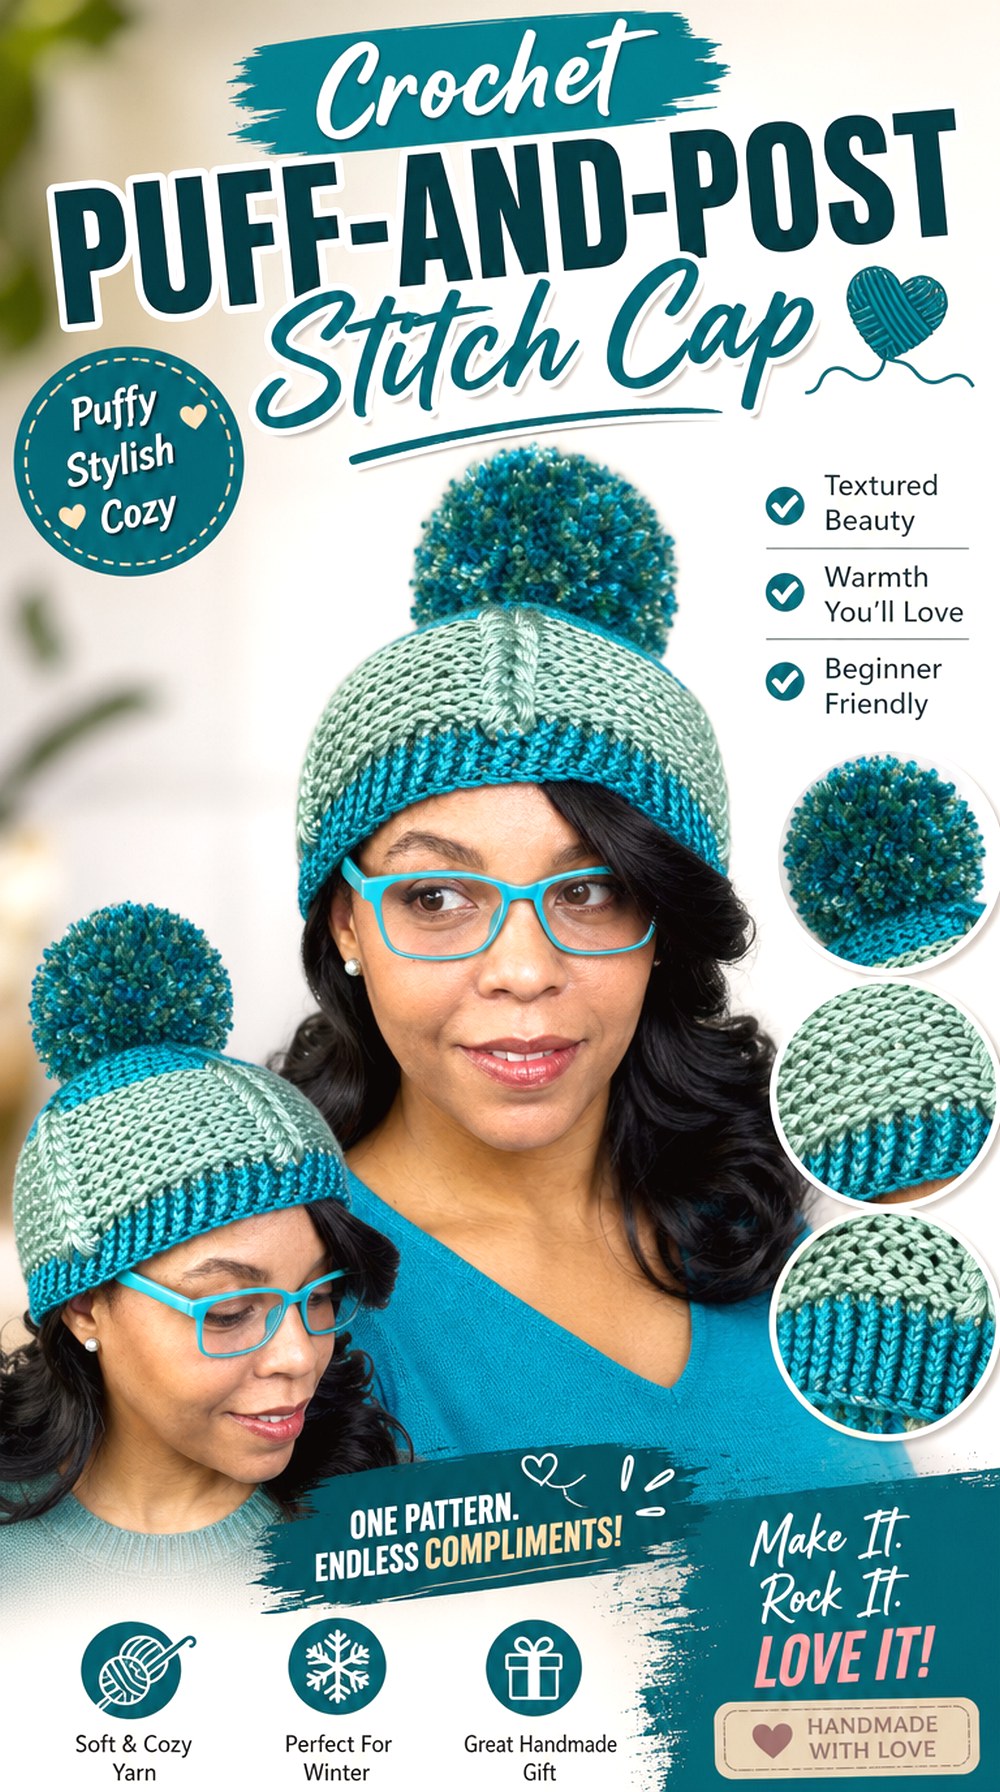
Littlejohn’s Yarn combines puff stitches with raised post stitches in the Winter Waves beanie, giving this option one of the strongest three-dimensional textures in the collection. The tutorial specifically uses those two texture families together rather than relying on color alone.
A fitted skull-cap version will feel visually heavier than moss stitch or fine ribbing, so it works best when texture is the priority. Solid or lightly varied yarn lets the raised structure remain readable. Because puffs consume more yarn and create more thickness than flatter stitches, avoid assuming the finished fabric will behave like a plain beanie made to similar measurements.
Allow the Puffs to Stay Rounded
If the circumference is too tight, dimensional puffs can compress and lose the separation that makes the pattern attractive. Check the cap under realistic stretch. A close fit is useful, but crushing every raised section defeats the main reason to choose this design.
Post Stitches Add Structure Between Soft Puffs
The combination of raised posts and puff sections creates alternating firmness and volume. When substituting yarn, look for enough stitch definition to preserve that contrast. Very fuzzy fibers may make individual textured elements difficult to distinguish.
Keep the Color Palette From Competing With the Surface
The source demonstrates a two-color winter palette, but the texture itself is already visually active. If you want a more understated skull cap, one color can make the stitch architecture the focus; contrasting colors create a bolder result.
Original Tutorial and Creator Credit
Creator: Littlejohn’s Yarn
Crochet Minimal Everyday Skull Cap
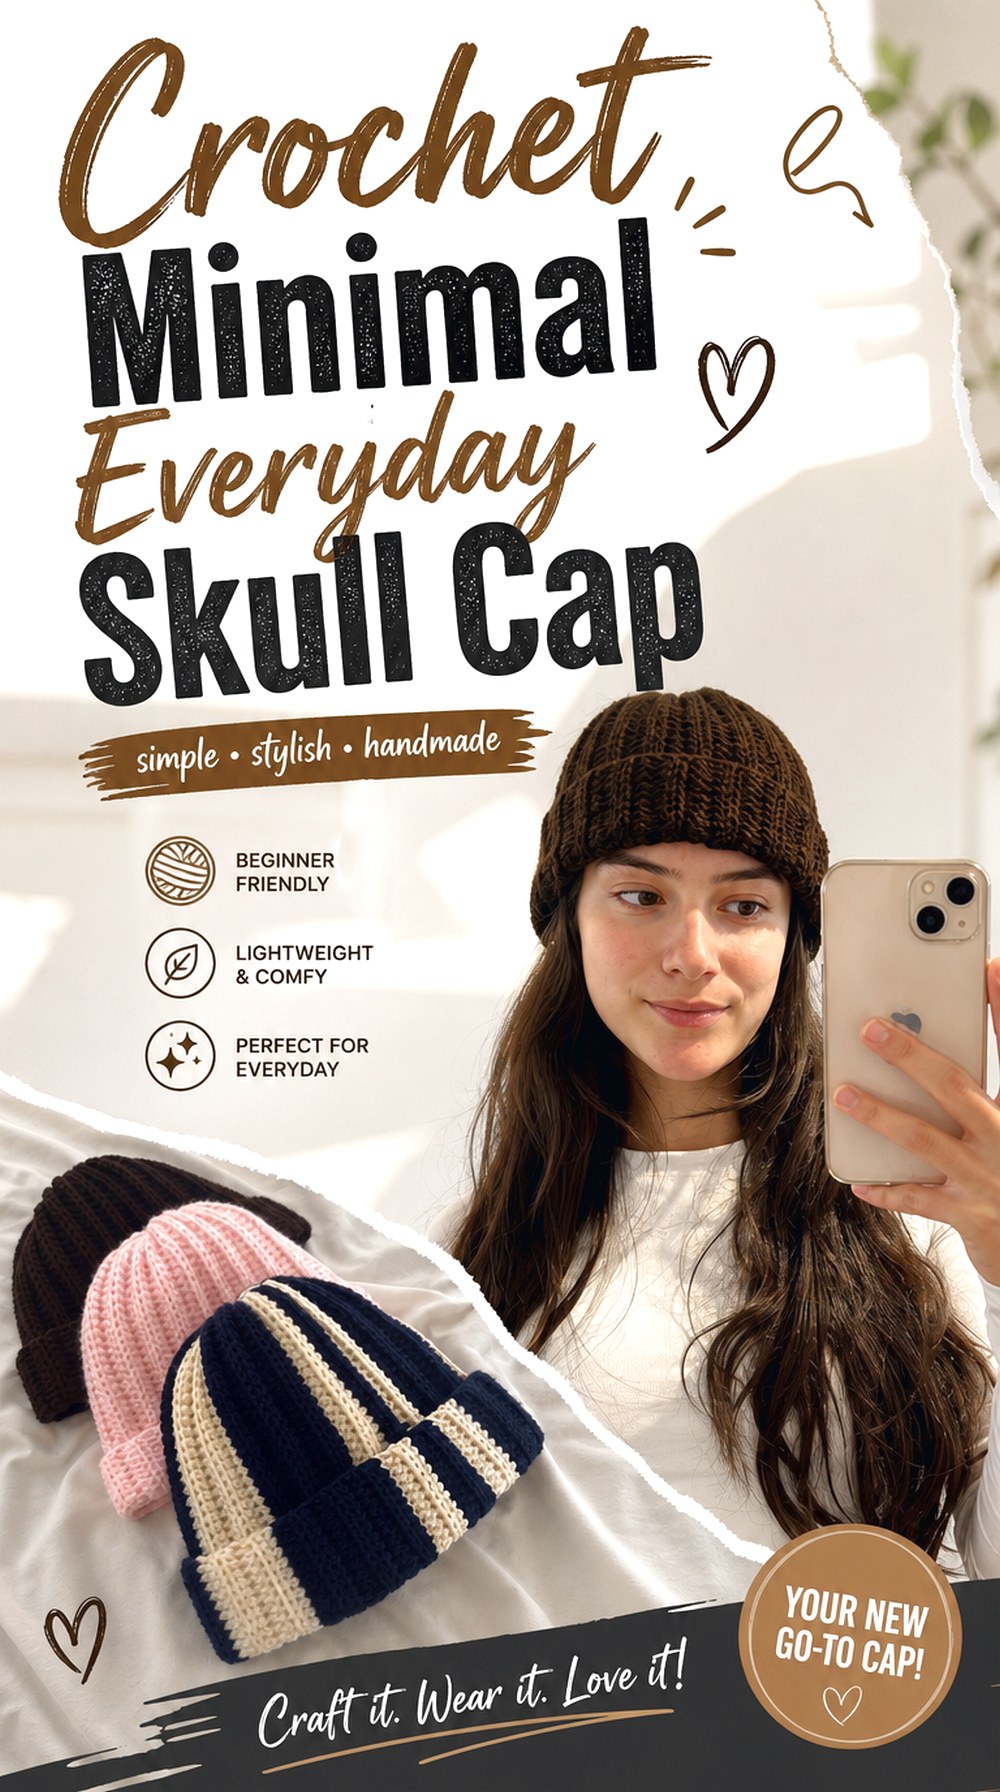
Crochet Daniela’s straightforward beanie tutorial is a useful base when you want a simple finished cap rather than a named specialty stitch or heavily decorated design. The visible project is a conventional close beanie, making it adaptable to a cleaner skull-cap style by keeping the length restrained and avoiding unnecessary top embellishment.
This final idea is intentionally simple. After comparing granny squares, cables, waves, shells, and puff stitches, you may decide the best skull cap is the one that lets yarn color and fit do all the work. Neutral colors keep it understated; a strong solid can make the same silhouette more graphic.
Use Simplicity to Focus on Fit
With little decorative texture to distract the eye, the edge position and crown shape become the main design features. Try the cap on before final finishing when possible. A clean basic cap looks most intentional when there is neither accidental slouch at the crown nor a lower edge that sits at an awkward height.
Make Color the Customization Instead of Adding Parts
A minimalist cap does not need a pom-pom, appliqué, or complicated brim to feel finished. Consider heathered yarn, a single saturated color, or controlled stripes if you want variation. Keeping the physical structure simple also makes it easier to compare future versions made with different fibers.
Which Crochet Skull Cap Style Should You Choose?
Start with the silhouette you want rather than the stitch you find prettiest. For the shortest profile, the Crochet Close-Fit Skull Cap, Crochet Short Fisherman-Style Cap, and Crochet Kufi-Inspired Prayer Cap are the clearest matches. If crown smoothness matters, look at the Crochet Ribbed No-Bunch Skull Cap or Crochet Flat-Crown Knit-Look Cap.
Choose moss stitch or fine ribbing for quieter texture. Cables, shells, waves, granny squares, and puff stitches make the cap much more decorative. The chunky option suits a substantial winter look, while the top-down and minimalist versions provide flexible foundations when fit matters more than ornamentation.
Conclusion
The strongest crochet skull cap choice depends on what you want to control most. A top-down construction makes crown and depth adjustments easier to observe as you work, while ribbed panels provide stretch and a knit-like appearance. Kufi and short fisherman shapes create the most compact profiles, whereas granny squares, waves, cables, shells, and puff stitches make the surface a larger part of the design.
Before choosing, compare the intended crown shape, stretch, lower edge, and finished depth rather than relying only on the thumbnail. Once you have picked the right structure, use the original tutorials for the creators’ exact construction details and sizing guidance.
Frequently Asked Questions
How short should a crochet skull cap be?
There is no universal skull-cap depth because heads vary and different styles sit at different points around the ears. A better approach is to measure from the crown to the exact place where you want the edge to finish. Compare that measurement with the tutorial’s construction and remember that a folded cuff uses some of the hat’s total depth.
How do I stop a crochet skull cap from bunching at the crown?
First identify the construction. A gathered rectangle can bunch when too much fabric is pulled into one point, while a top-down cap can develop crown problems from incorrect shaping. Tapered panels, wedges, or gradual decreases can produce a flatter result. If a smooth bare crown matters, choose a tutorial designed around reduced bunching rather than planning to hide the top with a pom-pom.
Should a crochet skull cap be smaller than the wearer’s head?
Many crochet hats rely on some stretch so they stay in place, but the correct amount depends on the stitch, yarn, and tutorial. Ribbing can stretch far more than a dense textured stitch. Do not apply one universal amount of negative ease. Measure the head and follow the specific tutorial’s gauge or fitting guidance, checking the fabric gently stretched as well as relaxed.
Which yarn is better for a fitted crochet skull cap?
Choose according to the result you want. Springy yarn can help ribbing recover after stretching, while cotton may create a firmer, less elastic feel depending on the yarn construction. Smooth fibers show cables, shells, and post stitches clearly. Whatever you substitute, match gauge and fabric behavior rather than relying only on the yarn-weight number printed on the label.
Can I turn a regular crochet beanie tutorial into a skull cap?
Often, yes, when the construction allows length adjustment. Reducing unnecessary body depth or omitting a deep fold-over cuff can create a more compact profile. However, do not simply stop in the middle of an essential decrease or decorative repeat. Check how the crown and edge are constructed first, then make length changes only where they will not interrupt the hat’s shaping.
Which skull cap construction gives the smoothest crown?
Shaped top-down caps and side-to-side designs with deliberate crown tapering generally give you more control over a smooth top than a plain rectangle gathered tightly at one end. That does not mean every gathered cap will look bulky. Yarn thickness, panel width, and the closing method all affect the result, so compare the finished crown shown in the tutorial before choosing.